photo sharing and upload picture albums photo forums search pictures popular photos photography help login
Dave Beedon | profile | all galleries >> Cars >> Toyota Sienna >> Sienna: Floor Mod tree view | thumbnails | slideshow

Sienna: General Pictures | Sienna: Floor Mod

Sienna: Floor Mod


(SCROLL DOWN TO SEE THUMBNAIL IMAGES)

My Toyota Sienna is an LE model. It came with three rows of seats, capable of holding seven persons. But I didn’t buy it to transport lots of people. Its interior space appealed to me for local shopping, driving our dogs around, and road trips (I take lots of stuff).

But two rows of seats were in the way, so I took them out. This was annoying because of the way there were mounted to the floor and their weight. It was nice to have a hand truck to move the heavy seats into the house.

The van then had lots of room in back, but it was not user-friendly because of the way the floor was designed. The rear portion was a depressed area for holding folded-down rear seats. Between this depression and the front seats, the floor was not level (it sloped downward toward the front) and uneven (it had a dip behind the front seats).

The depression, slope, and dip had to be corrected before I could take full advantage of the space. So shortly after I bought the Sienna I began to design a custom floor to make the empty area more useful. My goal was to prepare the van for a road trip to Utah in September.

By the time I left for Utah in 2007 I had a flat plywood floor extending from the back of the front seats to the rear door. The portion over the depression (seat well) was a set of three removable pieces (lids) that allowed easy access to the well. The whole thing was covered with indoor-outdoor carpeting. But in my rush to finish before leaving for Utah, I had decided not to worry about making the floor level. Thus is sloped downward toward the front, just like the van's real floor. Because of this I tried to park on slopes when sleeping in the van so I would be lying level.

Two years later (2009) I made the floor level, eliminated some support crosspieces, and extended the floor into the “wing,” an unused area next to the passenger-side sliding door.

A year after that (in 2010) I modified the floor’s support structure to add stiffness and figured out a way to eliminate the support posts under the wing panel. In 2011 and 2012 I made minor wing improvements, painted floor components that were visible when sliding doors were open, and added a “trap door’ in the floor to accommodate my feet when sitting at a table.


.
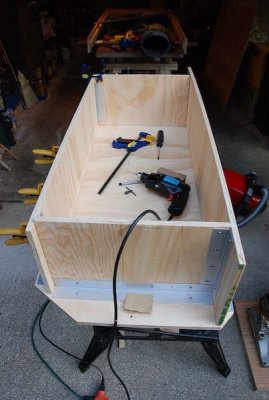
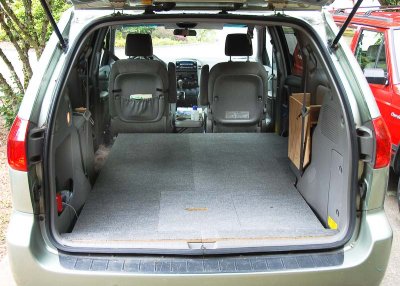
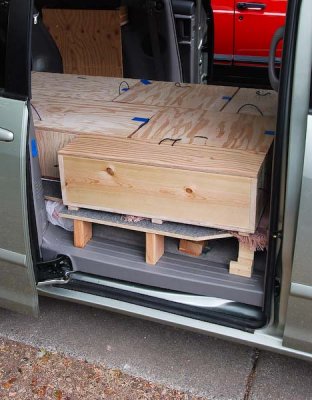
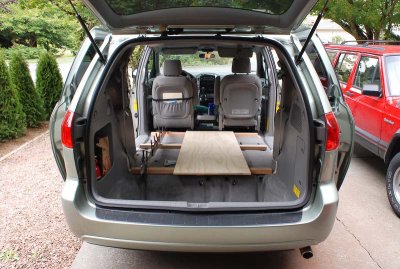
Starting to build a custom floor
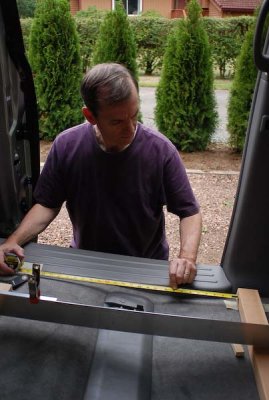
Initial floor: measuring
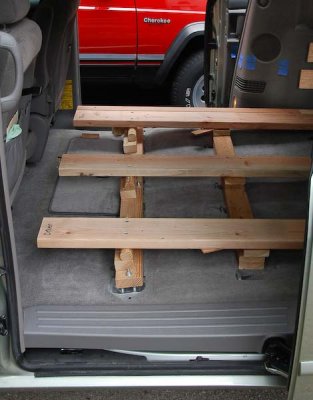
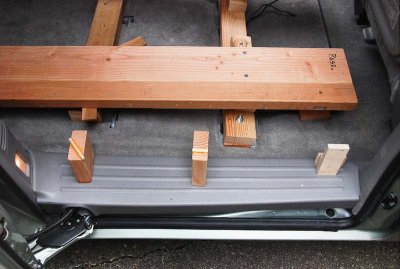
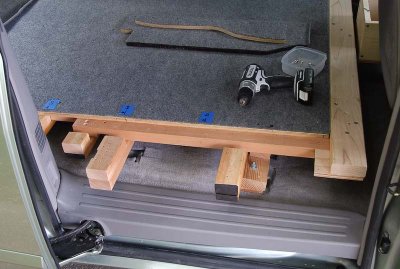
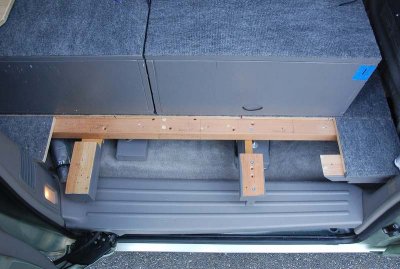
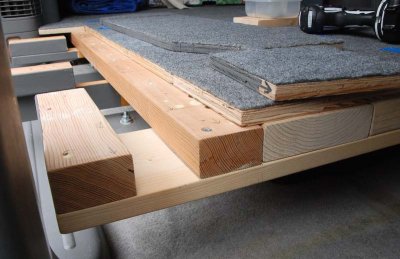
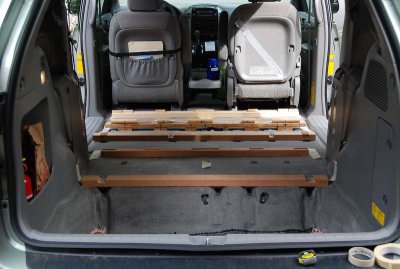
Initial floor: 2x3s in place
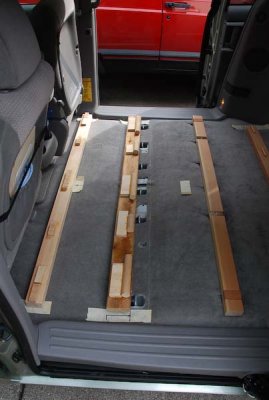
Initial floor: front 2x3s
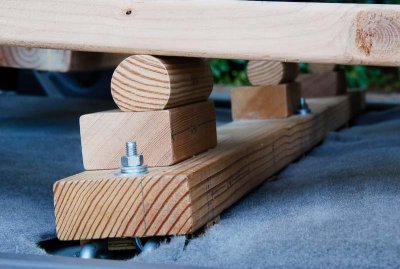
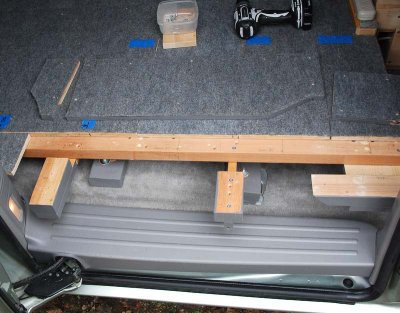
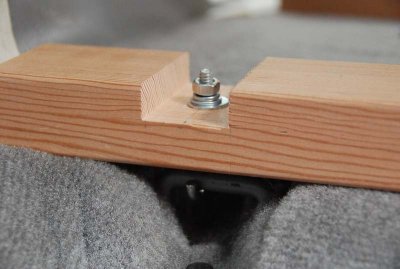
Initial floor: bolt detail
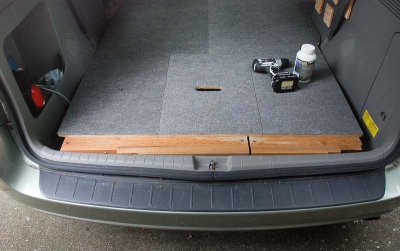
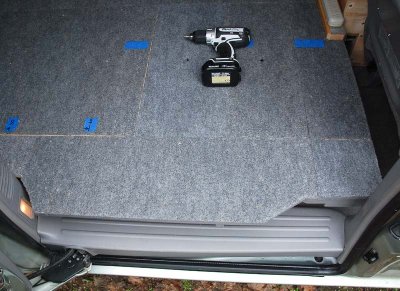
Initial floor: working with plywood panels
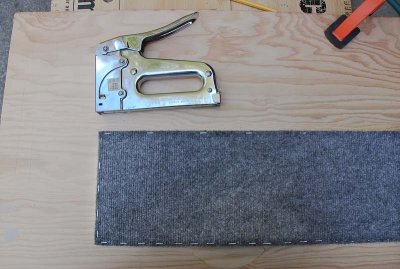
Carpeting is attached to plywood with staples
Initial floor: detail of lid support lip
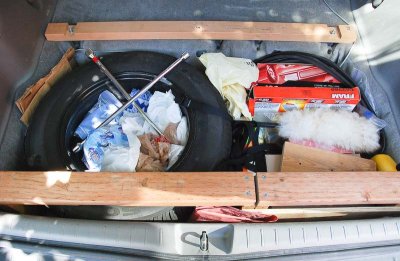
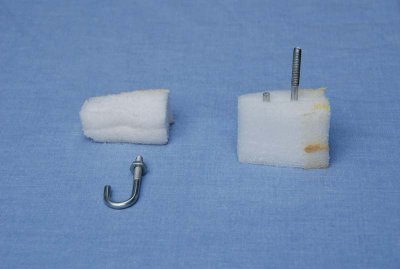
Initial floor: well box anchor bolts
Initial well storage
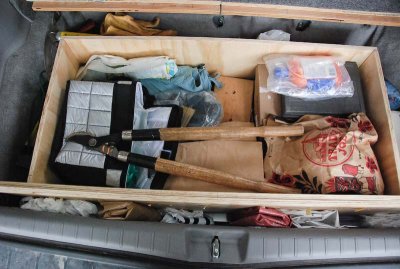
Initial well storage (in use)
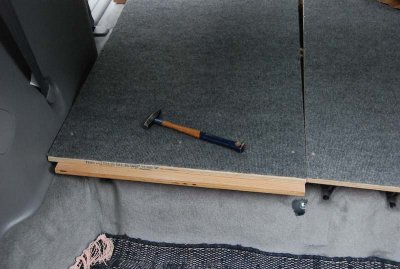
Initial floor: all pieces in place
Major floor re-design (partial support structure)
Major floor re-design (full support structure)
Major floor re-design (new well storage)
Major floor re-design (front of support structure)
Front support crosspiece
Major floor re-design (lid alteration)
Major floor re-design (overview)
Well storage
Well storage
Support structure for the wing panel
Wing in use
Wing in use
Second method of supporting the wing panel
Another view of the second wing support structure
Third wing design: panels removed; gear boxes in place
Third wing design: panels removed
Third wing design: view to rear of wing support members
Third wing design: all floor pieces in place