


|
|
|
|
|
|
| Mohan Family | profile | all galleries >> Galleries >> Pushrod Tube Seal Replacement on Airhead BMW engine | tree view | thumbnails | slideshow |
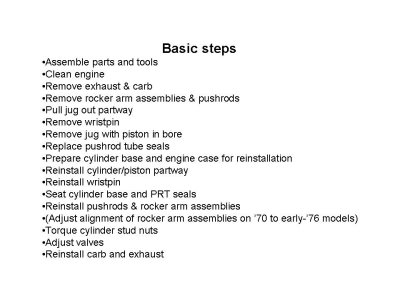 Basic steps |
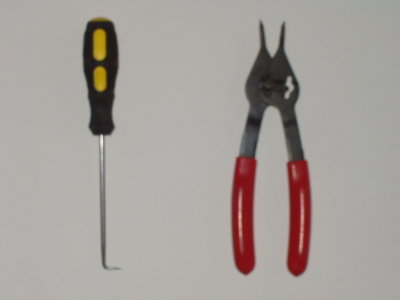
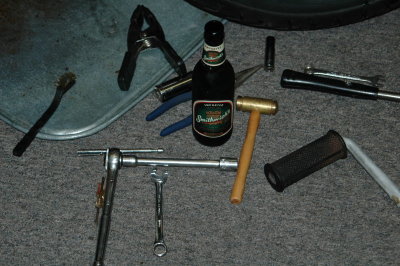 Required tools |
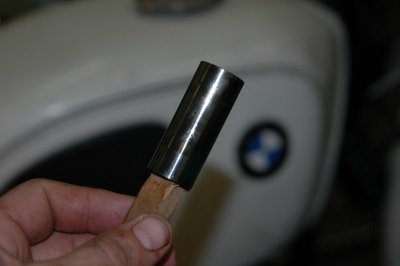
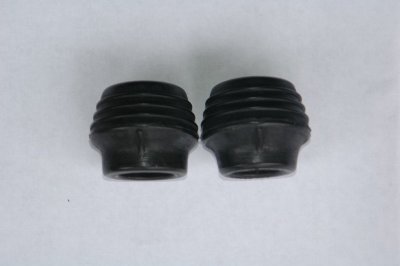 Pushrod tube seals |
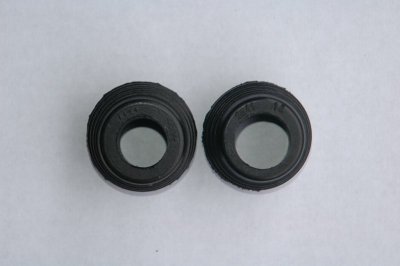 Pushrod tube seals. |
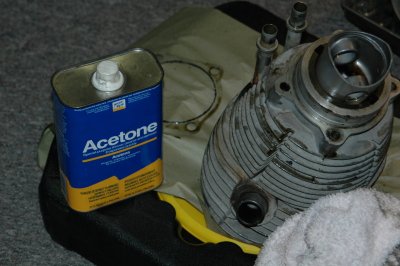
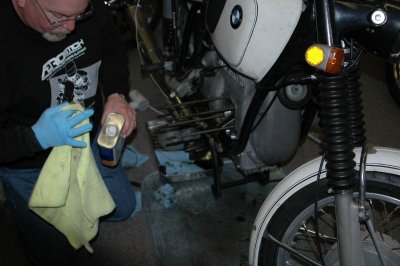
 Degrease and wash engine. |
 Degrease and wash engine |
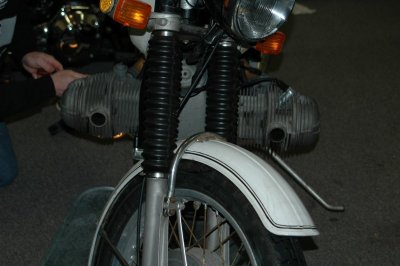
 Your basic SWB 1970 R50/5 |
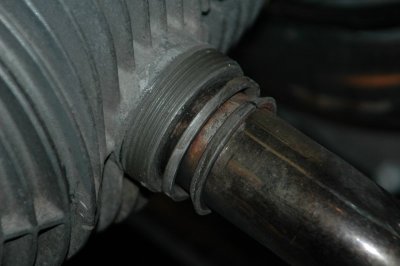
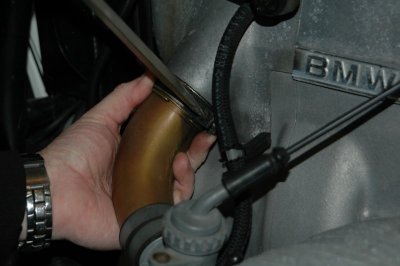
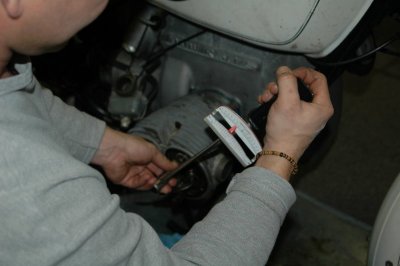
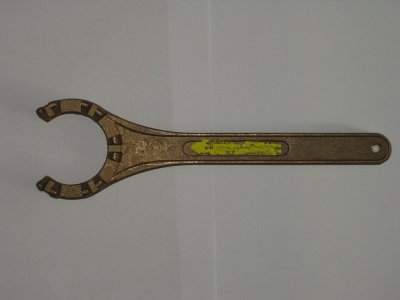 The finned exhaust nut wrench. |
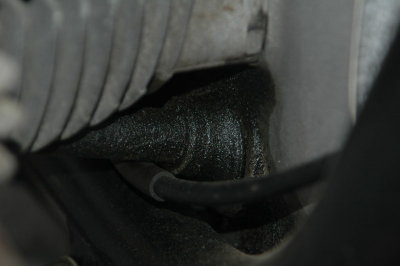
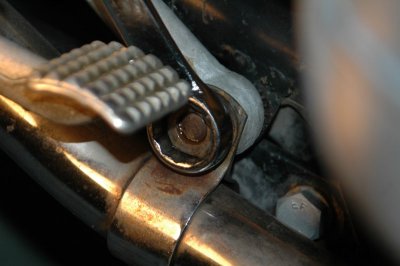
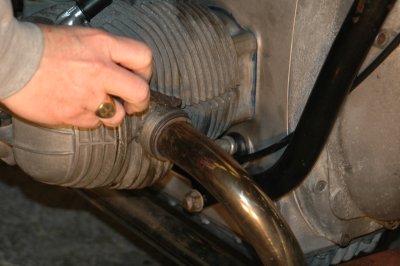
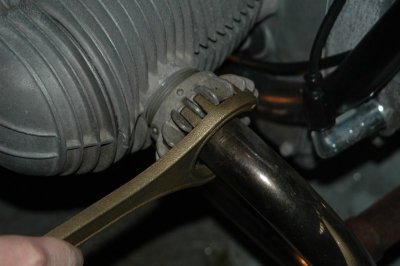 Remove exhaust. |
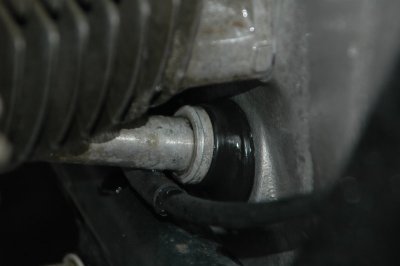
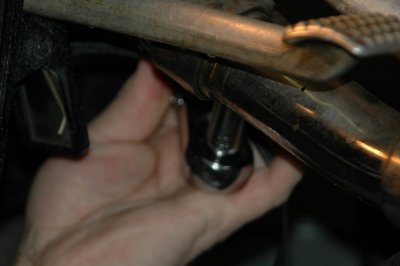
 Exhaust nut removed. |
 Correct assembly of exhaust hardware. |
 Remove exhaust. |
 Unbolt the headers from the mufflers. |
 Remove exhaust. |
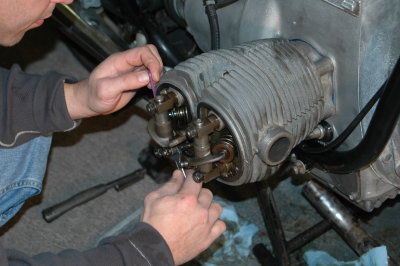
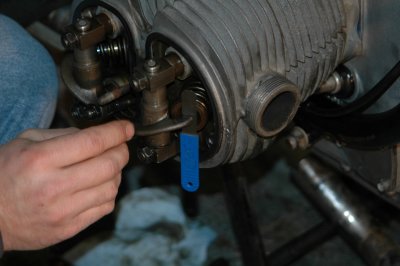
 Remove carb. |
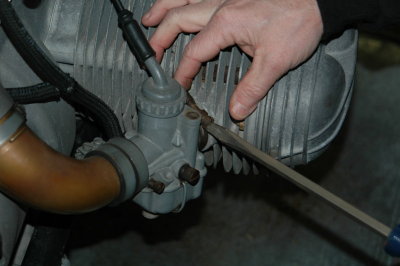 Remove carb. |
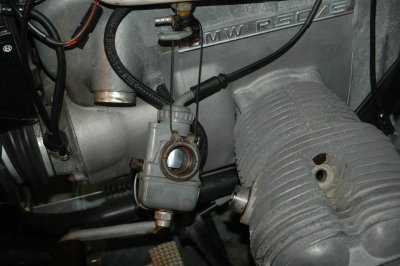 Carb removed. |
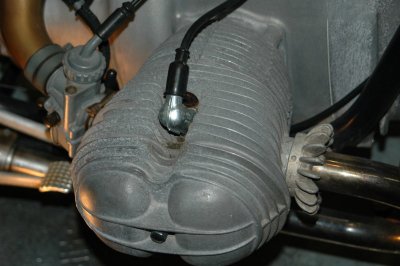
 Remove the valve cover. |
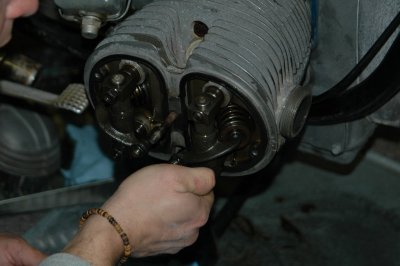
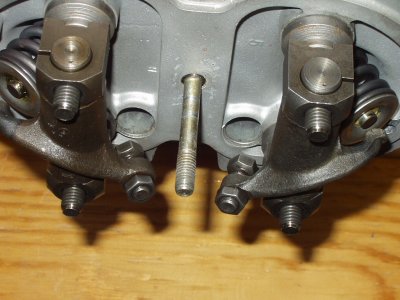
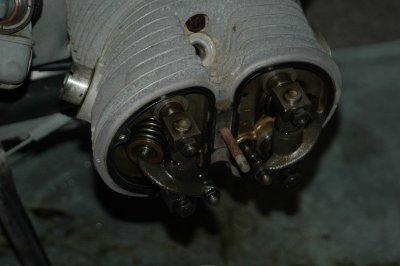 Removing rocker arm assemblies and pushrods. |
 Remove rocker arm assemblies and pushrods. |
 Remove rocker arm assemblies and pushrods. |
 Remove rocker arm assemblies and pushrods |
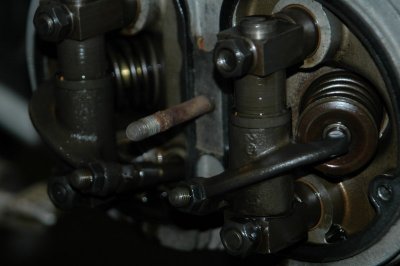
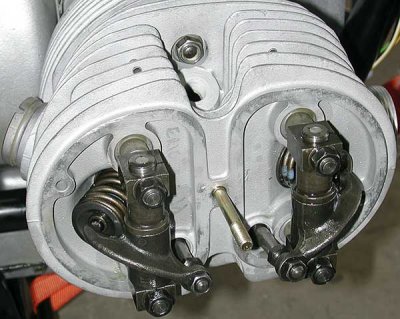
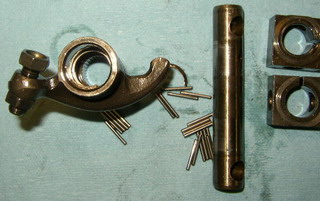 Rocker arm assembly with needle bearings. |
 Remove rocker arm assemblies and pushrods. |
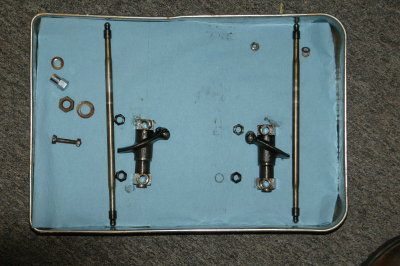
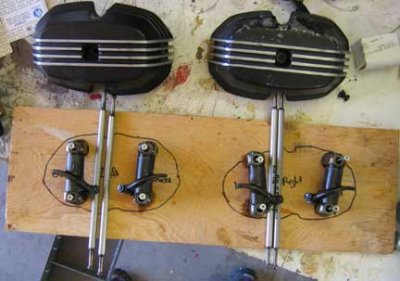 Another way to do it is with screws on a board, and labeled. |
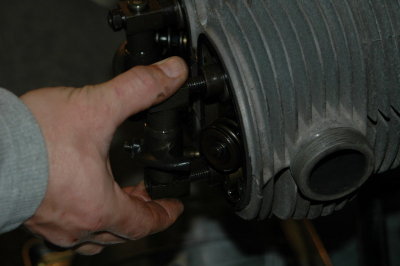
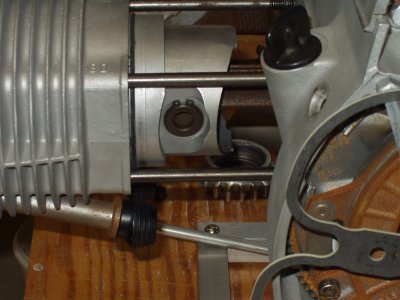
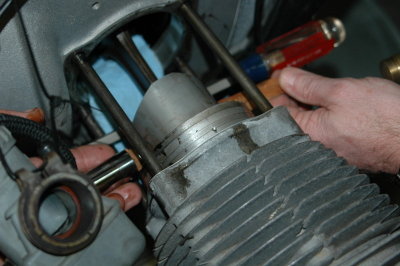
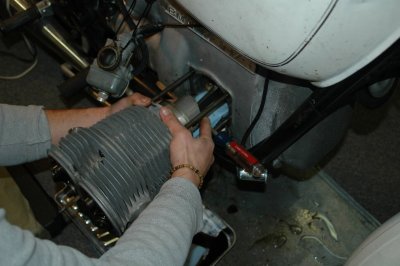
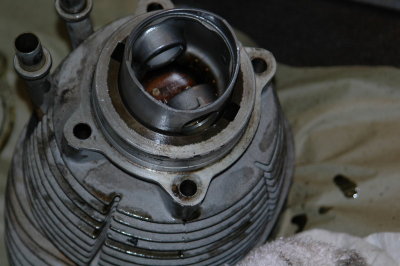
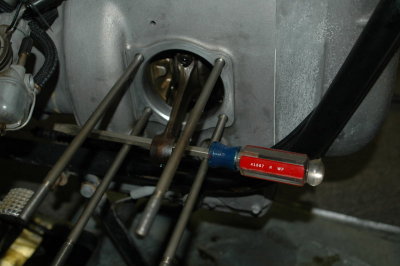
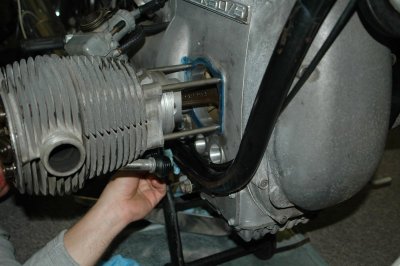
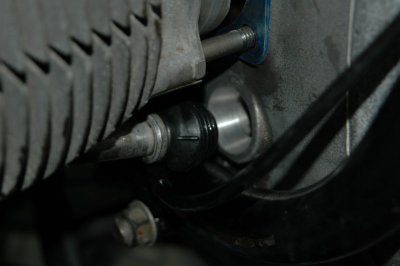
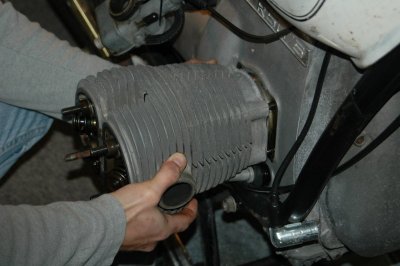 Pull jug out partway. |
 Pull jug out partway. |
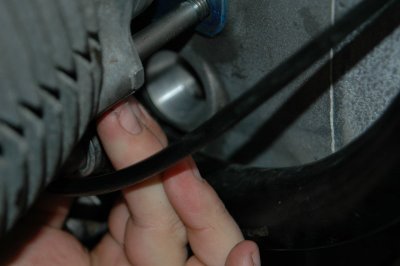
 Pull jug out partway. |
 Pull jug out partway. |
 Pull jug out partway. |
 Pull jug out partway. |
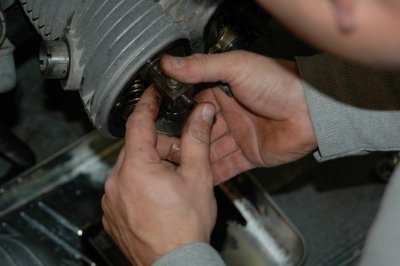
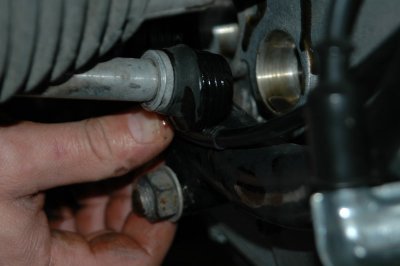
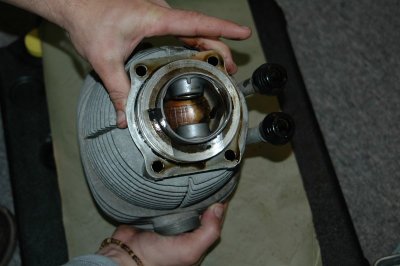
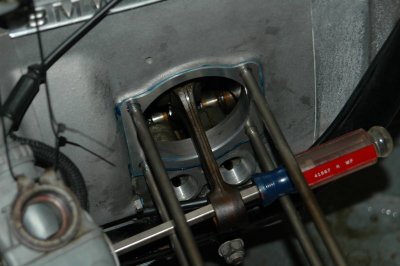
 Remove wristpin. |
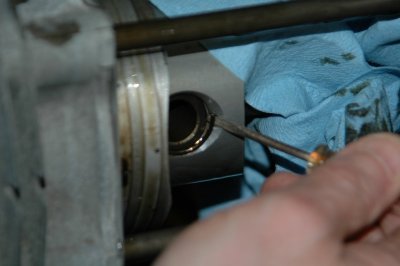 Remove wristpin. |
 Remove wristpin. |
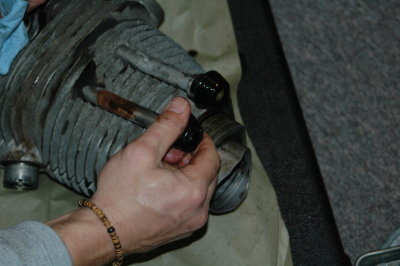
 Remove wristpin. |
 Remove wristpin. |
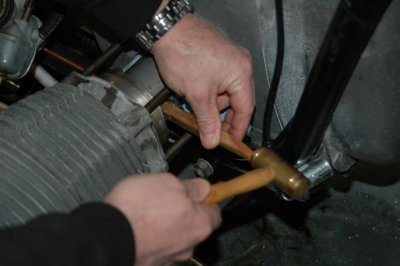 Remove wristpin. |
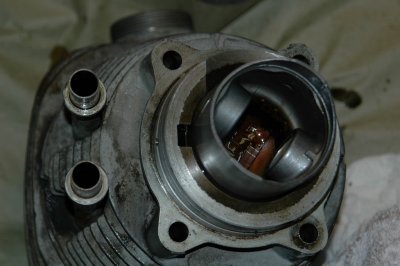
 Remove wristpin. |
 Remove wristpin. |
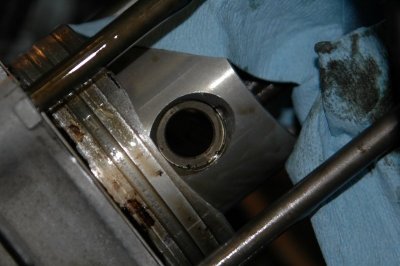
 Inspect wristpin. |
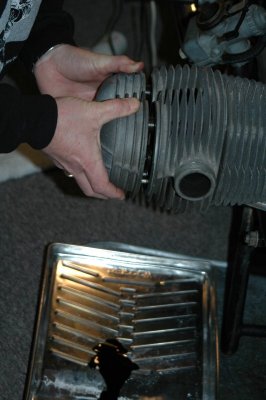
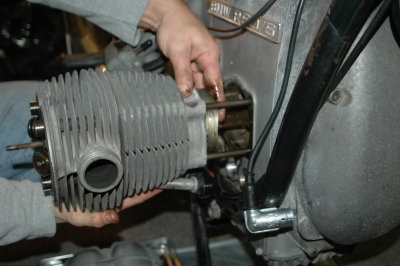
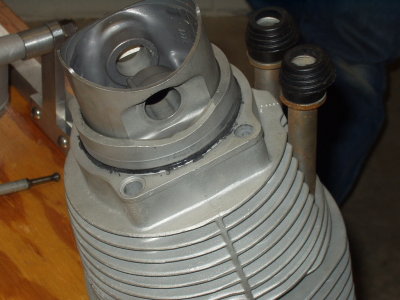
 Remove jug with piston in cylinder. |
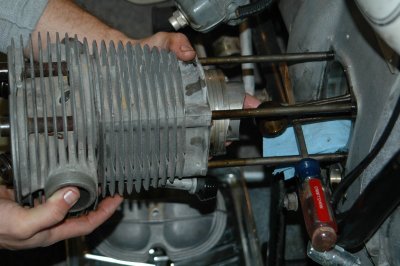 Remove jug with piston in cylinder. |
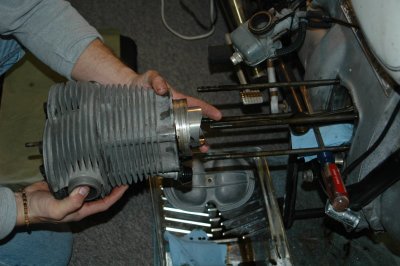 Finish removing the jug. |
 Remove jug with piston in cylinder. |
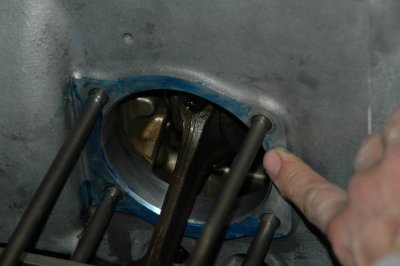
 Replace pushrod tube seals. |
 Replace pushrod tube seals. |
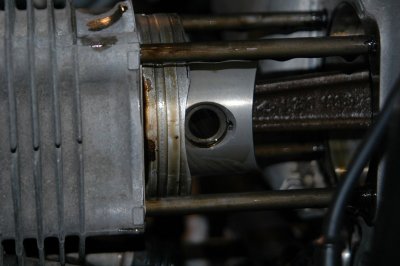
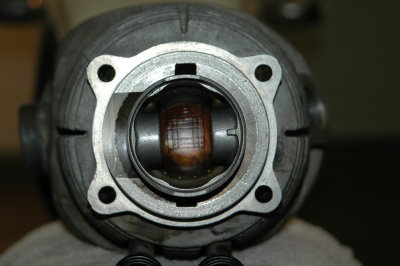
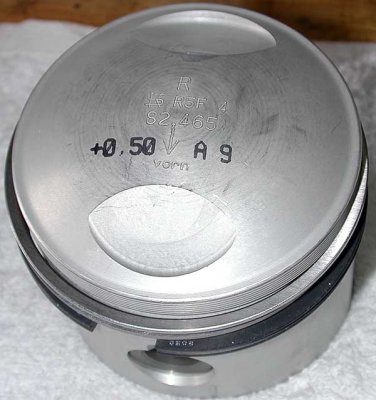 Detail view of piston crown. |
 Replace pushrod tube seals. |
 Correct piston orientation. |
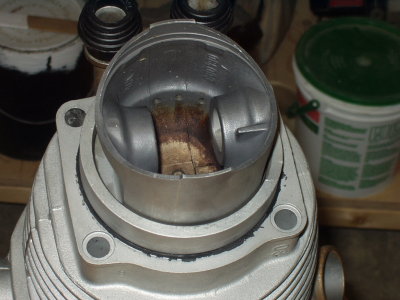 Correct piston orientation. |
 Replace pushrod tube seals. |
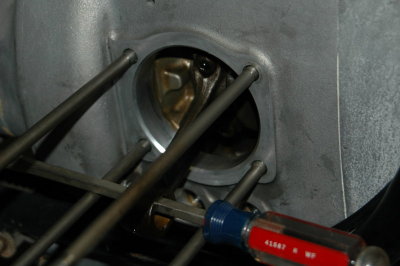
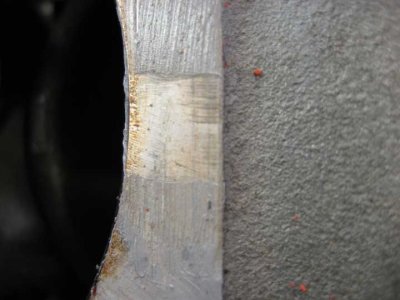
 Prep cylinder base area for reassembly. |
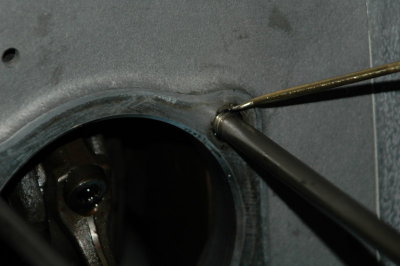 Cleaning cylinder base. |
 Cleaning cylinder base. |
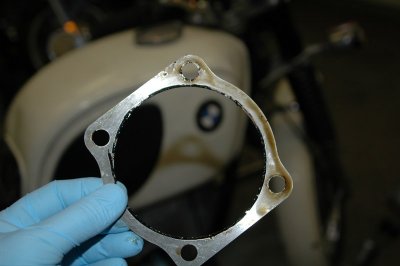 Cylinder base gasket |
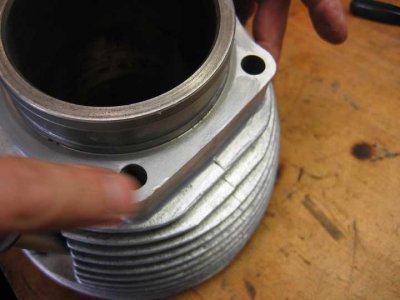
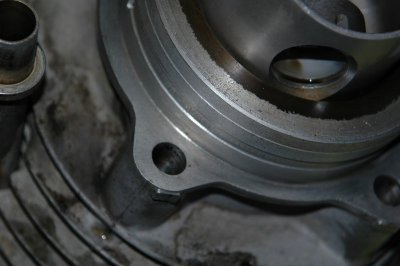 Cylinder base on jug suitably cleaned. |
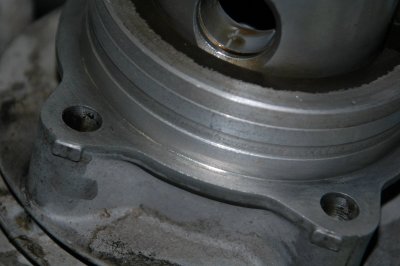 Another view of the cleaned cylinder base. |
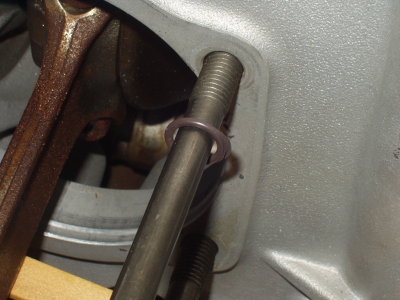
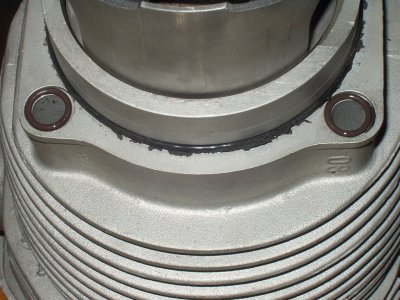 Small o-rings seal top cylinder studs. |
 Close-up of large and small o-rings. |
 Prepare cylinder base area for reassembly |
 Cleaning the cylinder base area |
 Cleaning the cylinder base area |
 There, much better! |
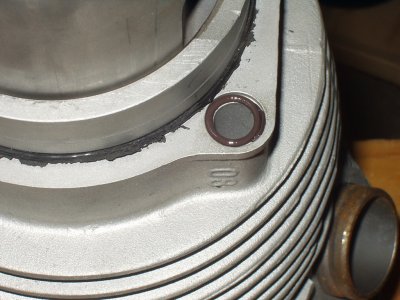
 Small o-ring on '76-and-later motors. |
 Clean cylinder base area. |
 Clean cylinder base area. |
 Prepare cylinder base area for reassembly |
 Hylomar |
 Permatex High-Temp RTV Silicone |
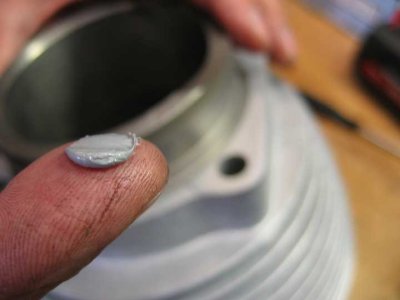 Just a dab'll do ya |
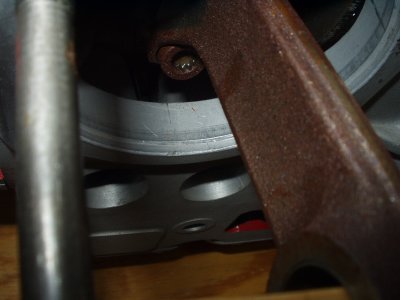
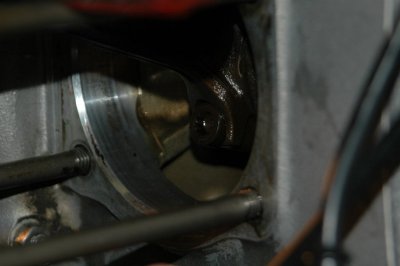
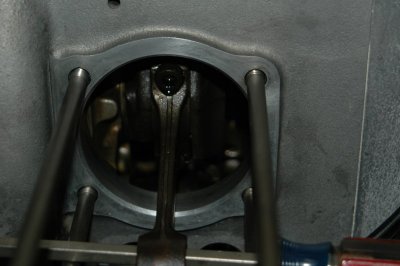
 Oil gallery outlet at the top cylinder stud. |
 Correct thickness of sealant application. |
 Applying sealant to cylinder base of jug. |
 Prepare cylinder base area for reassembly |
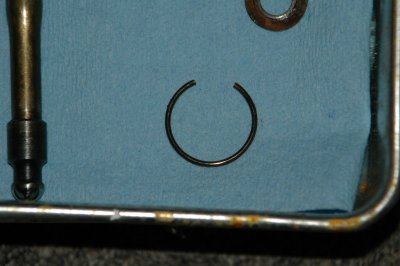
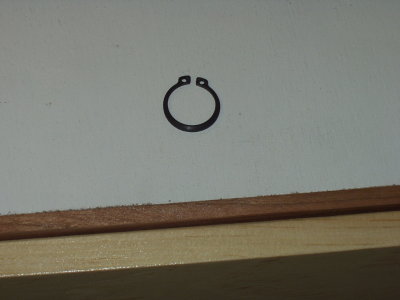
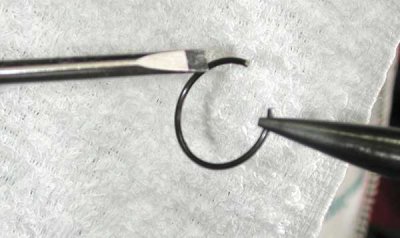 New wire clip for wristpin. |
 Installing the wire clip. |
 Seat cylinder base and PRT seals |
 Seat cylinder base and PRT seals |
 Seat cylinder base and PRT seals |
 Seating the seals by installing the bottom cylinder stud nuts first. |
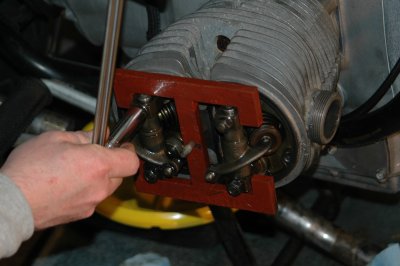
 Reinstall pushrods & rocker arm assemblies. |
 Reinstall pushrods & rocker arm assemblies. |
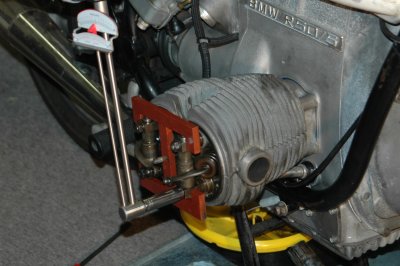 Adjust alignment of rocker arm assemblies |
 Aligning the rocker arm assemblies |
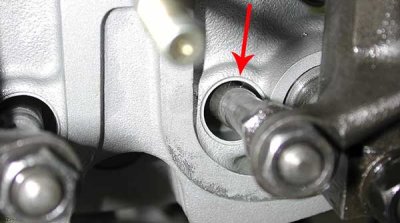 Correct alignment of the pushrod in the PRT |
 Torquing the cylinder studs. |
 Setting the valve lash. |
 Setting the valve lash. |
 Setting the valve lash. |
 Refitting the valve cover. |
 Reinstall exhaust and carb. |
 Reinstall exhaust and carb. |
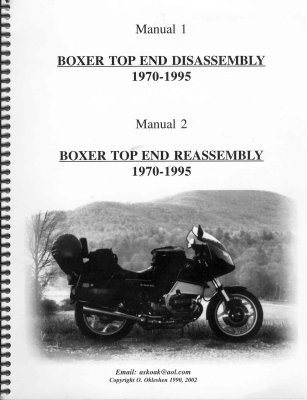 Oak's top end manual -- invaluable! |
| comment | share |
| Andy | 09-Jan-2015 09:07 | |
| AHMED .ALGZZAR | 13-Oct-2012 05:34 | |
| mike moon | 29-Sep-2012 15:35 | |
| mike moon | 22-Sep-2012 18:52 | |
| Guest | 10-Feb-2012 19:34 | |
| Guest | 01-Feb-2012 23:28 | |
| Gregg. | 25-Dec-2011 22:08 | |
| Karl | 28-May-2011 12:08 | |
| Karl | 28-May-2011 12:07 | |
| John Lewis | 26-Mar-2009 19:39 | |
| fabio Clemente | 06-Mar-2008 13:32 | |