


|
|
|
|
|
|
| Alan K | profile | guestbook | all galleries | recent | tree view | thumbnails |

:: The Good, The Bad and the PESO; 2025 Visual Diary FLICKD :: |

:: For A Few PESOs More; 2017 to 2024 Visual Diary :: |
:: A Fistful Of PESOs 2016 :: |
:: Hanging Out In My PAD 2015 :: |
:: Hanging Out In My PAD 2014 :: |
:: Hanging Out In My PAD 2013 :: |
:: Hanging Out In My PAD 2012 :: |
:: Hanging Out In My PAD 2011 :: |
:: Hanging out in my PAD 2010 :: |
:: A Digital Photographic Journey (2004 Onwards) FLICKD :: |
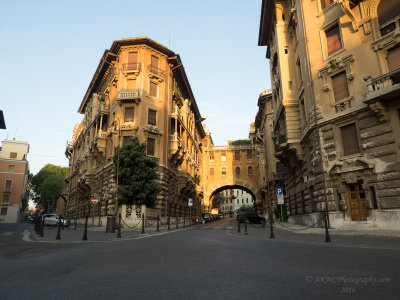
:: Italia (Italy) :: |
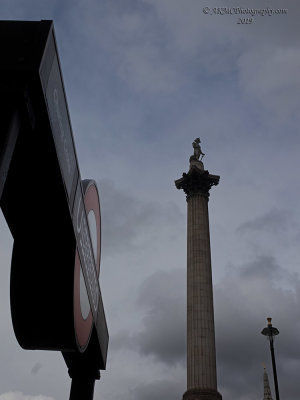
:: England FLICKD :: |
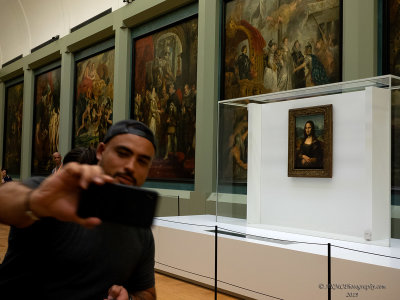
:: France FLICKD :: |
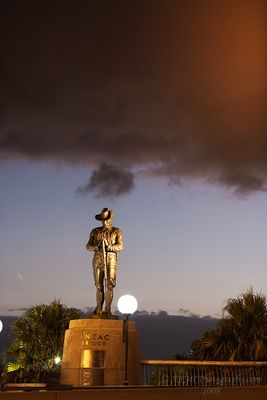
:: Sydney :: |
:: South Of Sydney :: |
:: NSW - Southern Highlands FLICK'D :: |
:: West of Sydney :: |
:: Canberra :: |
:: Victoria (Especially Melbourne) :: |
:: Tasmania :: |
:: Western Australia :: |
:: New Zealand FLICKD :: |
:: Themes FLICKD :: |
:: Fun Stuff :: |

:: Self Portraits and Such :: |
:: Show and Tell Personal Edition :: |
:: Salon des Refusés :: |
:: AMR :: |