


|
|
|
|
|
|
| Jakob Ehrensvärd | profile | all galleries >> Bits and Pieces >> Gear and projects >> Build your own radio-controlled remote switch | tree view | thumbnails | slideshow |
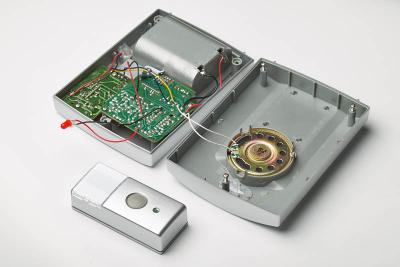
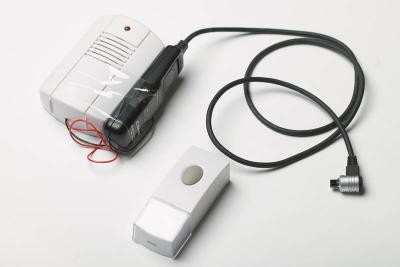 The components |
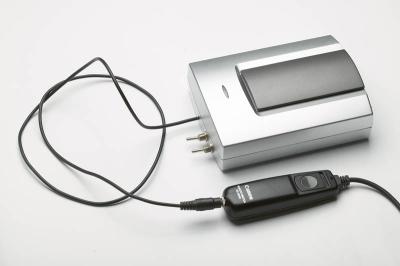
 Receiver unit at the camera side (strap to tripod) |
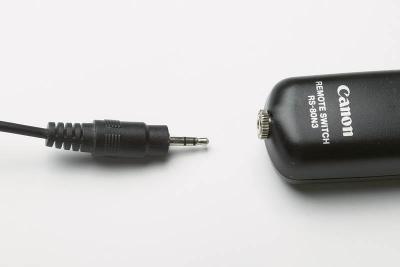
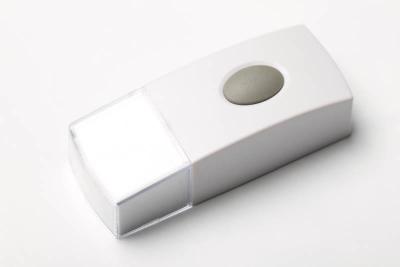 The remote switch |
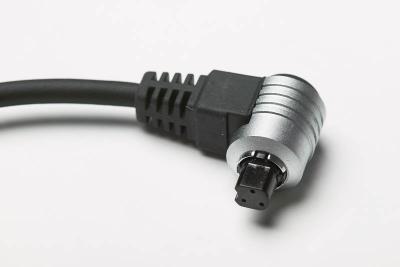 Canon's proprietary remote switch contact |
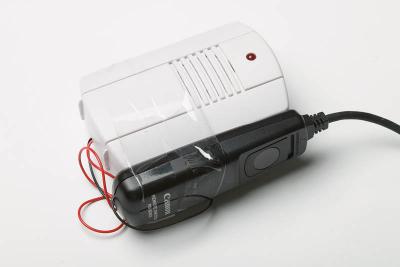
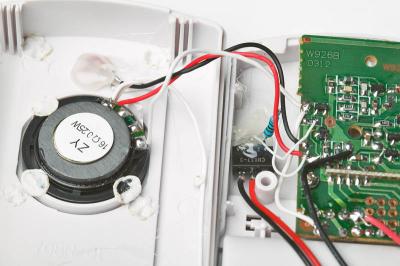 Modification of the receiver unit |
 Closeup |
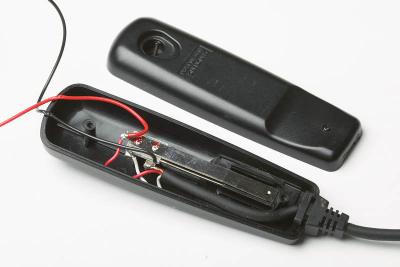 RS-80N3 modification |
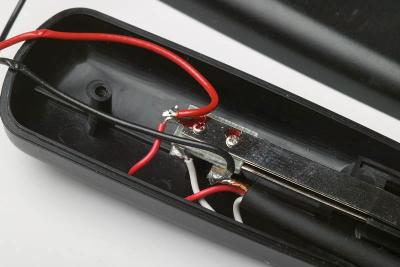 Closeup |
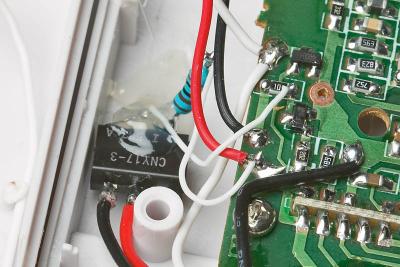
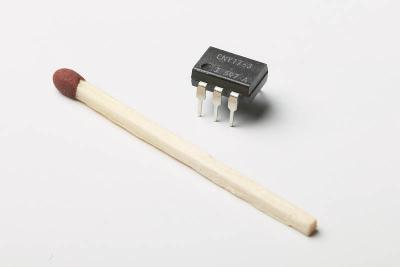 Opto-copupler |
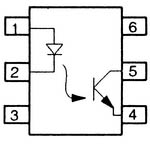 CNY17-3 from the catalogue |
 A different one with longer range... |
 ... became a little Sunday project |
 Detachable ! |
 In real life usage... |
| comment | share |