


|
|
|
|
|
|
| stealthfti | profile | all galleries >> Galleries >> headwork | tree view | thumbnails | slideshow |
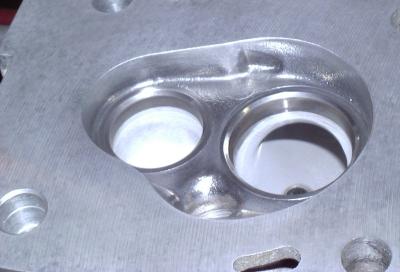
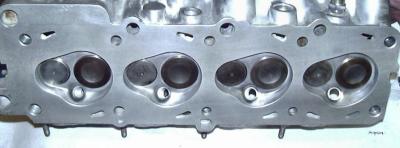
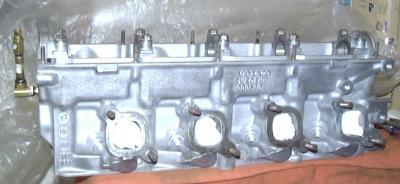
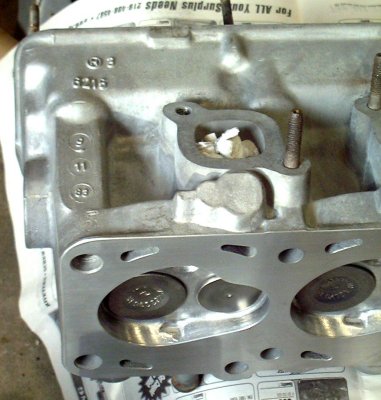
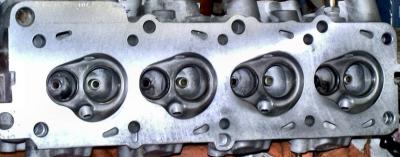 back from the machine shop |
 the work begins... |
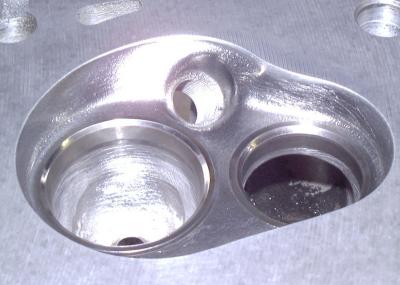
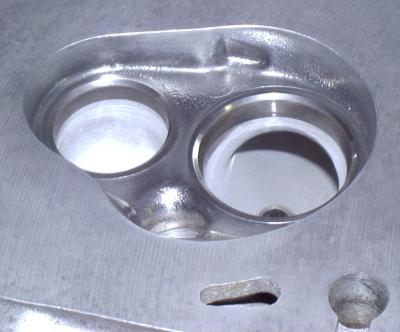
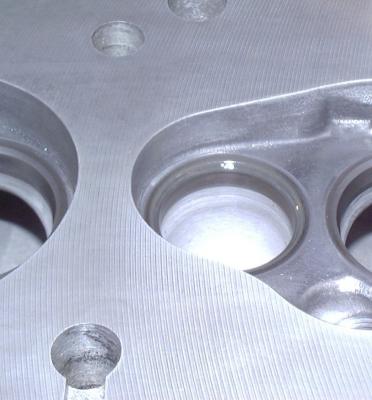
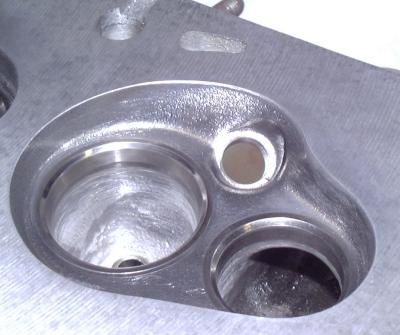 working on the exhaust short side radius |
 working on the intake SS radius outer |
 the intake SS radius inner... |
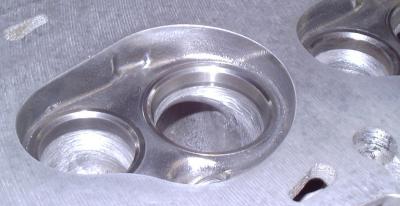
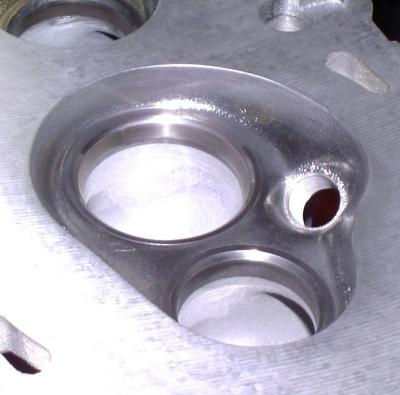
 improvements apparent |
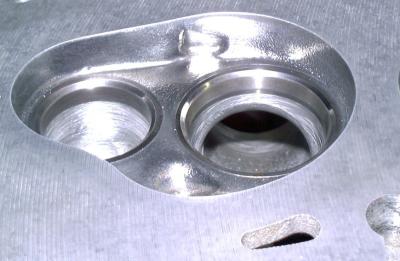 on the intake as well |
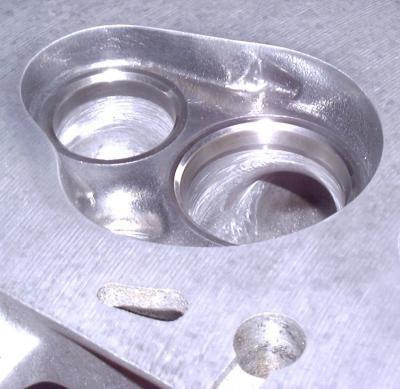
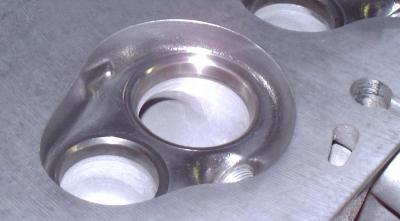
 applying the finishing touch |
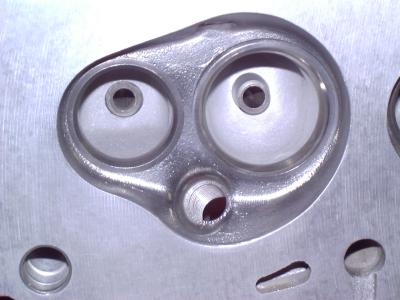
 smoother intake |
 the intake inner |
 easier to see |
 the exhaust side |
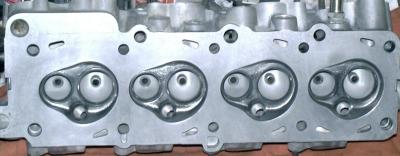 the smoothing and blending is done |
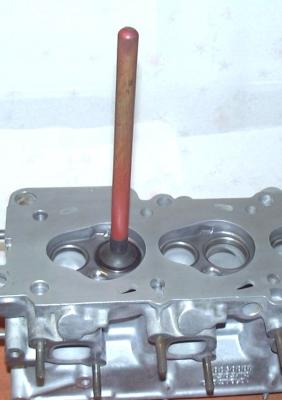 Now: to lap the valves in... |
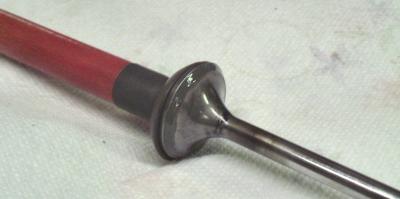 where the lapping compound is applied |
 lapping compound on the valve seat |
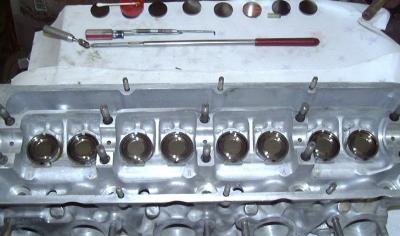
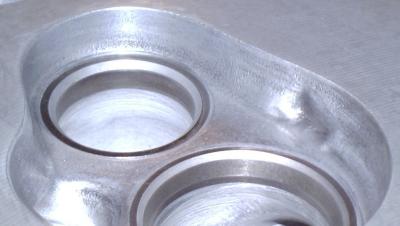 done lapped in |
 through the years... |
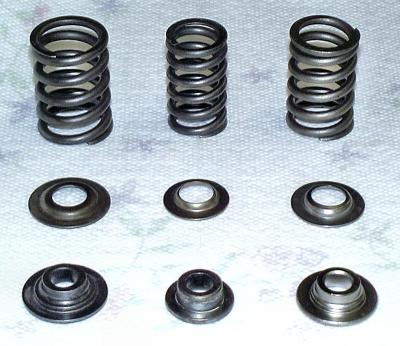
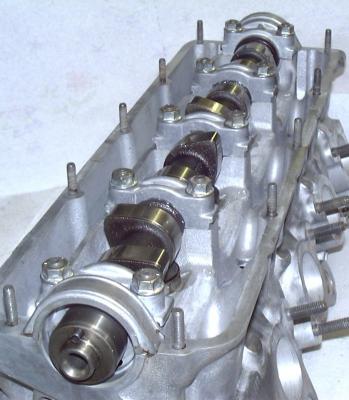
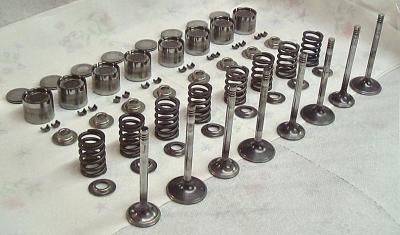 the valve train |
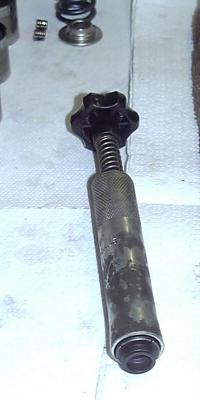
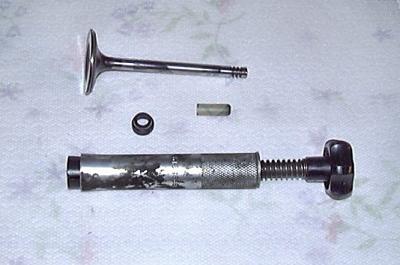 the intake valve stem seal and tools |
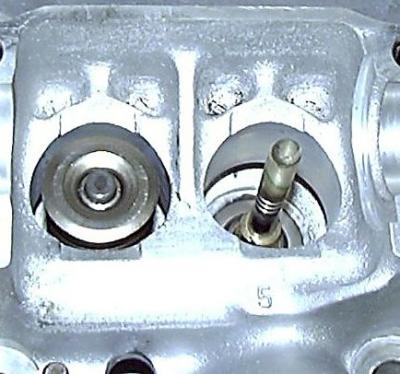
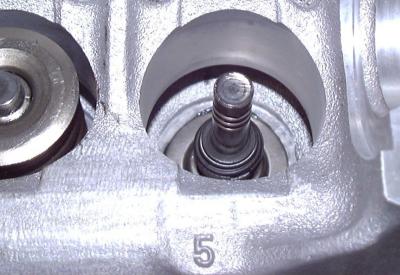
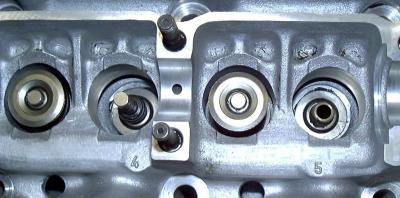 where the stem seal goes |
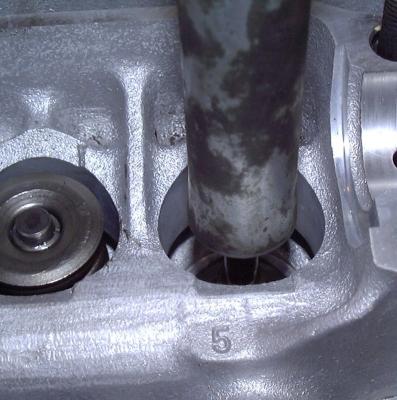
 starting the stem seal protective sleeve |
 sleeve in place |
 loading the seal |
 installing the seal |
 the seal is seated |
 top view: they're all in |
 all in: bottom view |
 installing the tappets |
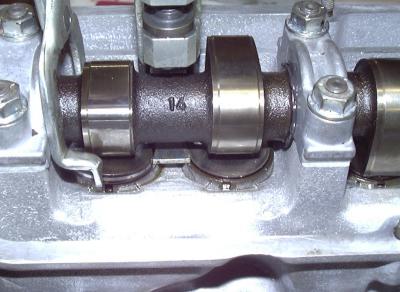
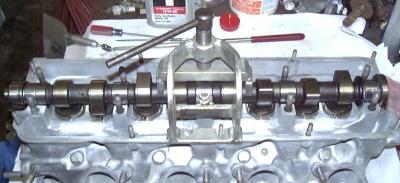 laying in the camshaft |
 another view of proper camshaft installation |
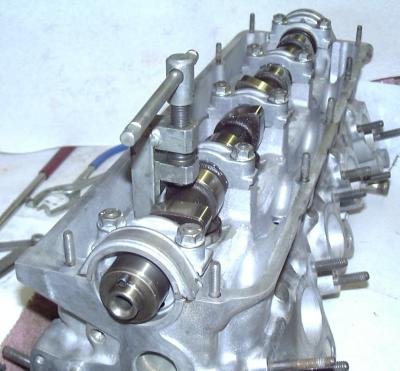
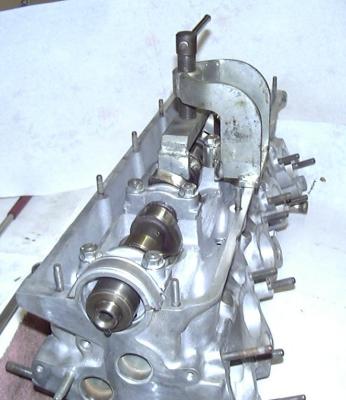 lowered in; and installing the caps |
 caps on; ready to check lash |
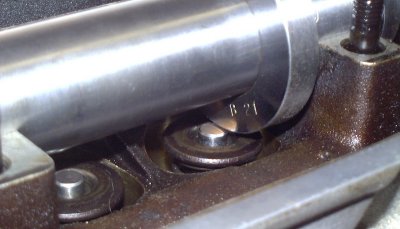
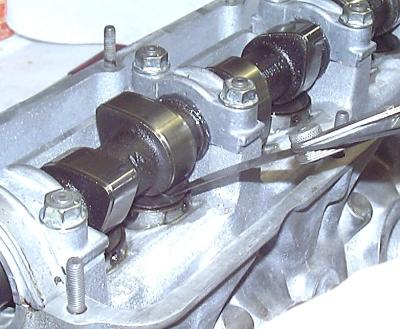 measuring the clearance |
 the right tool for the job |
 depressing the tappets |
 lifting the shim |
 getting it out |
 the oil line pressure access tap |
 ready to install |
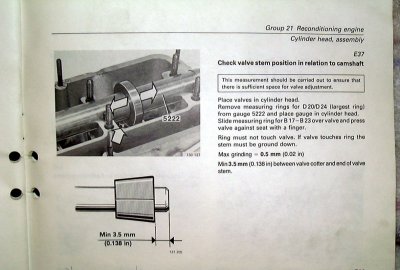 Green Manual instructions on checking valve stem height |
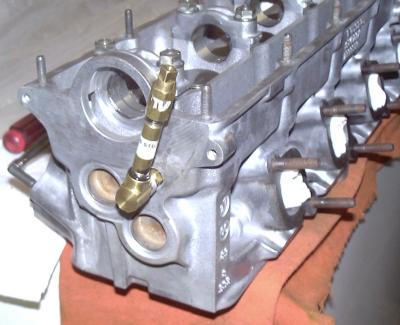
 the 5222 in action |
 a VERY early SCP |
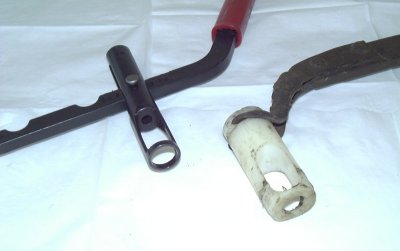
spring compressors |
| comment | share |