


|
|
|
|
|
|
| Steve Davis | profile | all galleries >> Projects >> Chimney Swift Tower | tree view | thumbnails | slideshow |
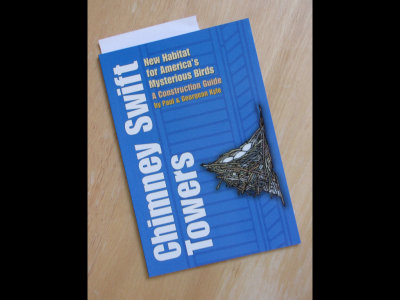 IMG_1180b.JPG Mary's cousin Paul and his wife Georgean wrote the book on Chimney Swift Tower building that we used for most of the specifications for our tower. |
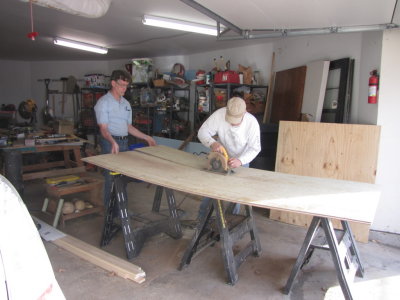
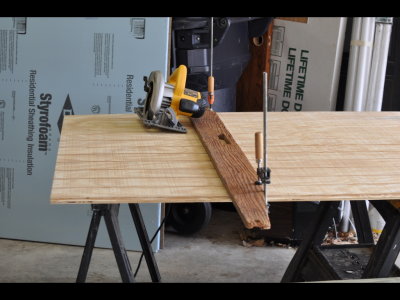 DSC_0329.jpg I used a straight-edge to guide the circular saw and get straight cuts. |
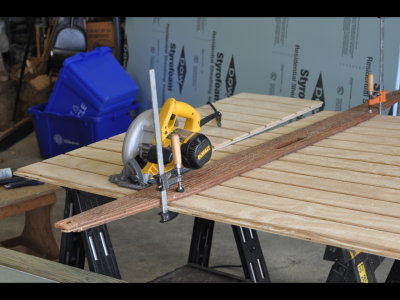 DSC_0332.jpg I held the straight-edge in place with small clamps. |
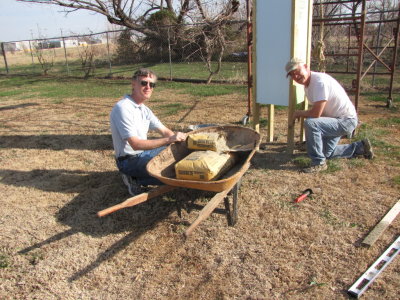
 DSC_0314.jpg After estimating the number of bags of concrete we'd need to make the base and lifting a few 80-pound bags at Lowe's, I decided to modify the Kyles' plans and go with wooden legs buried in the ground. |
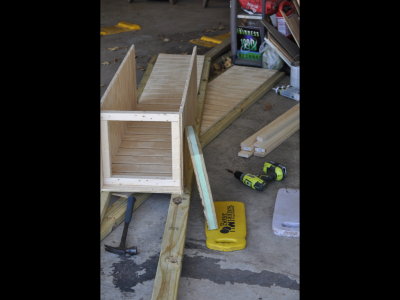 DSC_0316.jpg I used 1 5/8" exterior decking screws to attach the T1-11 siding pieces to each other and to the 2"x4"x12' treated lumber legs. I cut 2"x2" pieces to fit inside the bottom edges of the T1-11 sides. These strips were used to attach the bottom predator guard and also helped square the tower. |
 DSC_0317.jpg I cut two pieces of 1/2" exterior plywood for the bottom predator guard and put a piece of 1" extruded insulation board between them to provide some additional insulation. This was probably overkill, since I drilled air holes through all this to allow air to circulate through the tower, but the Kyles had written of the danger of heat killing baby birds. |
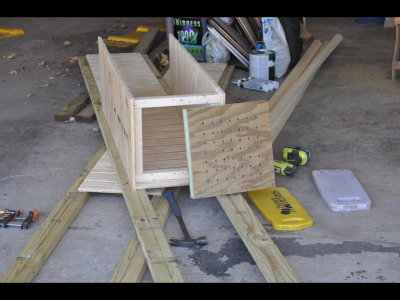
 DSC_0318.jpg I began to see that my revised design was going to weigh a lot, so I left one side and pair of legs separate and only attached the bottom sections of T1-11 to the legs before moving the pieces out of the garage into the yard. |
 DSC_0319.jpg This is a view, from above, of one of the sections, with the second section under it on the floor. |
 DSC_0320.jpg I inserted a strip of extruded insulation between the legs of one of the sides of the tower. |
 DSC_0322.jpg I measured the space between the two legs, used a box knife to cut the strip of insulation from a 4'x8' board we had left over from our sunroom project, then pressed the insulation into the space. |
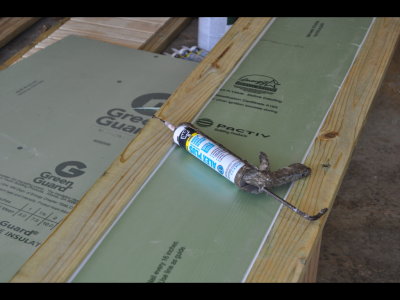 DSC_0323.jpg I used a latex-silicone caulk to seal the edges--to improve the insulation and hold the piece in place. |
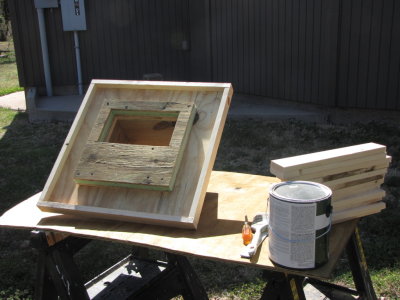
 DSC_0324.jpg I used some of the same 1/2" treated plywood to make part of the roof of the tower. Again, I decided to add insulation where there was going to be a hole and where the Kyles had recommended using a single 3/4" piece of plywood. So, probably more overkill, but I had scraps of plywood and insulation to use. |
 DSC_0325.jpg In another divergence from the recommended plans, based again on lumber I had available, I decided to use 2" lumber instead of plywood for the sides of the 'sun collar' that goes on the top of the tower. |
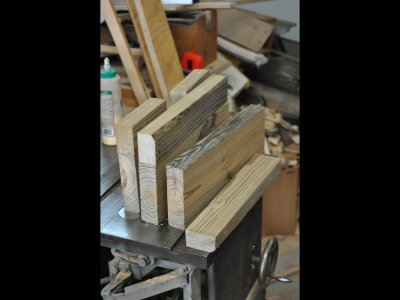
 DSC_0326.jpg I kept the dimensions of the 'entrance' opening (6"x11"), but did not have 2"x8" lumber for the sides, so cut and screwed pieces together to meet that dimension. |
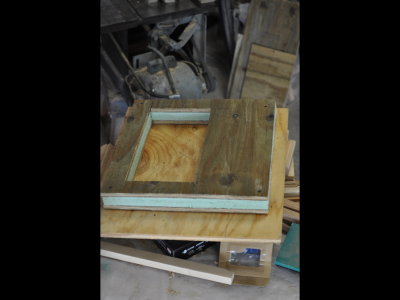
 DSC_0327.jpg I set the two pieces together to make certain the dimensions of the entrance opening of the insulated top matched the sun collar interior dimensions. |
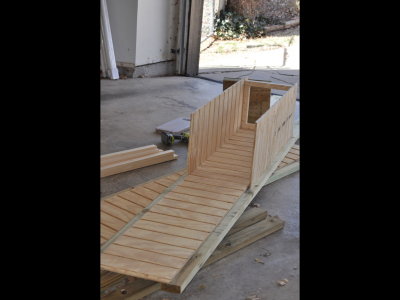
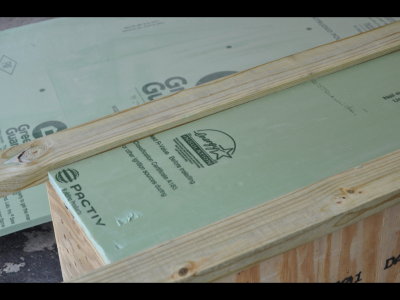
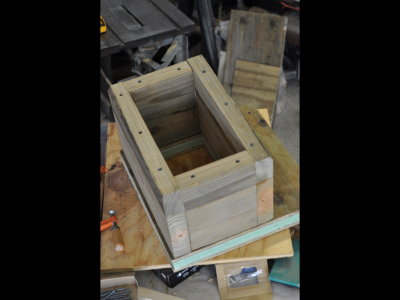
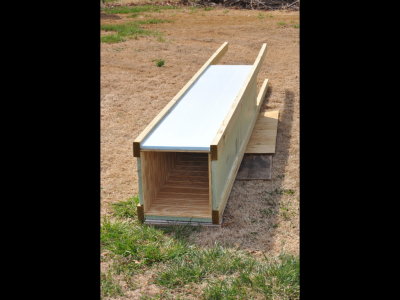
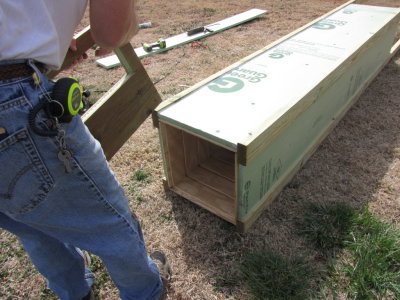
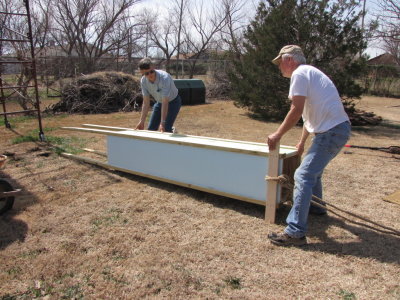
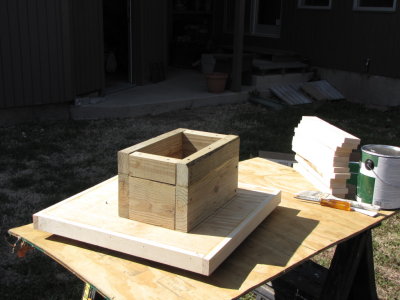
 DSC_0333.jpg I dragged each of the two parts of the tower into the backyard to approximately where we would raise the completed tower. The top piece here is lying inside-out; the grooved side of the T1-11 siding goes to the inside and allows the birds places to cling while roosting. |
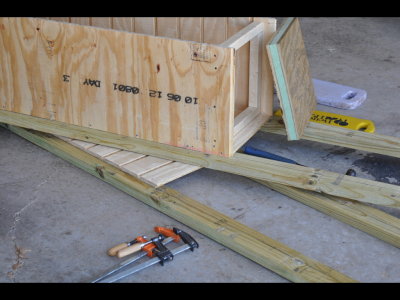
 DSC_0334.jpg I placed the insulated top piece inside the nesting chamber to insure it fit properly. |
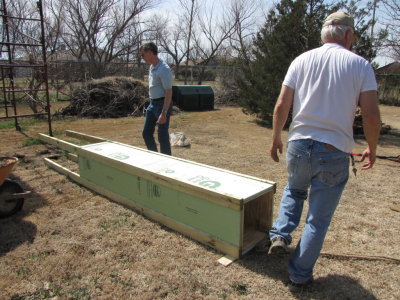
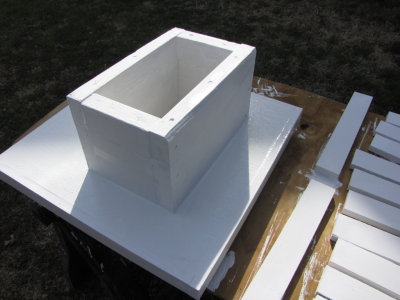
 DSC_0336.jpg I cut the other insulation board pieces after I had the tower in the yard and laid scrap plywood under the tower to (try to) keep grass out of the caulked edges while they dried. I did not have enough 1" insulation to cover all sides and was able to find only 3/4" insulation for the fourth side, so decided to turn that side to the north. |
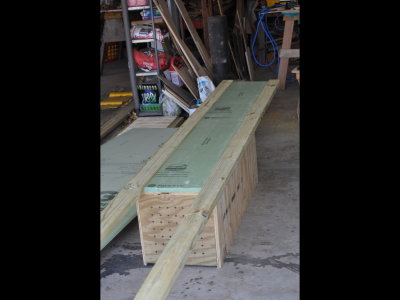
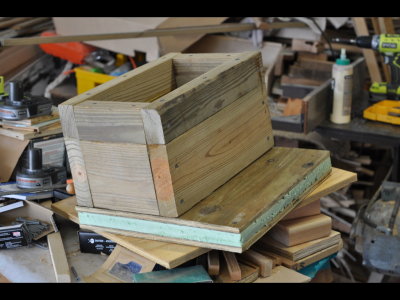
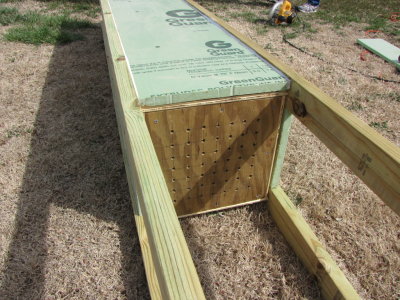
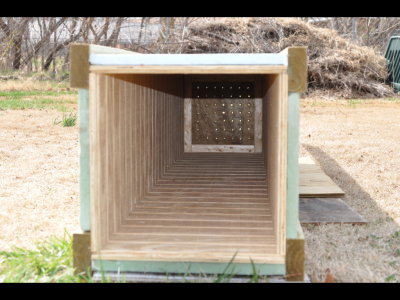 DSC_0337.jpg Here's a view of the nesting chamber after all the sides had been assembled. This is an 8' tower, not the 12' model shown in the construction guide. |
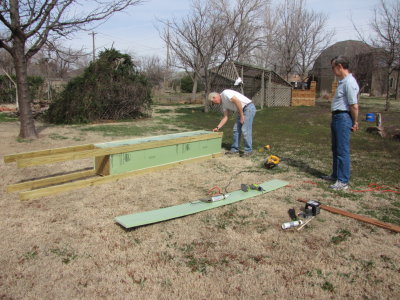
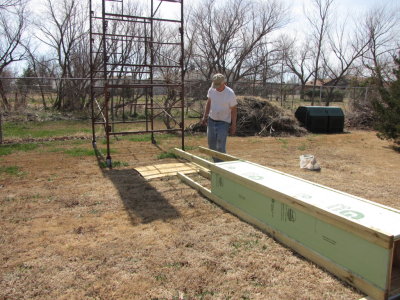
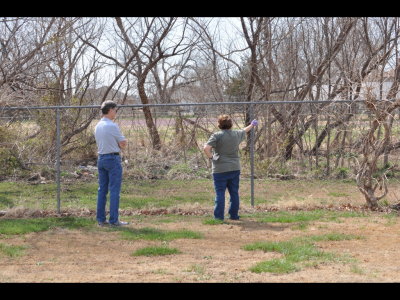 DSC_0338.jpg Mary invited her brother Bill to join us for the weekend and help with raising the tower. Here she's showing him the area behind our yard, to the south, a drainage ditch where a street was platted to go. |
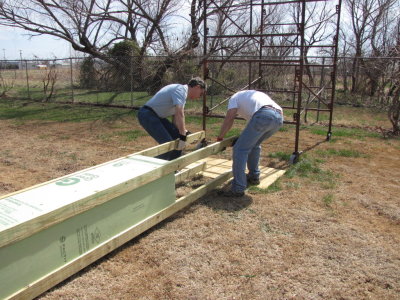
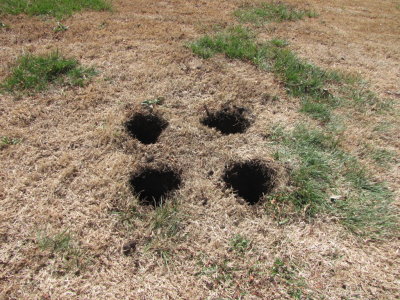 IMG_1020.jpg After Mary located where she wanted the tower to stand, and I measured from the fence to insure it would be oriented as we wanted, Bill and I used a posthole digger to dig the four holes into which we planned to place the tower legs. |
 IMG_1009.jpg The weather was warm enough to let us be out in short-sleeved shirts; not bad for the middle of March. From this direction, facing north, you can see we're placing the tower at the far south end of our backyard. |
 IMG_1010.jpg The bottom predator guard was screwed into place before we raised the tower. |
 IMG_1011.jpg I removed the top insulation piece because I wasn't going to finish the 'roof' till I had the exterior siding and trim attached. |
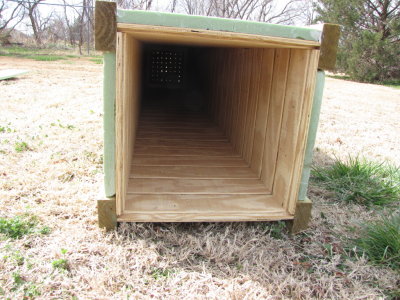 IMG_1013.jpg Here's a look into the nesting chamber from the top of the tower. |
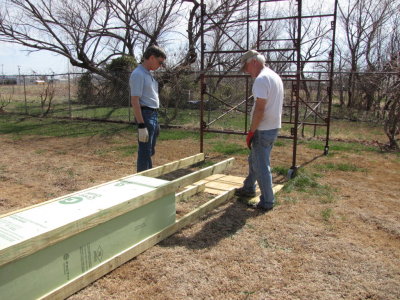
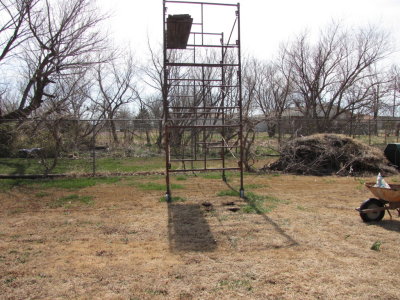 IMG_1024.jpg We've had this scaffolding since building our second dome and it has come in handy a number of times. Even with Bill to help, the tower was feeling very heavy, so we rolled the scaffold down to use as a makeshift hoist to help raise the tower. |
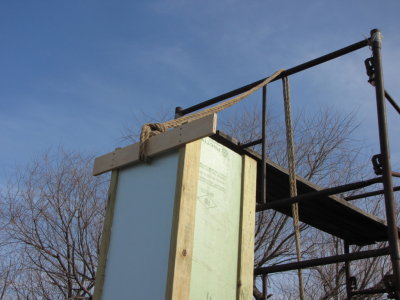
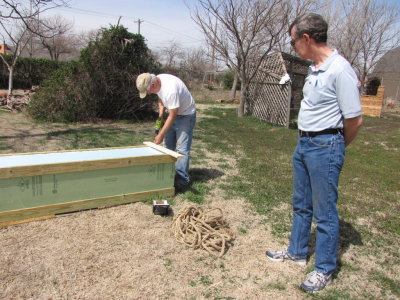 IMG_1025.jpg We also had a big rope that I'd used to hang from when I was roofing the big dome. I screwed a board onto the top side of the tower and tied the rope onto it. |
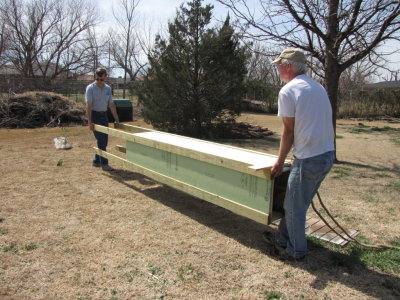 IMG_1030.jpg Then Bill and I hauled the tower over into position. |
 IMG_1031.jpg Bill got the tough part, walking backwards. |
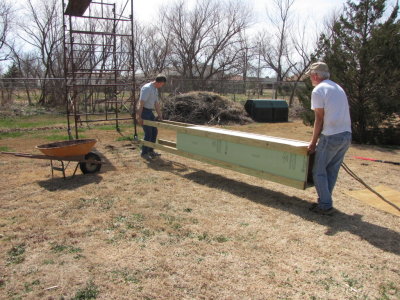
 IMG_1035.jpg Then we rolled the tower over to be in position with the north side facing down. |
 IMG_1036.jpg The holes for the legs were easy to dig because the ground was soft from recent snow and rain, but that made me concerned we might get the legs stuck in the sides of the holes if we just pushed it upright. |
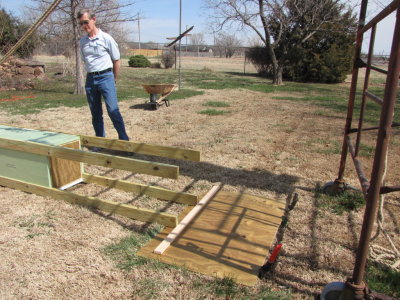
 IMG_1038.jpg After a little discussion, we came up with the idea of putting a board over the holes until after we had the tower upright. |
 IMG_1039.jpg We pulled the legs onto the board, but, with only three of us, I was concerned about the legs slipping off the board when we lifted the tower. |
 IMG_1040.jpg After some more discussion, we came up with the idea of putting a cleat on the board to keep the legs from sliding, then used a couple of garden trowels stuck in the ground to keep the board from sliding. |
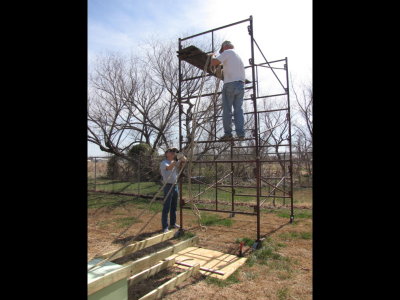 IMG_1045.jpg We put the rope over one of the bars of the scaffold to help pull it up from one side as we were pushing from the other. |
 IMG_1046.jpg Here's a look at the plywood over the holes, with the cleat and trowels in place. |
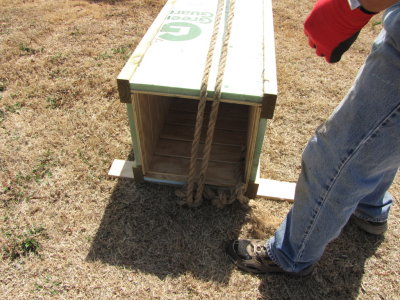 IMG_1047.jpg Here's the rope wrapped around the board attached to the top of the tower. |
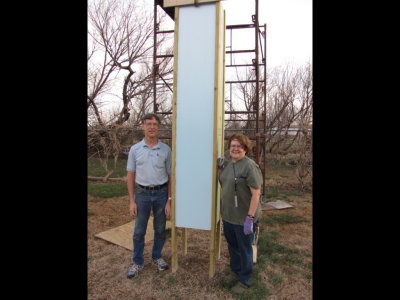
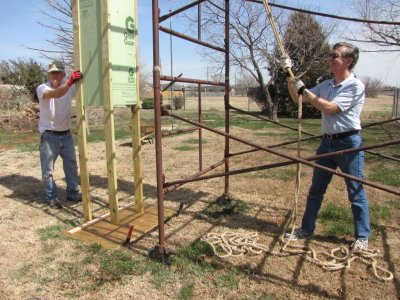 IMG_1050.jpg Mary was pulling on the rope as Bill and I lifted the top end of the tower, so she was not in a position to take any pictures as we raised it. But she got a shot of Bill and me holding the tower in place till we got it tied off. |
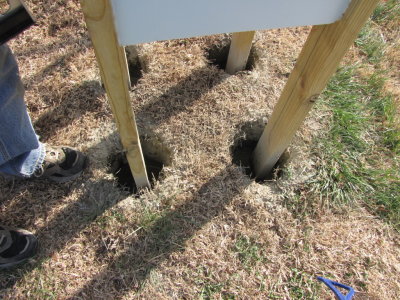
 IMG_1053.jpg We really needed a photographer on hand. Mary wasn't able to record the next big move, because she was a part of it too. Bill and I lifted the tower while Mary pulled the plywood out from under the legs. Then we let the legs down into the holes. |
 IMG_1057.jpg I didn't want to heft the 80-pound concrete sacks, but we got four 40-pound bags, one for each leg and poured them into the holes. |
 IMG_1061.jpg We checked each side with the long level to insure the tower was plumb. |
 IMG_1064.jpg We didn't have to add water; the ground was so saturated from rain, the holes began filling with ground water. |
 IMG_1069.jpg So, we went ahead and filled the holes to ground level with a couple of extra bags we had left from another project. |
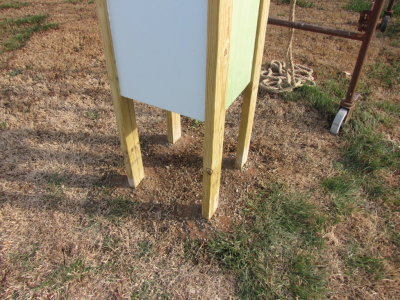 IMG_1070.jpg All done with fixing the tower in place. |
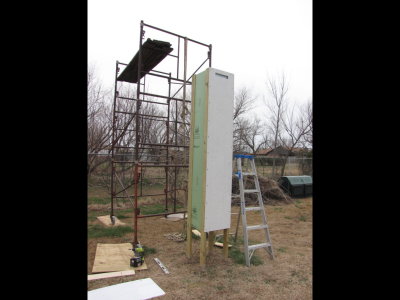
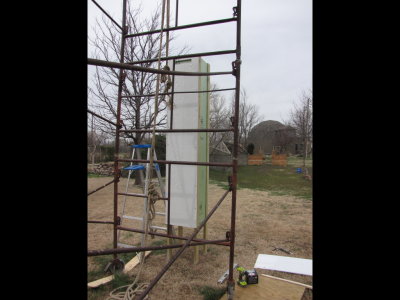
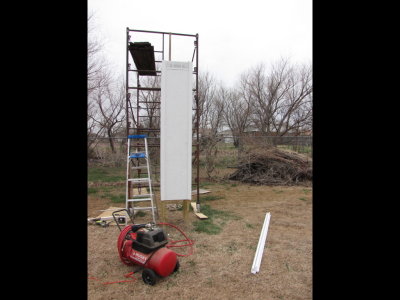
 IMG_1071.jpg Without boards to use for bracing, we left the tower tied to the scaffold while the concrete dried. |
 IMG_1085.jpg |
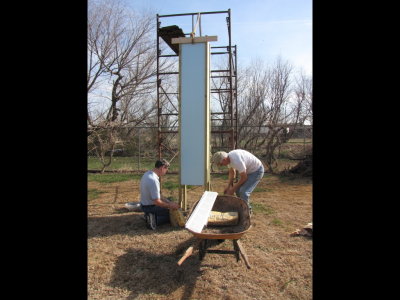
 IMG_1072.jpg We left the tower and went back to the garage where Bill helped me rip the siding for the exterior of the tower. We used a manufactured siding material designed for the exterior of outbuildings. |
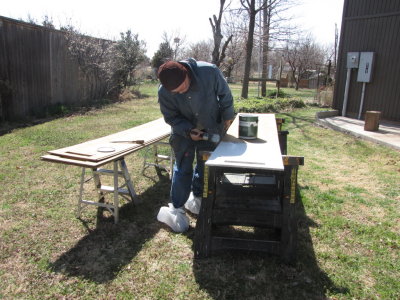 IMG_1091.jpg When Bill left, he took the warm weather with him, but it wasn't too cold to get a coat of barn paint on the siding. And the bags kept the paint off my shoes. |
 IMG_1098.jpg After painting the exterior siding, it was time to put them up. |
 IMG_1100.jpg There is a space between the insulation board and the exterior siding. To allow air to flow through the space, I cut out a space at the top of each exterior panel. |
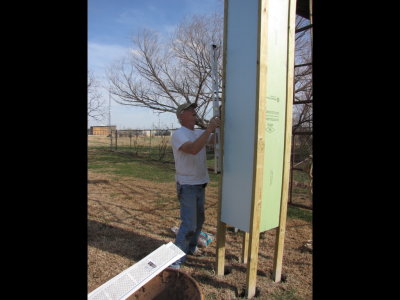
 IMG_1103.jpg I leveled and screwed a board, horizontally, 8' from the top of the tower (it's lying on the ground next to the piece about to go up, in this photo), then set the siding on the cross piece while I screwed the siding into place. |
 IMG_1104.jpg The final panel in place. |
 IMG_1105.jpg To avoid possibly splitting the thin wood strips I was using for trim, I decided to use a nail gun and long finish nails to put the trim pieces together and attach them to the tower. |
 IMG_1106.jpg We found some grill material that is used to cover rain gutters and decided to try using that to cover the openings at the tops of the exterior panels. |
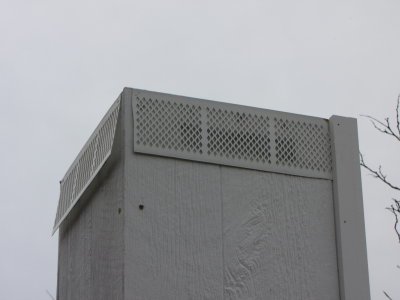 IMG_1107.jpg The grill was made of a rubbery material with a fine netting over it. I was able to cut each piece in half and trim the raised edge off it and use a half on each side of the tower. I stapled them in place till I covered them and held them in place with the wood trim. |
 IMG_1108.jpg Here are a couple of the trim corners I had nailed together and painted before nailing them onto the edges of the tower. |
 IMG_1109.jpg Here is the tower with all the edge trim applied. |
 IMG_1135.jpg After getting the exterior trim in place, I was able to measure the dimensions for the 'roof' of the tower. I bought a 2'x2'x3/4" piece of plywood for the top and cut it to the size of the outside dimensions of the trim. Then I glued and nailed 3/4"x1 1/2" solid wood strips around the outside edges to prevent weathering. I centered the insulated top on the roof, marked and cut an opening to match the opening in the top and sun collar. Then I screwed those three pieces together. |
 IMG_1136.jpg Here's what the roof looked like from the top side after screwing the pieces together. I had also measured and cut horizontal trim pieces for the sides to further secure the vent covers and to provide backing for the top predator guard. |
 IMG_1141.jpg Then I used the barn paint to paint the roof and the trim pieces. |
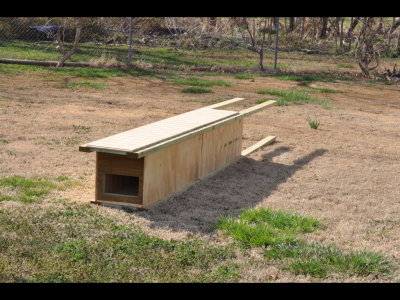
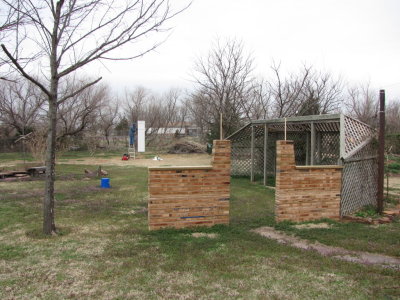 IMG_1143.jpg Here's a view of the tower at the back of the yard, past some other features in the yard, including a rock path, what we call 'the big trellis' and an incomplete wall made from wood scraps, that will eventually include an archway. |
 IMG_1145.jpg I used the nail gun again to attach the horizontal trim pieces. |
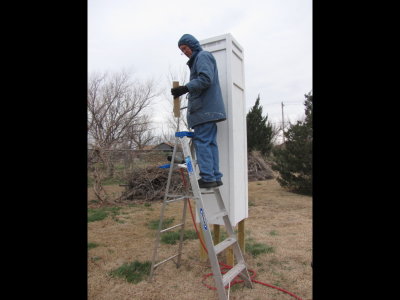 IMG_1146.jpg I seem to be contemplating where one of the pieces is to go. |
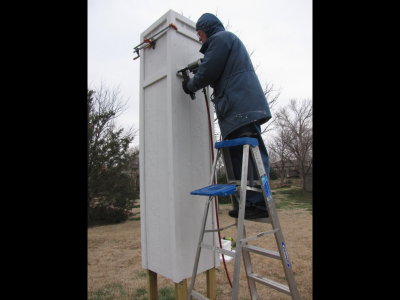 IMG_1148.jpg Nailing one of the trim strips that will provide backing to attach the upper predator guard. |
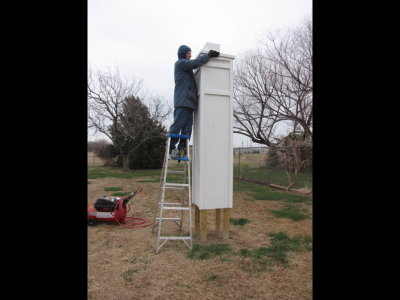 IMG_1163.jpg After attaching all the trim, I fitted the roof in place; I had to trim a little of the insulated top insert on the underside of the roof to get it to fit into the top of the nesting chamber--I might have been a little off in some of my previous measurements. |
 IMG_1165.jpg Getting the roof into place |
 IMG_1167.jpg And finally down |
 IMG_1169.jpg I used four screws through the roof into the tops of the legs of the tower to secure the roof in place and pull it down snug over the nesting chamber. |
 IMG_1175.jpg It still needs a couple of screws on the south side to pull it into place. |
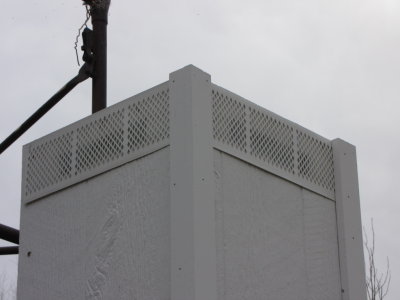
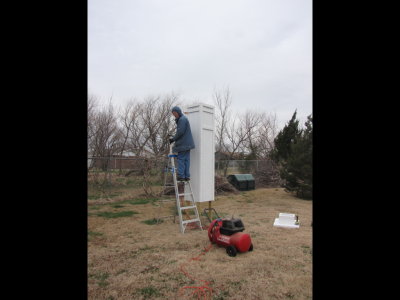
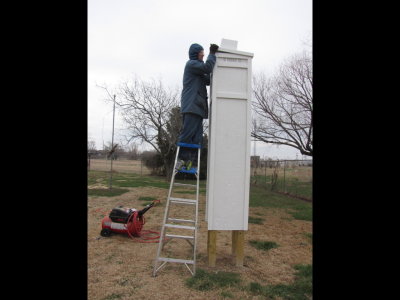
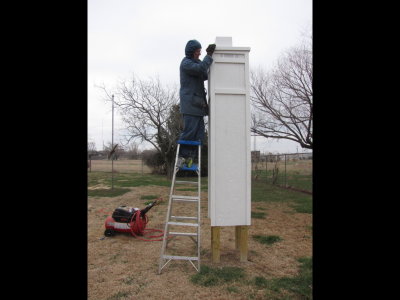
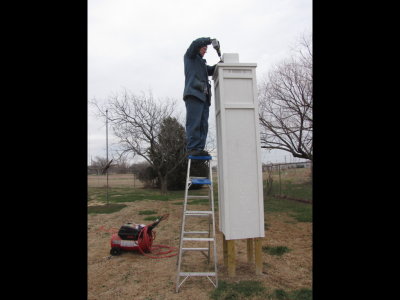
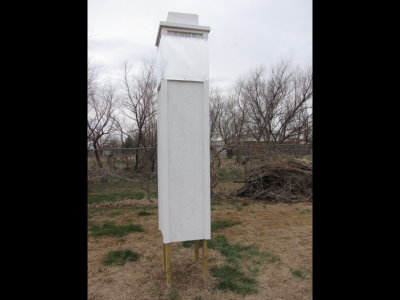
 IMG_1176.jpg I used a 20" wide piece of aluminum flashing wrapped around the top of the tower and held in place with 1" sheetrock screws. That's 4" narrower than what was recommended in the construction guide, so I hope we have shorter predators than they do in Austin. |
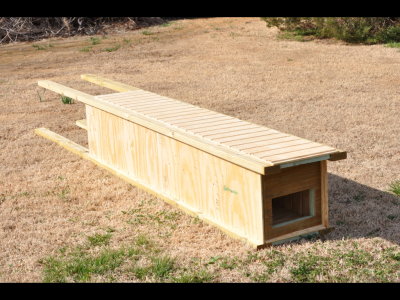
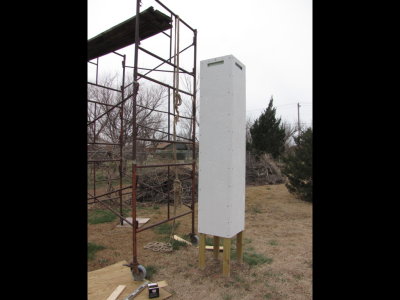
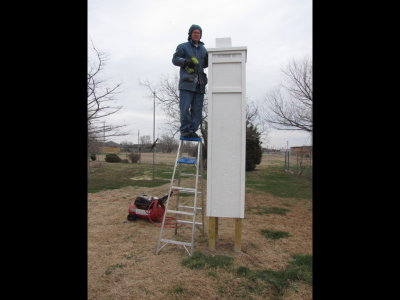
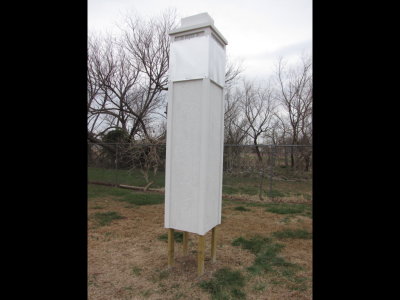
 IMG_1177.jpg The completed Chimney Swift Tower at the Domes |
| comment | share |