


|
|
|
|
|
|
| Denny_D | profile | all galleries >> Galleries >> Camelback Mountain | tree view | thumbnails | slideshow |
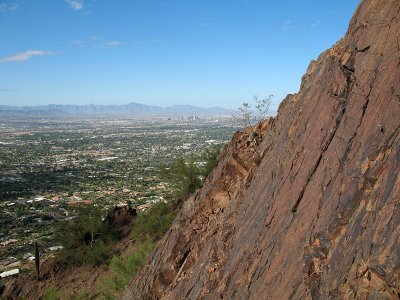
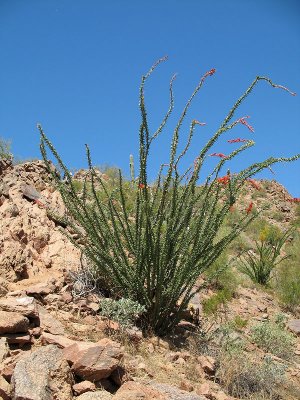
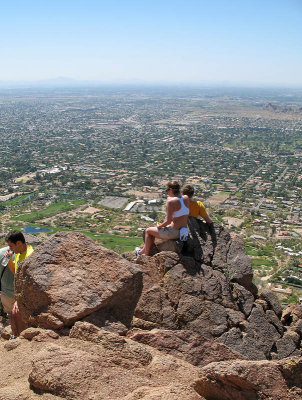
 Camelback Mountain |
 Praying Monk |
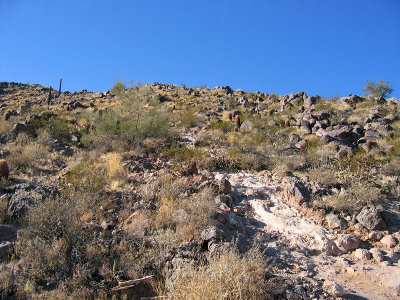
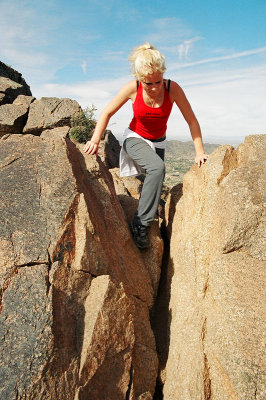
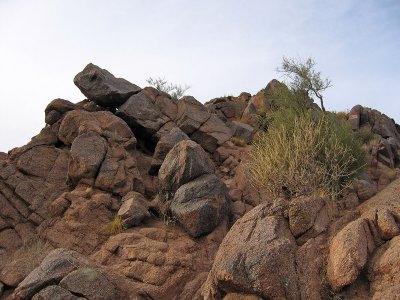
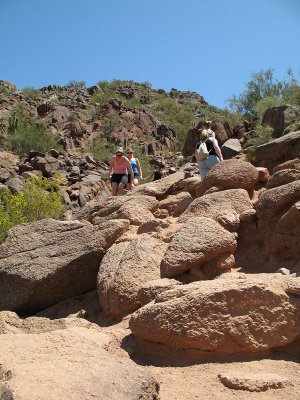
 IMG_0305 copy.jpg |
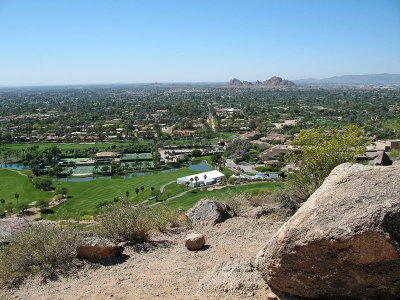
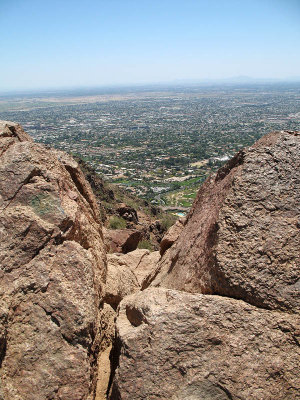
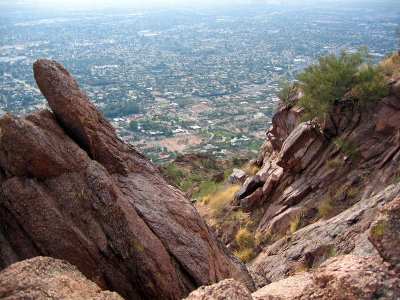
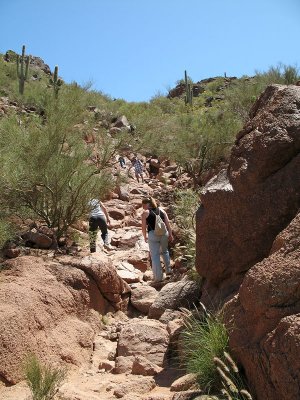
 IMG_0302 copy.jpg |
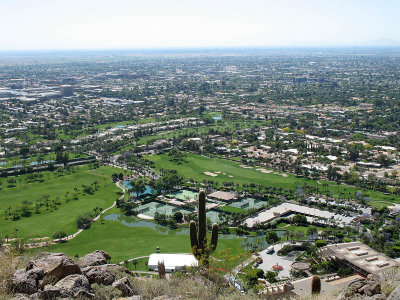
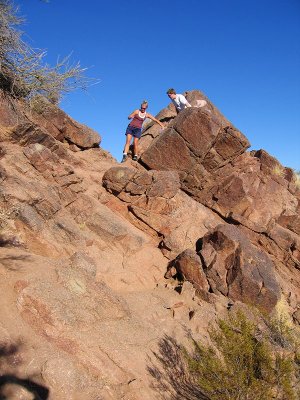
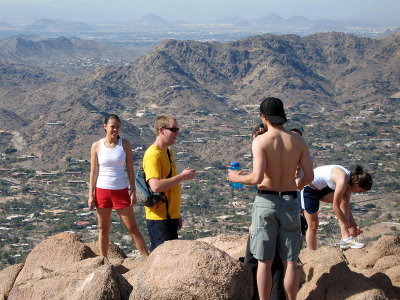
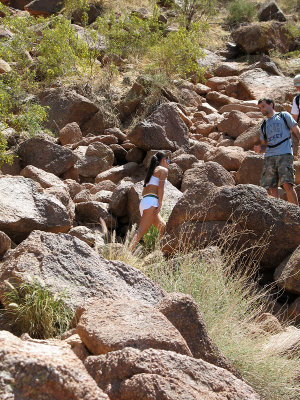
 IMG_0303 copy.jpg |
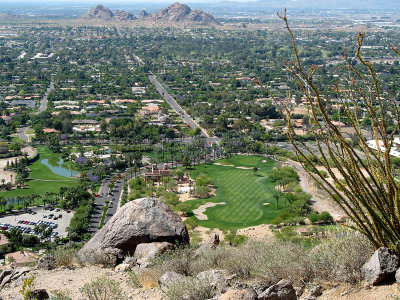
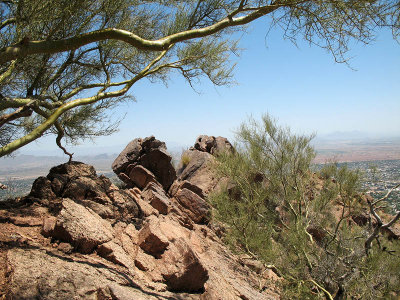
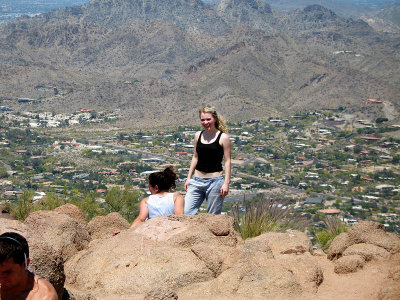
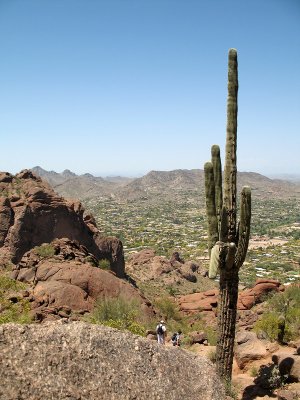
 IMG_0304 copy.jpg |
 IMG_0339 copy.jpg |
 IMG_0333 copy.jpg |
 IMG_0295 copy.jpg |
 IMG_0204 copy.jpg |
 IMG_0205 copy.jpg |
 IMG_0207 Cholla Trailhead.jpg |
 IMG_0285.jpg |
 IMG_0208 copy.jpg |
 IMG_0128 copy.jpg |
 IMG_0317 copy.jpg |
 IMG_0092 copy.jpg |
 IMG_0091 copy.jpg |
 IMG_0129 copy.jpg |
 IMG_0211 copy.jpg |
 IMG_0212 copy.jpg |
 IMG_0213 copy.jpg |
 IMG_0321 copy.jpg |
 IMG_0245 copy.jpg |
 IMG_0247 copy.jpg |
 IMG_0248 copy.jpg |
 IMG_0094 copy.jpg |
 IMG_0095 copy.jpg |
 IMG_0250 copy.jpg |
 IMG_0252 copy.jpg |
 IMG_0098 copy.jpg |
 IMG_0418 copy.jpg |
 IMG_0254 copy.jpg |
 IMG_0484 copy.jpg |
 IMG_0276 copy.jpg |
 IMG_0431 copy.jpg |
 IMG_0132 copy.jpg |
 IMG_0258 copy.jpg |
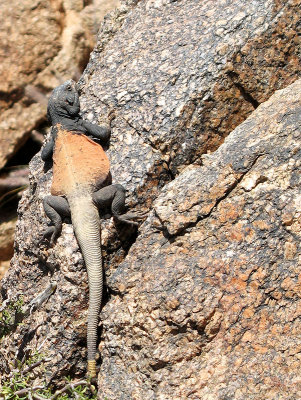 IMG_0222.Lizzard copy 1.jpg |
 IMG_0224 copy.jpg |
 IMG_0283 copy.jpg |
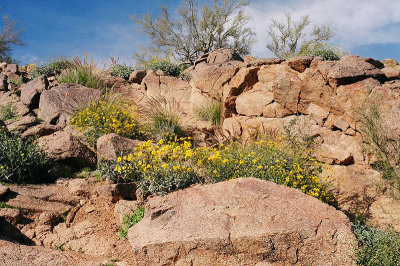 Wildflowers.jpg |
 IMG_0101 copy.jpg |
 IMG_0259 copy.jpg |
 IMG_0233 copy.jpg |
 IMG_0423 copy.jpg |
 IMG_0340 copy.jpg |
 00001560 copy.jpg |
 IMG_0232 copy.jpg |
 IMG_0453 copy.jpg |
 IMG_0230 copy.jpg |
 IMG_0103 copy.jpg |
 IMG_0229 copy.jpg |
 IMG_0344 copy.jpg |
 IMG_0460 copy.jpg |
 IMG_0343 copy.jpg |
 IMG_0364 copy.jpg |
 IMG_0104 copy.jpg |
 IMG_0228 copy.jpg |
 IMG_0362 copy.jpg |
 IMG_0494 copy.jpg |
 IMG_0106 copy.jpg |
 IMG_0102 copy.jpg |
 IMG_0269 copy.jpg |
 IMG_0270 copy.jpg |
 IMG_0150 copy.jpg |
 IMG_0501 copy.jpg |
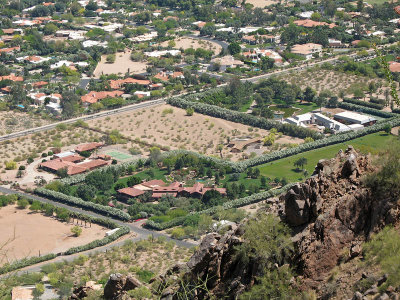
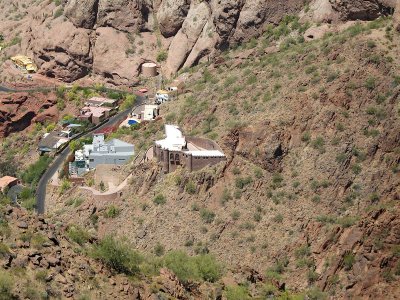 IMG_0261 Copenhaver Castle.jpg |
 IMG_0140 copy.jpg |
 IMG_0143 copy.jpg |
 IMG_0144 copy.jpg |
 IMG_0145 copy.jpg |
 IMG_0146 copy.jpg |
 IMG_0148 copy.jpg |
 IMG_0151 copy.jpg |
 IMG_0153 copy.jpg |
 IMG_0154 copy.jpg |
 IMG_0156 copy.jpg |
 IMG_0157 copy.jpg |
 IMG_0159 copy.jpg |
 IMG_0161 copy.jpg |
 IMG_0165 copy 1.jpg |
 IMG_0163 copy.jpg |
 IMG_0164 copy 1.jpg |
 IMG_0166 copy 1.jpg |
 IMG_0168 copy 1.jpg |
 IMG_0169 copy.jpg |
 IMG_0171 copy.jpg |
 IMG_0172 copy.jpg |
 IMG_0173 copy.jpg |
 IMG_0174 copy.jpg |
 IMG_0175 copy.jpg |
 IMG_0177 copy.jpg |
 IMG_0180 copy.jpg |
 IMG_0182 copy.jpg |
 IMG_0184 copy.jpg |
 IMG_0185.A10b.usm copy.jpg |
 IMG_0188 copy.jpg |
 IMG_0197 copy.jpg |
 IMG_0117 copy.jpg |
 IMG_0136 copy.jpg |
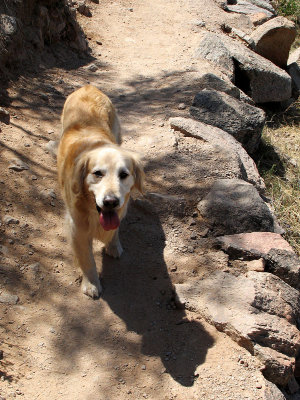 IMG_0199.Doobie copy.jpg |
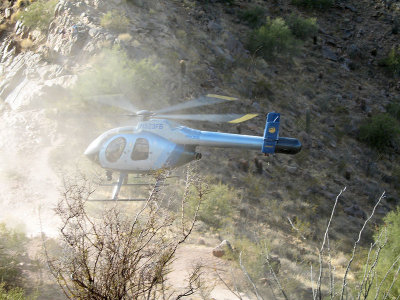
 IMG_0118 Mountain Rescue.JPG |
 IMG_0119 copy.JPG |
 IMG_0121 copy.JPG |
 IMG_0123 copy.JPG |
 IMG_0126 copy.jpg |
 IMG_0206 copy.jpg |
 IMG_0239 copy.jpg |
 IMG_2010 copy.jpg |
 IMG_0203 copy.jpg |
 IMG_0300 copy.jpg |
 IMG_0264 copy.jpg |
 IMG_0260 copy.jpg |
| comment | share |