photo sharing and upload picture albums photo forums search pictures popular photos photography help login
Type your message and click Add Comment
It is best to login or register first but you may post as a guest.
Enter an optional name and contact email address. Name
Name Email
help private comment
Pawel Lancucki | profile | all galleries >> Pawel Lancucki - Amateur Astronomy >> ATM corner >> My various ATM projects >> Field power / control box tree view | thumbnails | slideshow

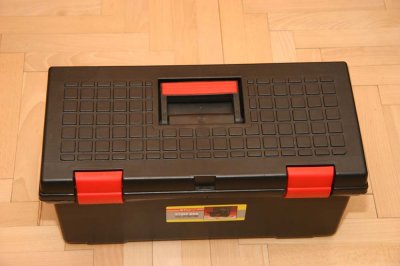
Field power / control box

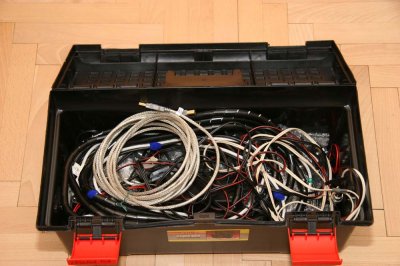
This is a simple project - all various devices used in the field are grouped together in a medium sized tool box.

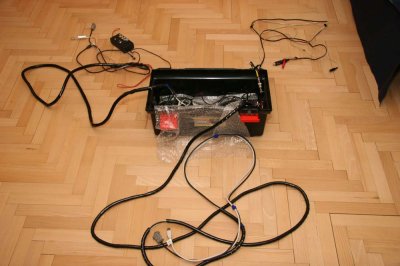
There are 3 cable bundles coming out of the box:
1. To PC - USB 2.0 and RS232 (no longer used)
2. To power suppliers / batteries - 2 x 12V 5A power cable (fuses with batteries)
3. To the mount:
- 2 x USB 2.0 (separate use of main CCD and guide camera);
- 1 x RS232 for GO-TO;
- 1 x focus control for Robofocus;
- 1 x thin video cable (Mintron video cam, life-view from DSLR);
- 1 x power to the mount and dew heater controller; 1 x power to the CCD camera.

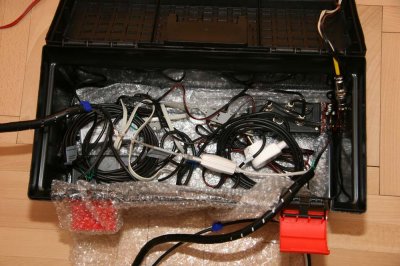
Inside the box are:
- power splitter (using "military" standard of 12V power plugs and sockets)
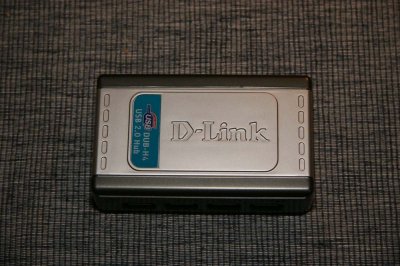
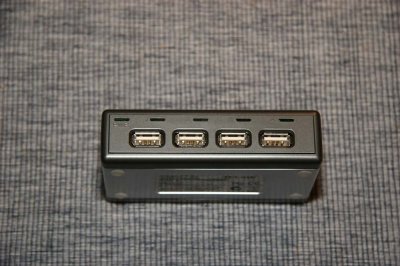
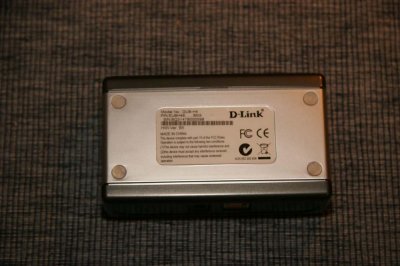
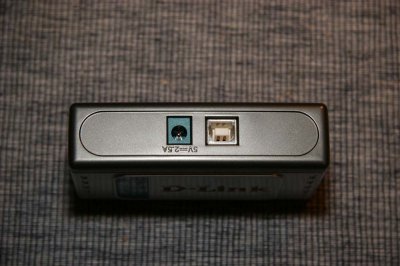
- dLink powered active USB 2.0 hub
- 12V to 5V 1A converter for dLink
- Edgeport USB to 4 x RS232 converter
- Robofocus controller
- CCD power supply for my SXV-M25 CCD camera

In the field, I just open the box, connect USB cable to PC, power cables to batteries and than connect mount, CCD camera, focuser etc to the thick bundle of cables. Connect / disconnect sequence takes a minute. I pay special attention as to the plugs and sockets - they should allow firm and secure contact and each device should use it's own standard so the wires do not get mixed in the dark.
ss_s_img_7449.jpg
ss_s_img_7449.jpg
ss_s_img_7450.jpg
ss_s_img_7450.jpg
ss_s_img_7451.jpg
ss_s_img_7451.jpg
ss_s_img_7452.jpg
ss_s_img_7452.jpg
ss_s_img_7454.jpg
ss_s_img_7454.jpg
ss_s_img_7455.jpg
ss_s_img_7455.jpg
ss_s_img_7456.jpg
ss_s_img_7456.jpg
ss_s_img_7457.jpg
ss_s_img_7457.jpg