


|
|
|
|
|
|
| Pawel Lancucki | profile | all galleries >> Pawel Lancucki - Amateur Astronomy >> ATM corner >> My balcony observatory >> Stage 2 - Installation of the mount and first light | tree view | thumbnails | slideshow |
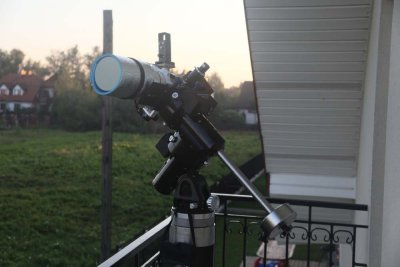
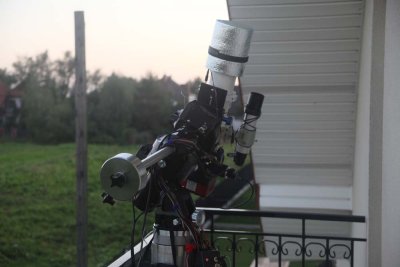
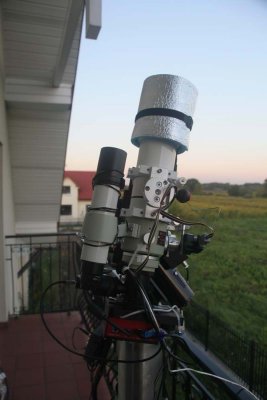
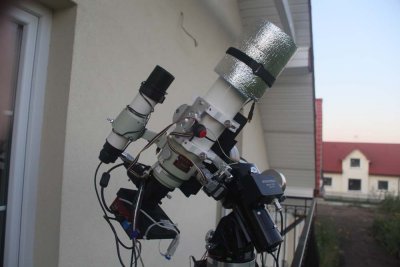
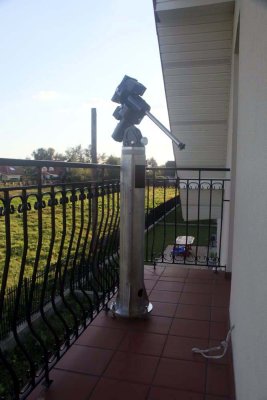 Mach-1 head on the pier |
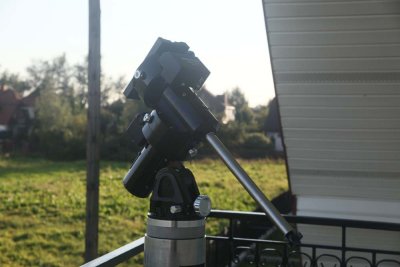 Mach-1 head on the pier 2 |
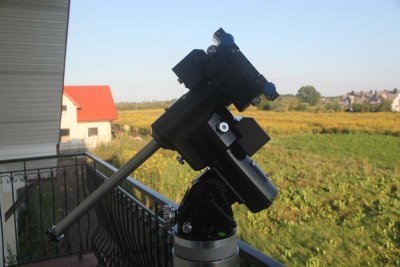 Mach-1 head on the pier 3 |
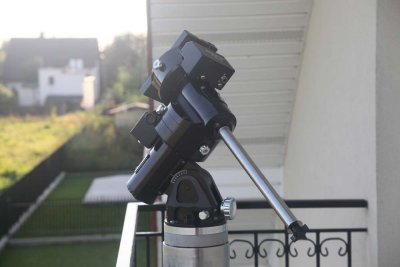 Testing various positions |
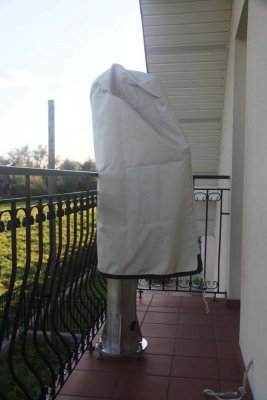 Under Telegizmos 360 cover |
 Looking east |
 Looking north - unaccessible sky |
 Typical targes be there |
 Typical targes be there |
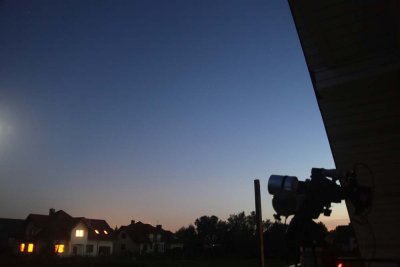 Before the nightfall |
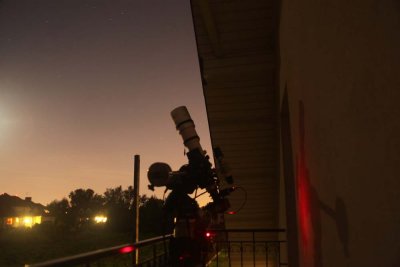 First light imaging |
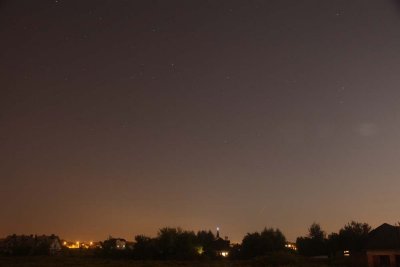 My night sky |
 From inside |
| comment | share |