


|
|
|
|
|
|
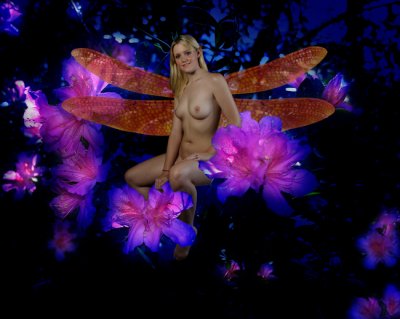
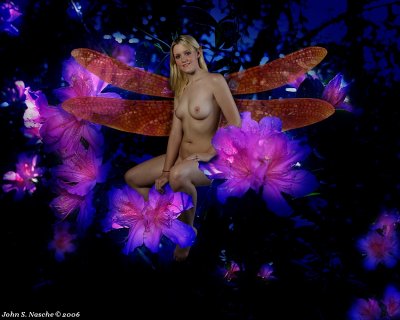
| John S. Nasche | profile | all galleries >> Photography Hints, Tips and Lessons >> Photography Tips and Tricks (May Contain Artistic Nudity) >> How to Transform a Model or a Client Into a Faery | tree view | thumbnails | slideshow |
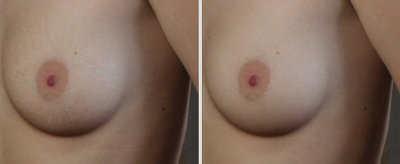
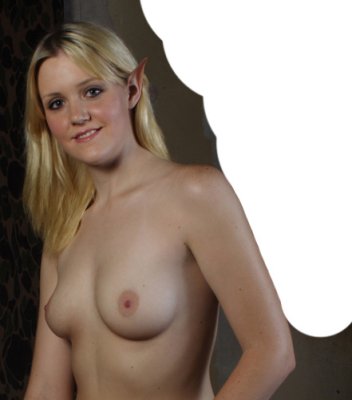
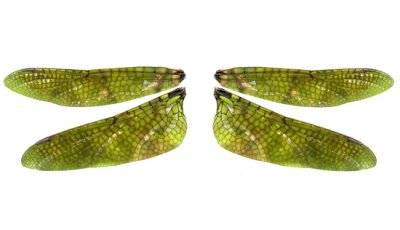
 Step 1 |
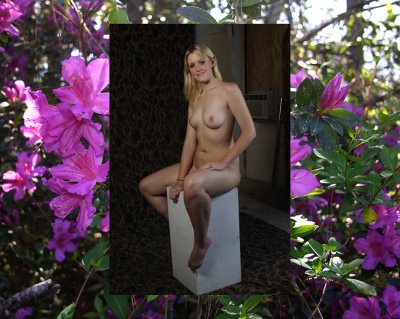
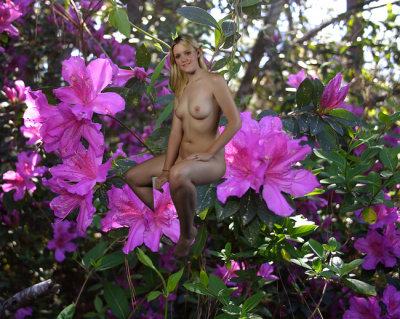
 Step 1 Continued |
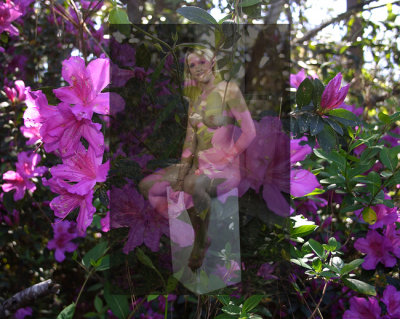
 Step 1 Continued |
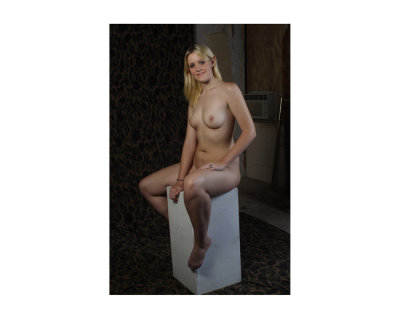
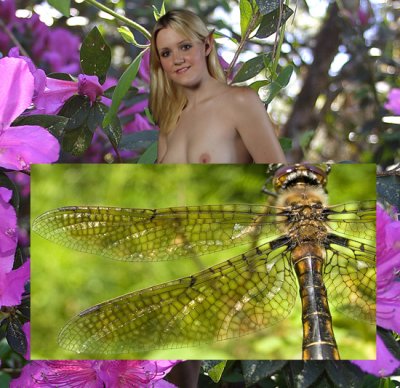
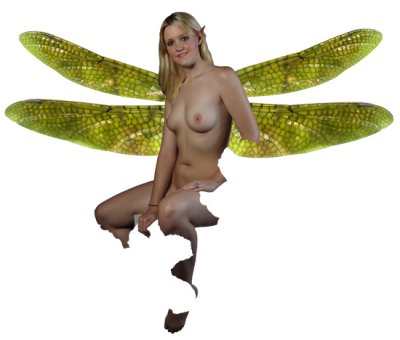
 Step 02 |
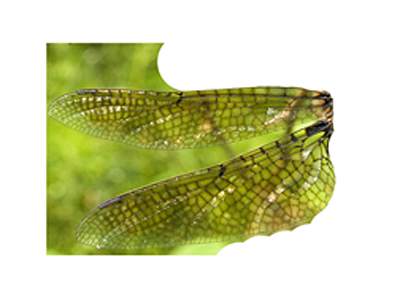
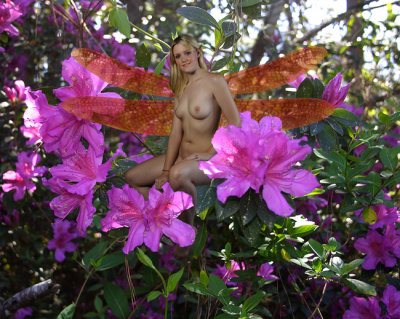
 Step 03 |
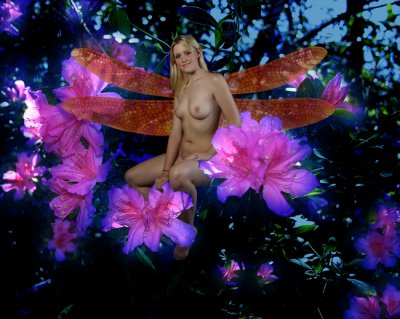
 Step 4 |
 Step 5 |
 Step 6 |
 Step 7 |
 Step 7 Continued |
 Step 8 |
 Step 9 |
 Step 10 |
 Step 11 |
 Step12 |
 Step13 |
 Step 14 |
 Step 15 |
 Step 16 |
 Step 17 |
 Step 18 |
| comment | share |
| James Lundy | 13-Sep-2006 01:16 | |
| Mike | 11-Sep-2006 16:28 | |
| royalld | 20-Aug-2006 19:03 | |
| Guest | 20-Aug-2006 07:13 | |