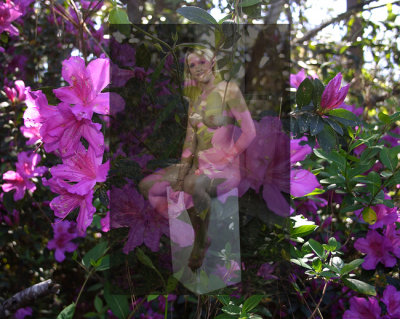
Go up to the very top of the Photoshop program and choose the tab marked “Layer”. When “Layer” is open, go down to where you see “Layer Style”, and then choose the first control called “Blending Options”. This will open a control window. Make sure the first line under “Blend Mode” is on “Normal” and slide the bar that’s marked “Opacity” to the left to about 65 percent. This is the same way that you will later make the Faery Wings translucent. When the image looks appropriately translucent, click on “OK” to close the window. The purpose to this step is to make the client or model translucent enough so that you can see the background image behind her for proper placement.
Right click on the image of your client and choose the option “Free Transform” by left clicking on it. This will frame the image of your client by a box. By left clicking inside this box and holding the mouse button down, you will then be able to move the image to where you need her to be placed on the image behind her. Don’t worry at this point in getting her exactly placed, this will come in a later step. When you are satisfied with the placement on the background image, click on the “Eraser Tool” on the tool bar to the left. (The “Eraser” looks like an old fashioned rubber eraser, and is just below the “Clone Tool”.) When you do this, a box will open up asking if you would like to apply the image. Click on “Apply”.