


|
|
|
|
|
|
| Fletcher Wildlife Garden | profile | all galleries >> Mammals of the FWG (6 galleries) >> Tom Brown's Squirrel House gallery >> Building the Squirrel Nestbox | tree view | thumbnails | slideshow |
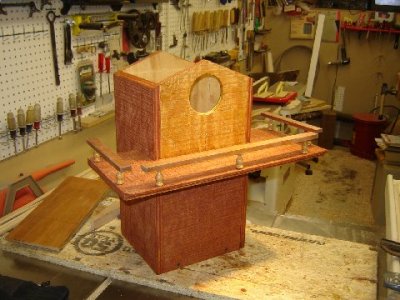
The material is what is known to most as T-111 plywood. This is a commonly used shed building material. I used it as has a naturally rough surface on the outside, making it easy for the squirrels to hang onto even if they choose not to use the deck. I added the deck not only for their comfort, but to provide somewhere that they might linger for photographs.
The wood is finished only on the outside, using Thompson's deck stain/sealer or an equivalent, so as not to expose them to any potentially toxic chemicals on the inside. The glue used for construction is a simple waterproof yellow woodworker's glue, with a few finishing nails to make quick assembly a little easier. The roof is made from Western Red Cedar. I did this so that it would withstand the most punishment from the weather. The roof was then sealed with two coats of a clear water-based polyurethane.
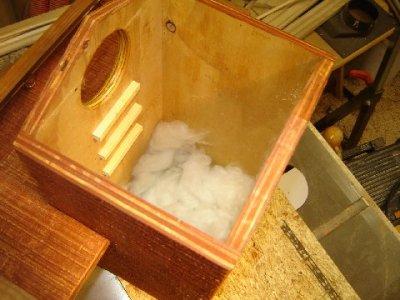
The deck is made of the same T-111, and is braced from beneath with a wedge support. The opening is exactly 3" in diameter, with the sharp edges of the hole rounded off with a file and sandpaper so that the animals don't get roughed up or full of splinters while going in and out. Inside there are a series of 1/4 inch square "steps" glued to the interior front wall directly below the opening. This allows the squirrels to reach it without struggling.
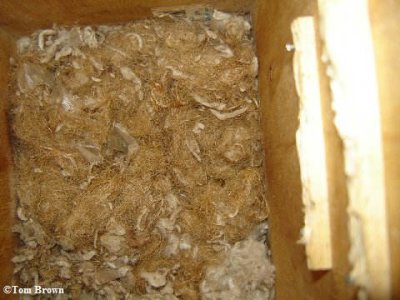
The bottom is made of a piece of 3/4" plywood with about 6 1/8" holes drilled into it to allow for any potential "liquid" to drain out if need be. The bottom is not glued in, but is held in place with 4 galvanized drywall screws, so that it can be removed and the interior cleaned after the squirrels leave the house. Before I installed the roof, I put about 3 inches of a soft synthetic insulation inside (not the scratchy fiberglass type) to provide a soft bed and protection from a cold floor during the winter.
The house has a galvanized eye hook on each side near the back edge for hanging. I used a length of simple home electrical wiring with the individual strands exposed near the ends, so that they could easily be inserted through the eye hooks and secured while standing on a ladder or branch.
 Building the nest box - step 1 |
 Step 2 |
 Step 3 |
 Step 4 |
 Step 5 |
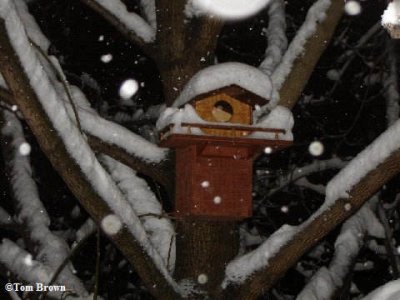 The finished house, hung outside |
| comment |
| Fletcher Wildlife Garden | 09-Sep-2012 02:10 | |
| javaris | 09-Sep-2012 01:56 | |
| Fletcher Wildlife Garden | 03-Feb-2012 15:02 | |
| flytpm | 02-Feb-2012 02:35 | |