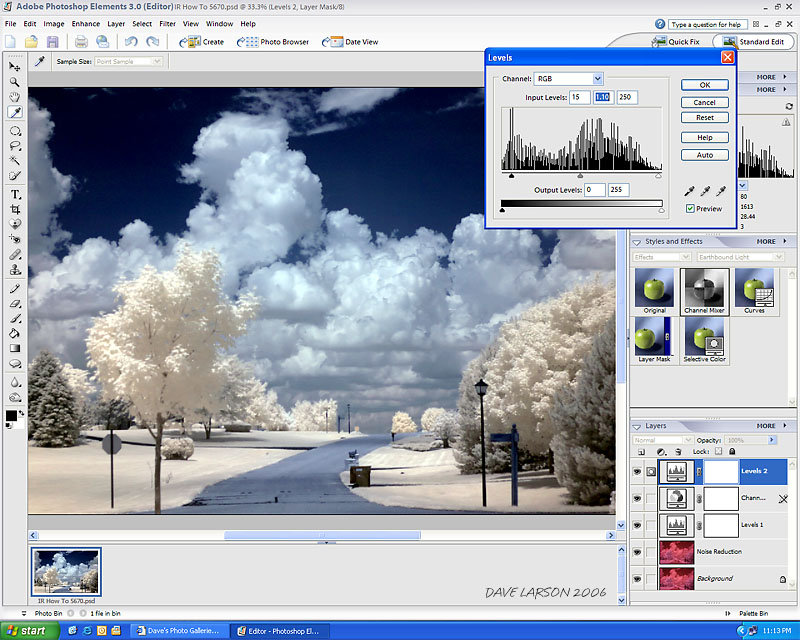
Create another layer for Levels and adjust White and Black point. It seems beneficial to clip the Black point a bit and perhaps even the White point a little depending on the image exposure. Boosting midpoint may help as well (or may not). Input might be something like: 15, 1.10, 250 (for Black, Mid, and White) but this will be image dependant and you will have to tweak the settings. Experiment!
The result should be that the Sky becomes darker Blue and the Trees become more White. You may not notice a big difference in screen shot above vs. the prior image; however, you will when you do this yourself.
Optional Extra Step (not shown above): Create a Curves layer if you need and use it to further adjust your image to your liking. Like the Channel mixer, this is not a standard feature in Elements, but can be added to Elements 3.0 just like the Channel Mixer. (See previous step). Curves is very powerful and versatile, I would not want to be without it. It is one of my favorite tools...