


|
|
|
|
|
|
| Brian Peterson | profile | all galleries >> Galleries >> Hyperion collimation and tests | tree view | thumbnails | slideshow |
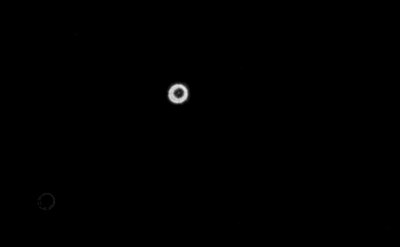 unfocused star before collimation - October 2010 |
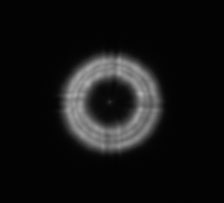
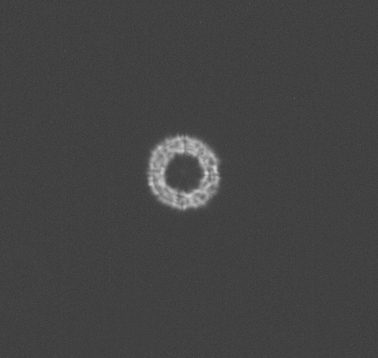 Defocused star again |
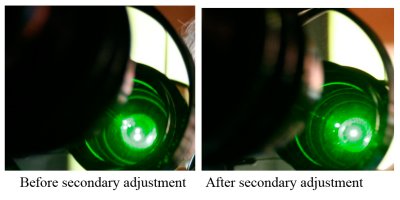
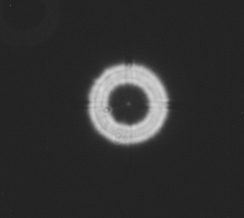 After secondary adjustment? November 2010 |
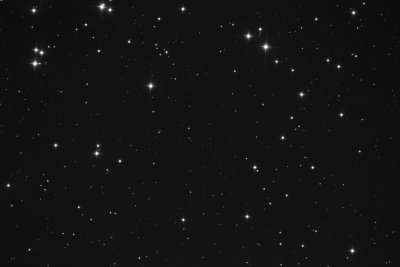
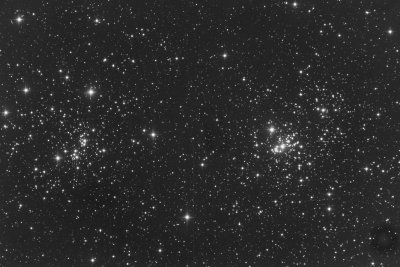 Double Cluster |
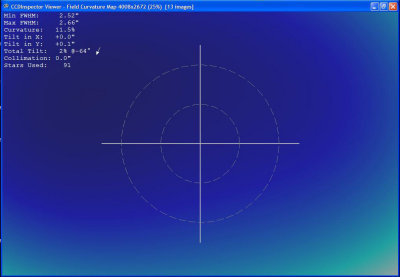
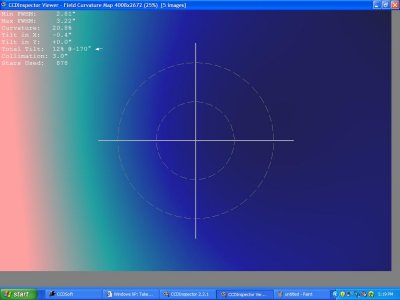 CCDInspector - before collimation |
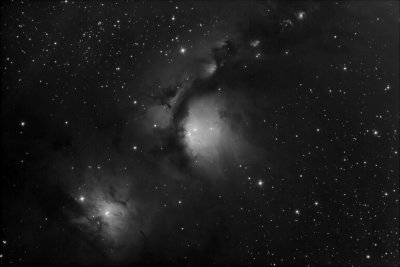 M 78 - January 2011 |
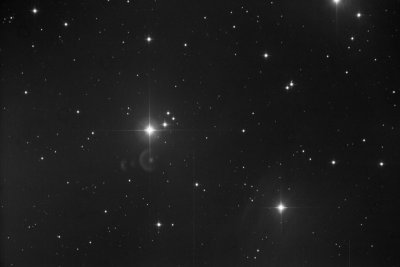
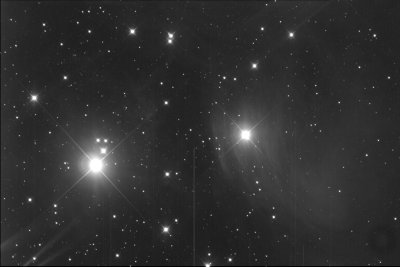 Merope and Alcyone |
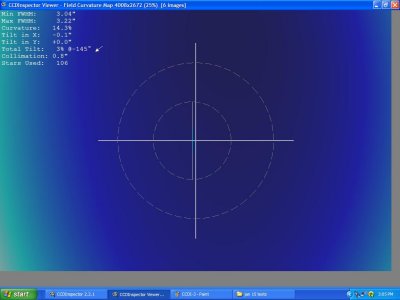 CCDInspector after secondary mirror collimation |
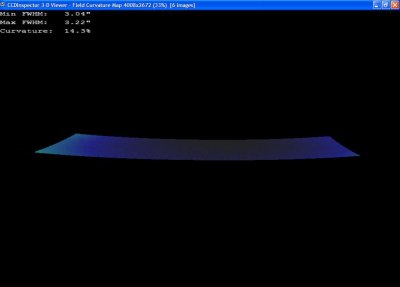 CCDInspecgtor 3-D analysis |
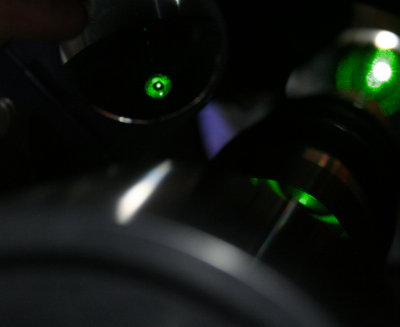
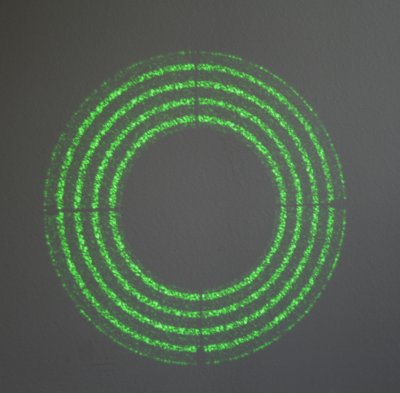
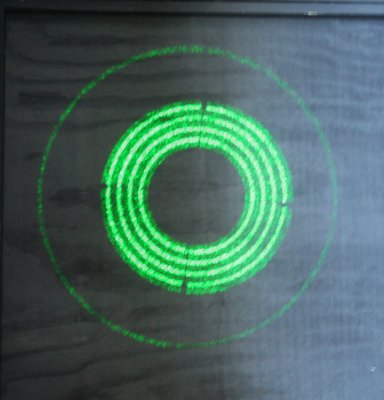 laser collimation #1 - Feb 2011 |
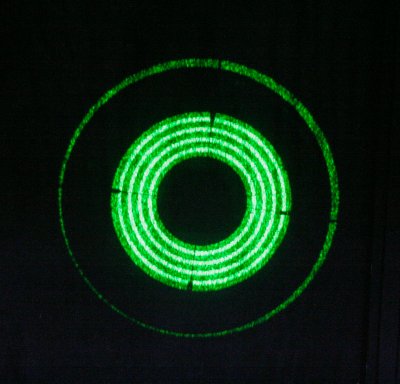 laser collimation #2 |
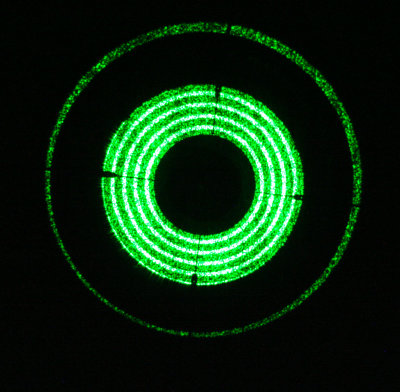 laser collimation #3 |
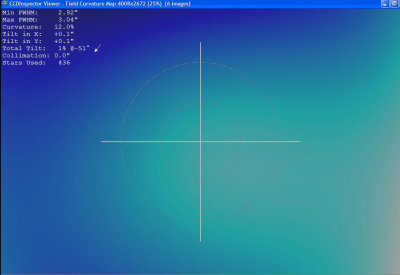 CCD Inspector collimation measurement |
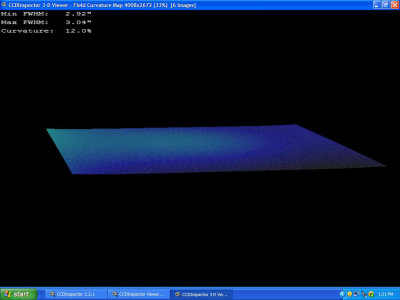 CCD Inspector field flatness |
 star shape test |
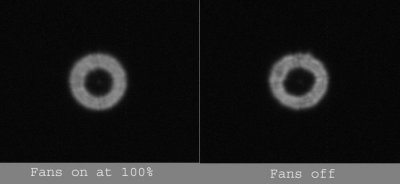 fans and stars |
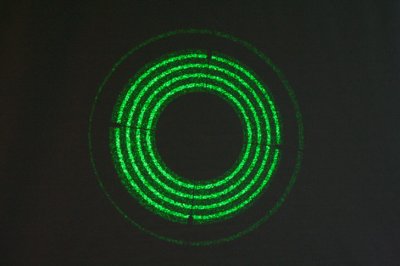 laser collimation #4 |
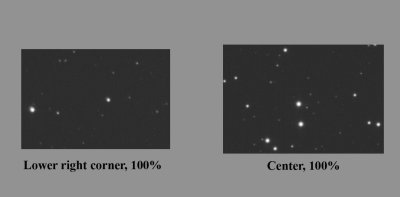
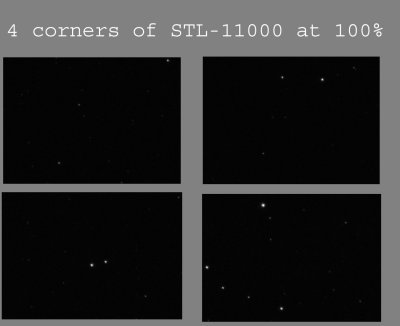 4 corners star test |
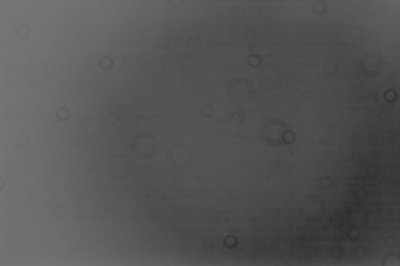
:: Flat Frames :: |
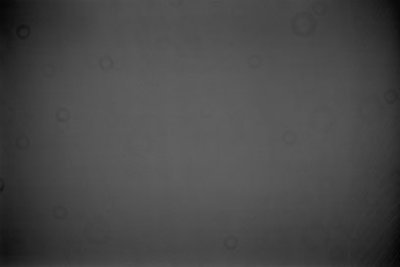 new flat |
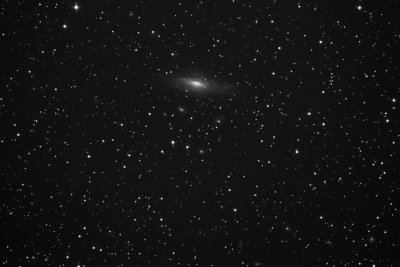 Deerlick Group of Galaxies - October 1, 2011 |
 Corner comparison rotation 270 |
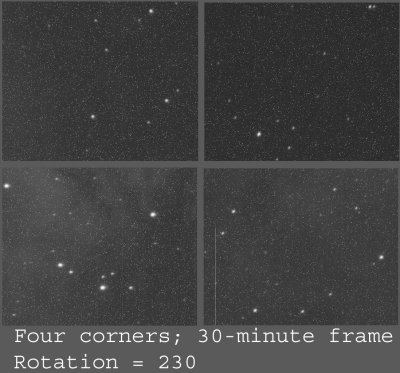 Another corner comparsion - rotation 230 |
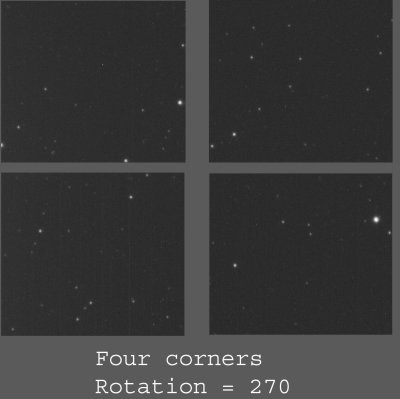 Four corners rotation 270 |
 Starting over |
 out-of-focus test |
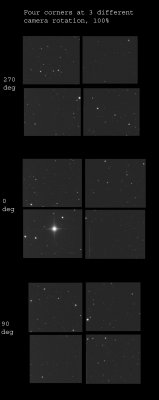 camera rotation comparison |
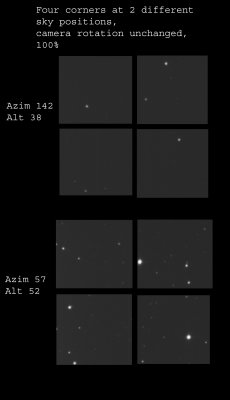 sky position comparison |
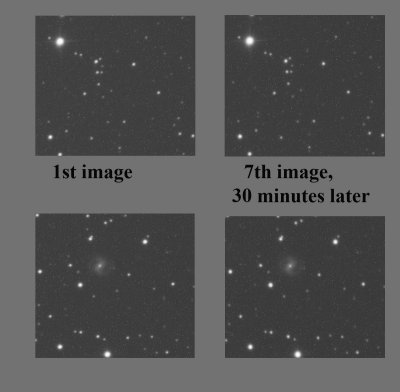
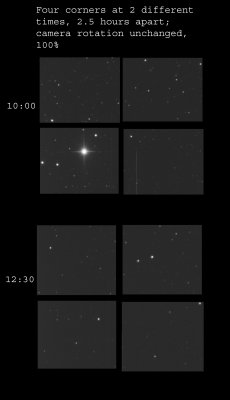 time comparison |
 More reflections |
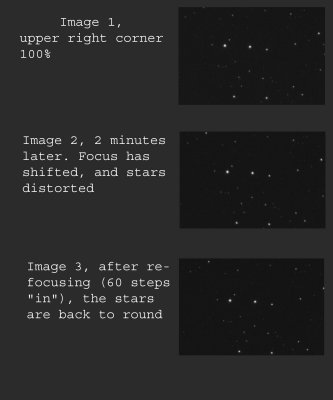 Focuser slip (?) comparison |
:: October 26, 2011 --- M 33 :: |
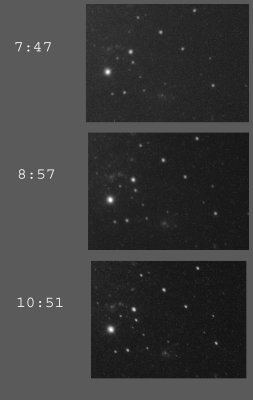 shifting image over 3 hours |
 Hyperion returned - February 2012 |
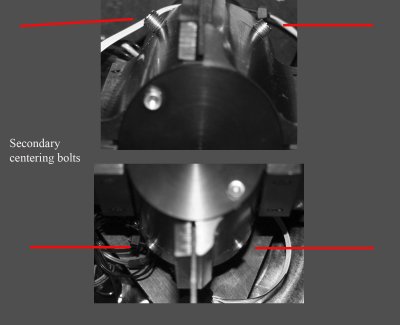 New Secondary Centering Bolts |
 After centering the secondary |
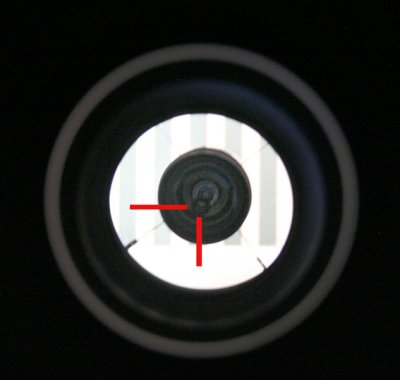
 Laser before secondary centering |
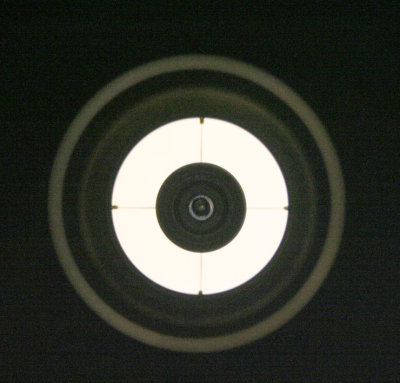
 Laser after secondary centering |
 Laser primary collimation check |
 Star test |
 CCDInspector test |
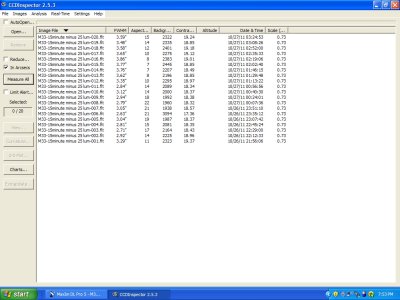
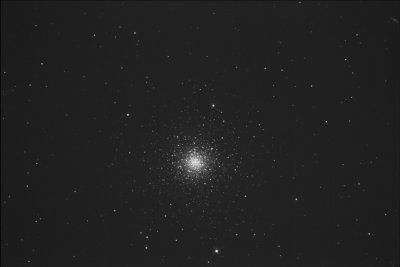 Test Image -- M 3 |