


|
|
|
|
|
|
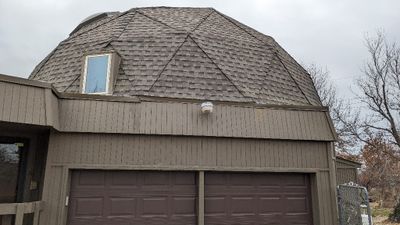
| Steve Davis | profile | all galleries >> Projects >> Roof Replacement, Oct 2023 | tree view | thumbnails | slideshow |
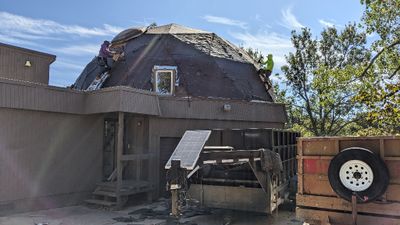
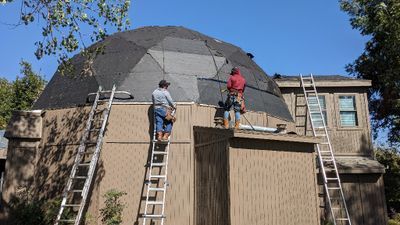
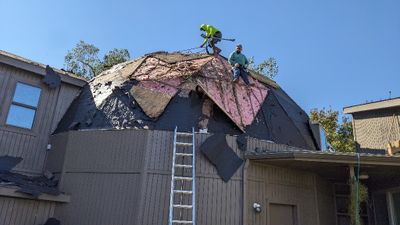
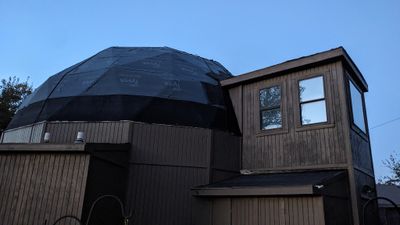
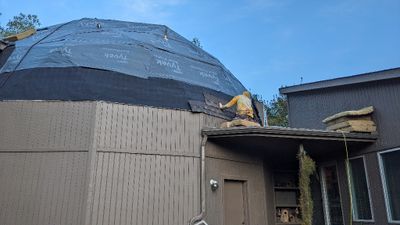
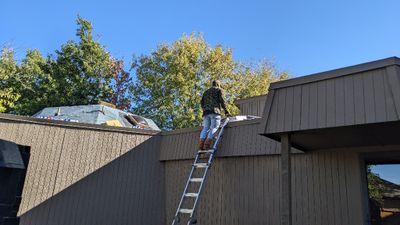
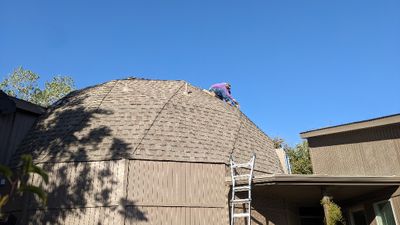 PXL_20231018_145357049.jpg Day 1: The Preferred Roofing crew arrived about 7AM and soon got to work, removing old shingles. |
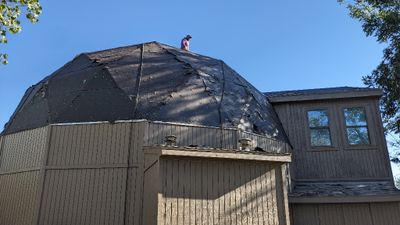
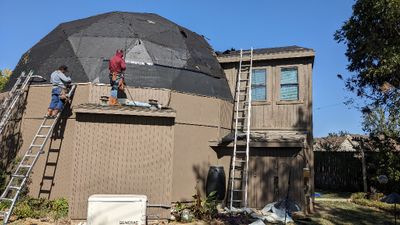
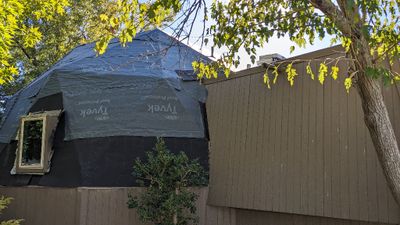
 PXL_20231018_145425483.jpg Down to the tar paper on the big dome |
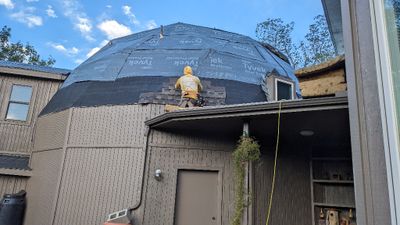
 PXL_20231018_145446700.jpg The nails that were not pulled out during the shingle removal process were hammered into to decking. |
 PXL_20231018_145512210.jpg |
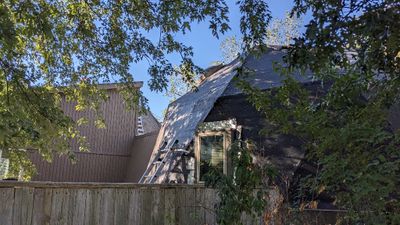
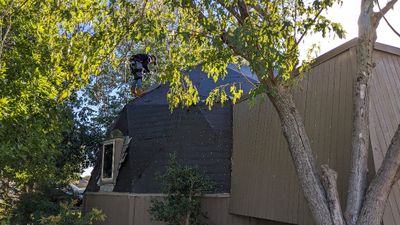
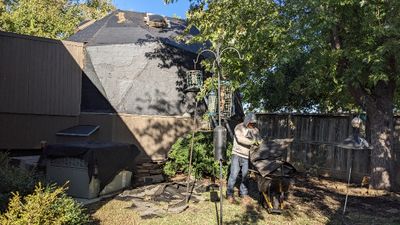
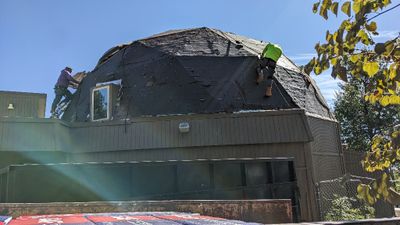
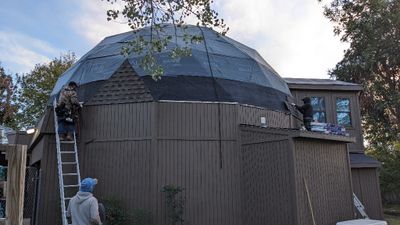
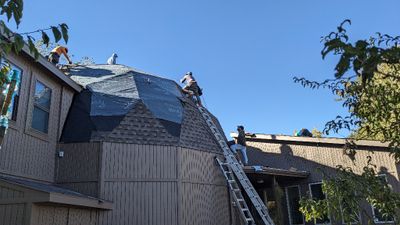
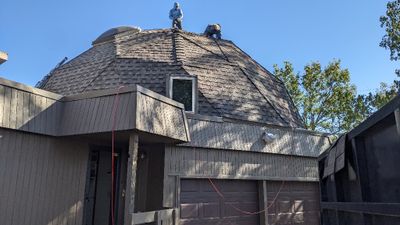
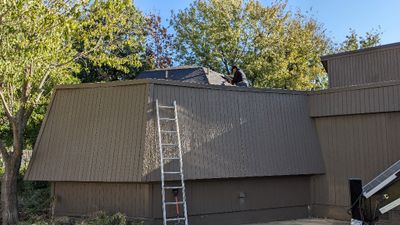 PXL_20231018_145543756.jpg Some of the workers started on the small dome too. |
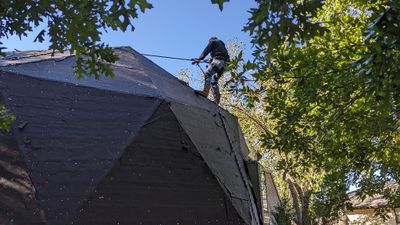
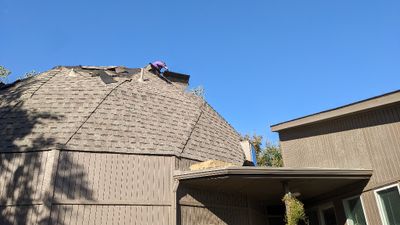
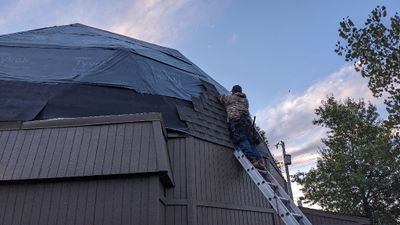
 PXL_20231018_145558375.jpg They used ropes and harnesses to work on the steep sides. I'm not sure where or how they were anchored. |
 PXL_20231018_145611701.jpg |
 PXL_20231018_145632386.jpg N side of small dome |
 PXL_20231018_145643161.jpg NE side of the small dome |
 PXL_20231018_145735697.jpg NW side of small dome
|
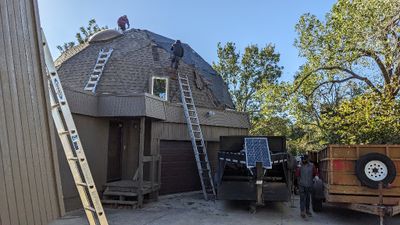
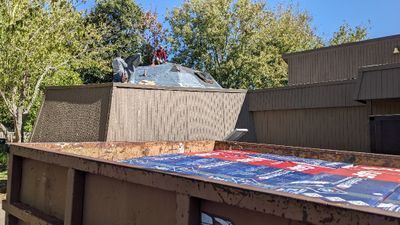
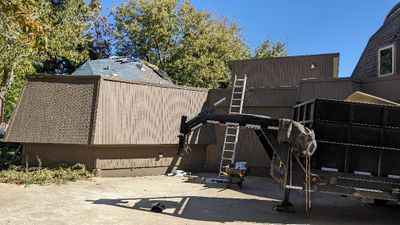
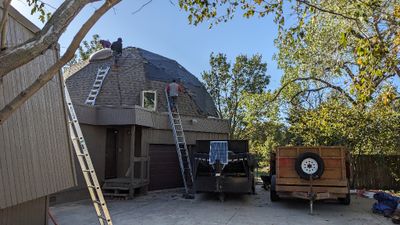 PXL_20231018_145741804.jpg The trailer on the right held shingles and other supplies. The one on the left was filled with all the old shingles and debris. |
 PXL_20231018_145813481.jpg Supplies |
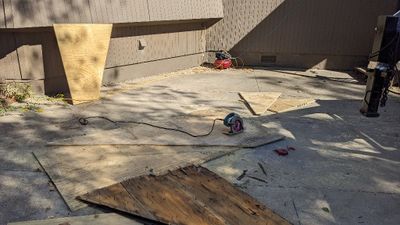
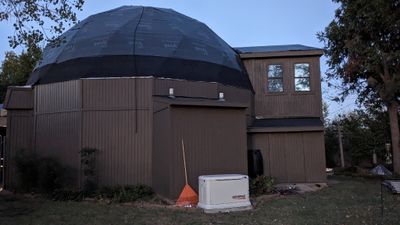
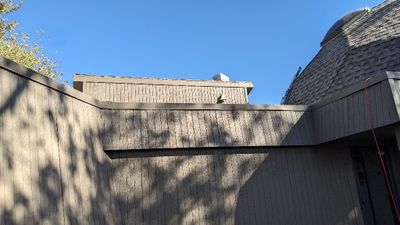
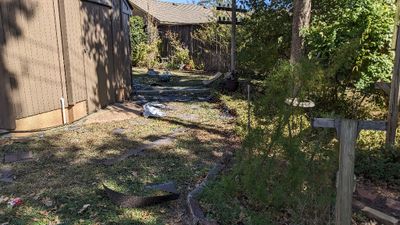
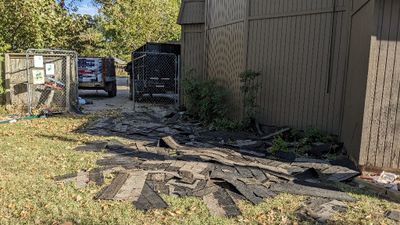 PXL_20231018_145834488.jpg Debris in the yard on the SW side of the big dome |
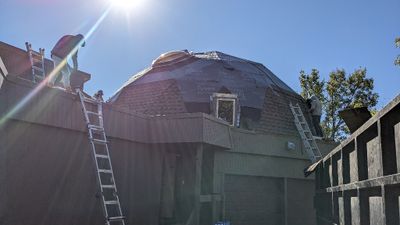
 PXL_20231018_145838126.jpg Phase 1 about complete on the S side of the big dome |
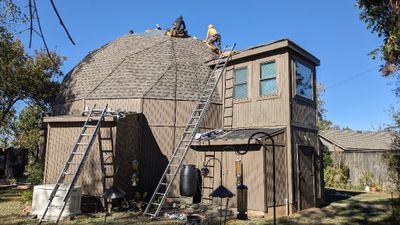
 PXL_20231018_151059963.jpg Courtyard view of small dome
|
 PXL_20231018_151243558.jpg |
 PXL_20231018_170900910.jpg NW side of small dome
|
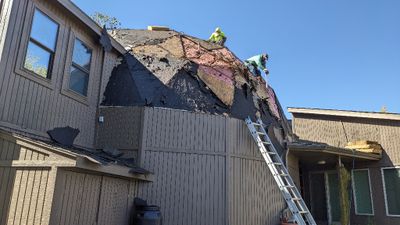
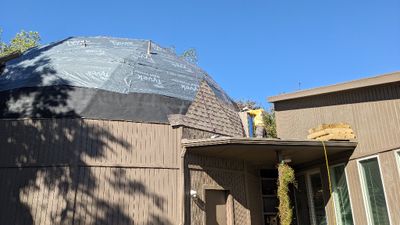
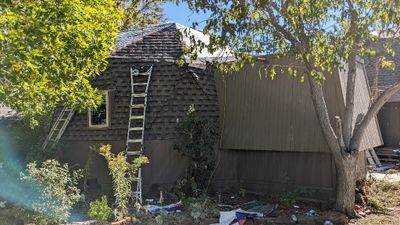
 PXL_20231018_170915961.jpg I was surprised to see them pulling all the tar paper off in some places. They found some rot in some of the decking. |
 PXL_20231018_170919568.jpg New decking |
 PXL_20231018_170928453.jpg Tools of the trade |
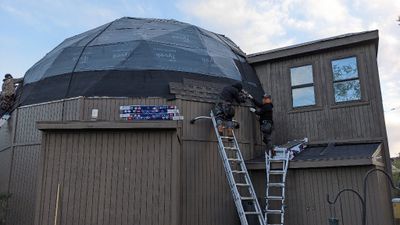
 PXL_20231018_170940203.jpg This was the first time they used nail guns to apply the shingles. |
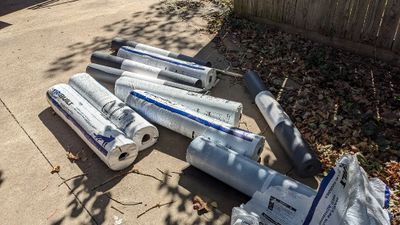 PXL_20231018_170948566.jpg Roles of underlayment material |
 PXL_20231018_170956786.jpg They put new tar paper, as well as Tyvek, around the small dome skylights. |
 PXL_20231018_171002707.jpg |
 PXL_20231018_171038354.jpg |
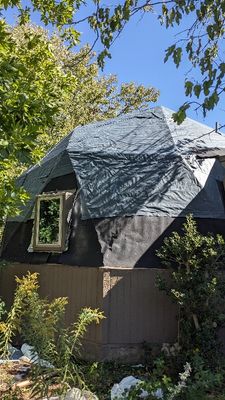 PXL_20231018_193846342.jpg Small dome, covered with new underlayment |
 PXL_20231018_193856359.jpg They used the old decking panels, filled with nails, as the templates for the new decking. |
 PXL_20231018_193902205.jpg Some of the new decking in place |
 PXL_20231018_193911180.jpg |
 PXL_20231018_193938112.jpg Starting the bottom row of new tar paper on the big dome |
 PXL_20231018_193951308.jpg The bottom row of tar paper appears to have a sealant on its top edge. |
 PXL_20231018_194039368.jpg It was sad, and a little scary, to see all the exposed insulation after the rotting decking had been removed, but we were glad they made the repairs. |
 PXL_20231018_194056740.jpg |
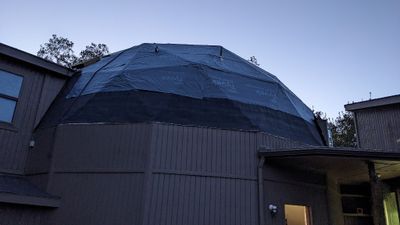
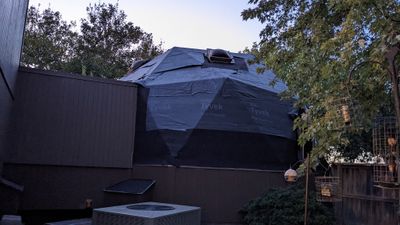
 PXL_20231019_000536461.jpg We went out for a while in the afternoon, came back after the crew had left for the day, and I took some photos in the evening light. |
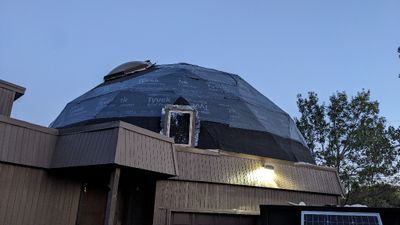
 PXL_20231019_000728913.jpg They had gotten the underlayment applied to all the sections of roof. |
 PXL_20231019_000750336.jpg |
 PXL_20231019_001330032.jpg |
 PXL_20231019_001415046.jpg |
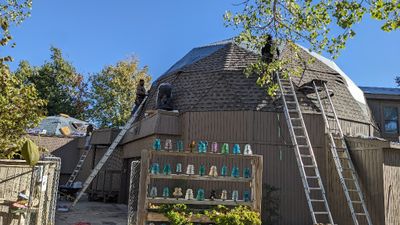
 PXL_20231019_125244713.jpg Day 2: The guys were back out early the next morning to start applying the new shingles. |
 PXL_20231019_125311115.jpg |
 PXL_20231019_125340399.jpg |
 PXL_20231019_125403974.jpg |
 PXL_20231019_125430273.jpg |
 PXL_20231019_125455572.jpg First new triangle of shingles completed |
 PXL_20231019_154127522.jpg |
 PXL_20231019_154144468.jpg |
 PXL_20231019_154233943.jpg |
 PXL_20231019_154245192.jpg |
 PXL_20231019_154301008.jpg |
 PXL_20231019_154330810.jpg |
 PXL_20231019_154436209.NIGHT.jpg |
 PXL_20231019_204822072.jpg |
 PXL_20231019_204852450.jpg |
 PXL_20231019_204941393.jpg |
 PXL_20231019_205017972.jpg |
 PXL_20231019_205024463.jpg |
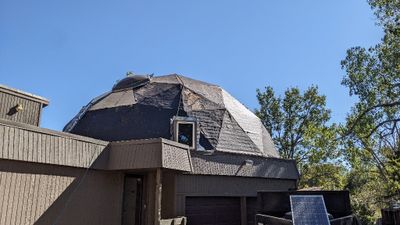
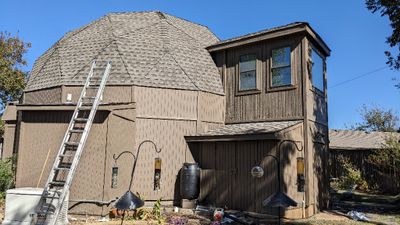
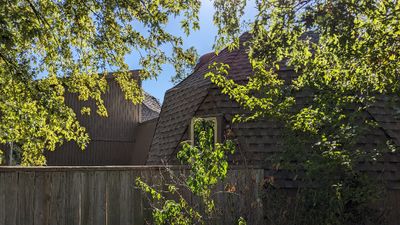
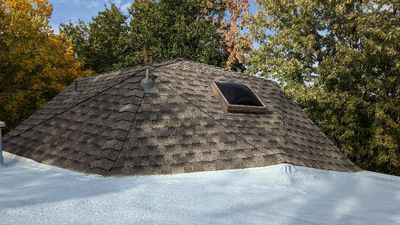
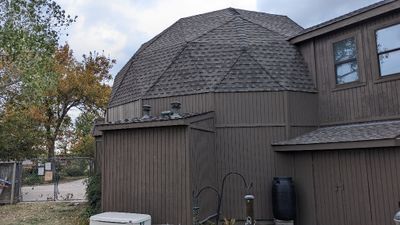
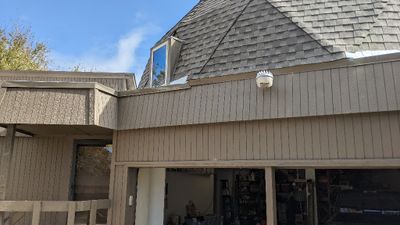
 PXL_20231020_172142764.jpg Day 3: Things are looking normal again |
 PXL_20231020_172148117.jpg |
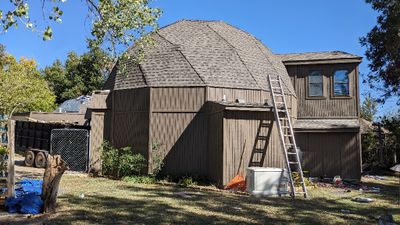
 PXL_20231020_172205596.jpg Still some work left to do on the S side of the small dome |
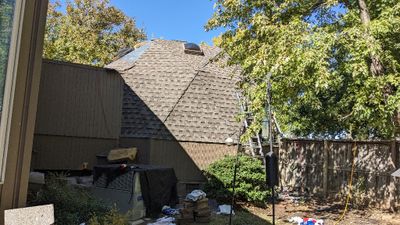
 PXL_20231020_172244570.jpg Still a lot of clean-up left to do |
 PXL_20231020_172247731.jpg |
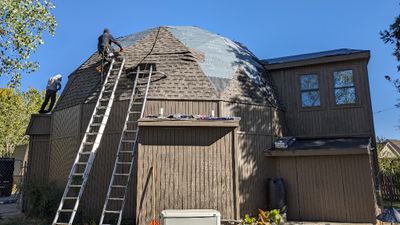
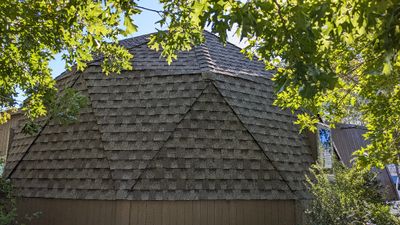
 PXL_20231020_172259665.jpg They let the shingles run in a diamond pattern, rather than starting each triangle of shingles separately and parallel to the base of each one, but it was a difference I could live with. I am hopeful the shingles rolled over the edge in the middle of the diamonds seal and lie down well, and do not get caught by the wind. |
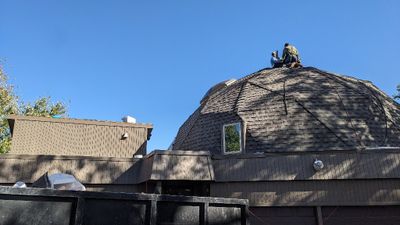
 PXL_20231020_172322905.jpg The big dome and S side extensions are complete. |
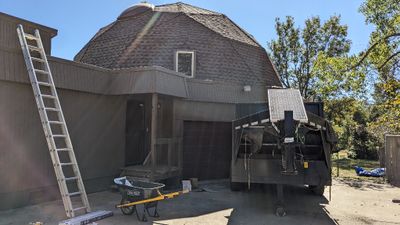
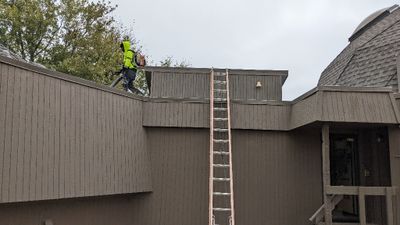
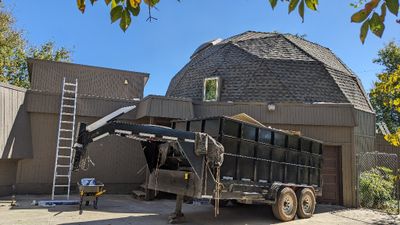 PXL_20231020_172402951.jpg They removed the supplies trailer, a sure sign they were getting close to finishing. |
 PXL_20231020_172414885.jpg Still some work left to do on the small dome |
 PXL_20231020_172445947.jpg |
 PXL_20231020_172507731.jpg |
 PXL_20231020_202254987.jpg The finished small dome |
 PXL_20231020_202310263.jpg New view from NE front yard |
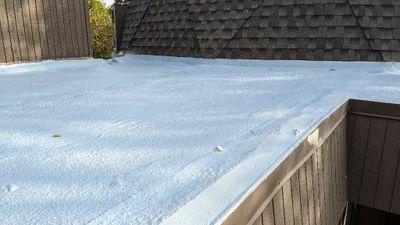
 PXL_20231023_153151969.jpg Day 4: The shingles were finished on Friday and the flat roof crew showed up the next Monday. They used a machine similar to a sod cutter, only with scraping (scarping) blades, to remove a layer of the insulation from the flat roof. |
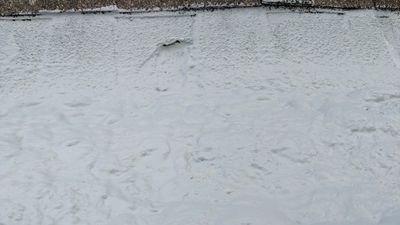
 PXL_20231023_153202702.jpg Small foam particles went everywhere. |
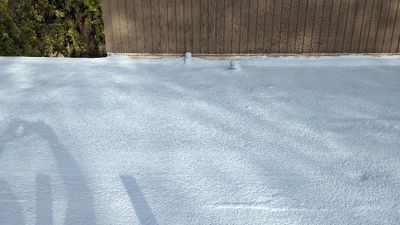
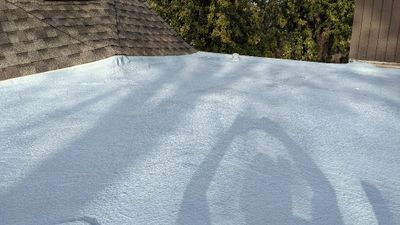
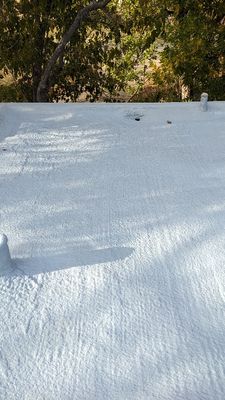
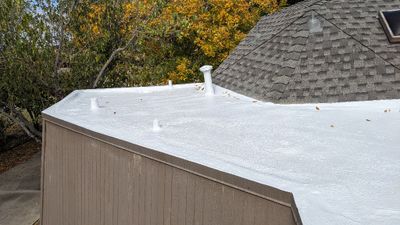
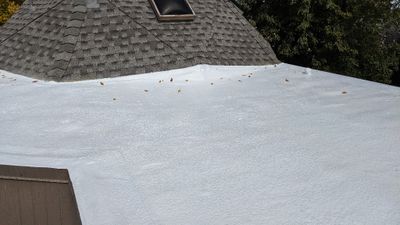
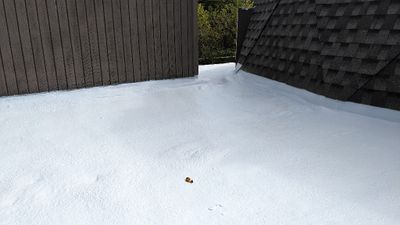
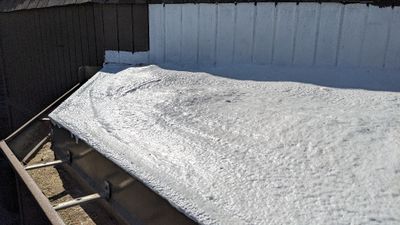
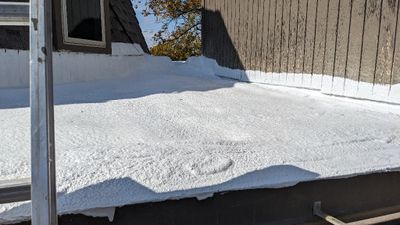
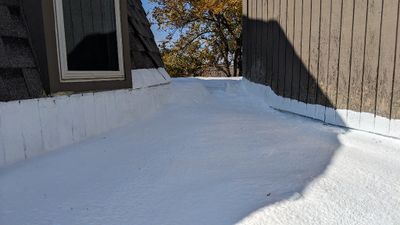
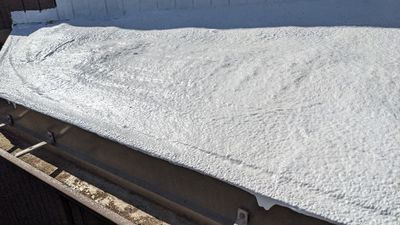
 PXL_20231023_215912728.jpg We went to Norman for lunch with friends and when we returned the crew had finished putting a new layer of foam over the flat roof. I got out the extension ladder and took some photos. |
 PXL_20231023_215916570.jpg |
 PXL_20231023_215922713.jpg |
 PXL_20231023_215926662.jpg |
 PXL_20231023_215931315.jpg |
 PXL_20231023_215934587.jpg |
 PXL_20231023_220006322.jpg |
 PXL_20231023_220012444.jpg |
 PXL_20231023_220025516.jpg |
 PXL_20231023_220034430.jpg |
 PXL_20231023_220034757.jpg |
 PXL_20231023_220228953.jpg |
 PXL_20231023_220236365.jpg |
 PXL_20231023_220255847.jpg |
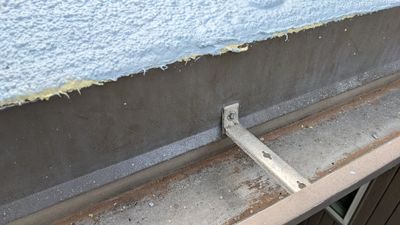
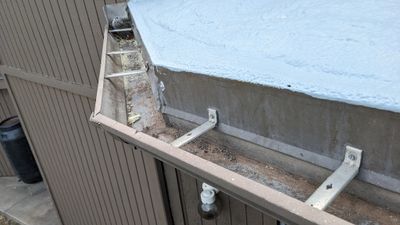
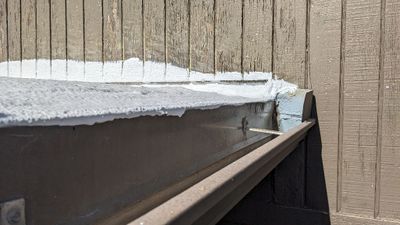
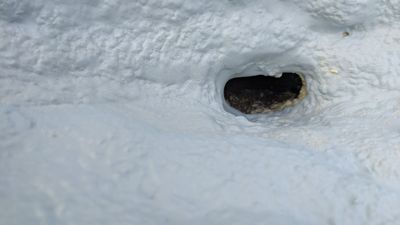 PXL_20231023_220556530.jpg The drain off the N side of the downstairs bathroom appeared to be well-sealed, though I didn't get on the roof to take a closer look. |
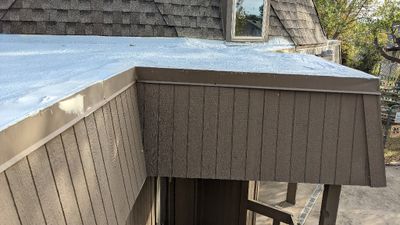
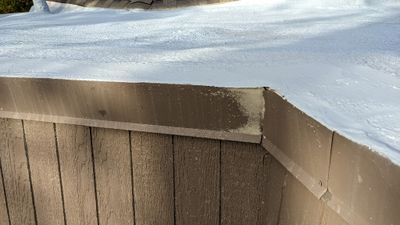
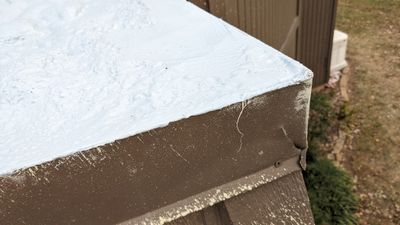
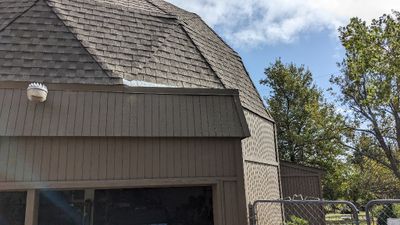
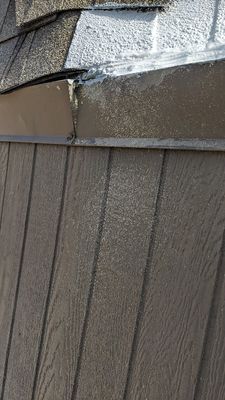
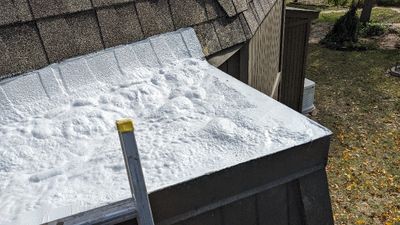
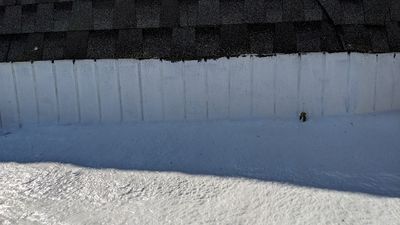
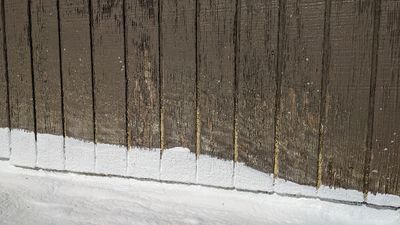
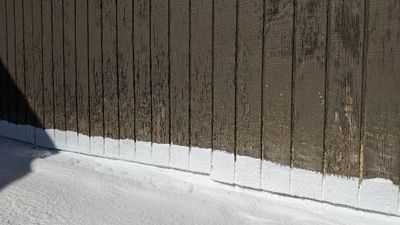
 PXL_20231023_220951798.jpg There was still a lot of the debris from the scarping on the S side of the sunroom. I had asked that they spray foam up the NE side of the big dome. I thought they would run new underlayment up that section of riser wall, because the T1-11 siding had begun to rot, but they sprayed over the wood instead. It must have sealed, because we had no leaks when it rained a few days later. |
 PXL_20231023_220956059.jpg |
 PXL_20231023_221000260.jpg |
 PXL_20231023_221005178.jpg |
 PXL_20231023_221009263.jpg |
 PXL_20231023_221017909.jpg |
 PXL_20231023_221030469.jpg |
 PXL_20231023_221034499.jpg |
 PXL_20231023_221038760.jpg |
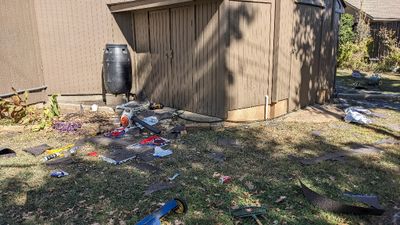
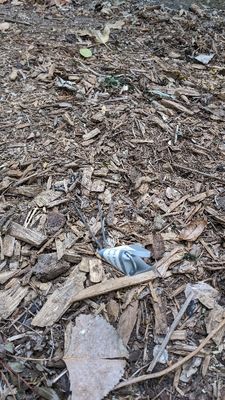
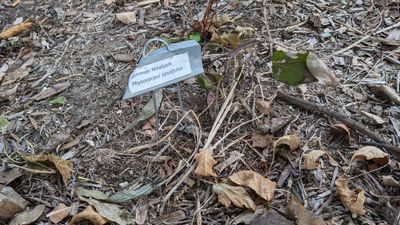 PXL_20231023_221747383.jpg I expected some casualties where we had plants close to the house, but I didn't realize how malleable the new plant labels I'd put out were. They took a beating. |
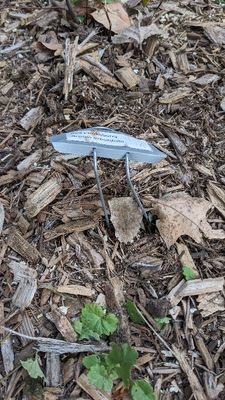 PXL_20231023_221807796.jpg Fortunately, it wasn't too difficult to bend them back into something close to their original shape--these are still 'before' photos. |
 PXL_20231023_221848760.jpg |
 PXL_20231023_221852170.jpg |
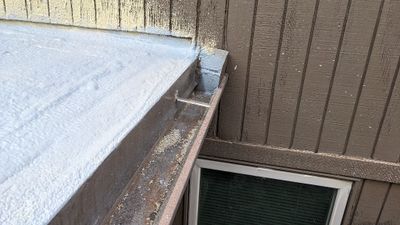
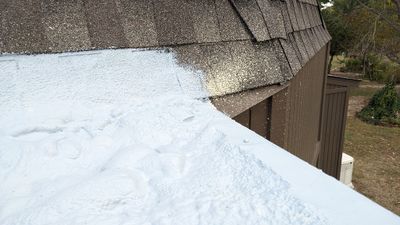
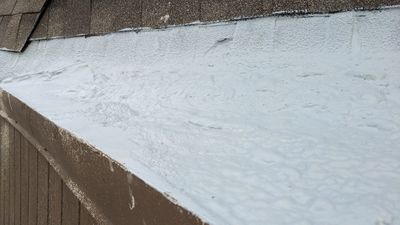
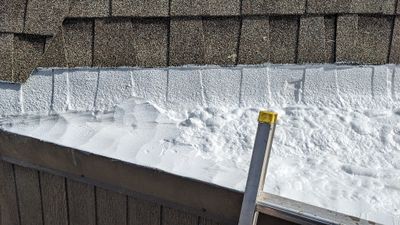
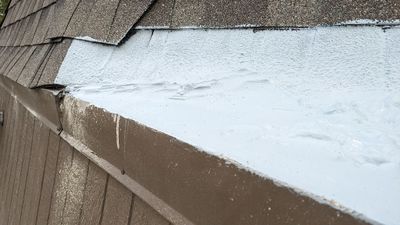 PXL_20231023_222211591.jpg Some areas that needed more clean-up, and foam on shingles that I had not expected. |
 PXL_20231023_222216734.jpg |
 PXL_20231023_222220714.jpg |
 PXL_20231023_222225754.jpg |
 PXL_20231023_222231456.jpg |
 PXL_20231023_222237745.jpg |
 PXL_20231023_233104775.jpg |
 PXL_20231023_233110610.jpg |
 PXL_20231027_143656879.jpg A single fellow came over and did some clean-up work, but I still had concerns about the foam on the shingles over the garage. |
 PXL_20231027_143659095.jpg |
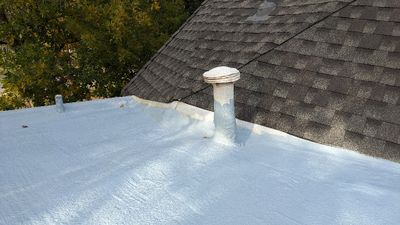
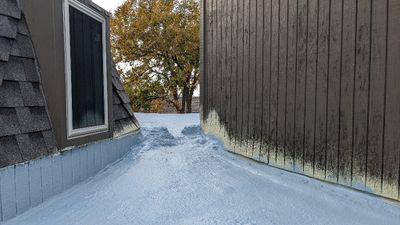
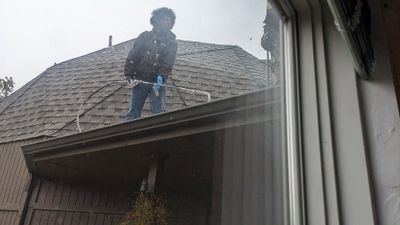 PXL_20231027_151011247.jpg Later that day, the foam crew returned to put the sealer coat over the foam that will protect from the sun. I shot this photo from a window on the S side of the sunroom. |
 PXL_20231027_151220324.jpg The flat roof is as oddly-shaped as the domes and they had to use rollers and brushes, as well as a sprayer, to get all the nooks covered. |
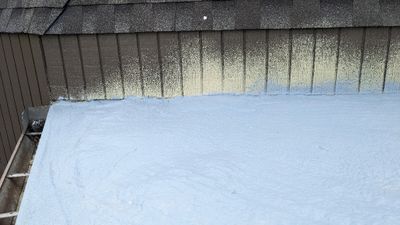
 PXL_20231027_183325574.jpg |
 PXL_20231027_183335395.jpg |
 PXL_20231027_183346791.jpg |
 PXL_20231027_183349453.jpg |
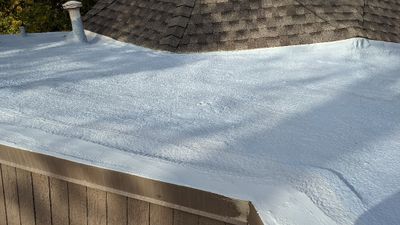
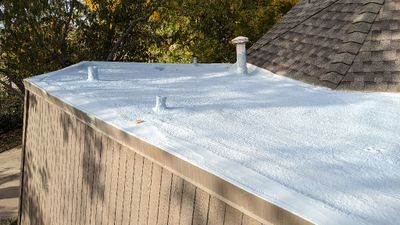
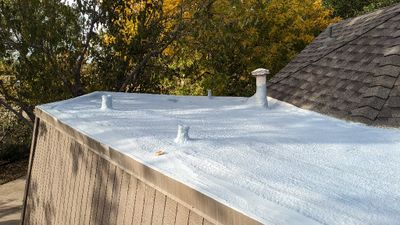
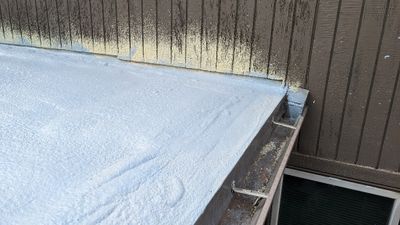
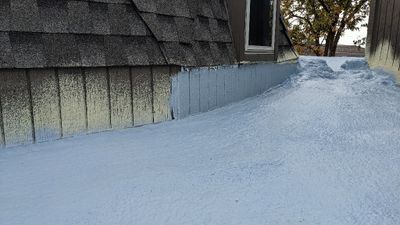
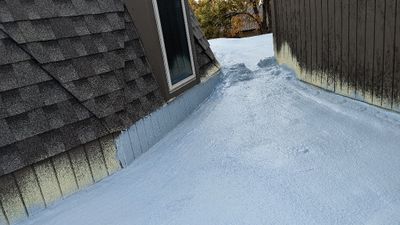
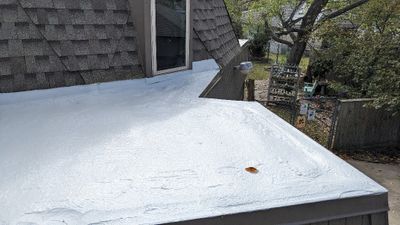
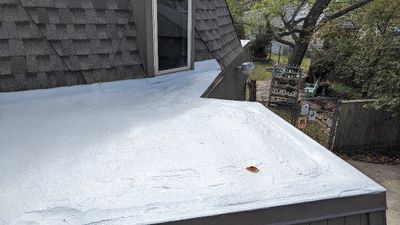
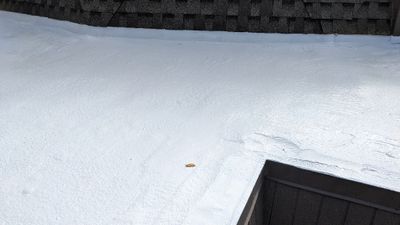
 PXL_20231027_183604400.jpg I got out the extension ladder again and took some more photos after they'd finished. |
 PXL_20231027_183607837.jpg |
 PXL_20231027_183613494.jpg |
 PXL_20231027_183619170.jpg |
 PXL_20231027_183628144.jpg |
 PXL_20231027_183628454.jpg |
 PXL_20231027_183632022.jpg |
 PXL_20231027_183635836.jpg |
 PXL_20231027_183850173.jpg |
 PXL_20231027_183902383.jpg |
 PXL_20231027_183909817.jpg |
 PXL_20231027_184130785.jpg |
 PXL_20231027_184138979.jpg |
 PXL_20231027_184148493.jpg |
 PXL_20231027_184157591.jpg |
 PXL_20231027_184201055.jpg |
 PXL_20231027_184212854.jpg |
 PXL_20231027_184217717.jpg |
 PXL_20231027_184224804.jpg |
 PXL_20231027_184228184.jpg |
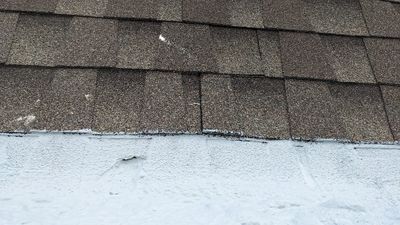
 PXL_20231221_151914006b.jpg On Dec 21, Nick and a helper came over to work on the shingles with foam on them. He weaved in some shingles at the bottom left and right sides over the garage to cover the offending shingles, nailed down a few shingle edges that had come up, then used caulk cover a few more areas.
|
| comment | share |