


|
|
|
|
|
|
| Steve Davis | profile | all galleries >> Projects >> Porch Gliders, Aug 2024 | tree view | thumbnails | slideshow |
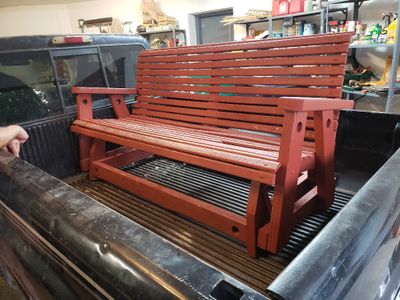 20220528_201926b.jpg It was easiest to just slide the glider off Ron's pickup bed and onto ours. Mary took a couple of photos before I started messing with it. |
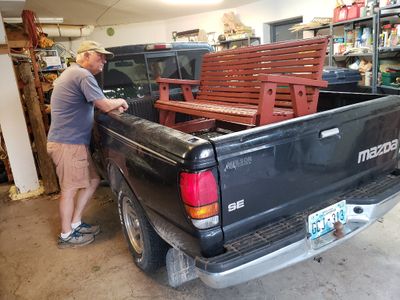 20220528_201932b.jpg I'm not sure whether I was contemplating that color or the broken slats in the seat of the glider. |
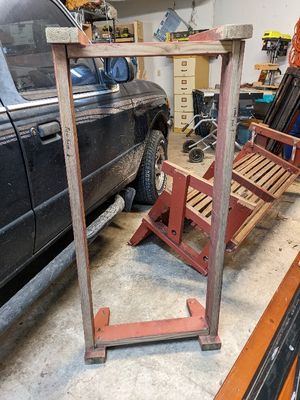 PXL_20220729_145246894.jpg Base and legs, with seat in background |
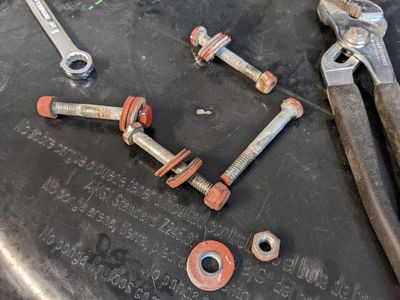 PXL_20220729_145252535.jpg The swing was put together with bolts. |
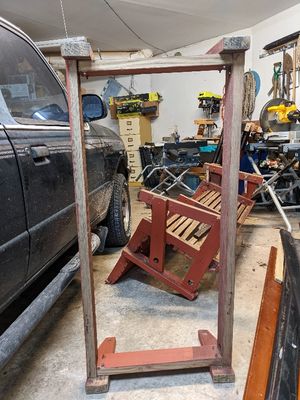 PXL_20220729_145622201.jpg Base in the foreground, with the seat in back |
 PXL_20220729_150322750.jpg There were 21 slats that made the seat and back; I numbered each on the back side, from top to bottom. |
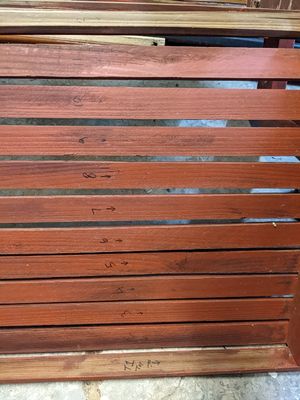 PXL_20220729_150329291.jpg The top dozen slats, numbered before removing |
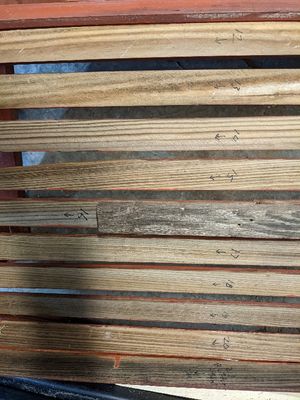 PXL_20220729_150338874.jpg Ten last slats; #15 had a section splintered off and #16 had been broken and repaired; others had damage as well |
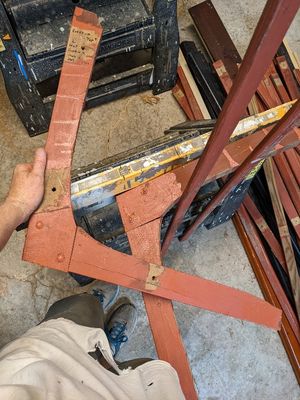
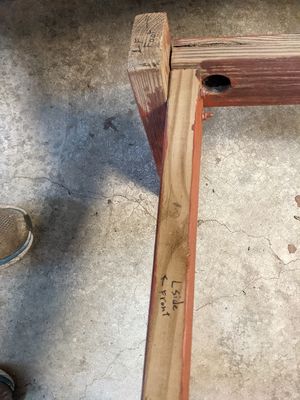 PXL_20220729_150603056.jpg Some of the bolt connections on the swing were something I had not seen before; holes were drilled in pieces that were attached perpendicularly. In this example (a leg attached the the base), the bolt was inserted from the left and the washer and nut were attached inside the drilled hole. |
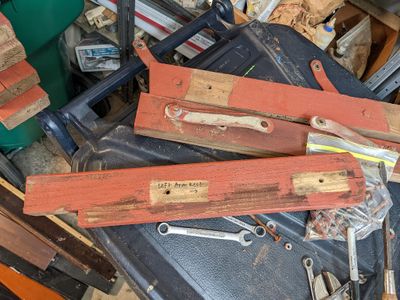
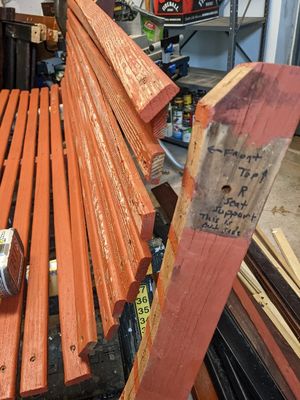
 PXL_20220729_161556391.jpg The slats were two lengths; the shorter ones butted the legs and armrests. |
 PXL_20220729_163418686.jpg The metal braces are what the seat of the glider swings on. |
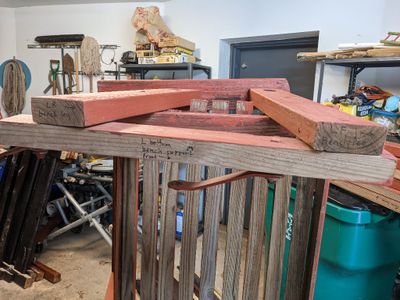
 PXL_20220729_165012910.jpg The slats were attached to 3 identical 2-piece supports. |
 PXL_20220729_171356086.jpg The seat supports were made of two pieces bolted together in a lap joint. |
 PXL_20220729_171419305.jpg Disassembly complete! |
 PXL_20220729_172345635.jpg Looking at the paint pattern, the original paint was applied after the glider was assembled and the last coat was applied from the top side only. |
 PXL_20240816_190151094.MP.jpg In the summer of 2024, I finally got back to working on the glider. Because there were broken slats and worn legs on the glider, I was going to replace those pieces, so I decided make a replica using the old glider pieces as a template. The pieces were standardized, so I was able to use one of each old piece as the pattern for the new pieces. After cutting all the new pieces, Mary helped choose a lighter color to paint both. |
 PXL_20240816_190200277.MP.jpg I put two coats on each piece. |
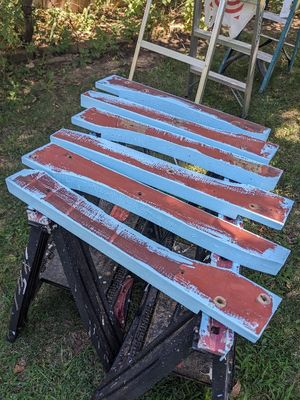 PXL_20240816_190207377.MP.jpg It took 2 coats to cover the red. |
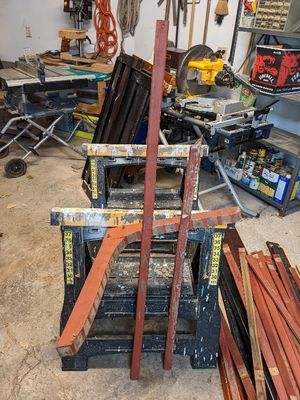
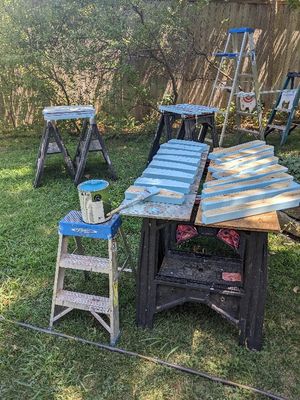
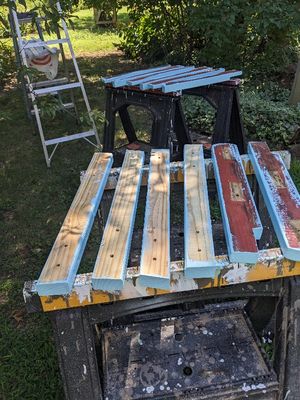
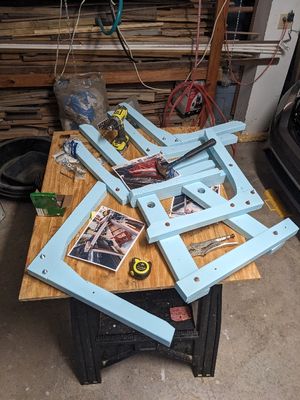
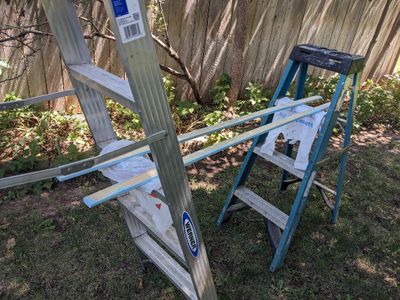 PXL_20240816_190213263.MP.jpg There were lots of slats and other pieces, so I used all my sawhorses, plus a couple of ladders to lay out everything. |
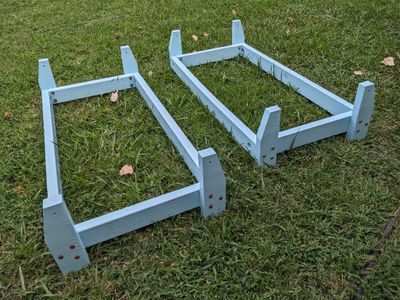 PXL_20240816_234659210.MP.jpg Here are the two bases, reassembled after being painted--still needed to paint the old bolts. I used larger-diameter bolts for the new glider. |
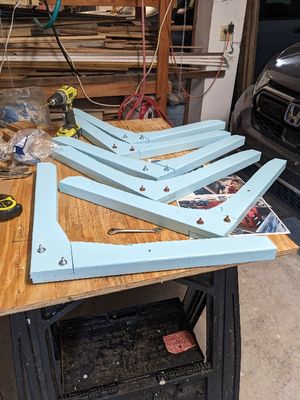
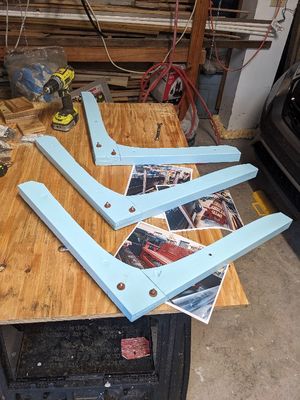 PXL_20240816_235929290.MP.jpg The original seat supports were cut with a curve from a band saw. Not having one, I decided to approximate the slopes (but not the curves) of each part, cutting them by hand on the table saw. I then used the table saw to cut the slot in each new piece to create the lap joint to connect each pair of pieces. Then I painted them and bolted them together. |
 PXL_20240817_001019350.MP.jpg |
 PXL_20240817_011026712.MP.jpg Then I started assembling the side pieces so I could attach the slats to them. I had to make some adjustments to where the side legs were bolted to the armrests on the new glider because my replica pieces were not as standardized as on the original. |
| comment | share |