


|
|
|
|
|
|
| sp_8299 | profile | all galleries >> Railroad Model Photos >> Tutorial for adding nose-mounted signal lights (or blanking plates) to an EMD hood unit | tree view | thumbnails | slideshow |
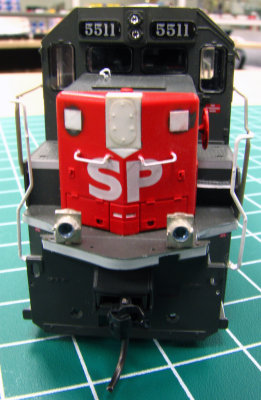 SP_001.jpg |
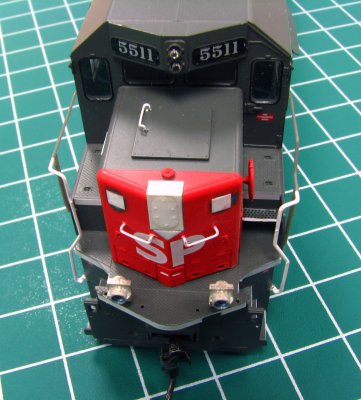
 SP_003.jpg |
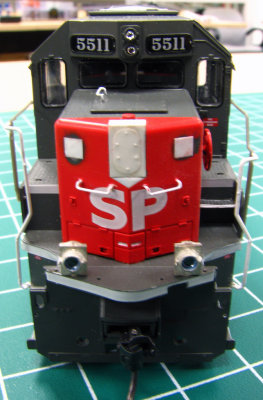
 SP_002.jpg |
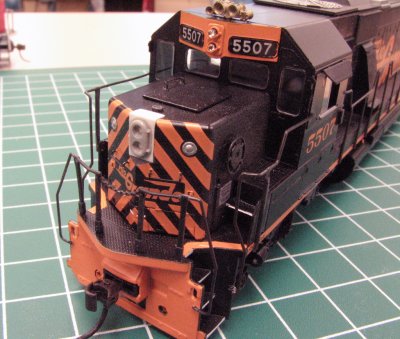
 SP-5507a |
 DRGW-5507a.jpg |
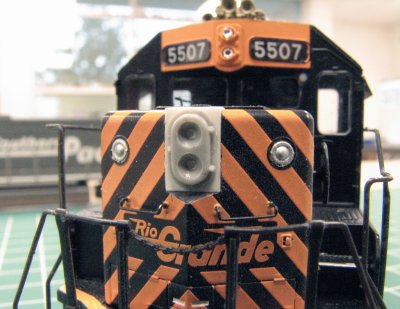 DRGW-5507b.jpg |
| comment | share |
| Kenneth Young | 13-Aug-2007 02:57 | |