


|
|
|
|
|
|
| Bob Robertson | profile | all galleries >> pre_2006 >> cabinet | tree view | thumbnails | slideshow |
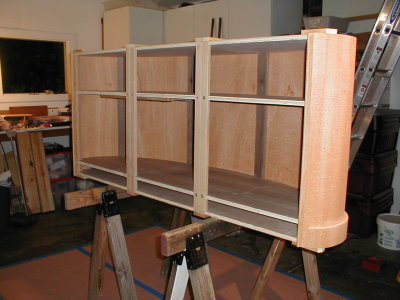
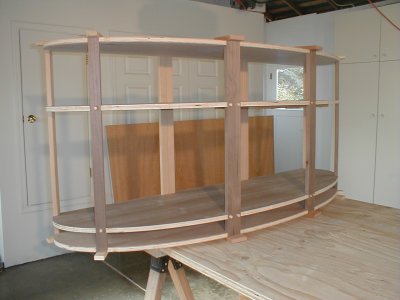 The frame was made from 4 sheets of plywood. The middle two will remain as shelves. 051204_04.jpg |
 The top and bottom sheets were removed after forming the body. 291104_27.jpg |
 The plywood sheets were machined together to ensure that they were identical. 291104_24.jpg |
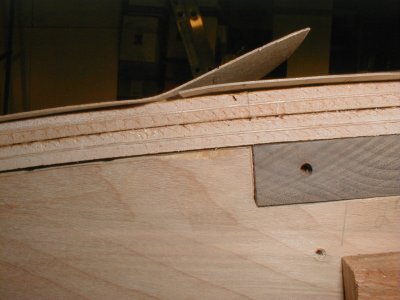
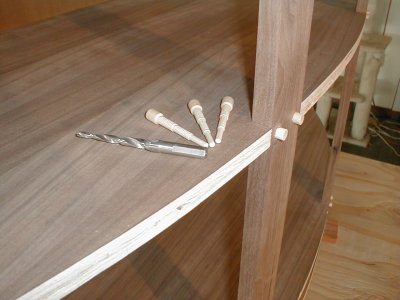 The shelves were attached to the vertical supports with wood pins. 051204_01.jpg |
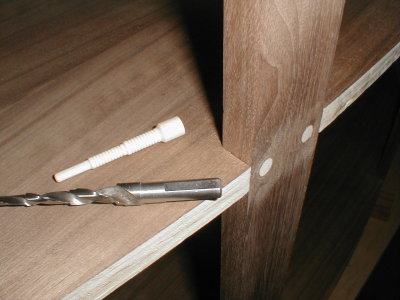 The ends of the pins were cut to be flush with the supports. 051204_08.jpg |
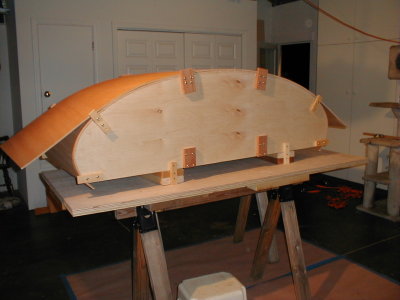
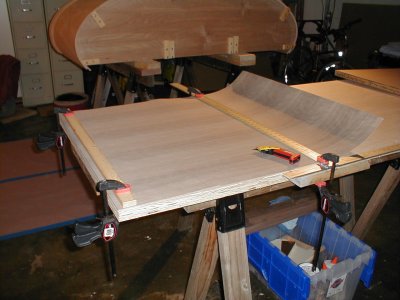
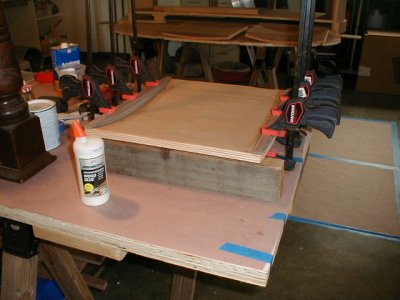
 Setting up the first layer of 3/8" bendable plywood. 051204_05.jpg |
 The first layer glued and clamped into place. 051204_09.jpg |
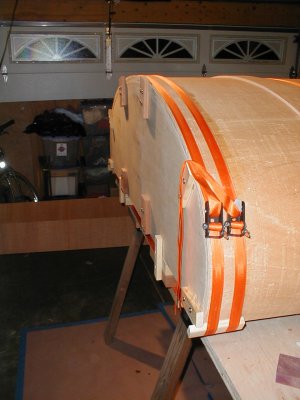
 Glue application for the second layer of bendable plywood. 091204_09.jpg |
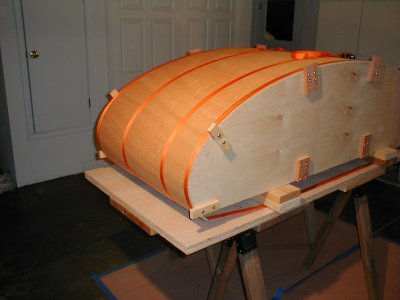
 The second layer before applying the band clamps. 091204_02.jpg |
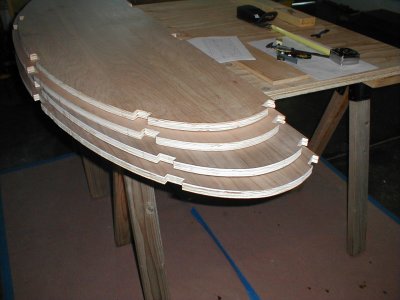
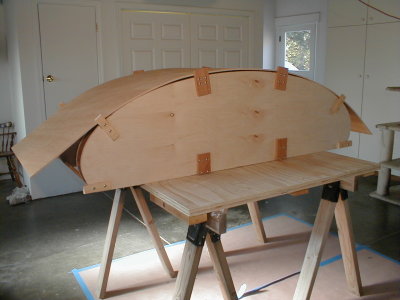
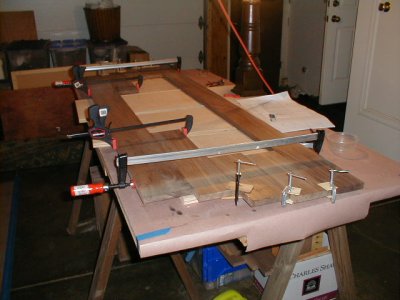
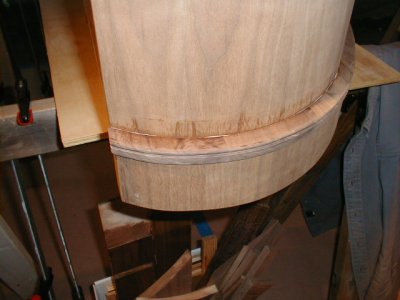
 Third and fourth layers were attached at the base. 141204_02.jpg |
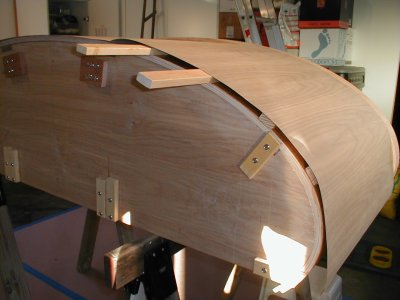
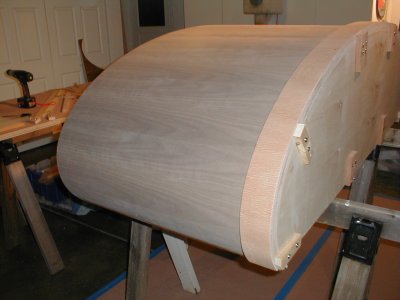
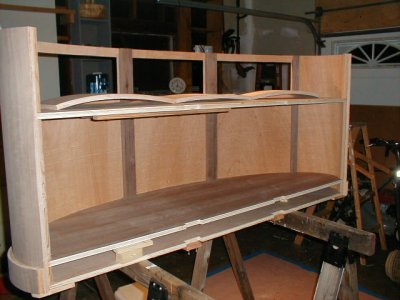
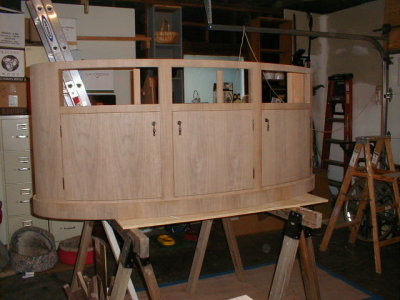
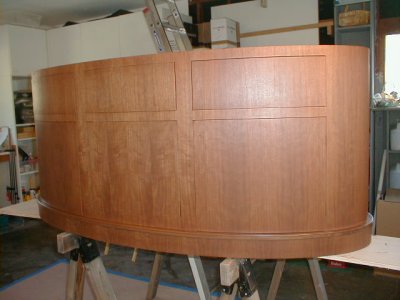
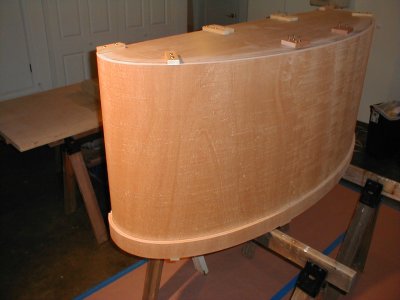 The finished body from front. 141204_20.jpg |
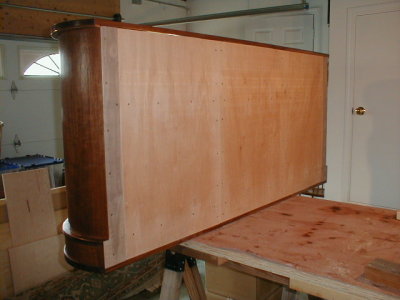
 The finished body from the back. 141204_21.jpg |
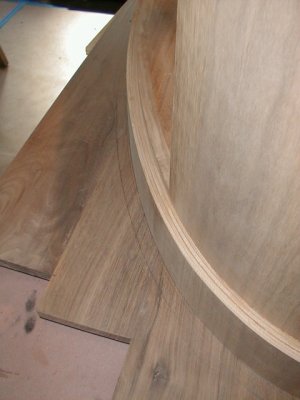
 Cutting of the walnut veneer which will be glued to the bendable plywood. 141204_07.jpg |
 Application of the veneer. The boards are removed after correctly positioing the veneer. 201204_03.jpg |
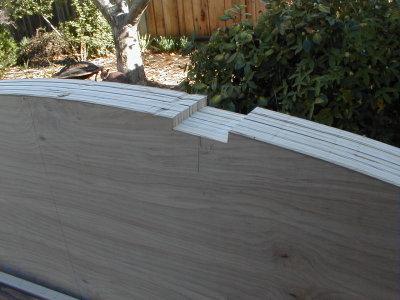
 The veneer pieces were overlapped, then cut to form precise seams. 201204_04.jpg |
 The finished veneer. 201204_13.jpg |
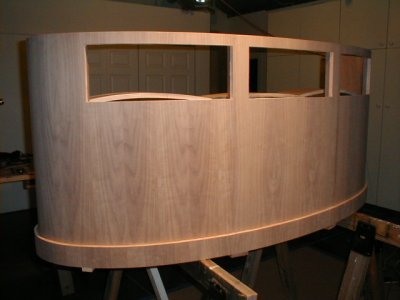 The top three cut-outs. 010105_08.jpg |
 The cut out doors have a slight curvature. 010105_05.jpg |
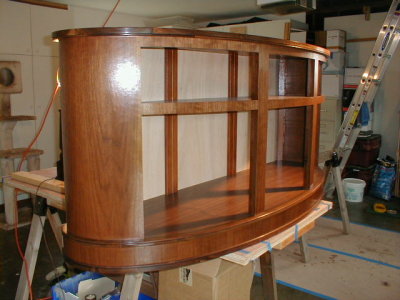
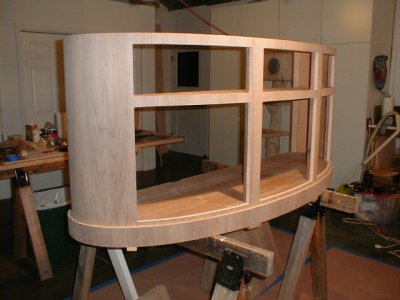 After all 6 cut-outs. 290105_02.jpg |
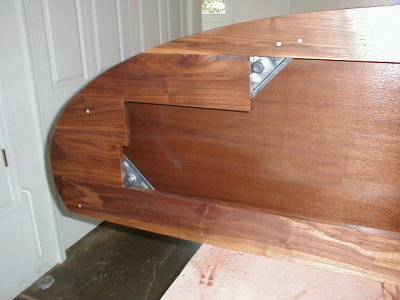
 Cut-out detail. 290105_07.jpg |
 Cut-out detail. 290105_08.jpg |
 Hardwood braces were attached to the inside of the doors to prevent warping. 290105_21.jpg |
 Door barces. 290105_25.jpg |
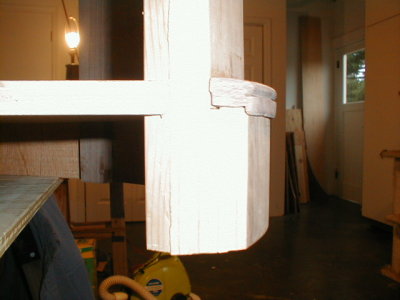
 Hardwood base glue up. 160205_16.jpg |
 Cut line traced using the body. 160205_26.jpg |
 Base after cutting to trace line. 160205_28.jpg |
 Final base. 160205_32.jpg |
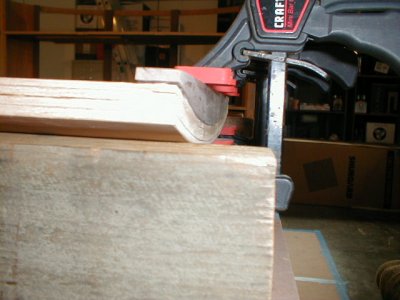
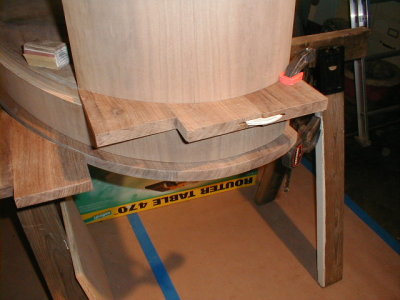 Trim preparation. 160205_47.jpg |
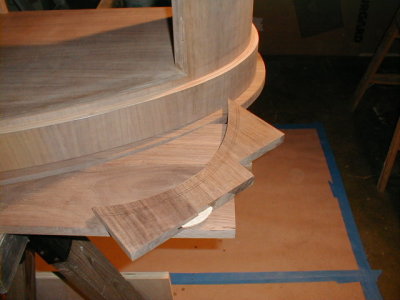 The trim piece showing the cut line. 160205_48.jpg |
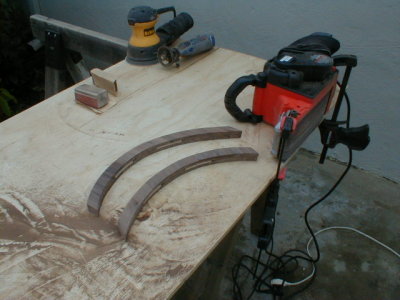 Trim pieces after cutting. 160205_57.jpg |
 Trim piece in place. 160205_61.jpg |
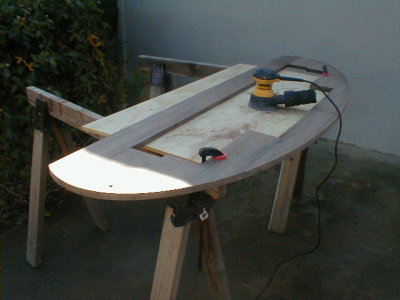
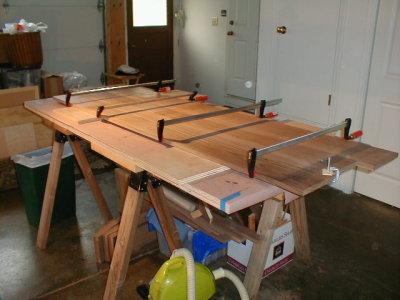 Top being glued up.240205_11.jpg |
 Top after cutting to shape. 200305_32.jpg |
 Hardware installation. 240205_19.jpg |
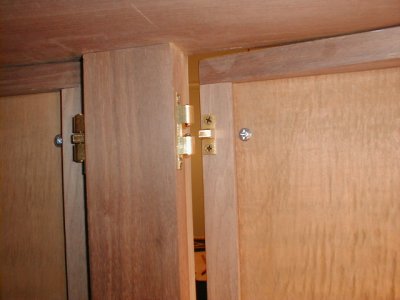 Inside latch. 240205_21.jpg |
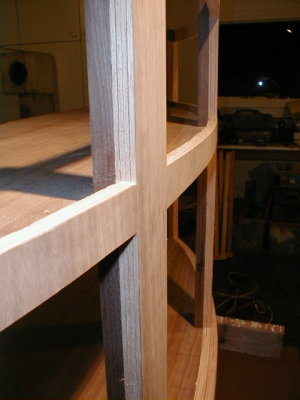
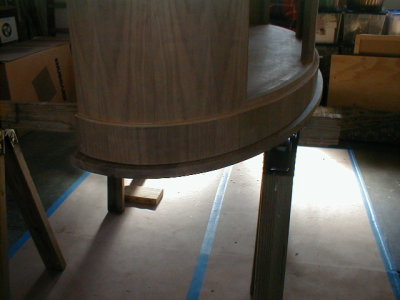
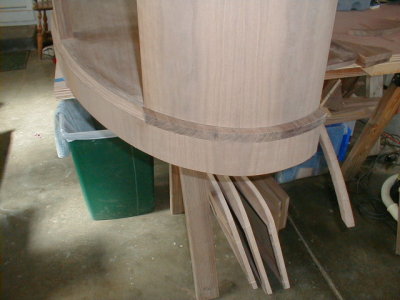
 Installation of trim. 260205_10.jpg |
 Cross section of the trim. 260205_11.jpg |
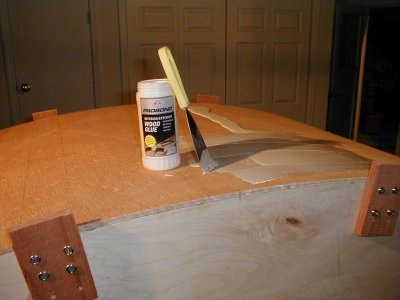
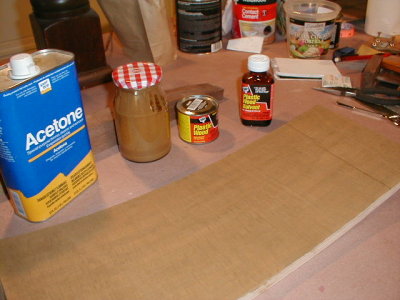 Wood filler was needed for various purposes. 290105_10.jpg |
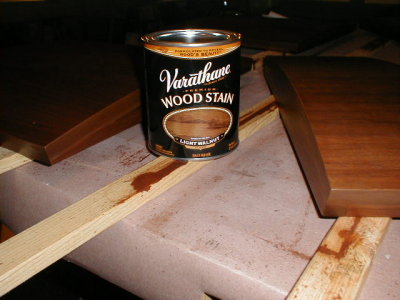 The veneer needed to be stained to match the hardwood pieces. 200305_04.jpg |
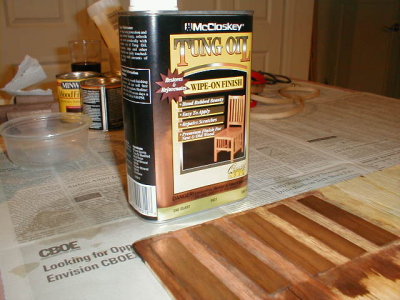 The final finish was a hand rubbed tung oil. 290105_18.jpg |
 Staining the body. 200305_06.jpg |
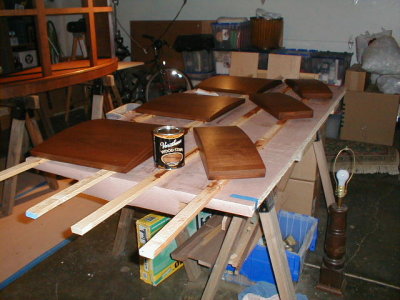 Staining the doors. 200305_10.jpg |
 Re-assembled body after staining. 200305_14.jpg |
 Installation of the back. 200305_34.jpg |
 The body after application of the tung oil. 200305_37.jpg |
 The base and top were attached to the body with screws. Feet were attached to the base. 200305_39.jpg |
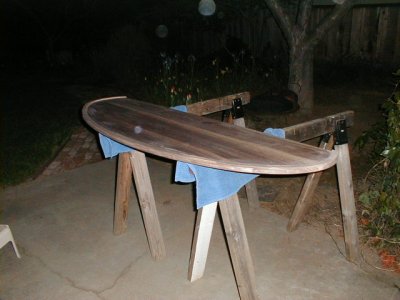
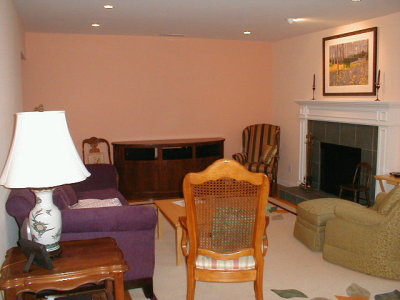 Cabinet in place in our living room. 200305_79.jpg |
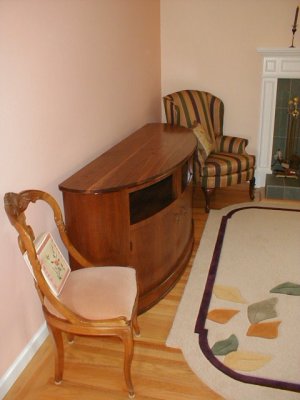 Cabinet in place. 200305_46.jpg |
| comment | share |