photo sharing and upload picture albums photo forums search pictures popular photos photography help login
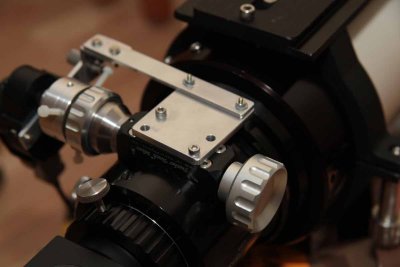
Pawel Lancucki | profile | all galleries >> Pawel Lancucki - Amateur Astronomy >> ATM corner >> ATM projects related to Astro-Physics equipment >> Attaching Robofocus to AP focuser tree view | thumbnails | slideshow

Attaching Robofocus to AP focuser

Here I am sharing my hints for attaching Robofocus stepper motor to AP focuser equipped with FeatherTouch microfocuser. Motor is attached to the microfocuser knob for additional reduction. Initial test shown a move of ca 5,9mm for 5000 steps travel - approximately 1,2um per step - which seems to be precise enough for reaching "sweet spot" inside Critical Focus Zone.

Attachment is by a use of clutch which is secured to the knob by 3 nylon M4 screws (nylon thumb screws would be better, but standard nylon screws also work).

Motor is attached to a special bracket manufactured form a plate, beam and angle of 3-4mm aluminum. Attachment is by single large M5 thumbscrew.

It takes just few seconds to loosen the nylon screws, than large thumbscrew and remove the motor for visual use.

Please note. After few years of use of RF motor, I have noticed that it started increasingly to miss the intended position. Stepper motors do not generally break and can only use accuracy if "dropping" steps due to the load being higher than the torque available. The reality is that Technical Innovations motors have small steel shafts (1/6 inch or less) and press-fitted brass collars to thicken the axis it up to 1/4 inch. The problem is that the collar can and will start to slip over time. I got this problem recently with RF on my other scope - which was consistently loosing steps going "up" focus. When tried to investigate the root cause, the clutch adapter just slipped off the steel motor axis together with the brass collar! My way forward was to drill a hole through both my clutch adapter and brass collar, tap it M4 and make sure the set screws was settled on the flat surface of the real steel shaft. No problems since.
ss_IMG_1289.jpg
ss_IMG_1289.jpg
ss_IMG_1290.jpg
ss_IMG_1290.jpg
ss_IMG_1291.jpg
ss_IMG_1291.jpg