13-JUL-2013
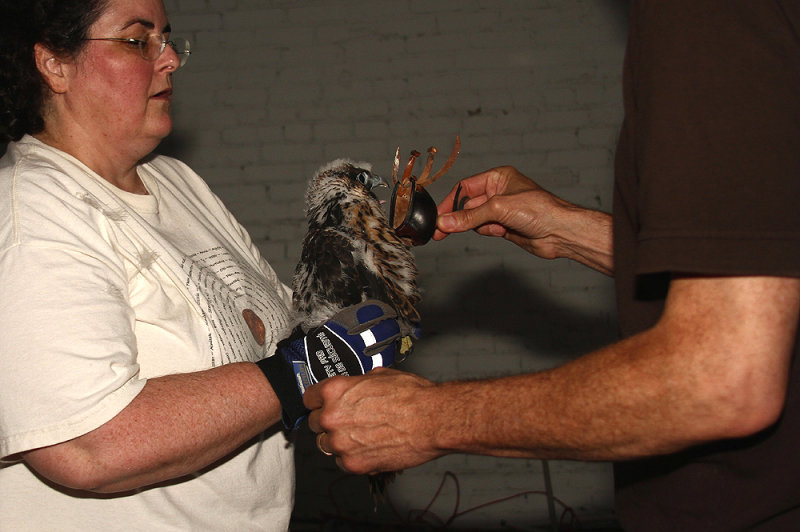
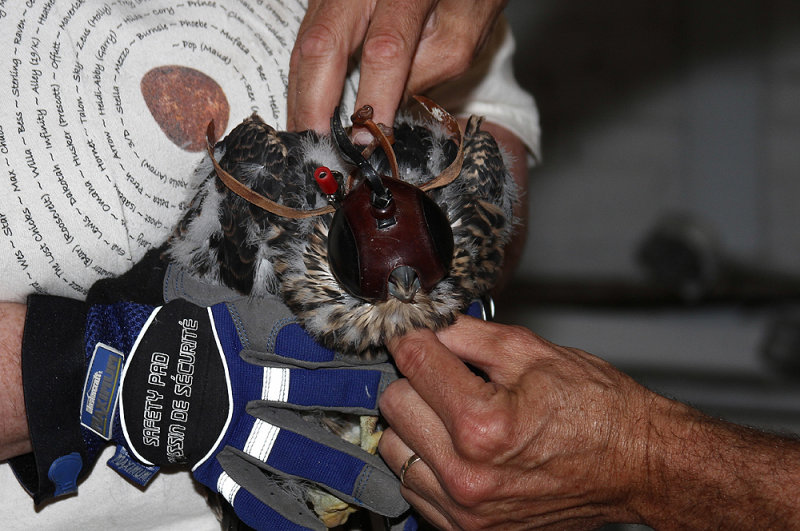
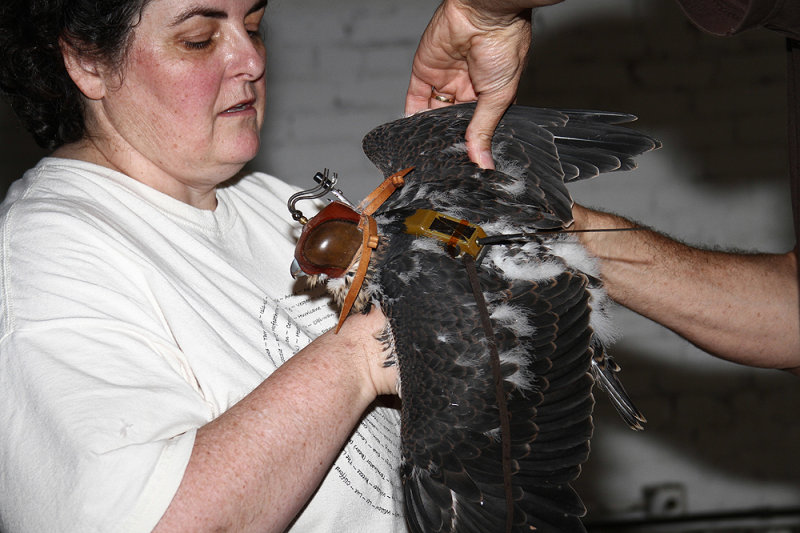
A hood is first placed over the chicks head, this calms the bird...much the same as a falconer would do.
13-JUL-2013
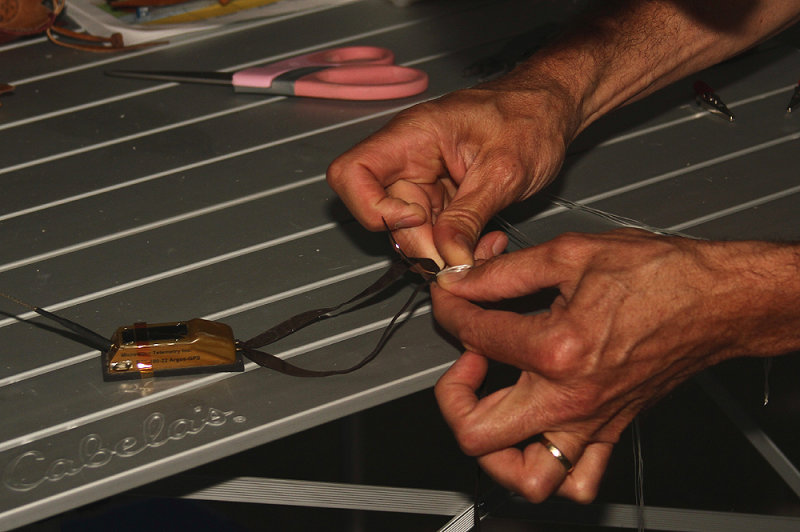
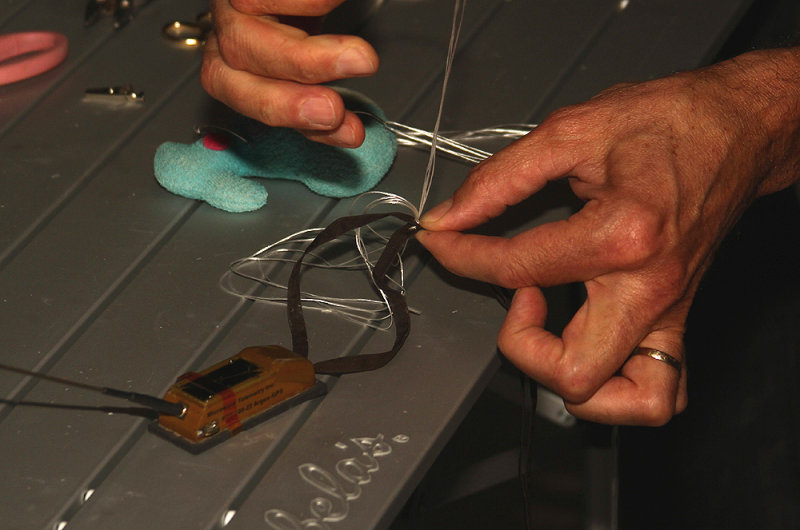
The transmitter is put into place. Two narrow web straps that are attached to the top of the transmitter are crossed at the front of the chick...just above the wishbone.
13-JUL-2013
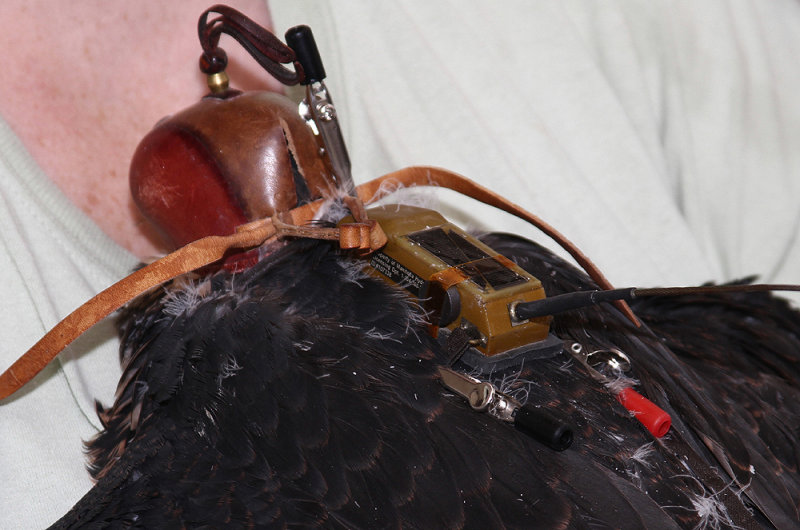
The transmitter is then removed and stitched to form a cross...the ends will later be attached to the bottom end of the transmitter.
13-JUL-2013
4 strands of dental floss is used to sew the webbing...from what I understand the sewing and webbing will last for many years.
13-JUL-2013
The webbing is then worked under the wing and slipped through a slot at the bottom of the transmitter.
10-JUL-2013
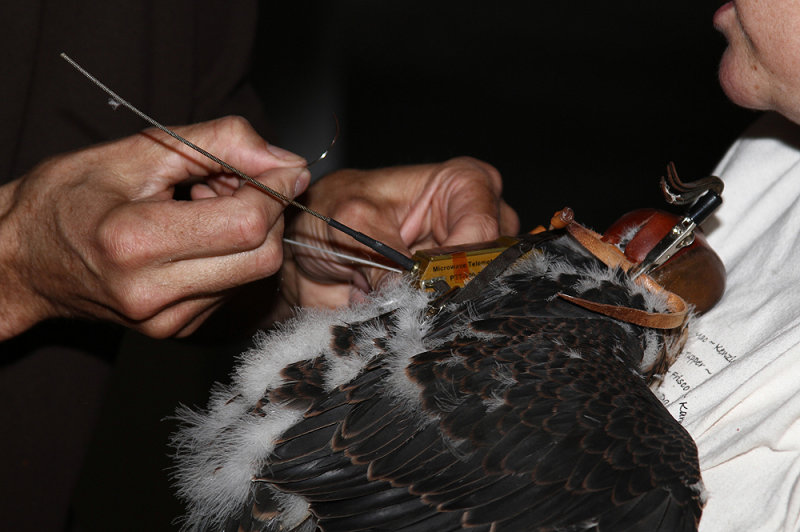
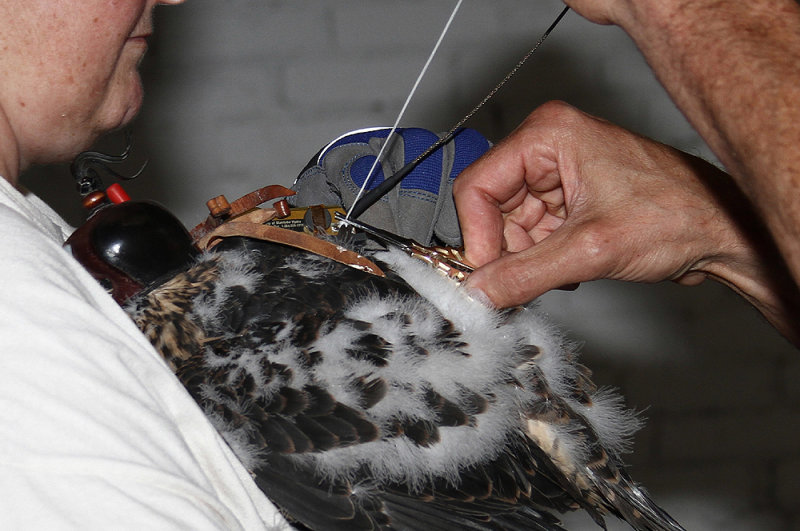
Clips are used to hold the webbing in place...then the transmitter is re-checked for correct placement before the sewing begins.
13-JUL-2013
With a proper fit the sewing can begin on the 2 webbing straps.
13-JUL-2013
With a proper fit the sewing can begin on the 2 webbing straps.
13-JUL-2013
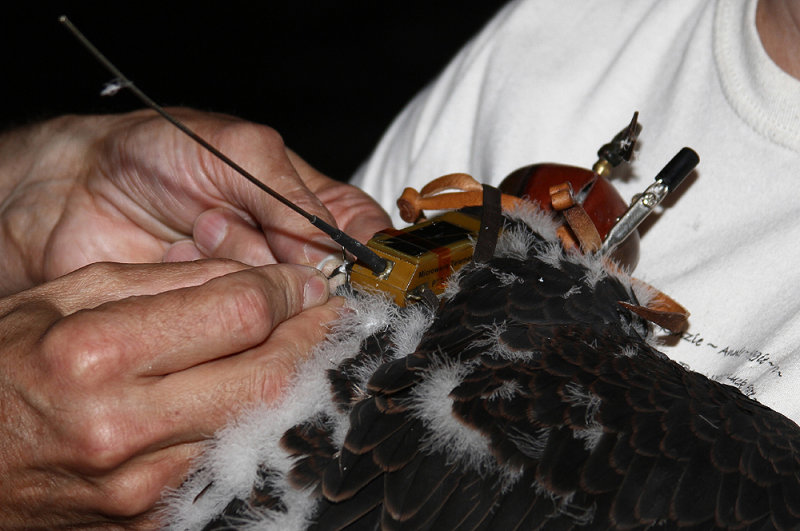
With a final knot the ends are trimmed.
13-JUL-2013
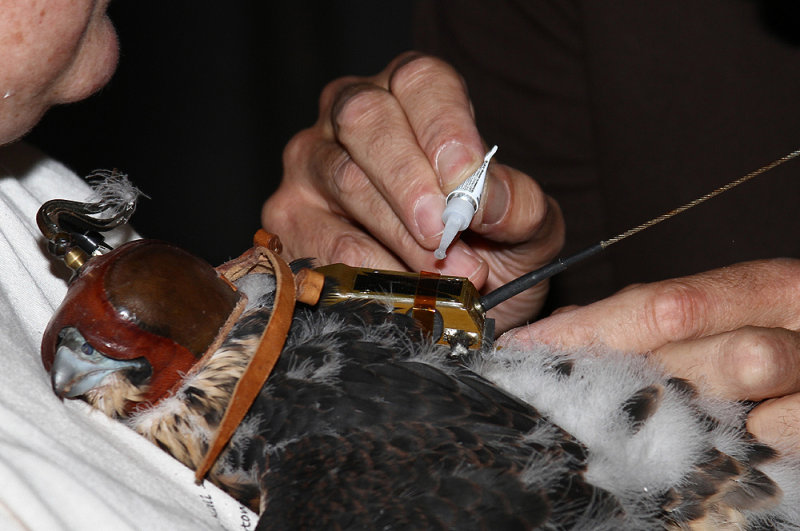
A piece of plastic container cut into a small strip is placed between the gluing area and the chick, then crazy glue is used to keep the knot from coming undone
13-JUL-2013
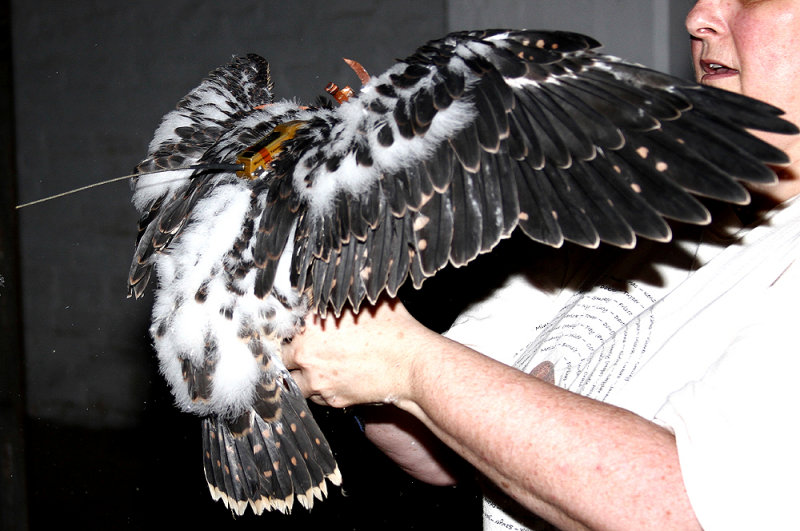
With the transmitter and webbing all double checked, the final flap test is done to make sure the placement is correct.
During all this we had 2 fans blowing to keep them a cool as possible.
12-JUL-2013
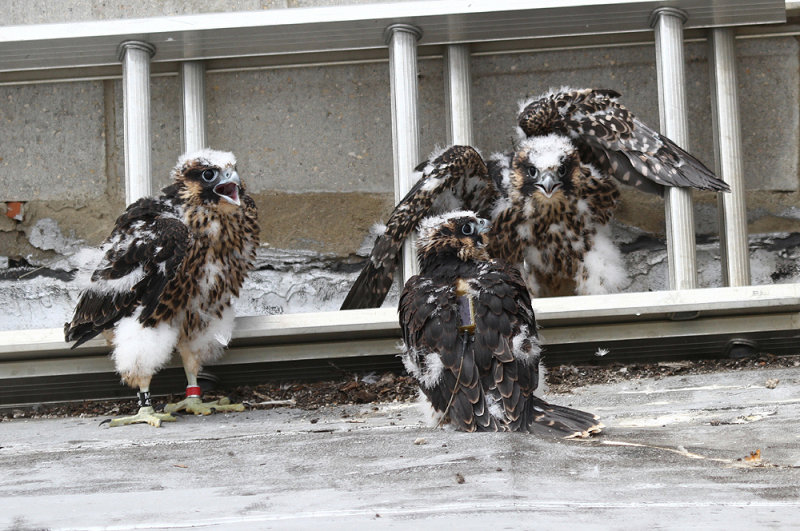
The chicks are then returned to the roof top and released.