


|
|
|
|
|
|
| Konica Minolta Users | profile | all galleries >> KM Challenges >> C9: Touch of Colour - hosted by John down under >> #9: Touch Of Colour - Original Photos | tree view | thumbnails | slideshow |
 originals gallery header |
 comp: A Touch Of Modesty by John down Under |
 comp: 4pts by John down under |
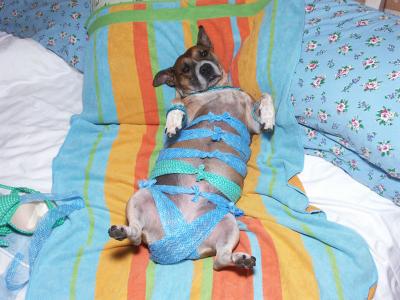
 exh: Do I Make You Horny Baby? by John down under |
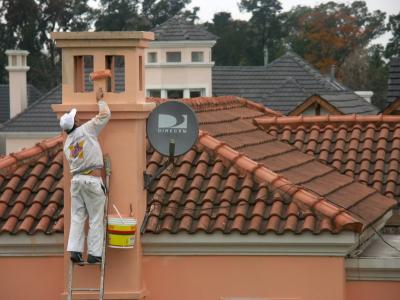
 Paint your wagon by Paul |
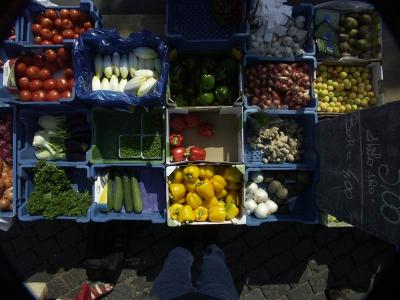 market day by Paul |
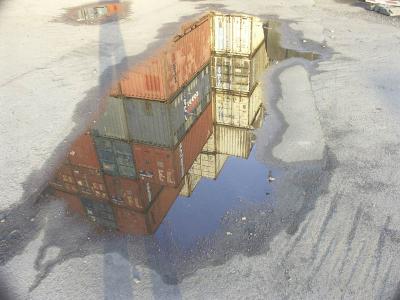 Evaporating watercolors by Paul |
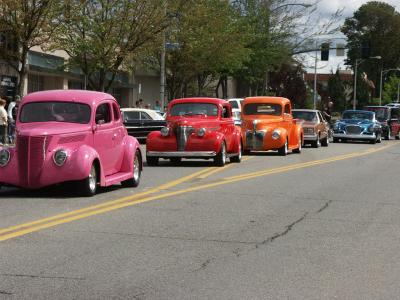 Street Rods On Black Velvet by Jack Grouell |
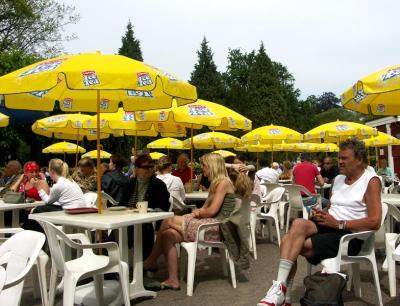 Parasols by Fred |
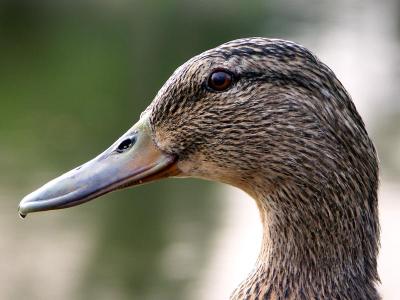 Brown-eyed Duck by Fred |
 Red Hot Chili Pepper by Philip Potts |
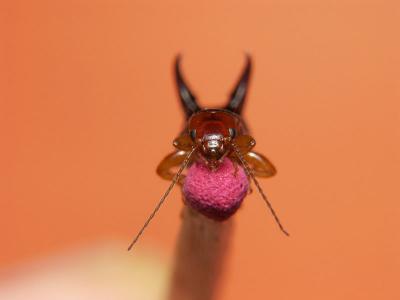
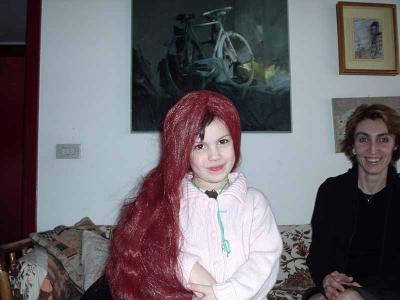 The Red Wig by Claudio Gatti |
 Rusty Barn by cbses |
 A TOUCH OF COLOUR by Sergio Rojkes.jpg |
| comment | share |