


|
|
|
|
|
|
| Tiddalik's Vintage Photography | profile | all galleries >> Galleries >> Tiddalik's Vintage Photographic Equipment for Sale | tree view | thumbnails | slideshow |
| previous page | pages 1 2 3 4 5 6 7 8 9 10 11 12 13 14 15 16 17 18 19 20 21 22 23 24 25 26 27 28 29 30 31 32 33 34 35 36 37 38 39 40 41 42 43 44 45 ALL | next page |
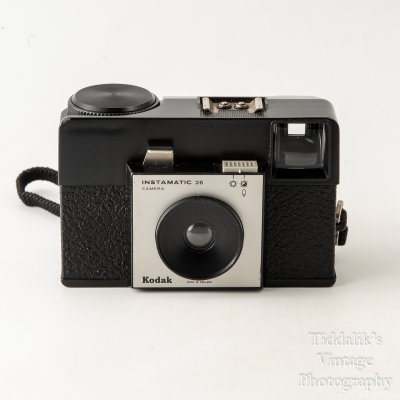 01 Kodak 26 Instamatic 126 Film Cartridge Camera with Case & Instructions.jpg |
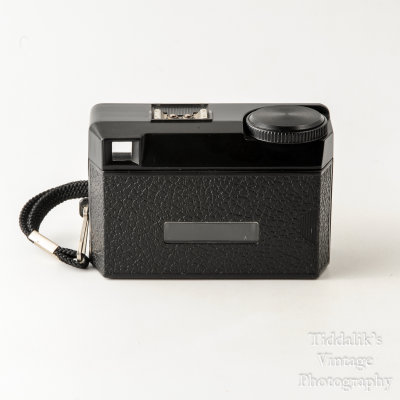 02 Kodak 26 Instamatic 126 Film Cartridge Camera with Case & Instructions.jpg |
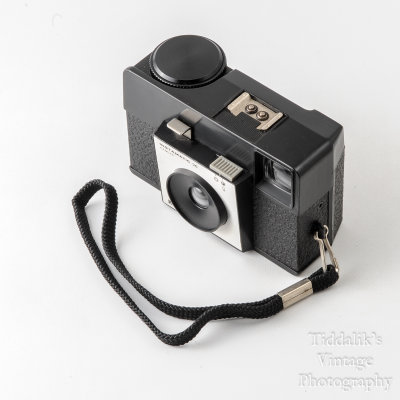 03 Kodak 26 Instamatic 126 Film Cartridge Camera with Case & Instructions.jpg |
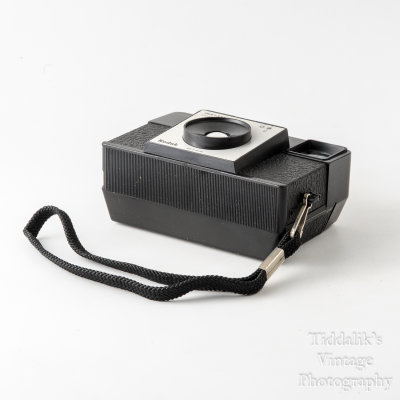 04 Kodak 26 Instamatic 126 Film Cartridge Camera with Case & Instructions.jpg |
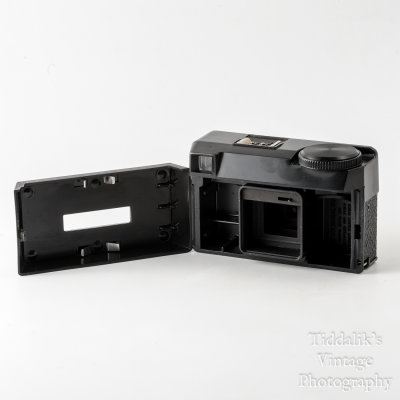 05 Kodak 26 Instamatic 126 Film Cartridge Camera with Case & Instructions.jpg |
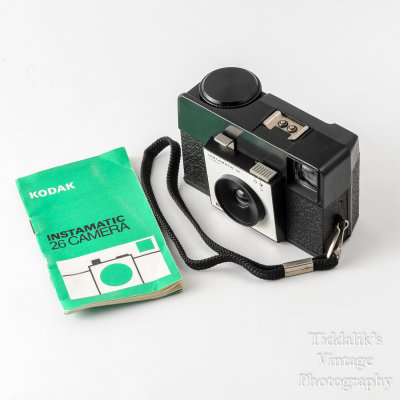 06 Kodak 26 Instamatic 126 Film Cartridge Camera with Case & Instructions.jpg |
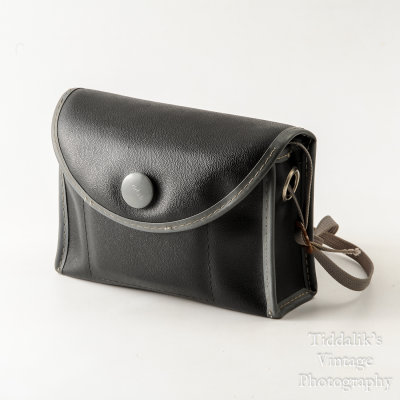 07 Kodak 26 Instamatic 126 Film Cartridge Camera with Case & Instructions.jpg |
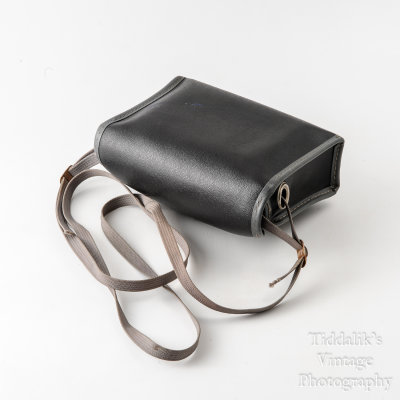 08 Kodak 26 Instamatic 126 Film Cartridge Camera with Case & Instructions.jpg |
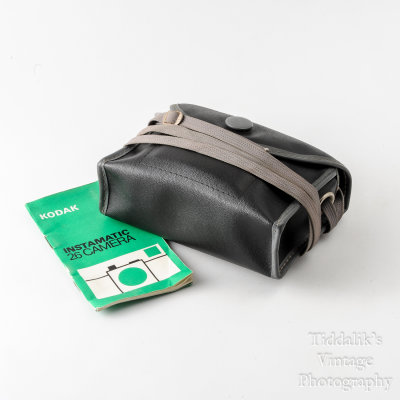 09 Kodak 26 Instamatic 126 Film Cartridge Camera with Case & Instructions.jpg |
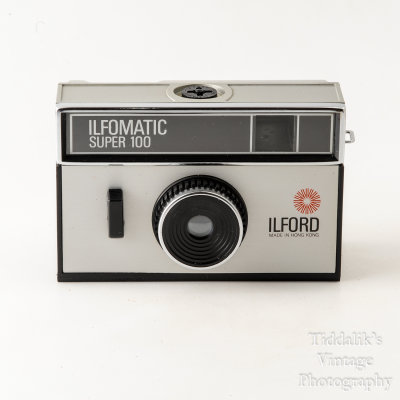 01 Ilford Ilfomatic Super 100 Instamatic 126 Film Cartridge Camera.jpg |
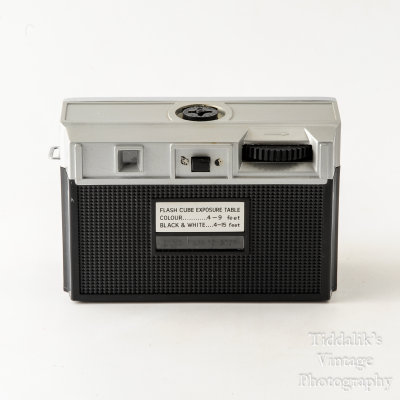 02 Ilford Ilfomatic Super 100 Instamatic 126 Film Cartridge Camera.jpg |
 03 Ilford Ilfomatic Super 100 Instamatic 126 Film Cartridge Camera.jpg |
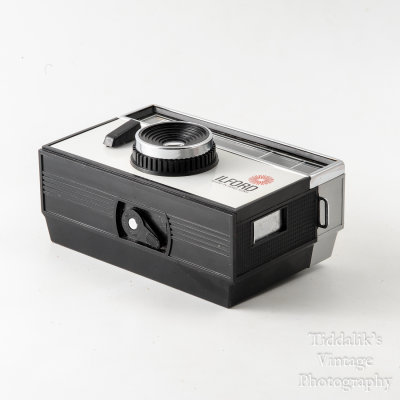 04 Ilford Ilfomatic Super 100 Instamatic 126 Film Cartridge Camera.jpg |
 05 Ilford Ilfomatic Super 100 Instamatic 126 Film Cartridge Camera.jpg |
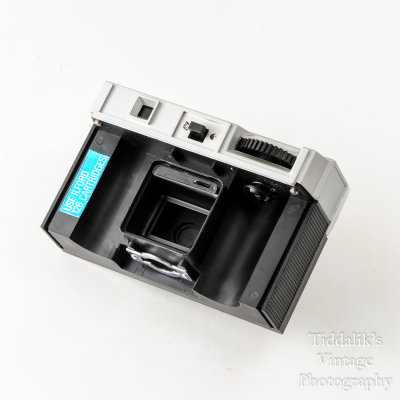 06 Ilford Ilfomatic Super 100 Instamatic 126 Film Cartridge Camera.jpg |
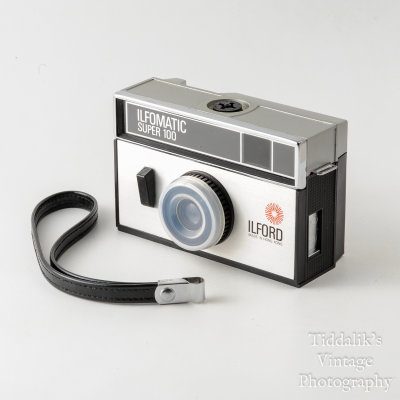 07 Ilford Ilfomatic Super 100 Instamatic 126 Film Cartridge Camera.jpg |
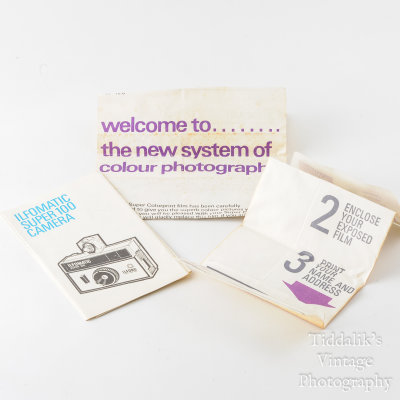 08 Ilford Ilfomatic Super 100 Instamatic 126 Film Cartridge Camera.jpg |
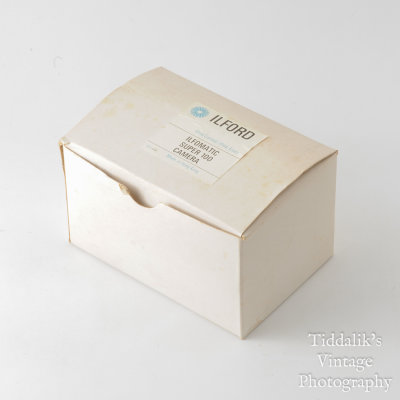 09 Ilford Ilfomatic Super 100 Instamatic 126 Film Cartridge Camera.jpg |
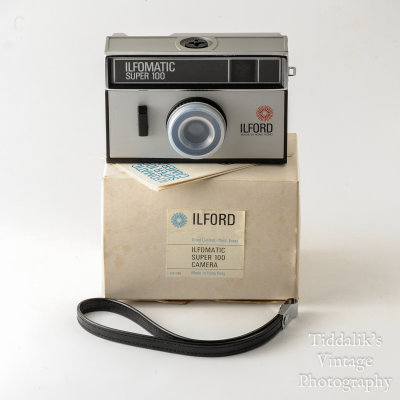 10 Ilford Ilfomatic Super 100 Instamatic 126 Film Cartridge Camera.jpg |
 11 Ilford Ilfomatic Super 100 Instamatic 126 Film Cartridge Camera.jpg |
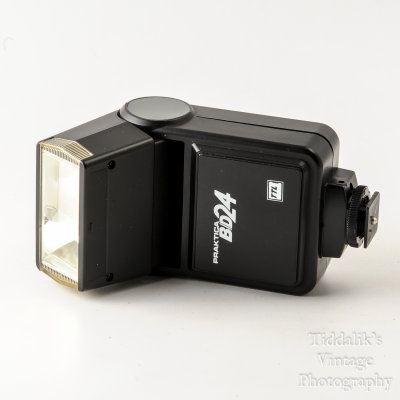 01 Praktica BD24 Dedicated TTL Bounce Vintage Flash.jpg |
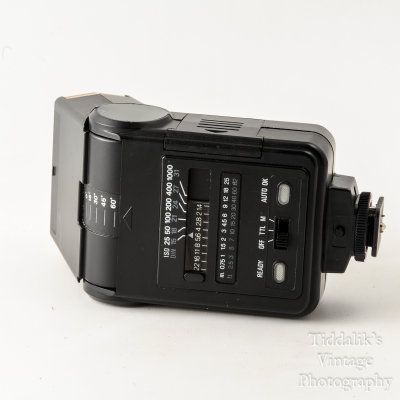 02 Praktica BD24 Dedicated TTL Bounce Vintage Flash.jpg |
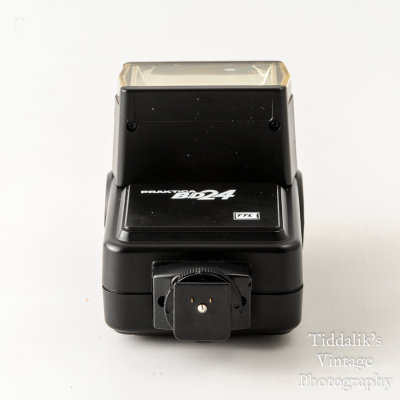 03 Praktica BD24 Dedicated TTL Bounce Vintage Flash.jpg |
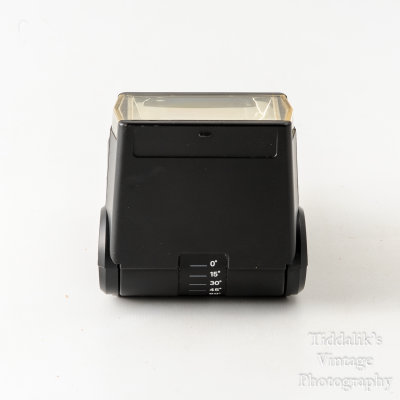 04 Praktica BD24 Dedicated TTL Bounce Vintage Flash.jpg |
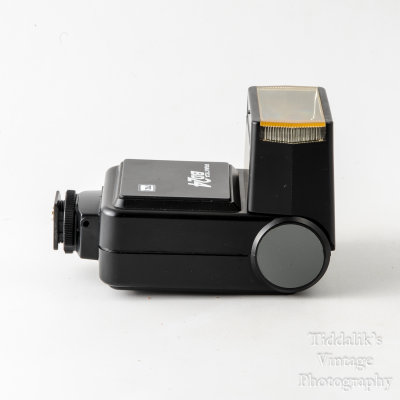 05 Praktica BD24 Dedicated TTL Bounce Vintage Flash.jpg |
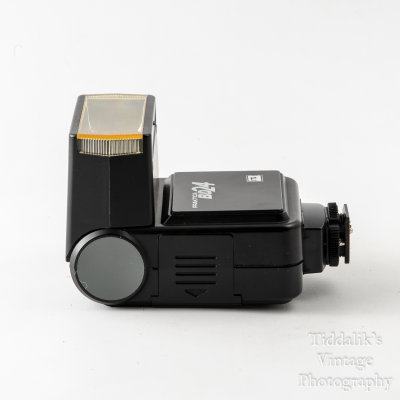 06 Praktica BD24 Dedicated TTL Bounce Vintage Flash.jpg |
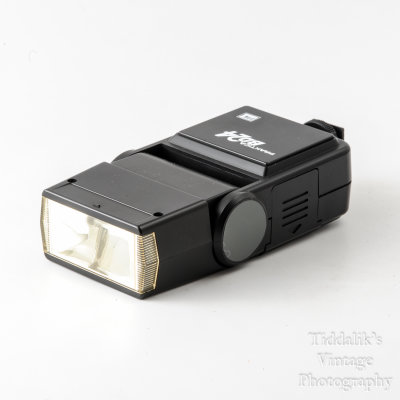 07 Praktica BD24 Dedicated TTL Bounce Vintage Flash.jpg |
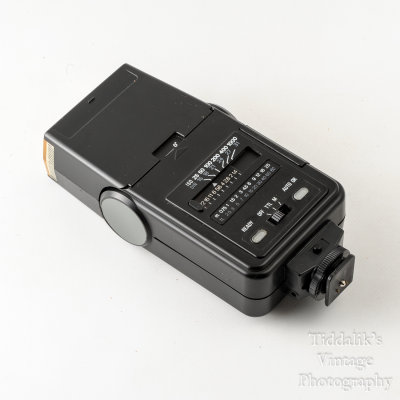 08 Praktica BD24 Dedicated TTL Bounce Vintage Flash.jpg |
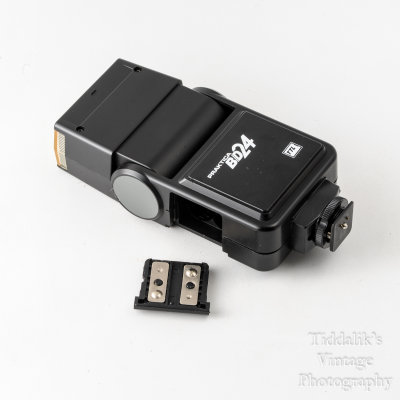 09 Praktica BD24 Dedicated TTL Bounce Vintage Flash.jpg |
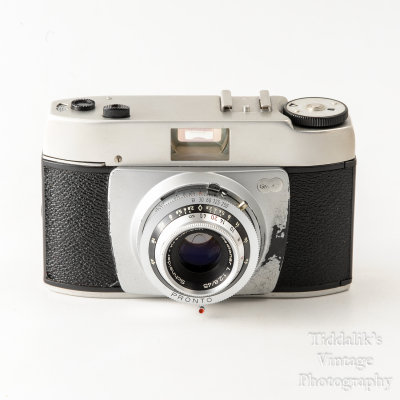 01 Gnome (Adox) 35mm Film Camera with Schneider Kreuznach Radionar L 45mm f2.8 Lens.jpg |
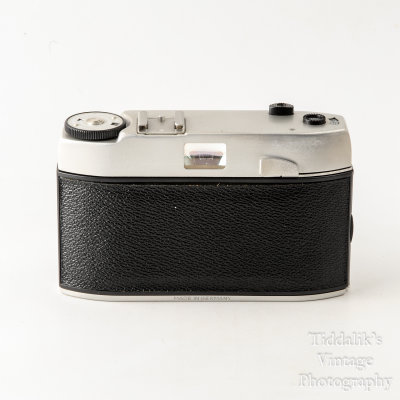 02 Gnome (Adox) 35mm Film Camera with Schneider Kreuznach Radionar L 45mm f2.8 Lens.jpg |
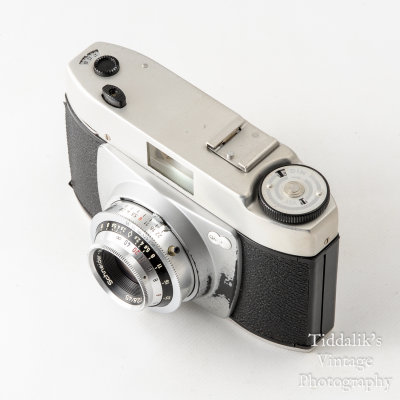 03 Gnome (Adox) 35mm Film Camera with Schneider Kreuznach Radionar L 45mm f2.8 Lens.jpg |
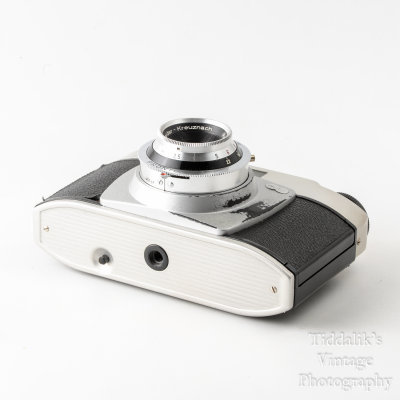 04 Gnome (Adox) 35mm Film Camera with Schneider Kreuznach Radionar L 45mm f2.8 Lens.jpg |
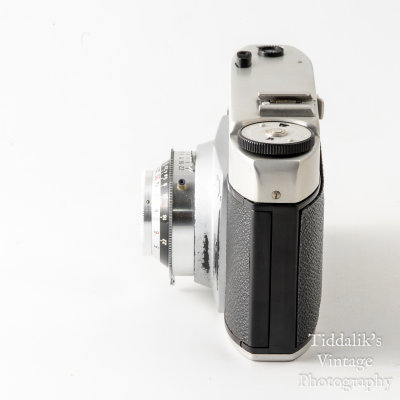 05 Gnome (Adox) 35mm Film Camera with Schneider Kreuznach Radionar L 45mm f2.8 Lens.jpg |
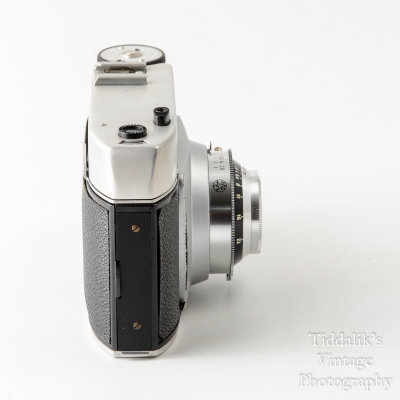 06 Gnome (Adox) 35mm Film Camera with Schneider Kreuznach Radionar L 45mm f2.8 Lens.jpg |
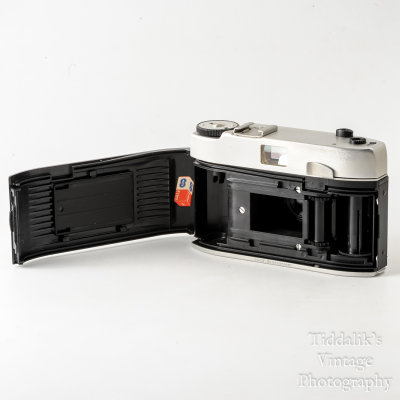 07 Gnome (Adox) 35mm Film Camera with Schneider Kreuznach Radionar L 45mm f2.8 Lens.jpg |
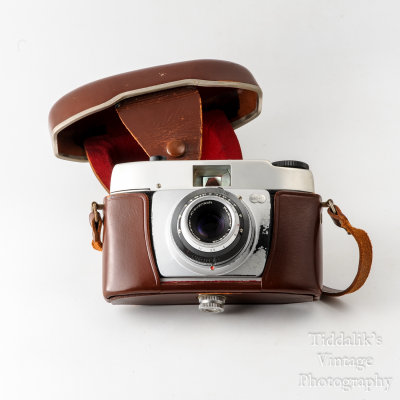 08 Gnome (Adox) 35mm Film Camera with Schneider Kreuznach Radionar L 45mm f2.8 Lens.jpg |
 09 Gnome (Adox) 35mm Film Camera with Schneider Kreuznach Radionar L 45mm f2.8 Lens.jpg |
 10 Gnome (Adox) 35mm Film Camera with Schneider Kreuznach Radionar L 45mm f2.8 Lens.jpg |
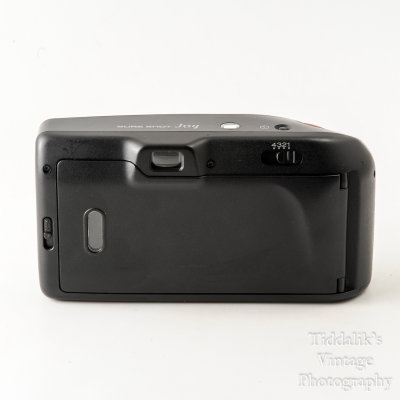
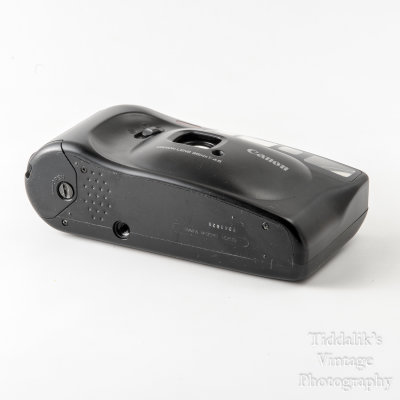
 01 Canon Sure Shot Joy 35mm Auto Focus Point and Shoot Film Camera.jpg |
 02 Canon Sure Shot Joy 35mm Auto Focus Point and Shoot Film Camera.jpg |
 03 Canon Sure Shot Joy 35mm Auto Focus Point and Shoot Film Camera.jpg |
 04 Canon Sure Shot Joy 35mm Auto Focus Point and Shoot Film Camera.jpg |
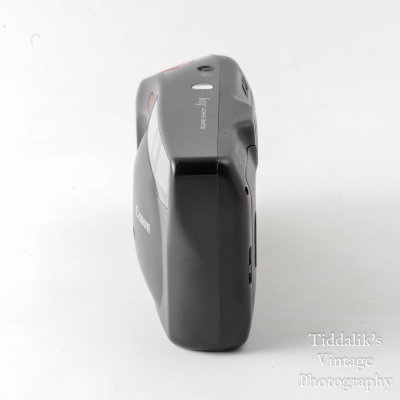 05 Canon Sure Shot Joy 35mm Auto Focus Point and Shoot Film Camera.jpg |
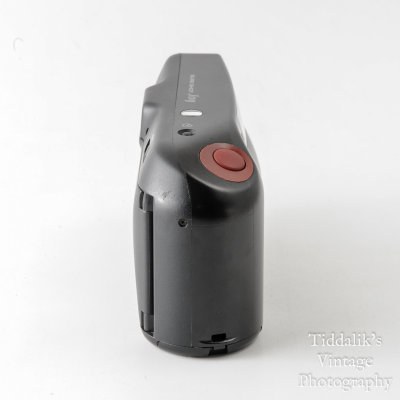 06 Canon Sure Shot Joy 35mm Auto Focus Point and Shoot Film Camera.jpg |
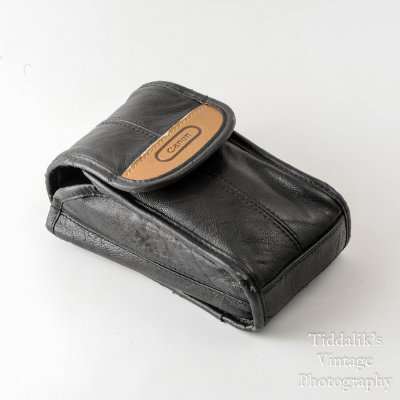 07 Canon Sure Shot Joy 35mm Auto Focus Point and Shoot Film Camera.jpg |
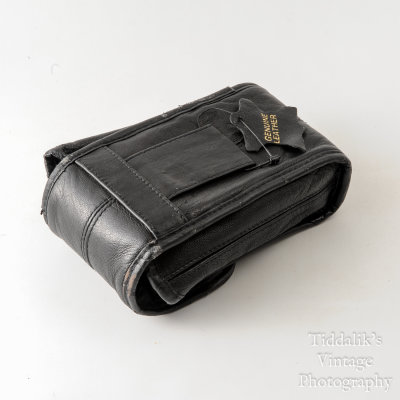 08 Canon Sure Shot Joy 35mm Auto Focus Point and Shoot Film Camera.jpg |
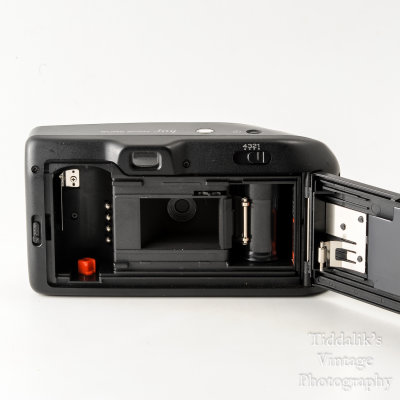 09 Canon Sure Shot Joy 35mm Auto Focus Point and Shoot Film Camera.jpg |
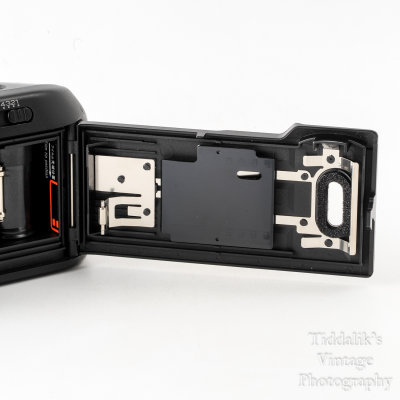 10 Canon Sure Shot Joy 35mm Auto Focus Point and Shoot Film Camera.jpg |
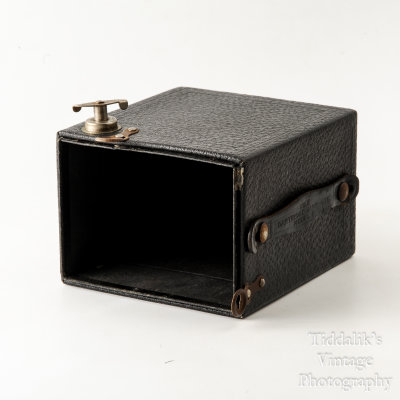
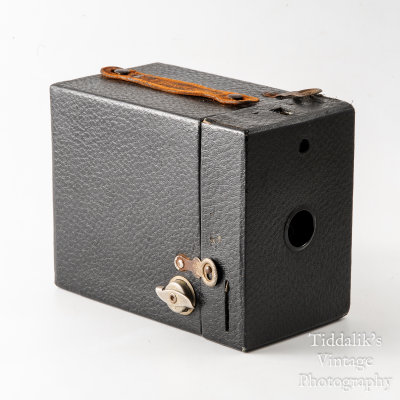 01 Kodak Brownie No. 2 Cartridge Hawkeye Model C 120 Roll Film Box Camera.jpg |
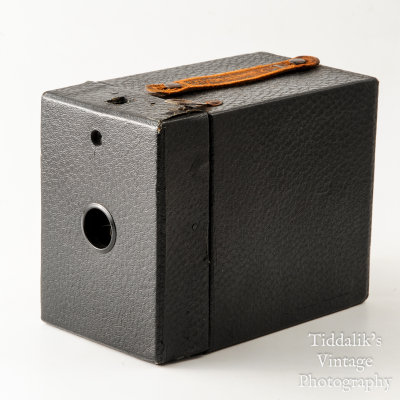 02 Kodak Brownie No. 2 Cartridge Hawkeye Model C 120 Roll Film Box Camera.jpg |
 03 Kodak Brownie No. 2 Cartridge Hawkeye Model C 120 Roll Film Box Camera.jpg |
 04 Kodak Brownie No. 2 Cartridge Hawkeye Model C 120 Roll Film Box Camera.jpg |
 05 Kodak Brownie No. 2 Cartridge Hawkeye Model C 120 Roll Film Box Camera.jpg |
 06 Kodak Brownie No. 2 Cartridge Hawkeye Model C 120 Roll Film Box Camera.jpg |
 07 Kodak Brownie No. 2 Cartridge Hawkeye Model C 120 Roll Film Box Camera.jpg |
 08 Kodak Brownie No. 2 Cartridge Hawkeye Model C 120 Roll Film Box Camera.jpg |
 09 Kodak Brownie No. 2 Cartridge Hawkeye Model C 120 Roll Film Box Camera.jpg |
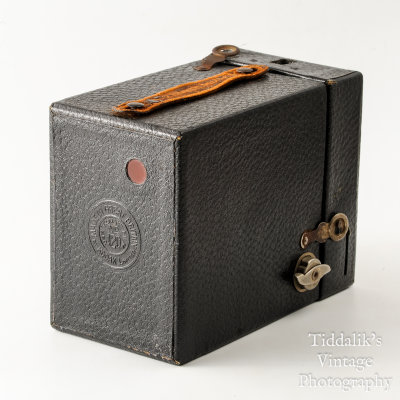
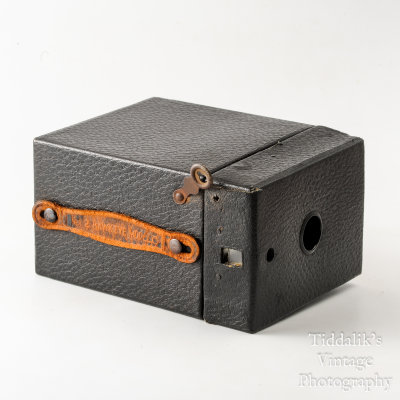
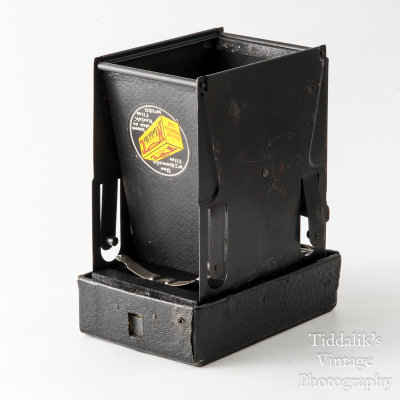
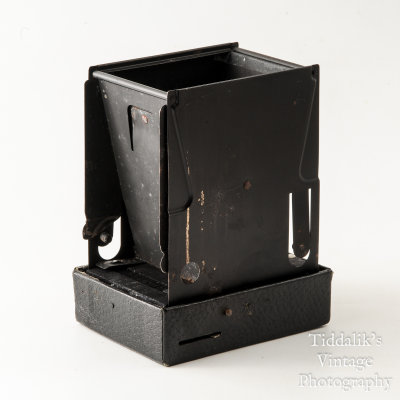
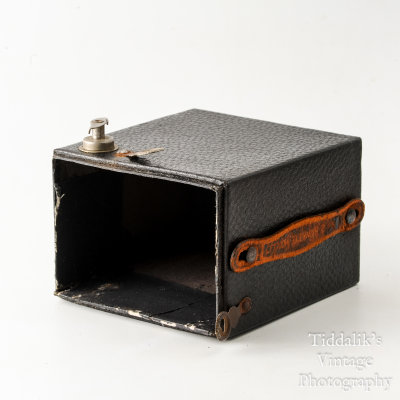
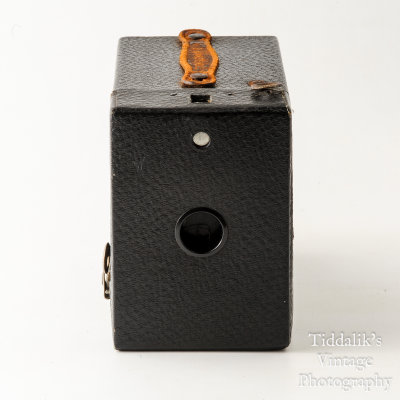
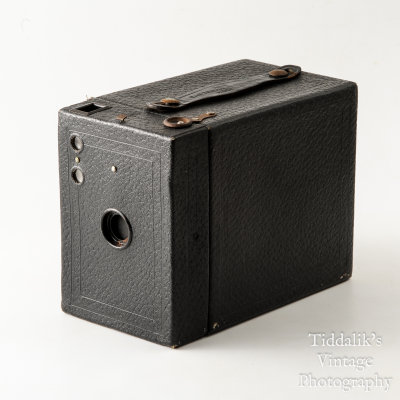
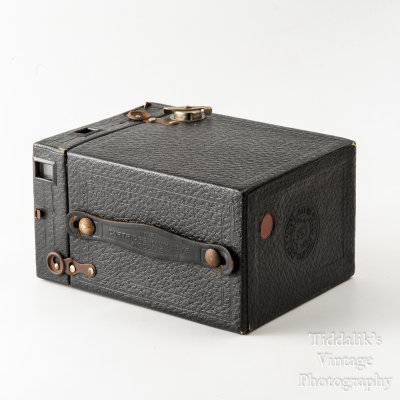
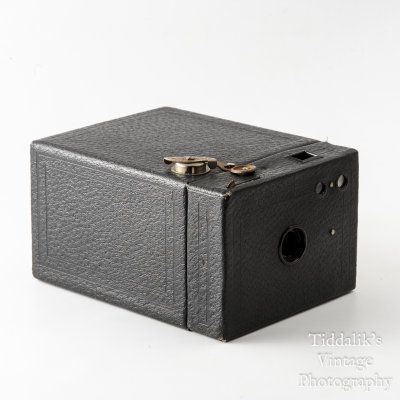
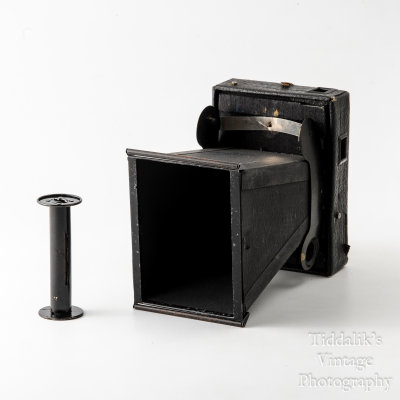
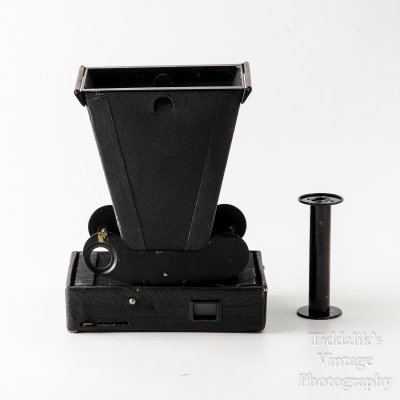
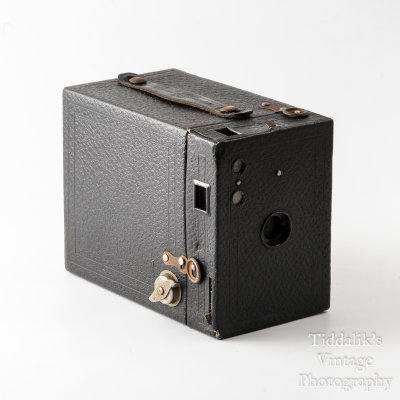 01 Kodak Brownie No. 2 Cartridge Hawk-Eye Model B 120 Roll Film Box Camera - Working.jpg |
 02 Kodak Brownie No. 2 Cartridge Hawk-Eye Model B 120 Roll Film Box Camera - Working.jpg |
 03 Kodak Brownie No. 2 Cartridge Hawk-Eye Model B 120 Roll Film Box Camera - Working.jpg |
 04 Kodak Brownie No. 2 Cartridge Hawk-Eye Model B 120 Roll Film Box Camera - Working.jpg |
 05 Kodak Brownie No. 2 Cartridge Hawk-Eye Model B 120 Roll Film Box Camera - Working.jpg |
 06 Kodak Brownie No. 2 Cartridge Hawk-Eye Model B 120 Roll Film Box Camera - Working.jpg |
 07 Kodak Brownie No. 2 Cartridge Hawk-Eye Model B 120 Roll Film Box Camera - Working.jpg |
 08 Kodak Brownie No. 2 Cartridge Hawk-Eye Model B 120 Roll Film Box Camera - Working.jpg |
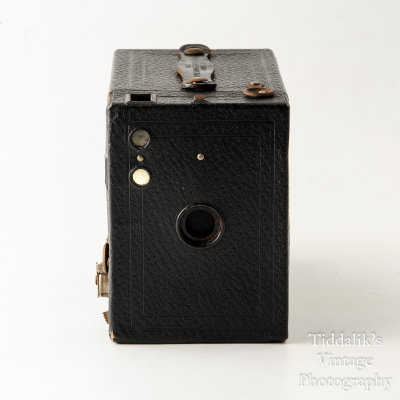 09 Kodak Brownie No. 2 Cartridge Hawk-Eye Model B 120 Roll Film Box Camera - Working.jpg |
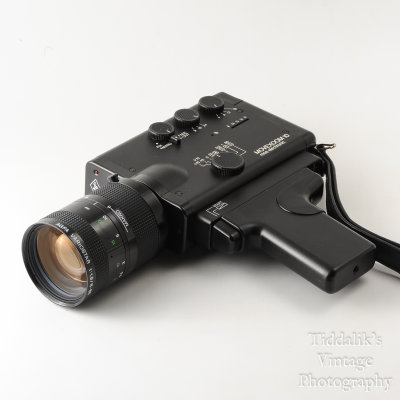 01 Agfa Movexoom 10 Super 8 Movie Camera with Case & Instructions VGC.jpg |
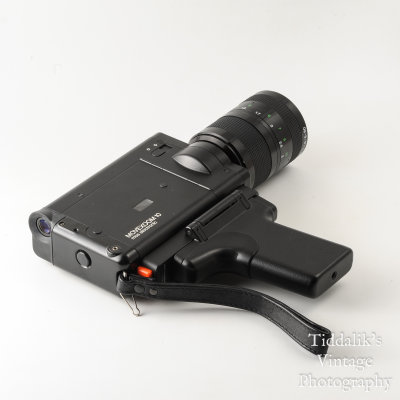 02 Agfa Movexoom 10 Super 8 Movie Camera with Case & Instructions VGC.jpg |
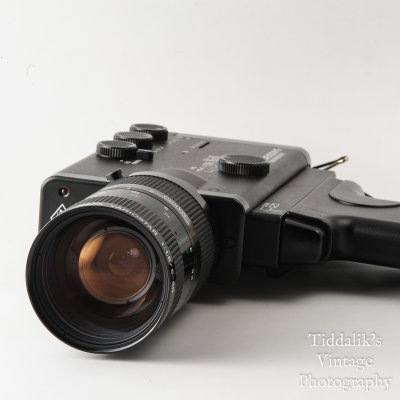 03 Agfa Movexoom 10 Super 8 Movie Camera with Case & Instructions VGC.jpg |
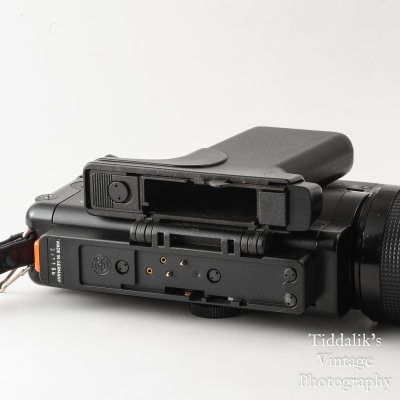 04 Agfa Movexoom 10 Super 8 Movie Camera with Case & Instructions VGC.jpg |
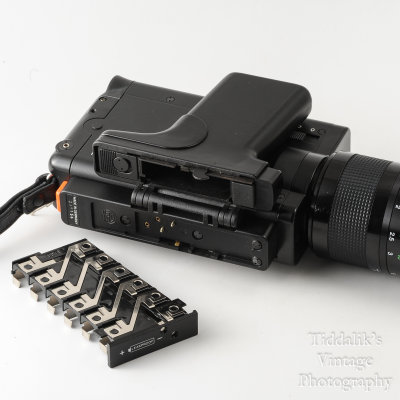 05 Agfa Movexoom 10 Super 8 Movie Camera with Case & Instructions VGC.jpg |
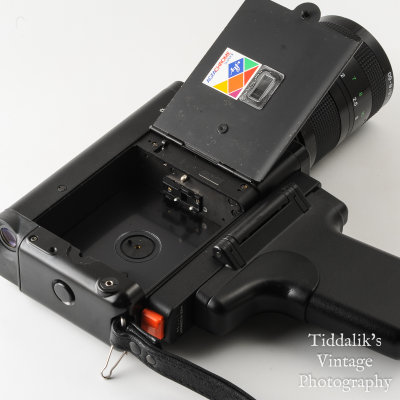 06 Agfa Movexoom 10 Super 8 Movie Camera with Case & Instructions VGC.jpg |
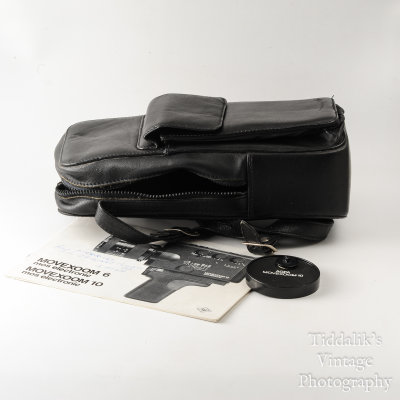 07 Agfa Movexoom 10 Super 8 Movie Camera with Case & Instructions VGC.jpg |
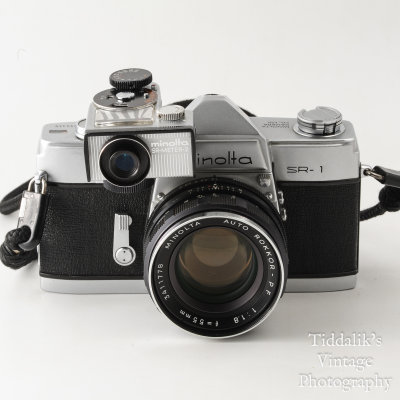 01 Minolta SR-1 SLR Camera with Rokkor 55mm f1.8 PF Lens + Extras VGC.jpg |
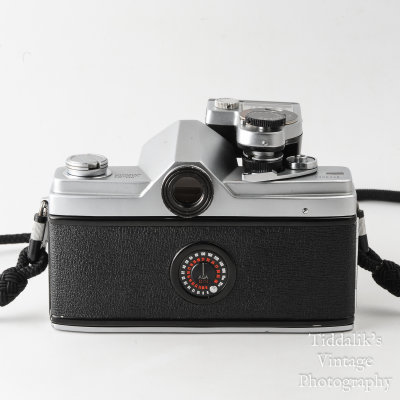 02 Minolta SR-1 SLR Camera with Rokkor 55mm f1.8 PF Lens + Extras VGC.jpg |
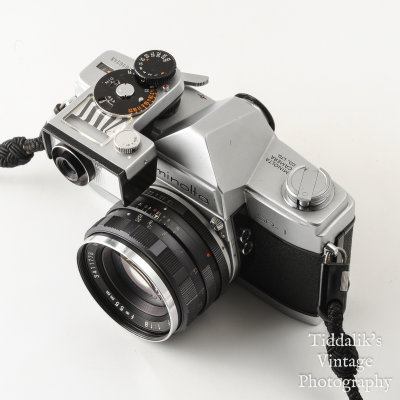 03 Minolta SR-1 SLR Camera with Rokkor 55mm f1.8 PF Lens + Extras VGC.jpg |
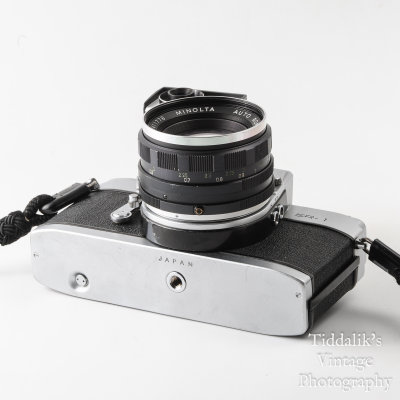 04 Minolta SR-1 SLR Camera with Rokkor 55mm f1.8 PF Lens + Extras VGC.jpg |
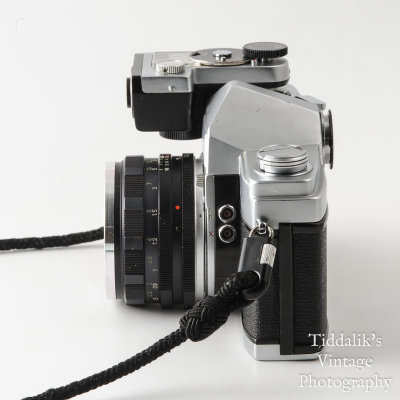 05 Minolta SR-1 SLR Camera with Rokkor 55mm f1.8 PF Lens + Extras VGC.jpg |
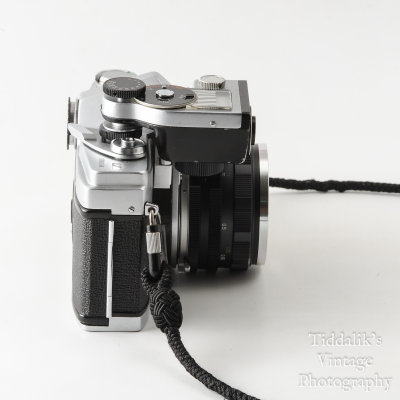 06 Minolta SR-1 SLR Camera with Rokkor 55mm f1.8 PF Lens + Extras VGC.jpg |
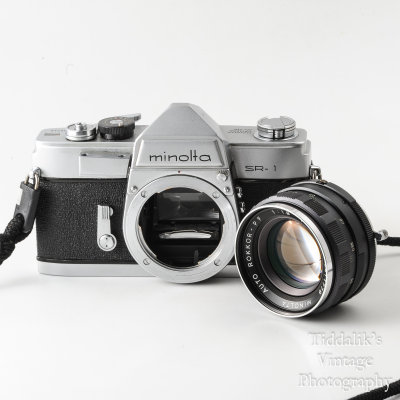 07 Minolta SR-1 SLR Camera with Rokkor 55mm f1.8 PF Lens + Extras VGC.jpg |
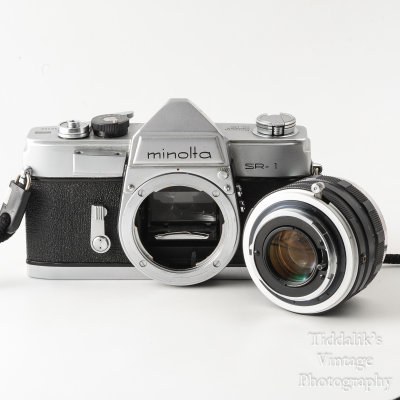 08 Minolta SR-1 SLR Camera with Rokkor 55mm f1.8 PF Lens + Extras VGC.jpg |
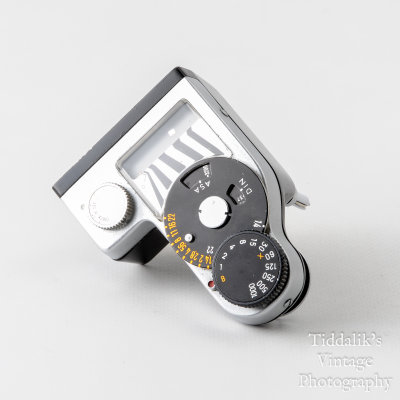 09 Minolta SR-1 SLR Camera with Rokkor 55mm f1.8 PF Lens + Extras VGC.jpg |
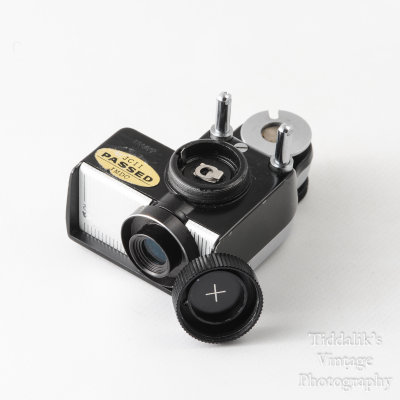 10 Minolta SR-1 SLR Camera with Rokkor 55mm f1.8 PF Lens + Extras VGC.jpg |
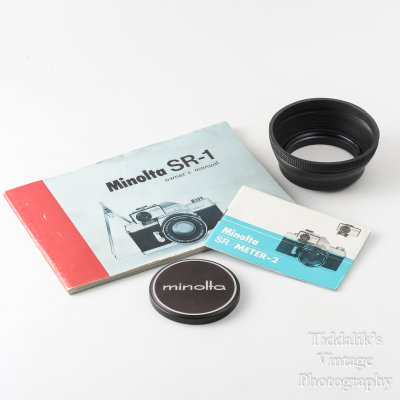 11 Minolta SR-1 SLR Camera with Rokkor 55mm f1.8 PF Lens + Extras VGC.jpg |
 12 Minolta SR-1 SLR Camera with Rokkor 55mm f1.8 PF Lens + Extras VGC.jpg |
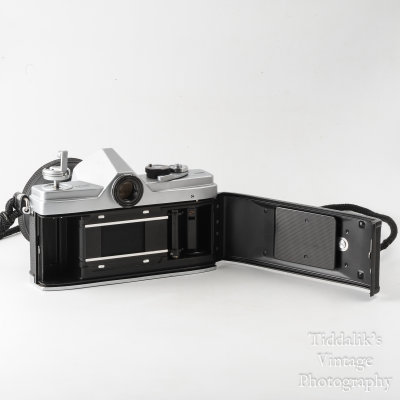
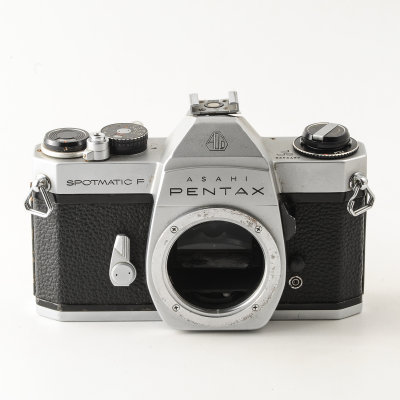 01 Asahi Pentax Spotmatic F SLR Camera Body - FAULTY SHUTTER.jpg |
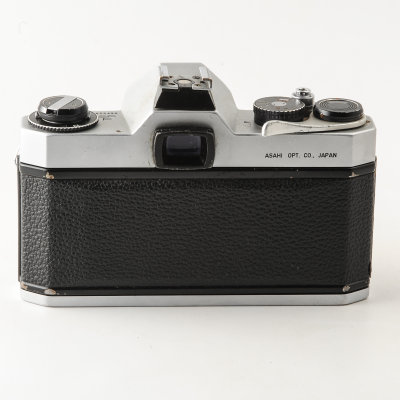 02 Asahi Pentax Spotmatic F SLR Camera Body - FAULTY SHUTTER.jpg |
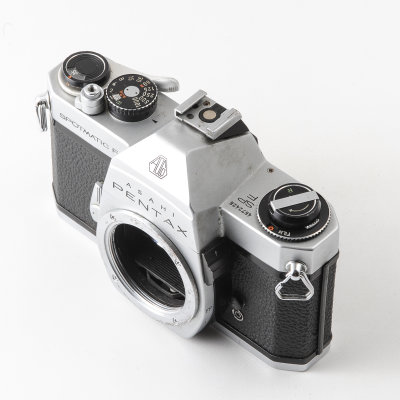 03 Asahi Pentax Spotmatic F SLR Camera Body - FAULTY SHUTTER.jpg |
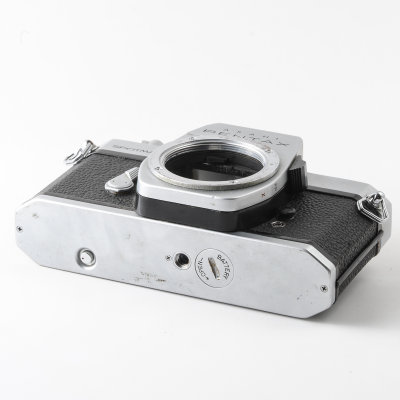 04 Asahi Pentax Spotmatic F SLR Camera Body - FAULTY SHUTTER.jpg |
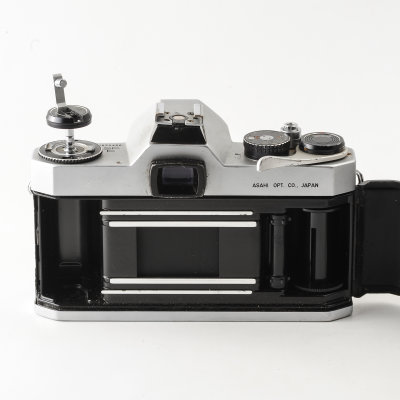 05 Asahi Pentax Spotmatic F SLR Camera Body - FAULTY SHUTTER.jpg |
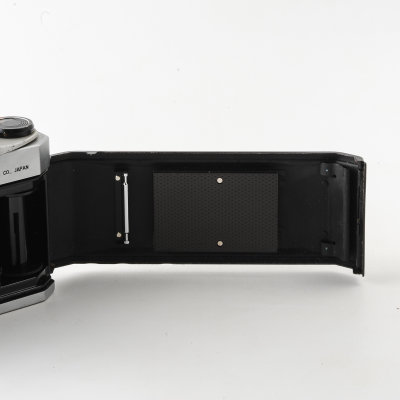 06 Asahi Pentax Spotmatic F SLR Camera Body - FAULTY SHUTTER.jpg |
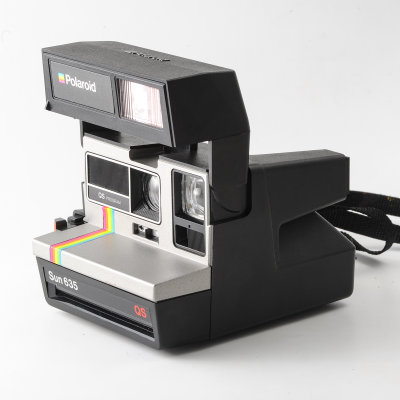
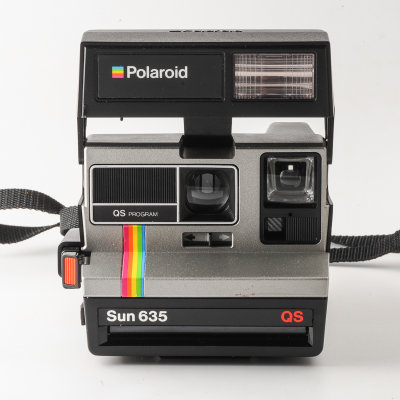 01 Polaroid Sun 635 QS Instant Camera.jpg |
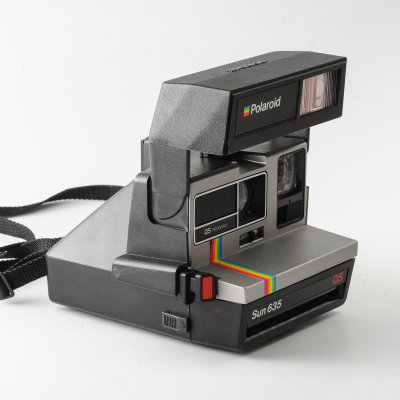
 02 Polaroid Sun 635 QS Instant Camera.jpg |
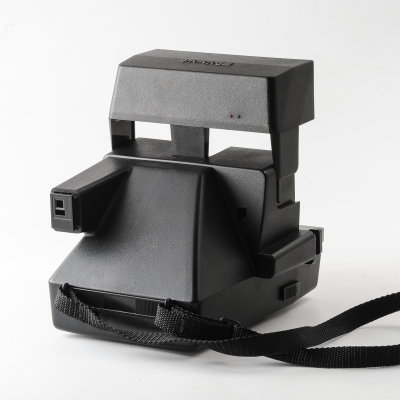
 03 Polaroid Sun 635 QS Instant Camera.jpg |
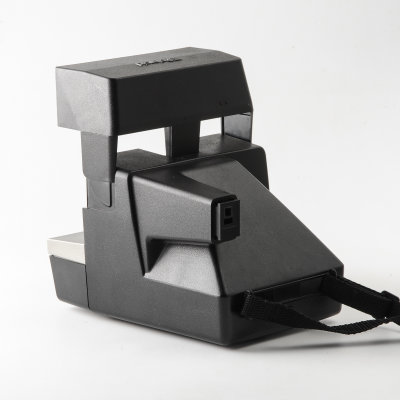
 04 Polaroid Sun 635 QS Instant Camera.jpg |
 05 Polaroid Sun 635 QS Instant Camera.jpg |
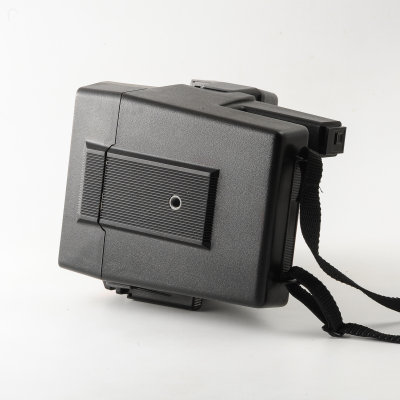 06 Polaroid Sun 635 QS Instant Camera.jpg |
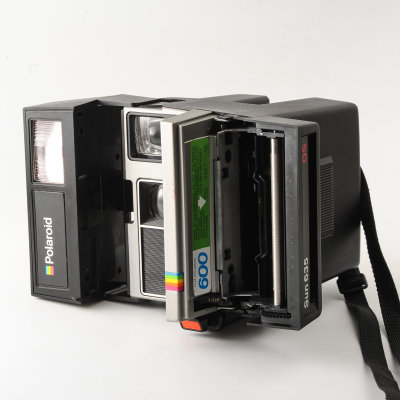 07 Polaroid Sun 635 QS Instant Camera.jpg |
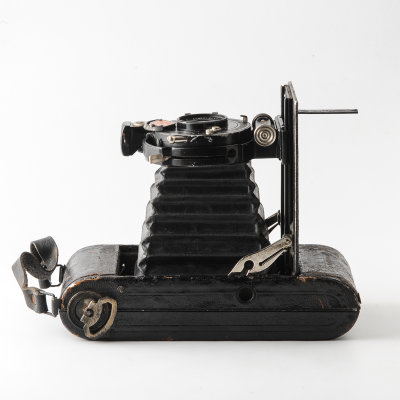
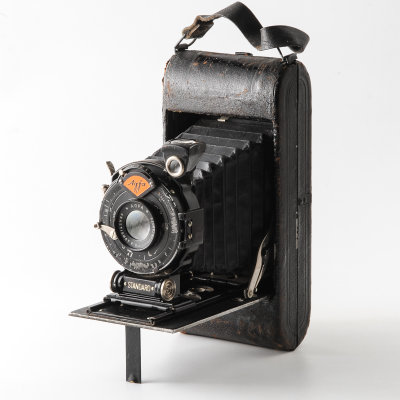 01 Agfa Standard Vintage 120 Roll Film Folding Camera.jpg |
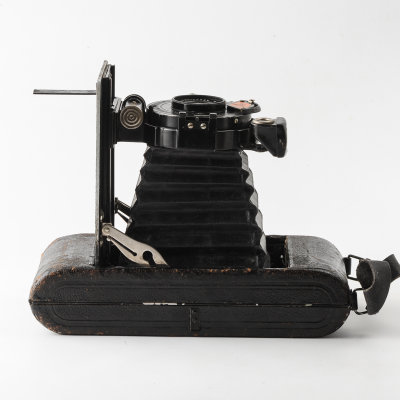
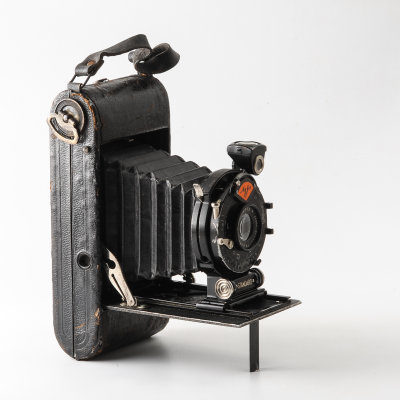 02 Agfa Standard Vintage 120 Roll Film Folding Camera.jpg |
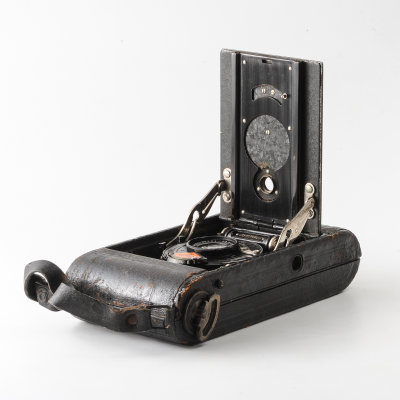
 03 Agfa Standard Vintage 120 Roll Film Folding Camera.jpg |
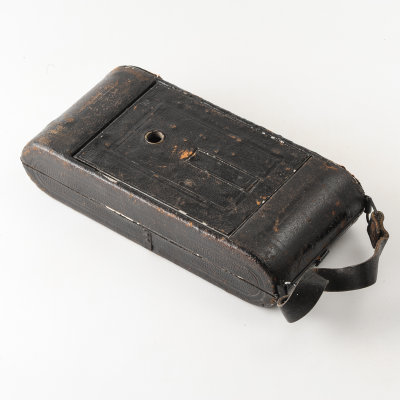
 04 Agfa Standard Vintage 120 Roll Film Folding Camera.jpg |
 05 Agfa Standard Vintage 120 Roll Film Folding Camera.jpg |
 06 Agfa Standard Vintage 120 Roll Film Folding Camera.jpg |
 07 Agfa Standard Vintage 120 Roll Film Folding Camera.jpg |
 08 Agfa Standard Vintage 120 Roll Film Folding Camera.jpg |
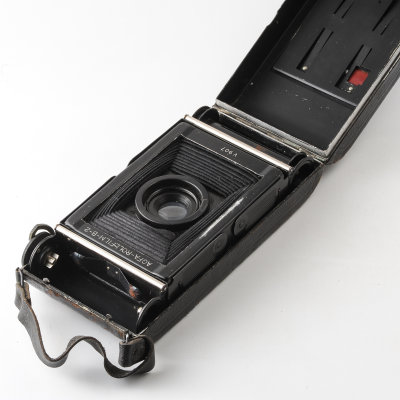 09 Agfa Standard Vintage 120 Roll Film Folding Camera.jpg |
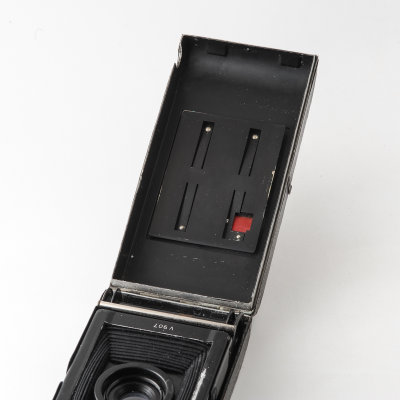 10 Agfa Standard Vintage 120 Roll Film Folding Camera.jpg |
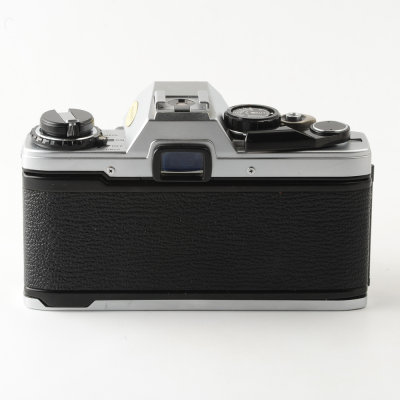
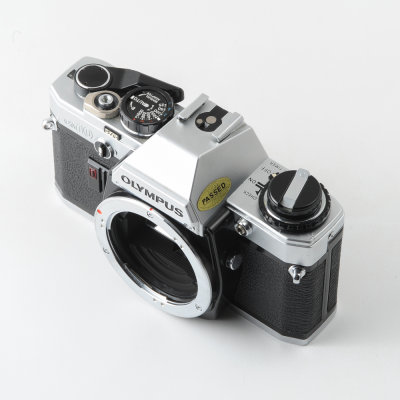
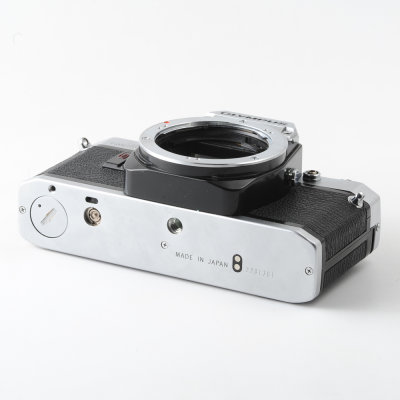
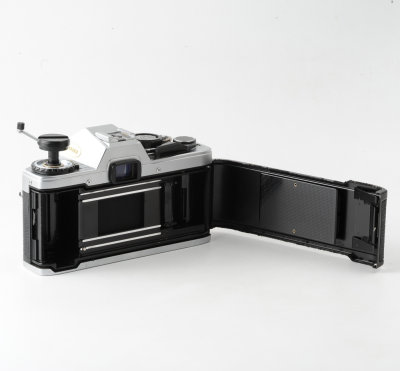
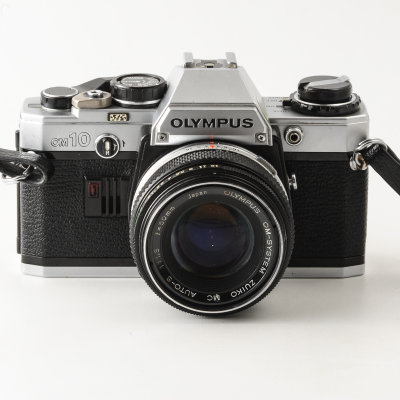 Olympus OM10 35mm SLR Camera with 50mm f1.8 OM Lens & Case |
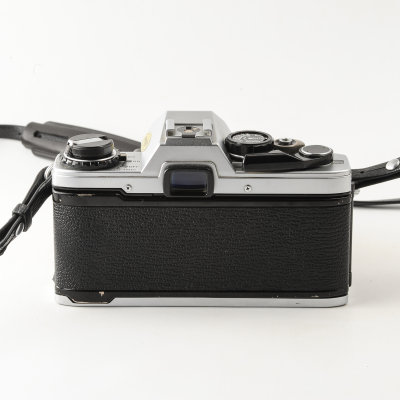 Olympus OM10 35mm SLR Camera with 50mm f1.8 OM Lens & Case |
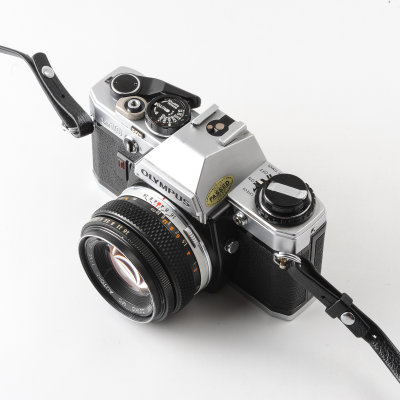 Olympus OM10 35mm SLR Camera with 50mm f1.8 OM Lens & Case |
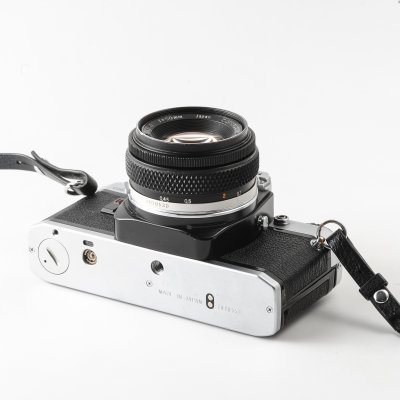 Olympus OM10 35mm SLR Camera with 50mm f1.8 OM Lens & Case |
 Olympus OM10 35mm SLR Camera with 50mm f1.8 OM Lens & Case |
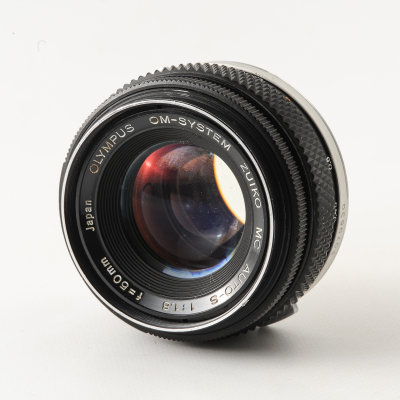 Olympus OM10 35mm SLR Camera with 50mm f1.8 OM Lens & Case |
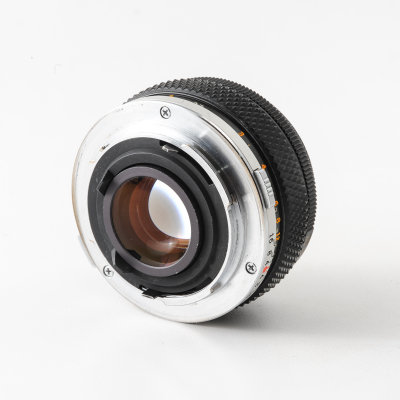 Olympus OM10 35mm SLR Camera with 50mm f1.8 OM Lens & Case |
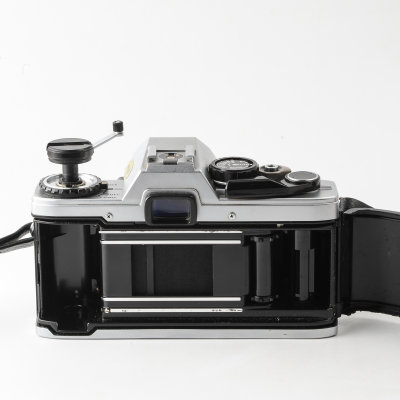 Olympus OM10 35mm SLR Camera with 50mm f1.8 OM Lens & Case |
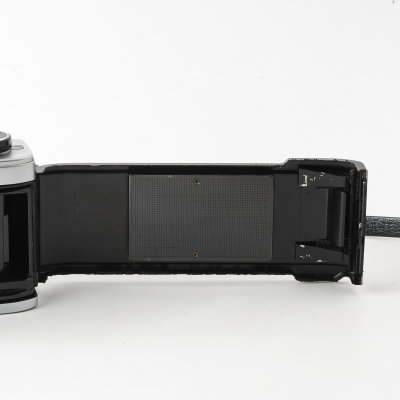 Olympus OM10 35mm SLR Camera with 50mm f1.8 OM Lens & Case |
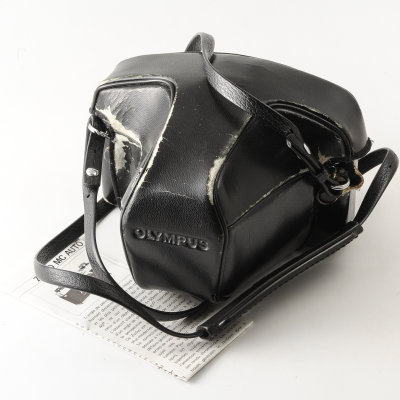 Olympus OM10 35mm SLR Camera with 50mm f1.8 OM Lens & Case |
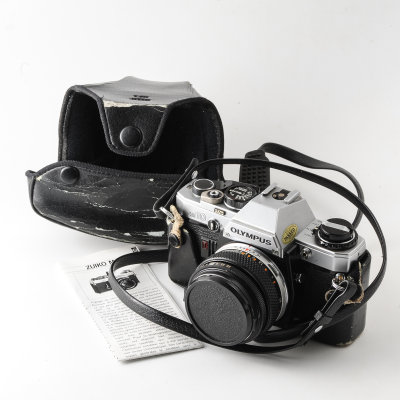 Olympus OM10 35mm SLR Camera with 50mm f1.8 OM Lens & Case |
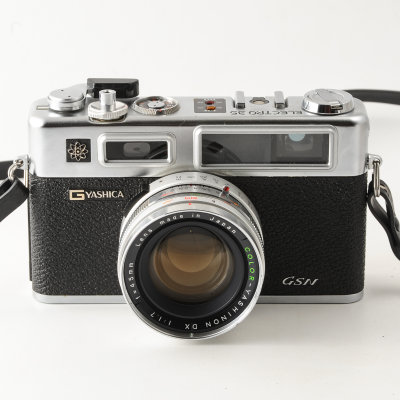 Yashica Electro 35 GSN 35mm Rangefinder Camera |
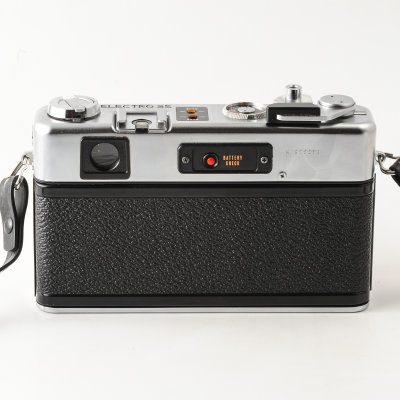 Yashica Electro 35 GSN 35mm Rangefinder Camera |
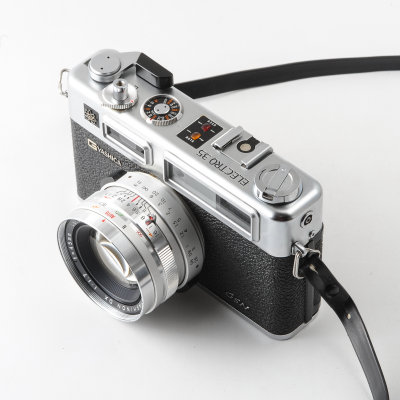 Yashica Electro 35 GSN 35mm Rangefinder Camera |
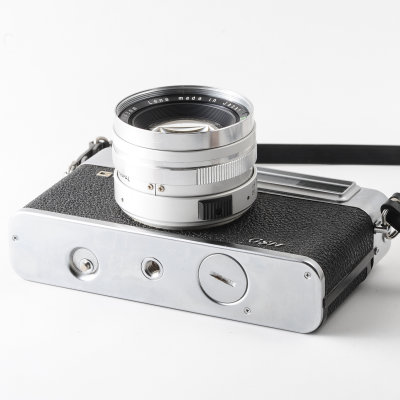 Yashica Electro 35 GSN 35mm Rangefinder Camera |
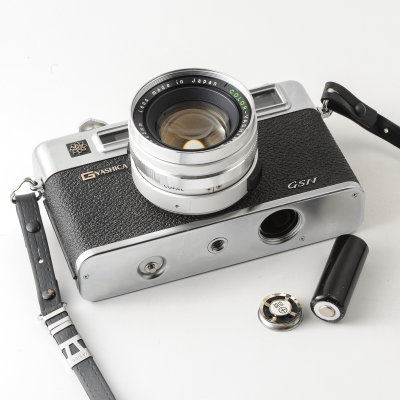 Yashica Electro 35 GSN 35mm Rangefinder Camera |
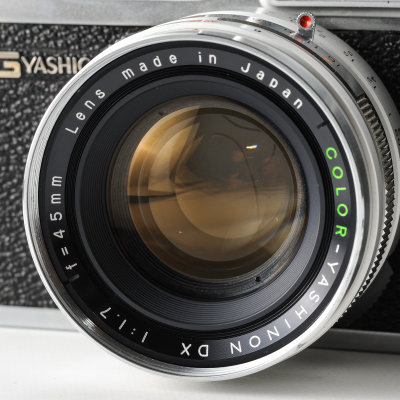 Yashica Electro 35 GSN 35mm Rangefinder Camera |
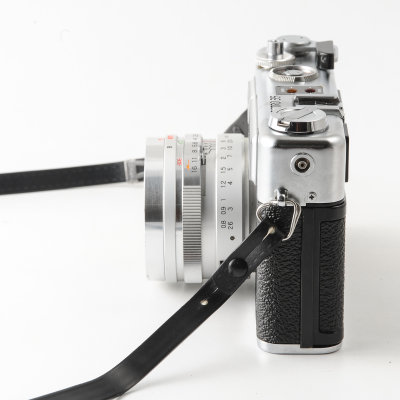 Yashica Electro 35 GSN 35mm Rangefinder Camera |
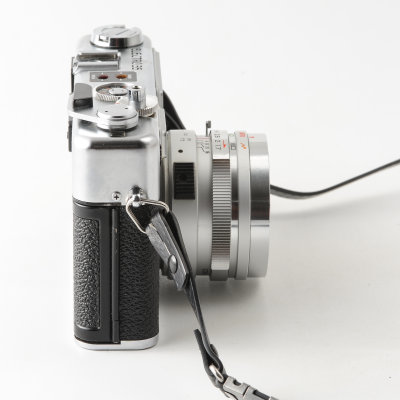 Yashica Electro 35 GSN 35mm Rangefinder Camera |
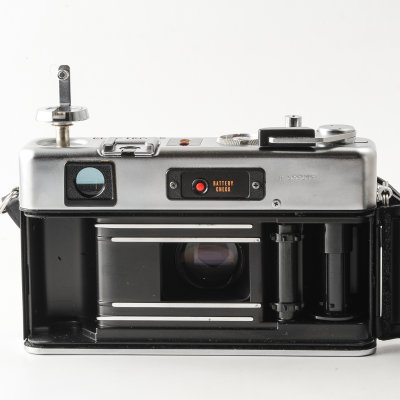 Yashica Electro 35 GSN 35mm Rangefinder Camera |
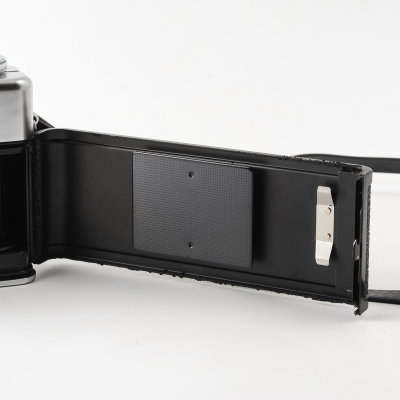 Yashica Electro 35 GSN 35mm Rangefinder Camera |
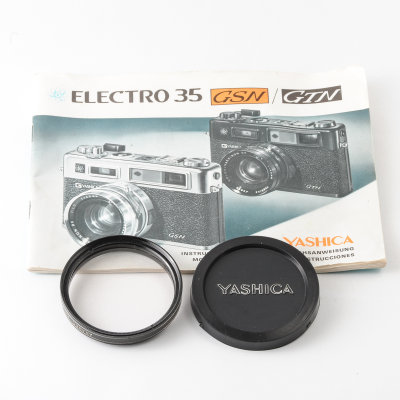 Yashica Electro 35 GSN 35mm Rangefinder Camera |
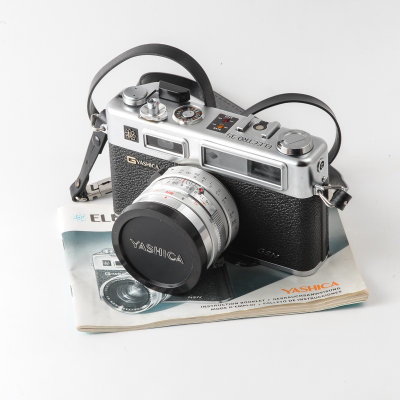 Yashica Electro 35 GSN 35mm Rangefinder Camera |
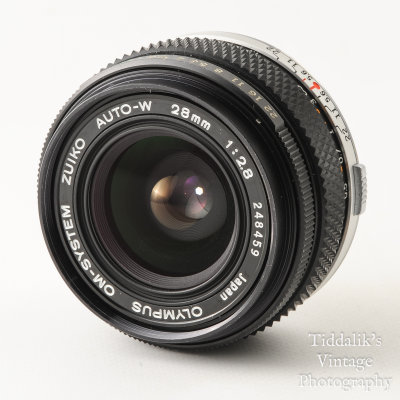 01 Olympus Zuiko 28mm Auto W OM Mount Lens - FAULTY STICKY IRIS.jpg |
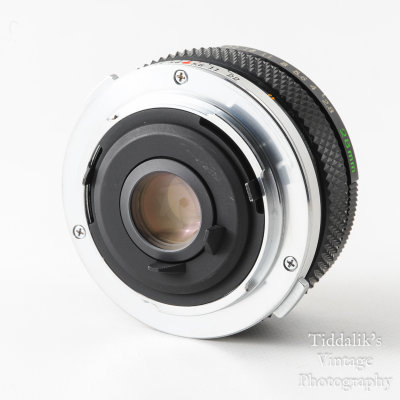 02 Olympus Zuiko 28mm Auto W OM Mount Lens - FAULTY STICKY IRIS.jpg |
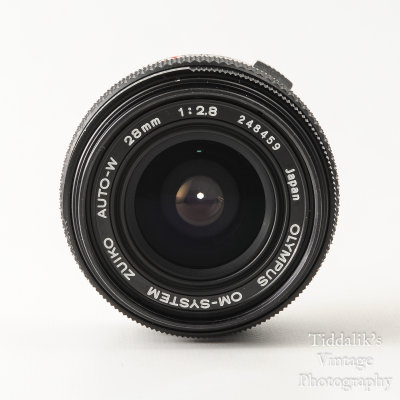 03 Olympus Zuiko 28mm Auto W OM Mount Lens - FAULTY STICKY IRIS.jpg |
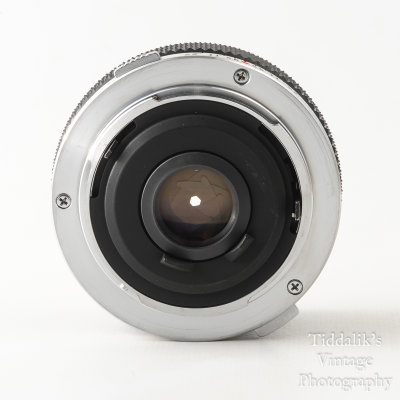 04 Olympus Zuiko 28mm Auto W OM Mount Lens - FAULTY STICKY IRIS.jpg |
 05 Olympus Zuiko 28mm Auto W OM Mount Lens - FAULTY STICKY IRIS.jpg |
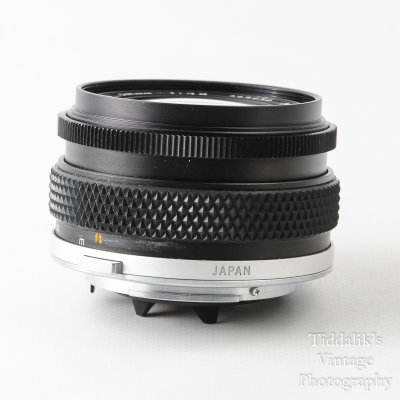 06 Olympus Zuiko 28mm Auto W OM Mount Lens - FAULTY STICKY IRIS.jpg |
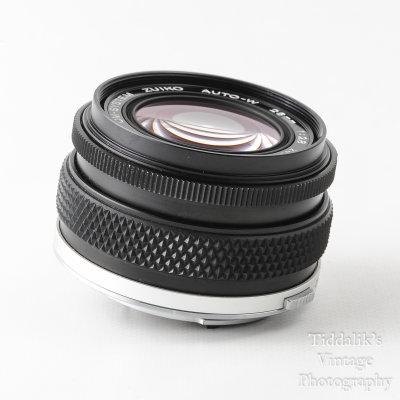 07 Olympus Zuiko 28mm Auto W OM Mount Lens - FAULTY STICKY IRIS.jpg |
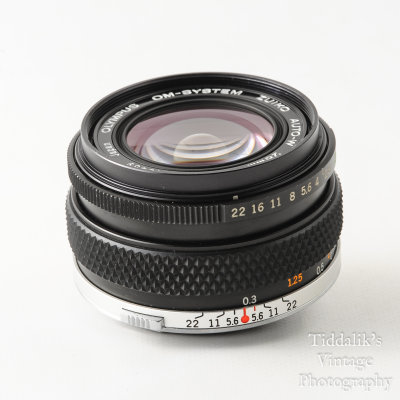 08 Olympus Zuiko 28mm Auto W OM Mount Lens - FAULTY STICKY IRIS.jpg |
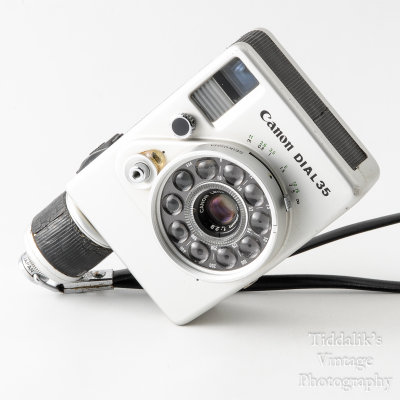 01 Canon Dial 35 Half Frame 35mm Camera - UNTESTED - SPARES or REPAIR ONLY.jpg |
 02 Canon Dial 35 Half Frame 35mm Camera - UNTESTED - SPARES or REPAIR ONLY.jpg |
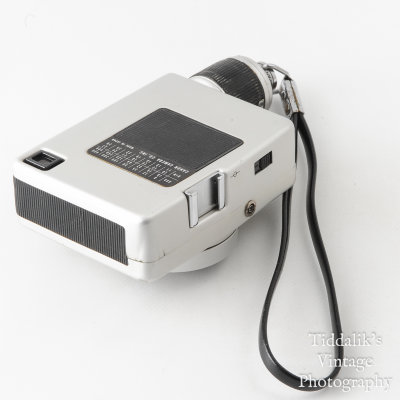 03 Canon Dial 35 Half Frame 35mm Camera - UNTESTED - SPARES or REPAIR ONLY.jpg |
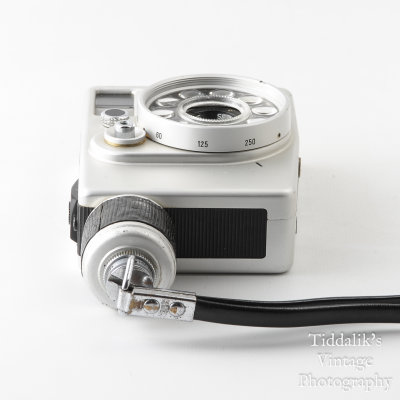 04 Canon Dial 35 Half Frame 35mm Camera - UNTESTED - SPARES or REPAIR ONLY.jpg |
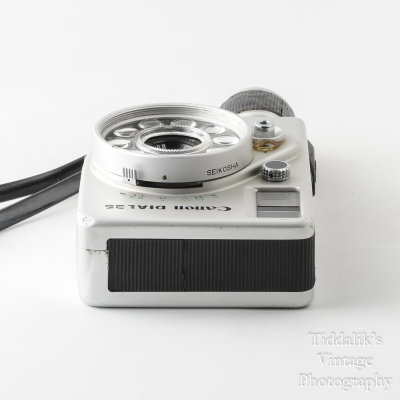 05 Canon Dial 35 Half Frame 35mm Camera - UNTESTED - SPARES or REPAIR ONLY.jpg |
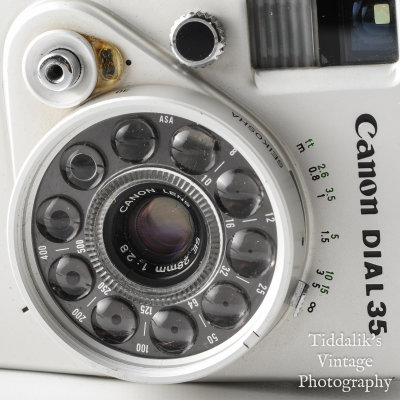 06 Canon Dial 35 Half Frame 35mm Camera - UNTESTED - SPARES or REPAIR ONLY.jpg |
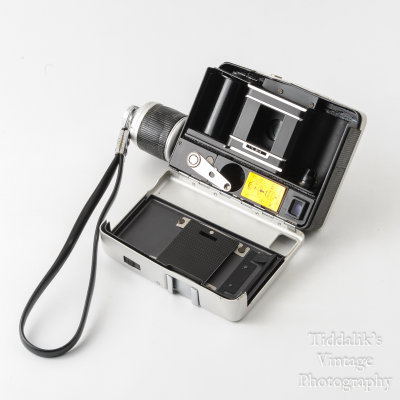 07 Canon Dial 35 Half Frame 35mm Camera - UNTESTED - SPARES or REPAIR ONLY.jpg |
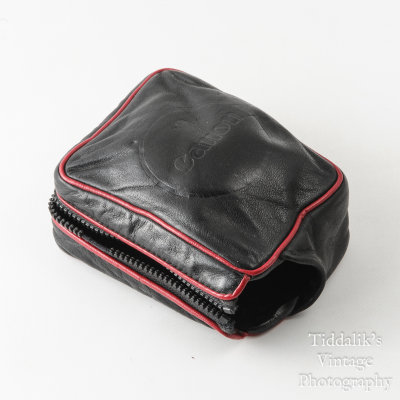 08 Canon Dial 35 Half Frame 35mm Camera - UNTESTED - SPARES or REPAIR ONLY.jpg |
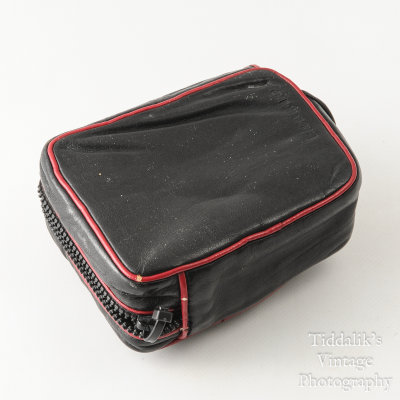 09 Canon Dial 35 Half Frame 35mm Camera - UNTESTED - SPARES or REPAIR ONLY.jpg |
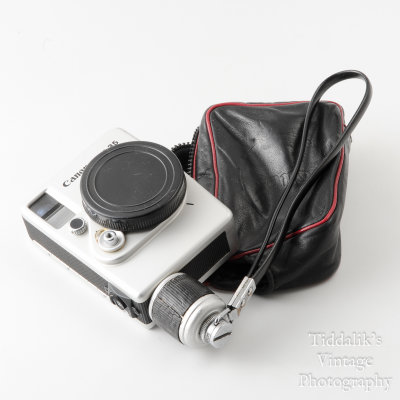 10 Canon Dial 35 Half Frame 35mm Camera - UNTESTED - SPARES or REPAIR ONLY.jpg |
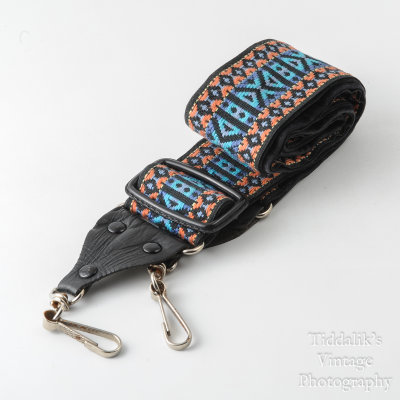 01 Vintage Woven Tapestry 'Hippie' Wide Camera Strap.jpg |
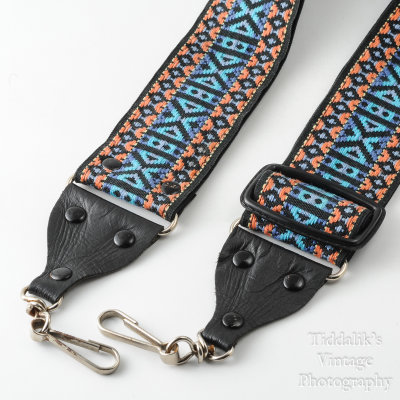 02 Vintage Woven Tapestry 'Hippie' Wide Camera Strap.jpg |
 03 Vintage Woven Tapestry 'Hippie' Wide Camera Strap.jpg |
 04 Vintage Woven Tapestry 'Hippie' Wide Camera Strap.jpg |
 05 Vintage Woven Tapestry 'Hippie' Wide Camera Strap.jpg |
 06 Vintage Woven Tapestry 'Hippie' Wide Camera Strap.jpg |
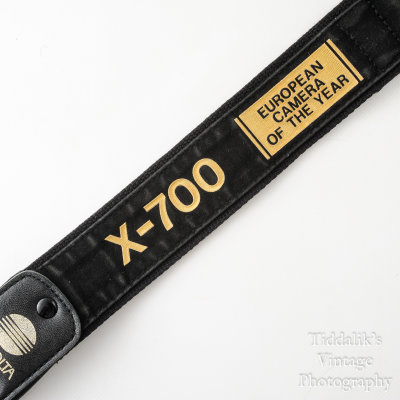
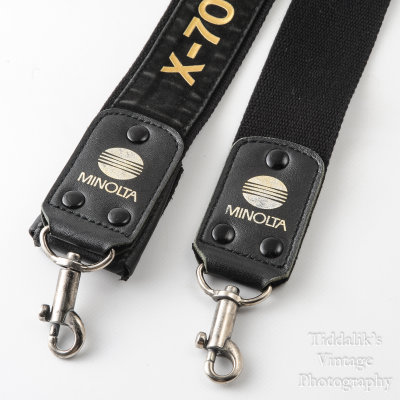
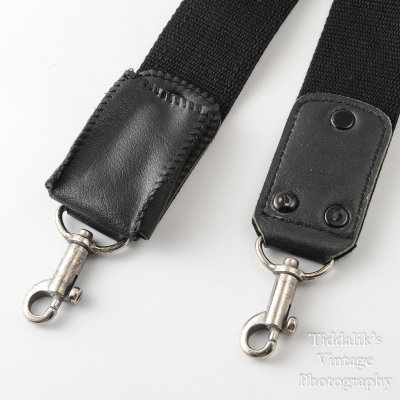
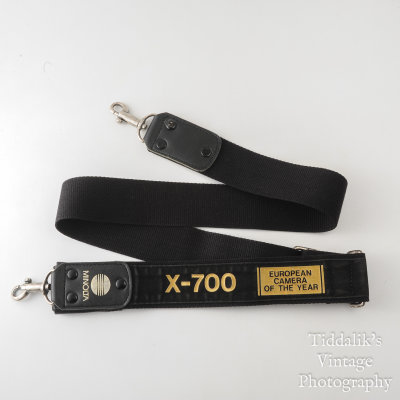 01 Minolta X-700 Wide Black Camera Strap European Camera of the Year Special Edition.jpg |
 02 Minolta X-700 Wide Black Camera Strap European Camera of the Year Special Edition.jpg |
 03 Minolta X-700 Wide Black Camera Strap European Camera of the Year Special Edition.jpg |
 04 Minolta X-700 Wide Black Camera Strap European Camera of the Year Special Edition.jpg |
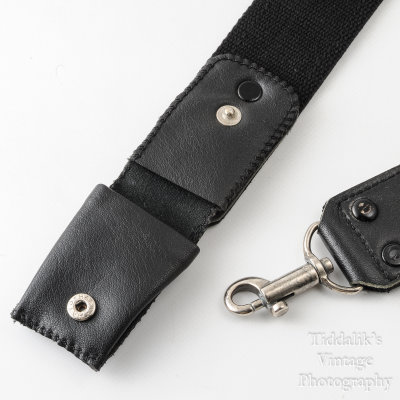 05 Minolta X-700 Wide Black Camera Strap European Camera of the Year Special Edition.jpg |
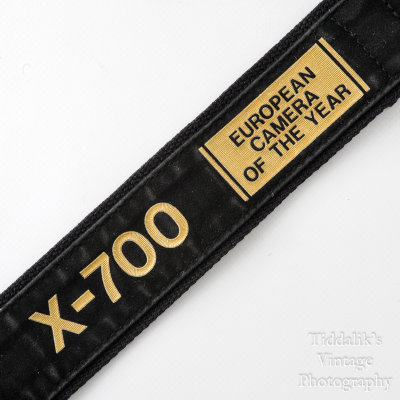 06 Minolta X-700 Wide Black Camera Strap European Camera of the Year Special Edition.jpg |
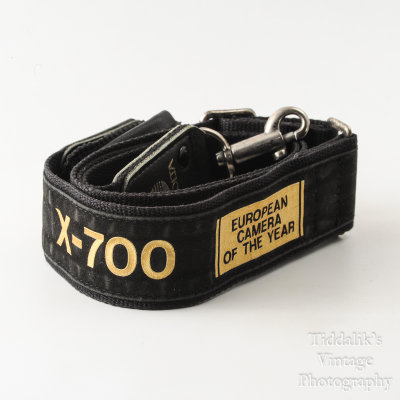 07 Minolta X-700 Wide Black Camera Strap European Camera of the Year Special Edition.jpg |
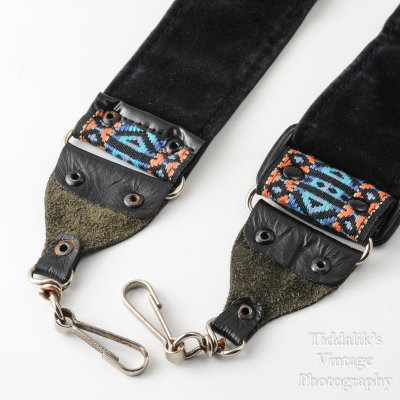
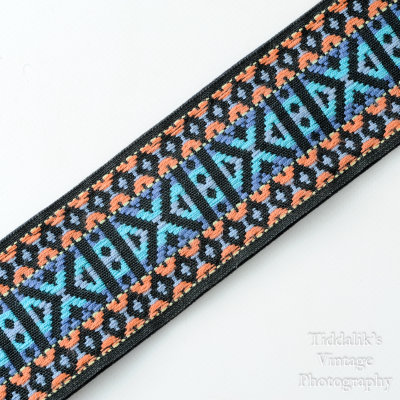
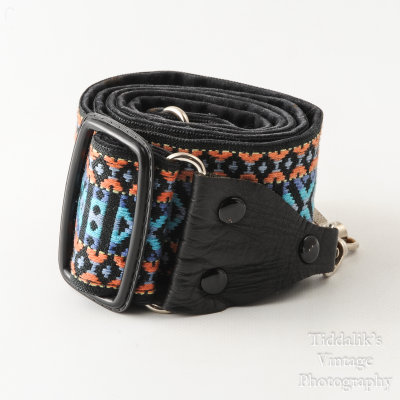
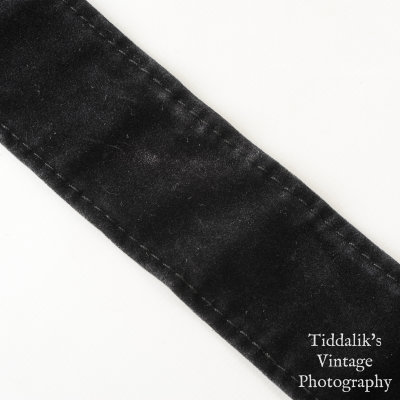
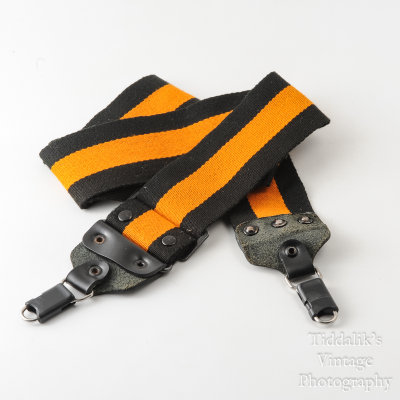
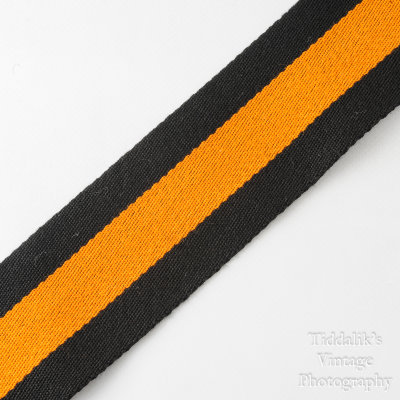
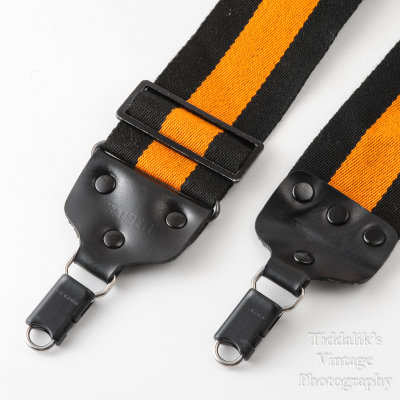
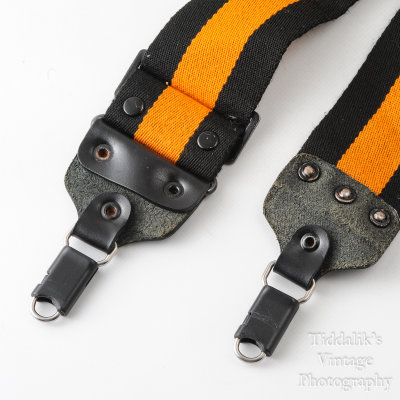
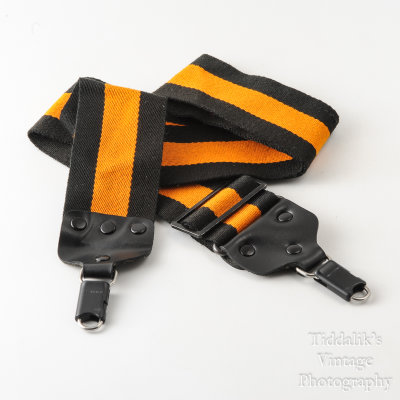 01 Vintage Kaiser Wide Camera Strap Orange and Black Strip with Locking Strap Lugs.jpg |
 02 Vintage Kaiser Wide Camera Strap Orange and Black Strip with Locking Strap Lugs.jpg |
 03 Vintage Kaiser Wide Camera Strap Orange and Black Strip with Locking Strap Lugs.jpg |
 04 Vintage Kaiser Wide Camera Strap Orange and Black Strip with Locking Strap Lugs.jpg |
 05 Vintage Kaiser Wide Camera Strap Orange and Black Strip with Locking Strap Lugs.jpg |
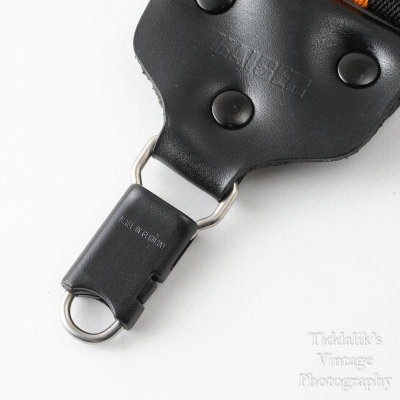 06 Vintage Kaiser Wide Camera Strap Orange and Black Strip with Locking Strap Lugs.jpg |
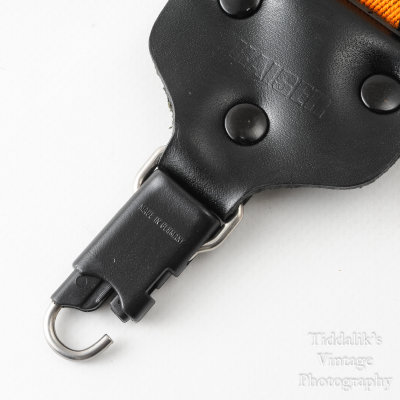 07 Vintage Kaiser Wide Camera Strap Orange and Black Strip with Locking Strap Lugs.jpg |
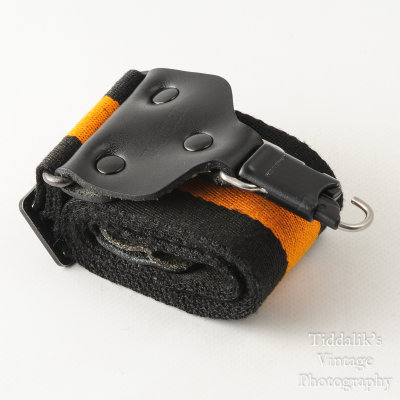 08 Vintage Kaiser Wide Camera Strap Orange and Black Strip with Locking Strap Lugs.jpg |
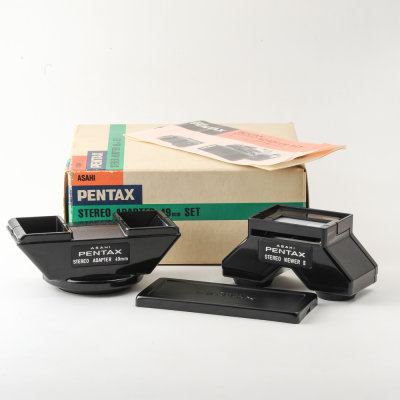 01 Pentax Stereo Adapter 49mm Set with Viewer II Boxed + Instructions.jpg |
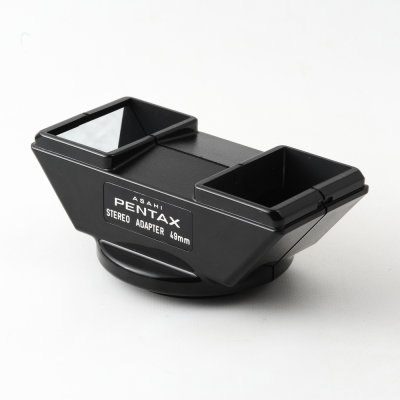 02 Pentax Stereo Adapter 49mm Set with Viewer II Boxed + Instructions.jpg |
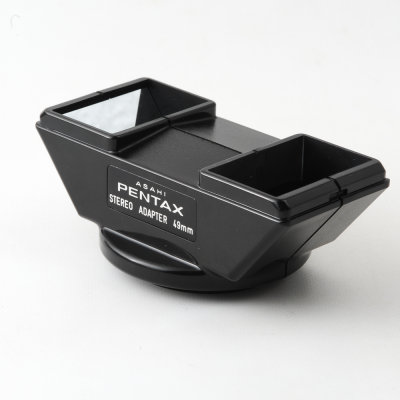 03 Pentax Stereo Adapter 49mm Set with Viewer II Boxed + Instructions.jpg |
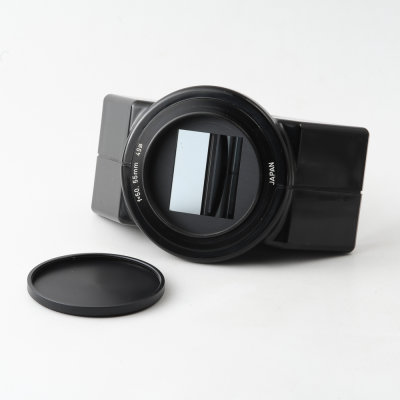 04 Pentax Stereo Adapter 49mm Set with Viewer II Boxed + Instructions.jpg |
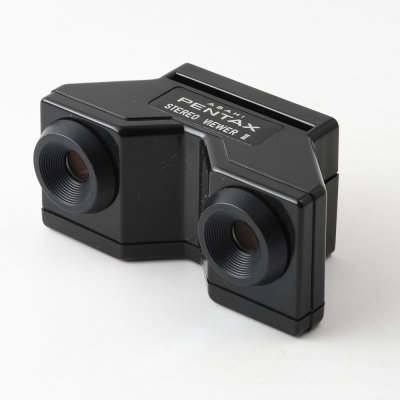 05 Pentax Stereo Adapter 49mm Set with Viewer II Boxed + Instructions.jpg |
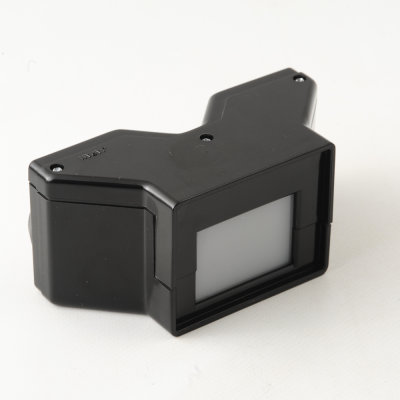 06 Pentax Stereo Adapter 49mm Set with Viewer II Boxed + Instructions.jpg |
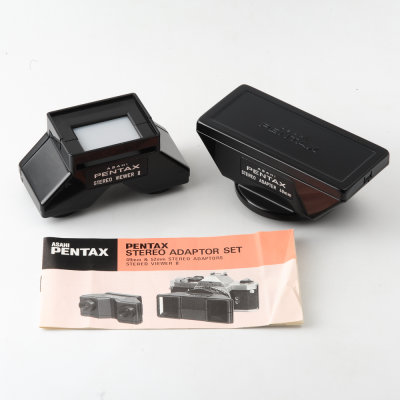 07 Pentax Stereo Adapter 49mm Set with Viewer II Boxed + Instructions.jpg |
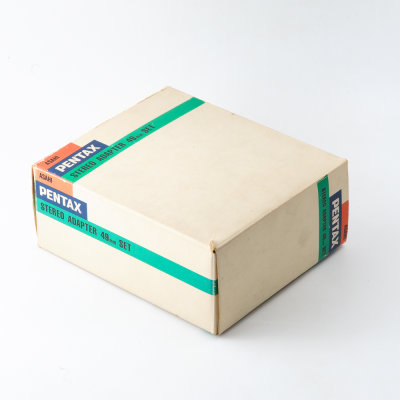 08 Pentax Stereo Adapter 49mm Set with Viewer II Boxed + Instructions.jpg |
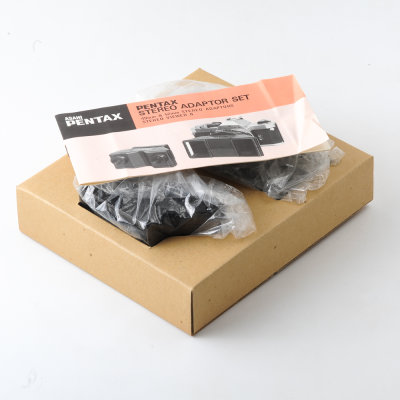 09 Pentax Stereo Adapter 49mm Set with Viewer II Boxed + Instructions.jpg |
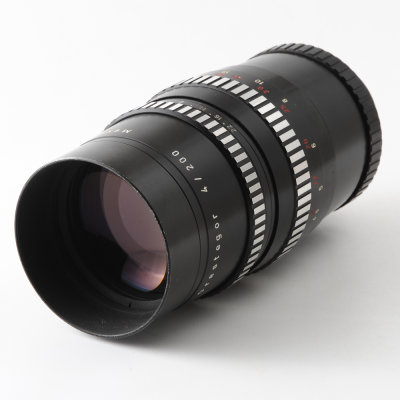 01 Meyer Optik G�rlitz Orestegor 200mm f4 Preset Lens Zebra M42 Screw Mount.jpg |
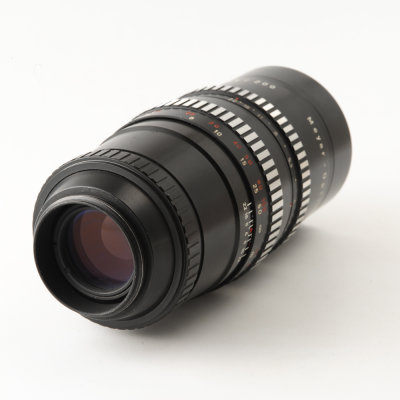 02 Meyer Optik G�rlitz Orestegor 200mm f4 Preset Lens Zebra M42 Screw Mount.jpg |
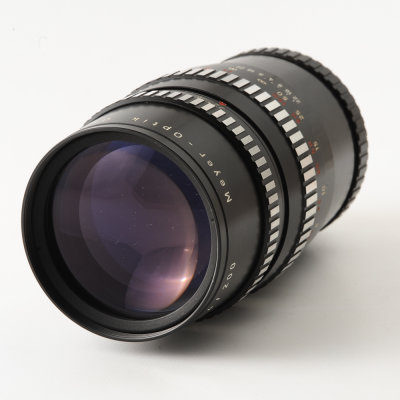 03 Meyer Optik G�rlitz Orestegor 200mm f4 Preset Lens Zebra M42 Screw Mount.jpg |
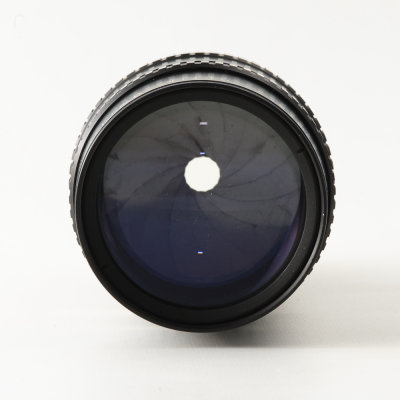 04 Meyer Optik G�rlitz Orestegor 200mm f4 Preset Lens Zebra M42 Screw Mount.jpg |
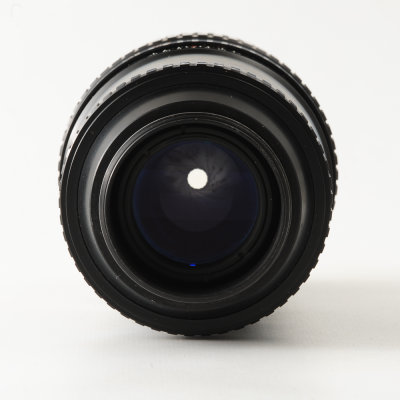 05 Meyer Optik G�rlitz Orestegor 200mm f4 Preset Lens Zebra M42 Screw Mount.jpg |
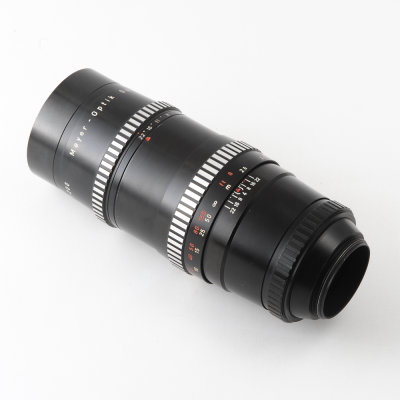 06 Meyer Optik G�rlitz Orestegor 200mm f4 Preset Lens Zebra M42 Screw Mount.jpg |
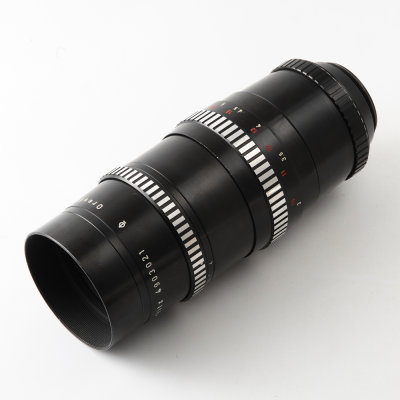 07 Meyer Optik G�rlitz Orestegor 200mm f4 Preset Lens Zebra M42 Screw Mount.jpg |
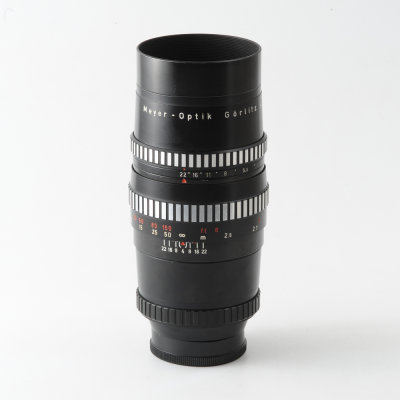 08 Meyer Optik G�rlitz Orestegor 200mm f4 Preset Lens Zebra M42 Screw Mount.jpg |
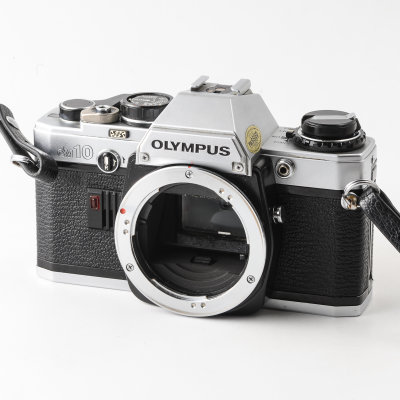
 01 Olympus OM10 SLR Camera Body - FAULTY METER INDICATOR.jpg |
 02 Olympus OM10 SLR Camera Body - FAULTY METER INDICATOR.jpg |
 03 Olympus OM10 SLR Camera Body - FAULTY METER INDICATOR.jpg |
 04 Olympus OM10 SLR Camera Body - FAULTY METER INDICATOR.jpg |
 05 Olympus OM10 SLR Camera Body - FAULTY METER INDICATOR.jpg |
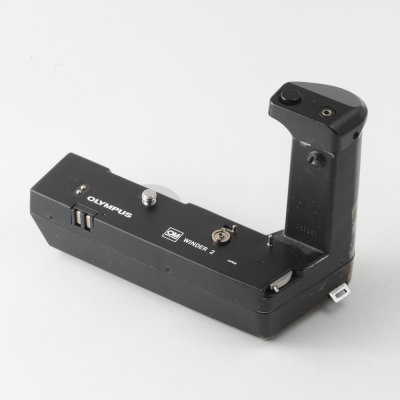 01 Olympus OM Winder 2 - FAULTY.jpg |
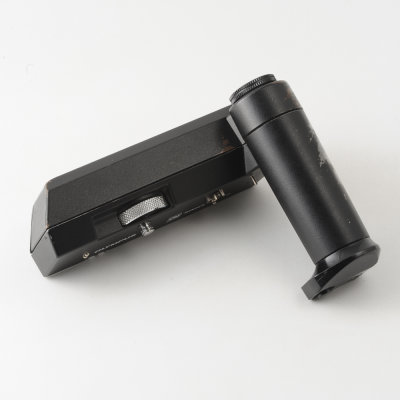 02 Olympus OM Winder 2 - FAULTY.jpg |
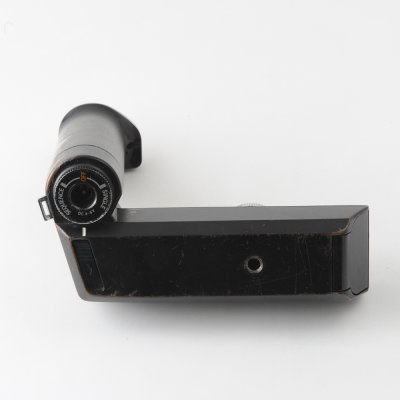 03 Olympus OM Winder 2 - FAULTY.jpg |
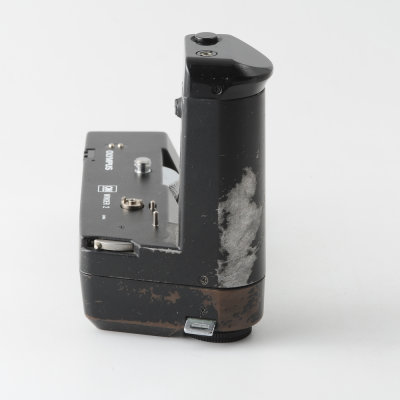 04 Olympus OM Winder 2 - FAULTY.jpg |
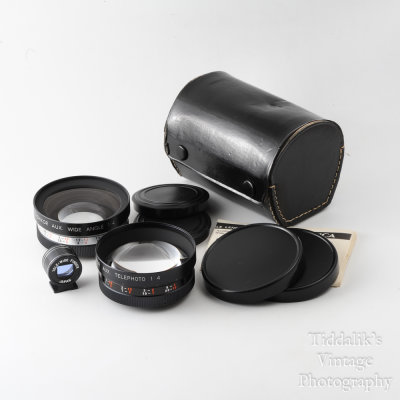 01 Yashica Electro 35 Telephoto f4 & Wide Angle f4 Auxiliary Lens Kit with Case Viewfinder Caps and Instructions.jpg |
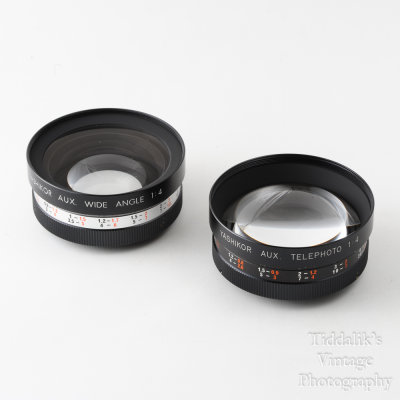 02 Yashica Electro 35 Telephoto f4 & Wide Angle f4 Auxiliary Lens Kit with Case Viewfinder Caps and Instructions.jpg |
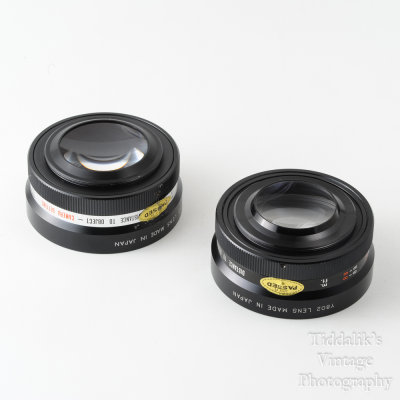 03 Yashica Electro 35 Telephoto f4 & Wide Angle f4 Auxiliary Lens Kit with Case Viewfinder Caps and Instructions.jpg |
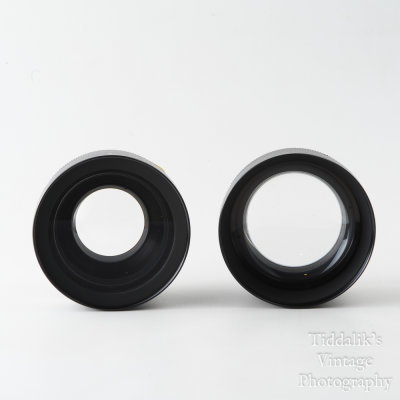 04 Yashica Electro 35 Telephoto f4 & Wide Angle f4 Auxiliary Lens Kit with Case Viewfinder Caps and Instructions.jpg |
 05 Yashica Electro 35 Telephoto f4 & Wide Angle f4 Auxiliary Lens Kit with Case Viewfinder Caps and Instructions.jpg |
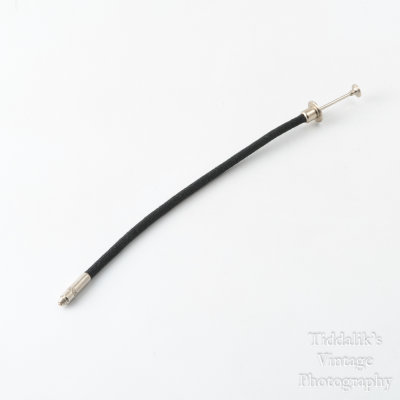 01 Vintage Short Cloth Shutter Cable Release Approx. 7'.jpg |
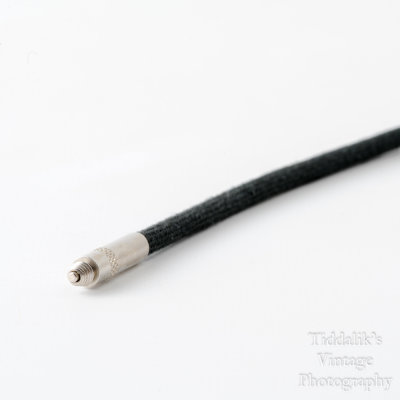 02 Vintage Short Cloth Shutter Cable Release Approx. 7'.jpg |
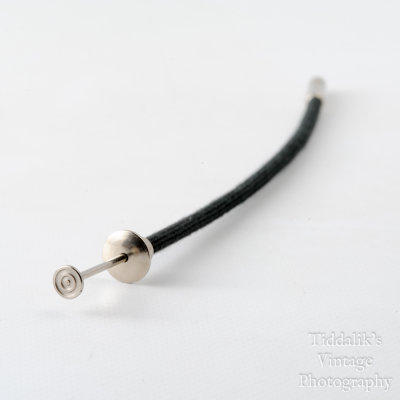 03 Vintage Short Cloth Shutter Cable Release Approx. 7'.jpg |
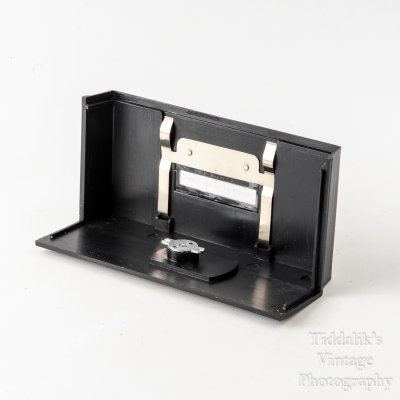
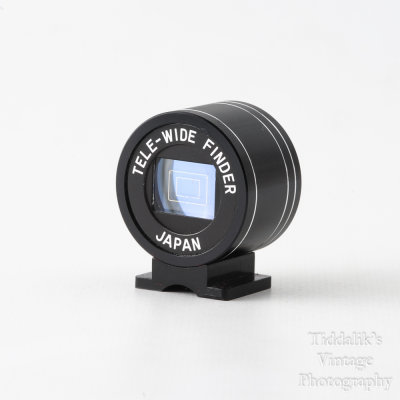
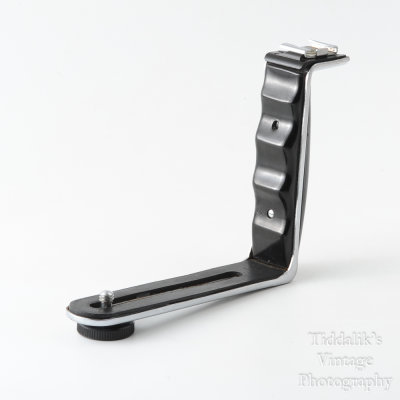
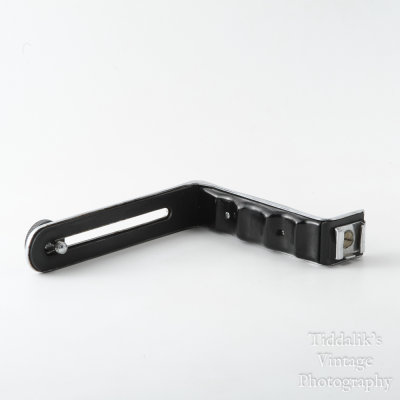
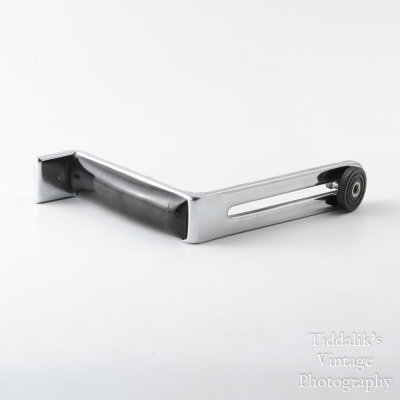
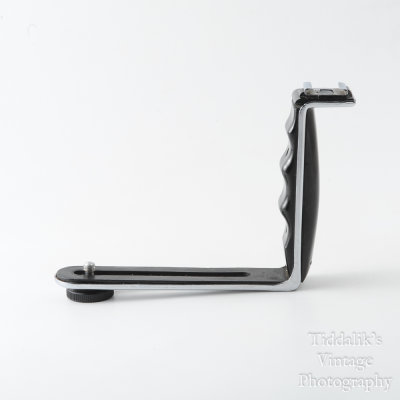
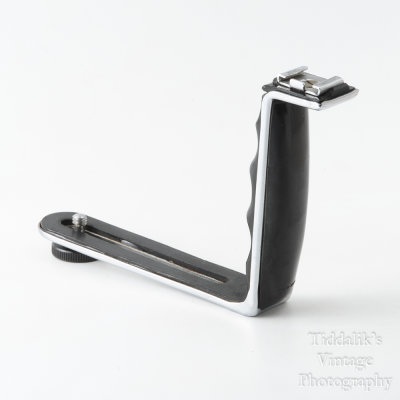 01 Vintage Small Chrome Right Angled Camera Flash Bracket Made in Japan.jpg |
 02 Vintage Small Chrome Right Angled Camera Flash Bracket Made in Japan.jpg |
 03 Vintage Small Chrome Right Angled Camera Flash Bracket Made in Japan.jpg |
 04 Vintage Small Chrome Right Angled Camera Flash Bracket Made in Japan.jpg |
 05 Vintage Small Chrome Right Angled Camera Flash Bracket Made in Japan.jpg |
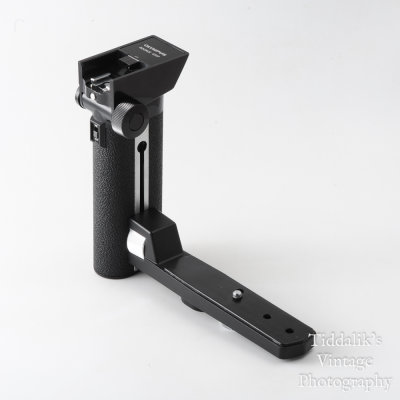
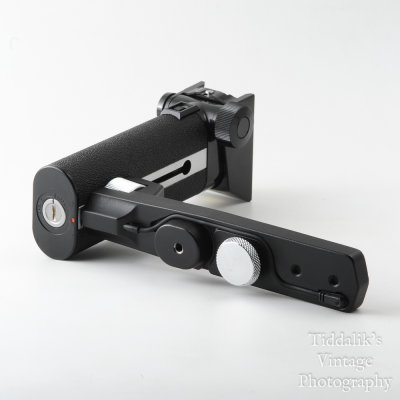
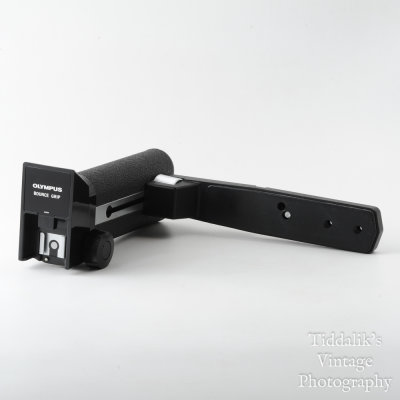
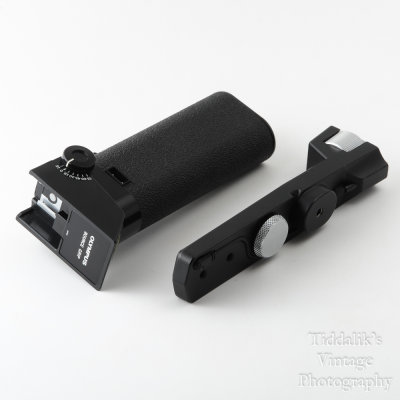
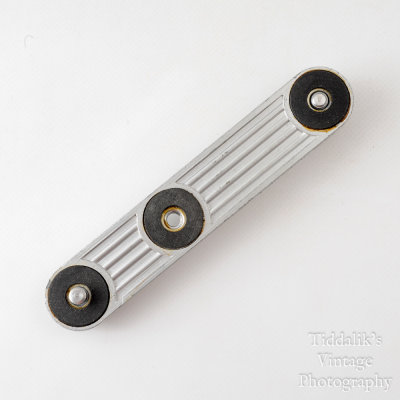
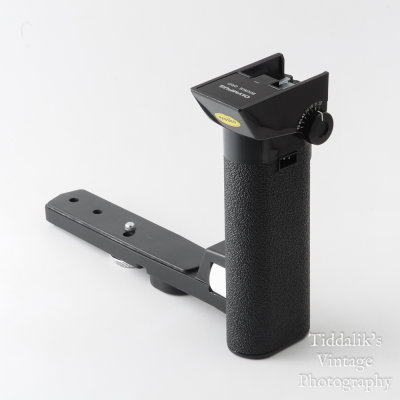 01 Olympus OM System Bounce Grip 1 for Auto 300 and 310 Flash.jpg |
 02 Olympus OM System Bounce Grip 1 for Auto 300 and 310 Flash.jpg |
 03 Olympus OM System Bounce Grip 1 for Auto 300 and 310 Flash.jpg |
 04 Olympus OM System Bounce Grip 1 for Auto 300 and 310 Flash.jpg |
 05 Olympus OM System Bounce Grip 1 for Auto 300 and 310 Flash.jpg |
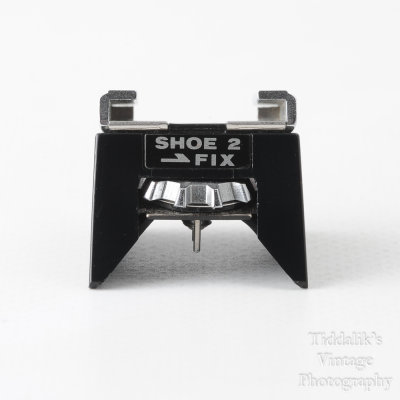
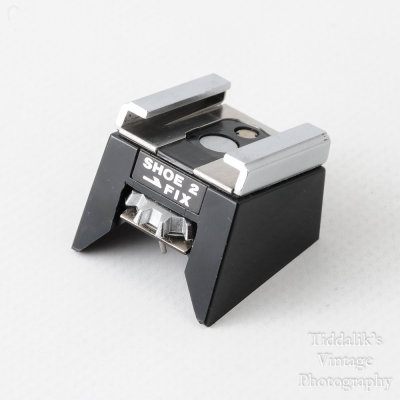 01 Olympus OM 2 Shoe 2 Flash Accessory Shoe Single Pin.jpg |
 02 Olympus OM 2 Shoe 2 Flash Accessory Shoe Single Pin.jpg |
 03 Olympus OM 2 Shoe 2 Flash Accessory Shoe Single Pin.jpg |
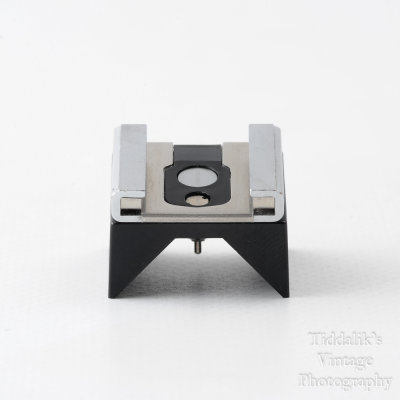 04 Olympus OM 2 Shoe 2 Flash Accessory Shoe Single Pin.jpg |
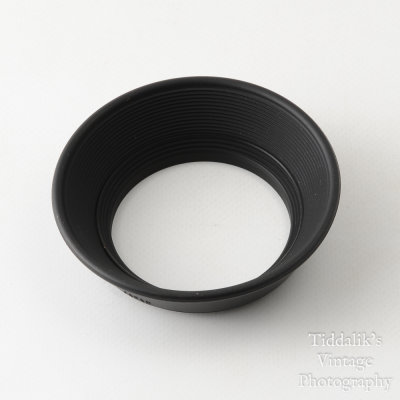 01 Olympus 28mm f2.8 Rubber Lens Hood OM System.jpg |
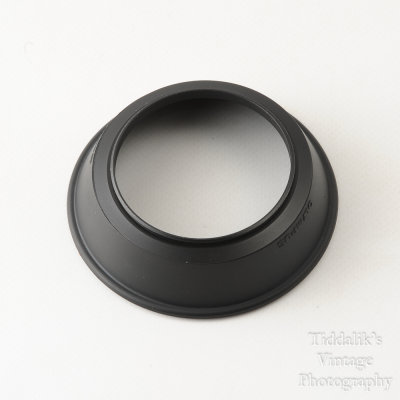 02 Olympus 28mm f2.8 Rubber Lens Hood OM System.jpg |
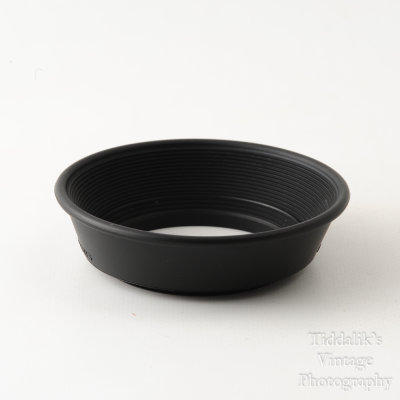 03 Olympus 28mm f2.8 Rubber Lens Hood OM System.jpg |
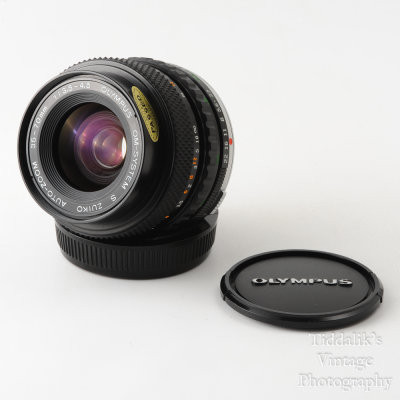 01 Olympus OM 35-70mm f3.5~4.5 S Close Focus Lens OM Mount.jpg |
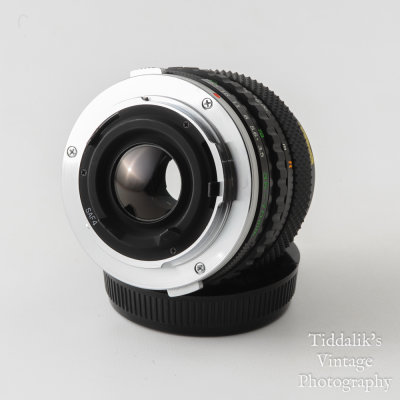 02 Olympus OM 35-70mm f3.5~4.5 S Close Focus Lens OM Mount.jpg |
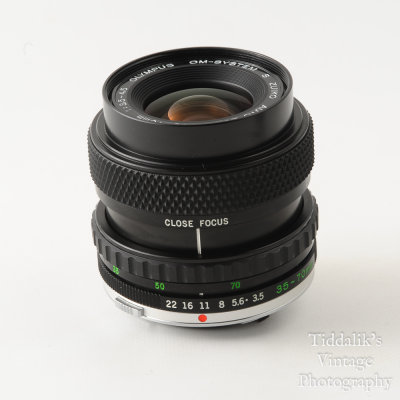 03 Olympus OM 35-70mm f3.5~4.5 S Close Focus Lens OM Mount.jpg |
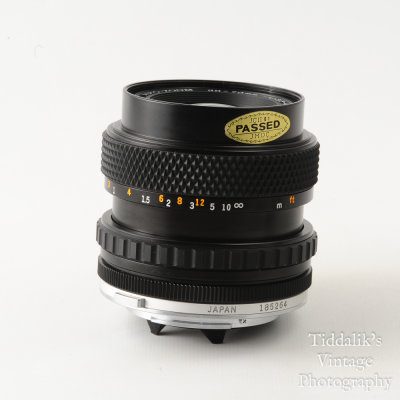 04 Olympus OM 35-70mm f3.5~4.5 S Close Focus Lens OM Mount.jpg |
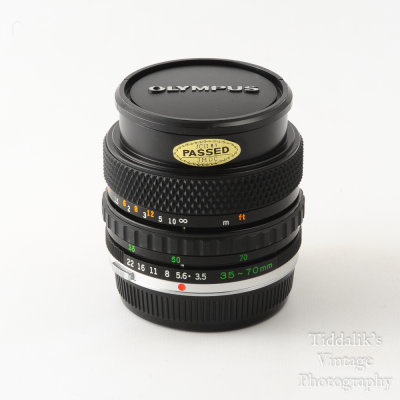 05 Olympus OM 35-70mm f3.5~4.5 S Close Focus Lens OM Mount.jpg |
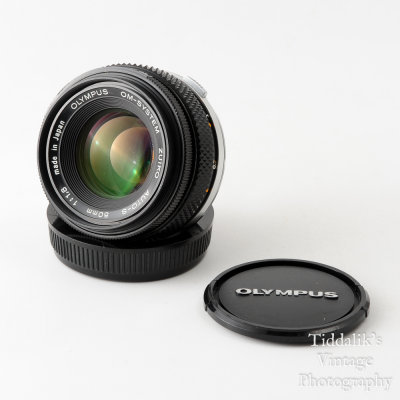 01 Olympus OM 50mm f1.8 Auto S Standard Lens OM Mount.jpg |
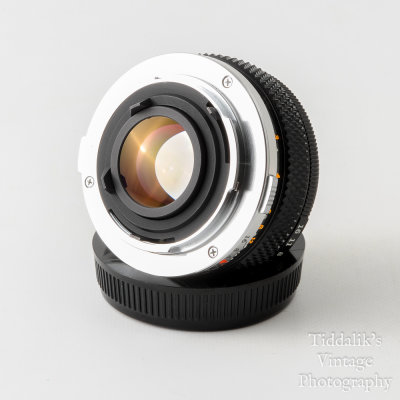 02 Olympus OM 50mm f1.8 Auto S Standard Lens OM Mount.jpg |
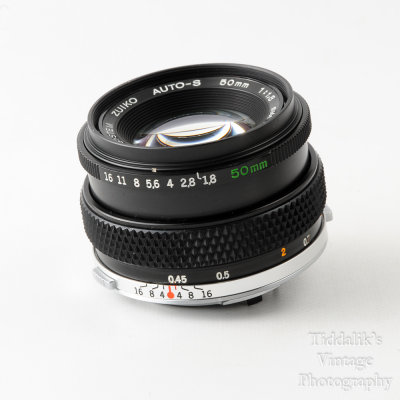 03 Olympus OM 50mm f1.8 Auto S Standard Lens OM Mount.jpg |
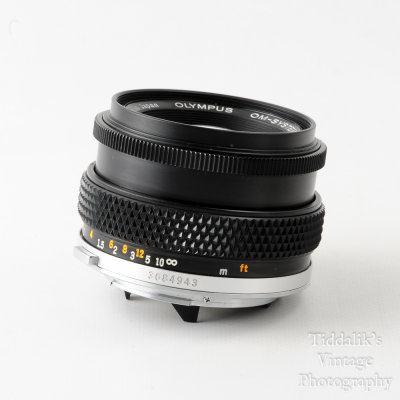 04 Olympus OM 50mm f1.8 Auto S Standard Lens OM Mount.jpg |
 05 Olympus OM 50mm f1.8 Auto S Standard Lens OM Mount.jpg |
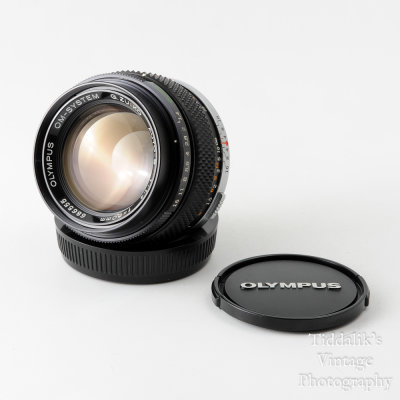 01 Olympus OM 50mm f1.4 Auto S Standard Lens OM Mount.jpg |
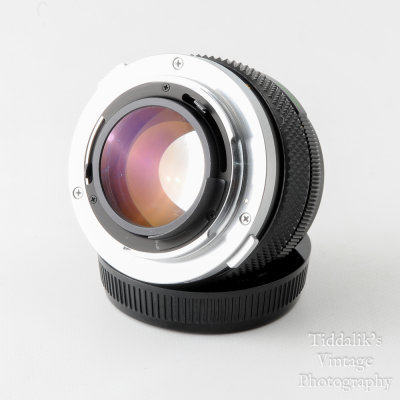 02 Olympus OM 50mm f1.4 Auto S Standard Lens OM Mount.jpg |
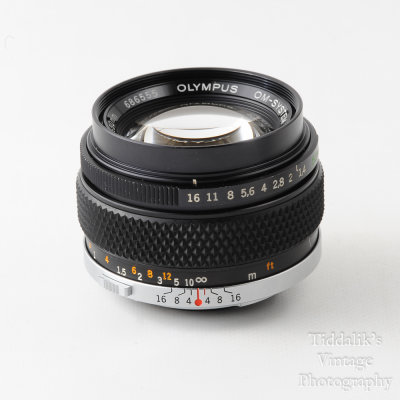 03 Olympus OM 50mm f1.4 Auto S Standard Lens OM Mount.jpg |
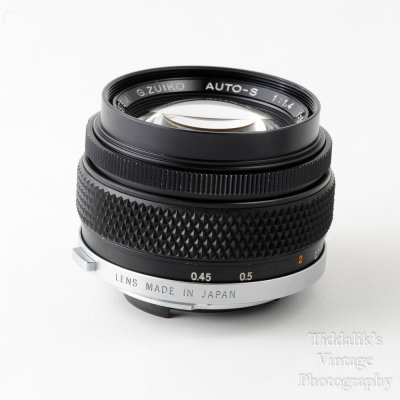 04 Olympus OM 50mm f1.4 Auto S Standard Lens OM Mount.jpg |
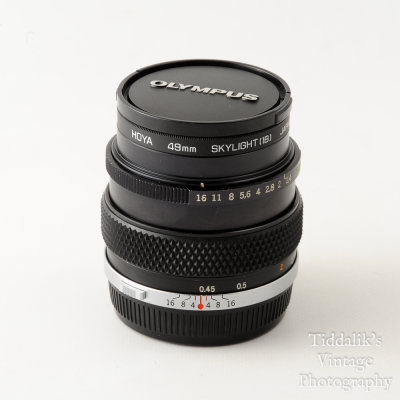 05 Olympus OM 50mm f1.4 Auto S Standard Lens OM Mount.jpg |
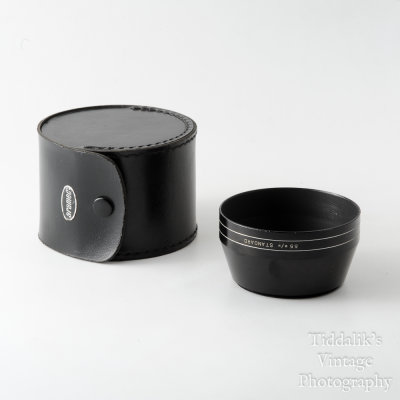 01 Aramec 55mm Standard Round Metal Lens Hood with Case.jpg |
 02 Aramec 55mm Standard Round Metal Lens Hood with Case.jpg |
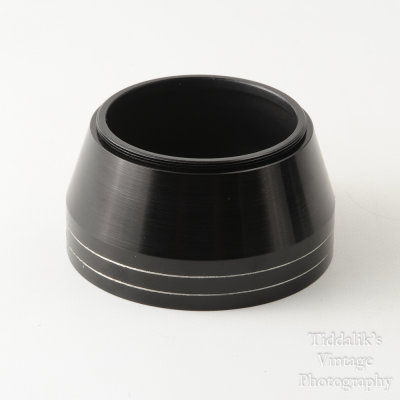 03 Aramec 55mm Standard Round Metal Lens Hood with Case.jpg |
 04 Aramec 55mm Standard Round Metal Lens Hood with Case.jpg |
 05 Aramec 55mm Standard Round Metal Lens Hood with Case.jpg |
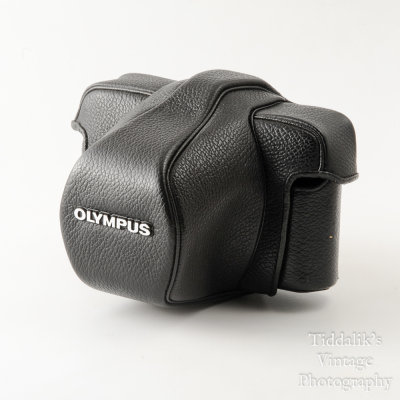 01 Olympus Black Leatherette SLR Camera Case 1 for the OM10 OM1 OM2 OM3 OM20.jpg |
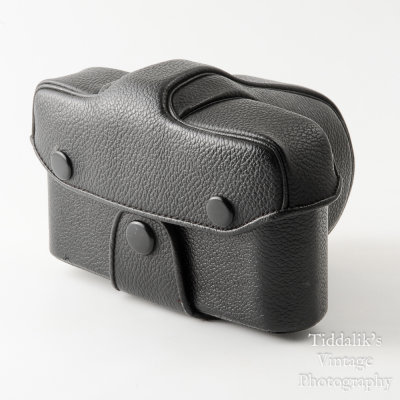 02 Olympus Black Leatherette SLR Camera Case 1 for the OM10 OM1 OM2 OM3 OM20.jpg |
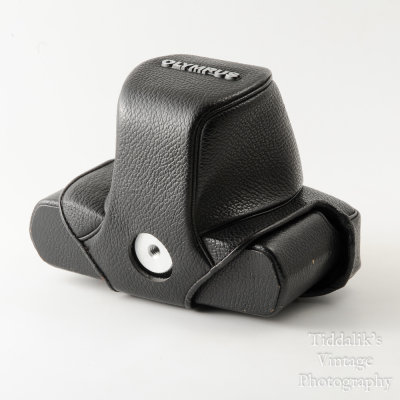 03 Olympus Black Leatherette SLR Camera Case 1 for the OM10 OM1 OM2 OM3 OM20.jpg |
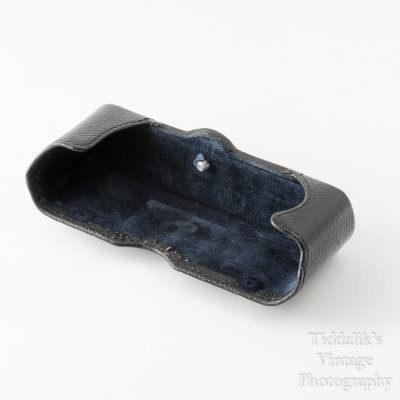 04 Olympus Black Leatherette SLR Camera Case 1 for the OM10 OM1 OM2 OM3 OM20.jpg |
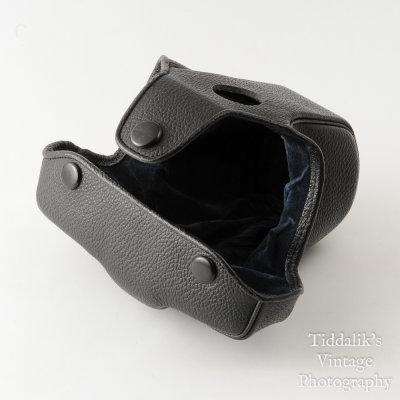 05 Olympus Black Leatherette SLR Camera Case 1 for the OM10 OM1 OM2 OM3 OM20.jpg |
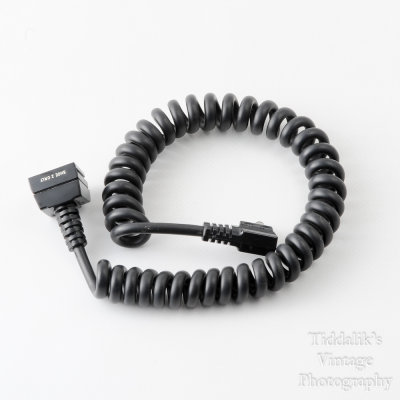 01 Olympus TTL Autocord 0.6m Flash Cord with Shoe 2 Only.jpg |
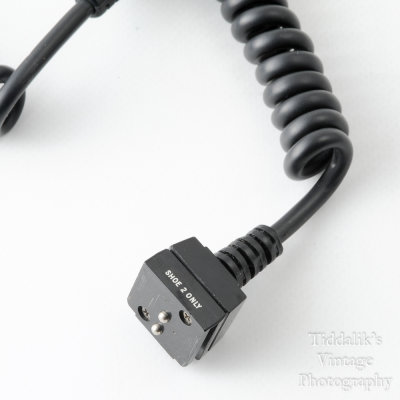 02 Olympus TTL Autocord 0.6m Flash Cord with Shoe 2 Only.jpg |
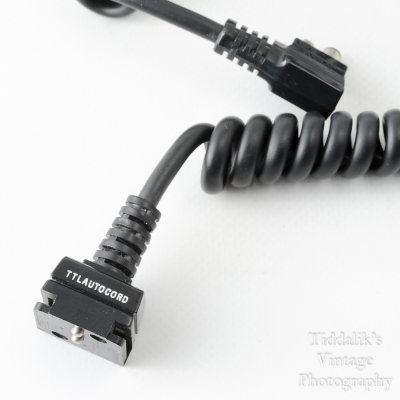 03 Olympus TTL Autocord 0.6m Flash Cord with Shoe 2 Only.jpg |
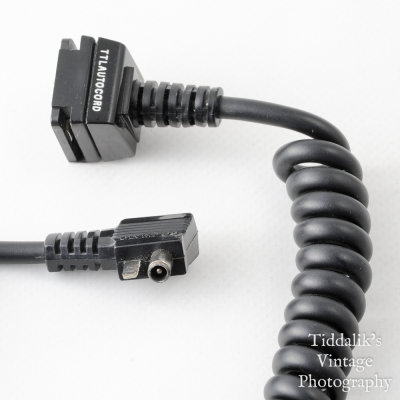 04 Olympus TTL Autocord 0.6m Flash Cord with Shoe 2 Only.jpg |
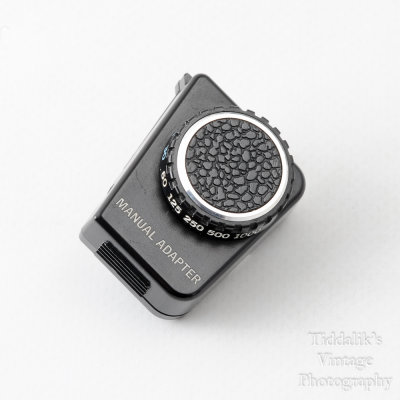 01 Olympus OM10 OM-10 Manual Shutter Adapter.jpg |
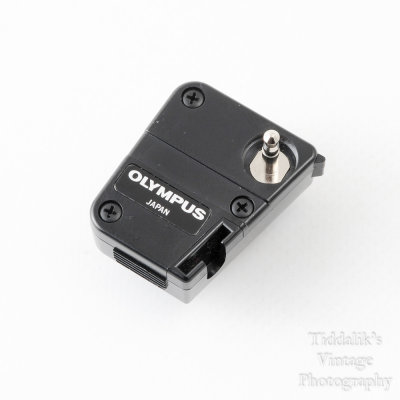 02 Olympus OM10 OM-10 Manual Shutter Adapter.jpg |
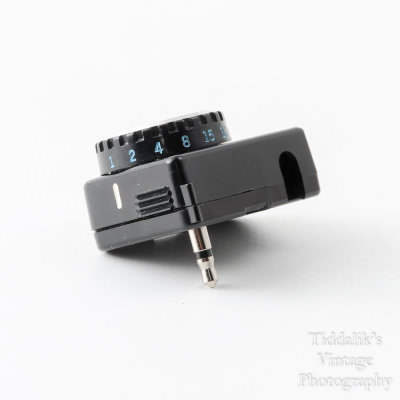 03 Olympus OM10 OM-10 Manual Shutter Adapter.jpg |
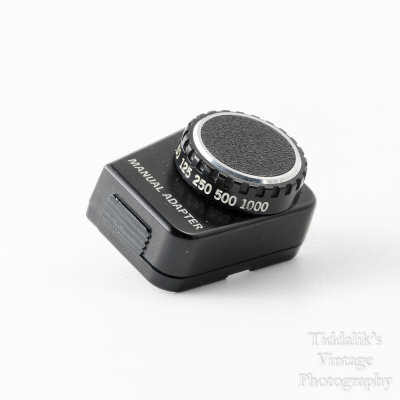 04 Olympus OM10 OM-10 Manual Shutter Adapter.jpg |
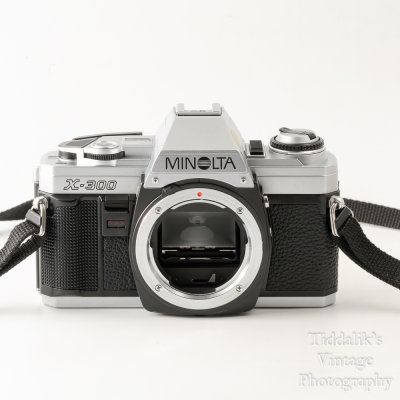
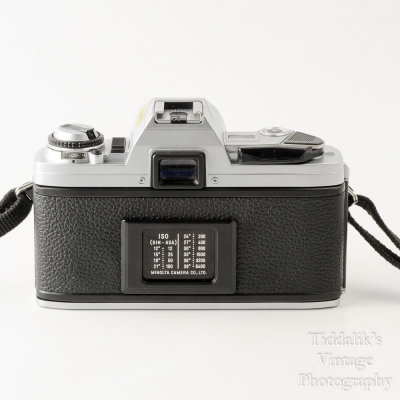
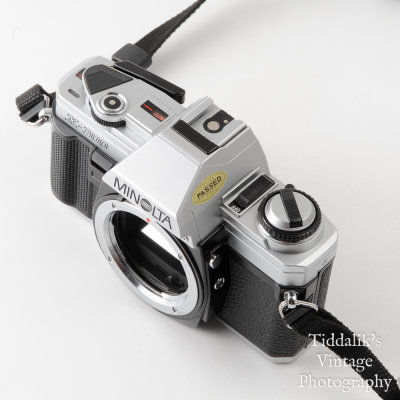
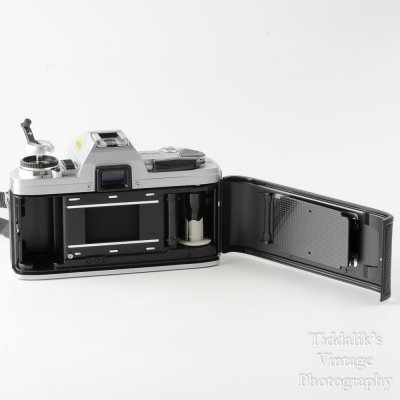
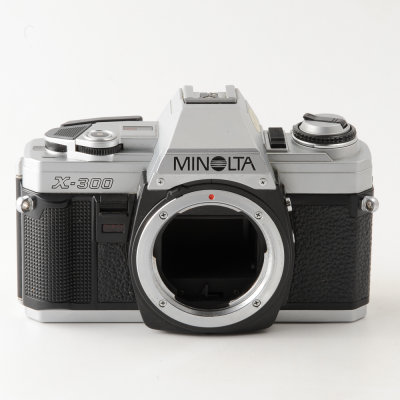 01 Minolta X-300 SLR Camera Body - FAULTY.jpg |
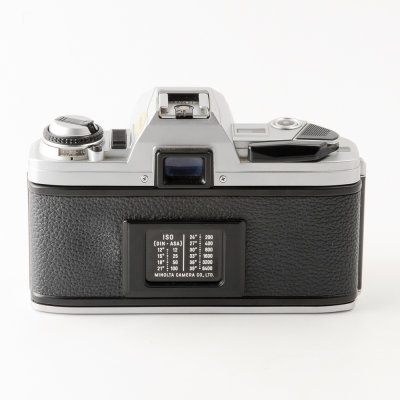 02 Minolta X-300 SLR Camera Body - FAULTY.jpg |
 03 Minolta X-300 SLR Camera Body - FAULTY.jpg |
 04 Minolta X-300 SLR Camera Body - FAULTY.jpg |
 05 Minolta X-300 SLR Camera Body - FAULTY.jpg |
 06 Minolta X-300 SLR Camera Body - FAULTY.jpg |
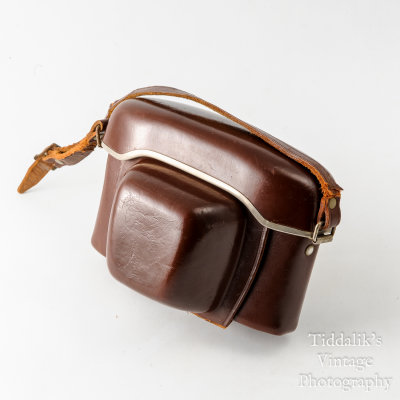
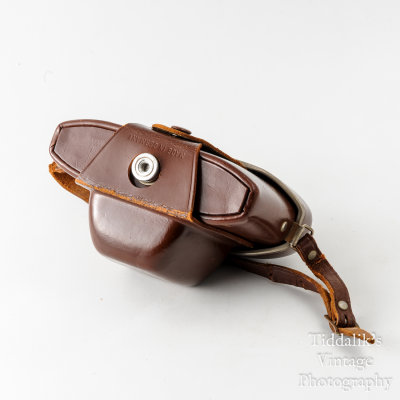
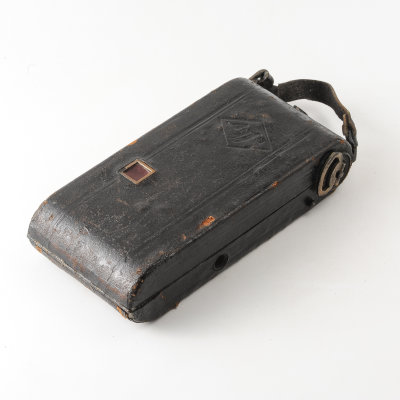
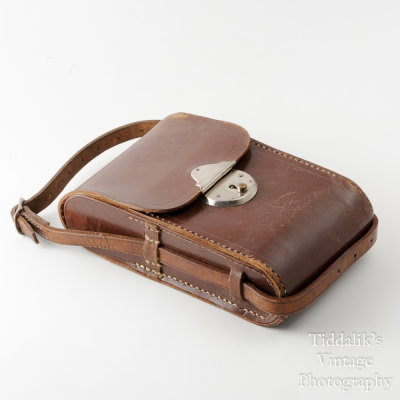 01 Vintage Brown Leather Case for Folding Camera - Hand Sewn Made in England.jpg |
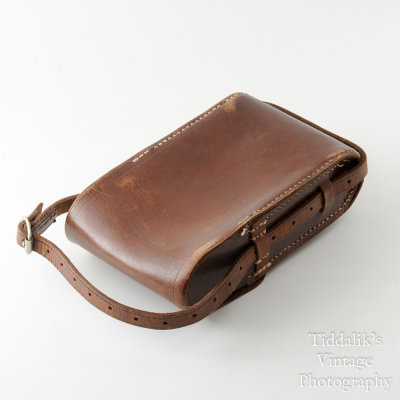 02 Vintage Brown Leather Case for Folding Camera - Hand Sewn Made in England.jpg |
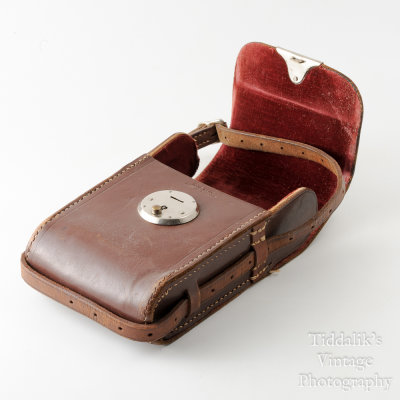 03 Vintage Brown Leather Case for Folding Camera - Hand Sewn Made in England.jpg |
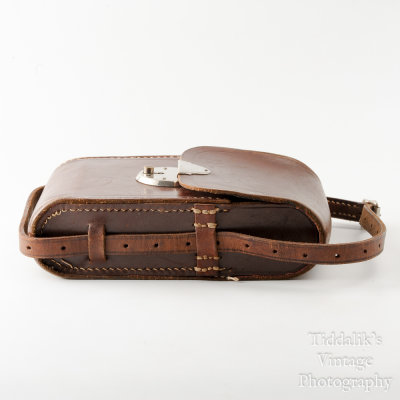 04 Vintage Brown Leather Case for Folding Camera - Hand Sewn Made in England.jpg |
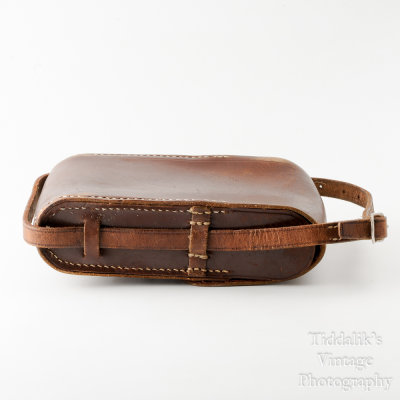 05 Vintage Brown Leather Case for Folding Camera - Hand Sewn Made in England.jpg |
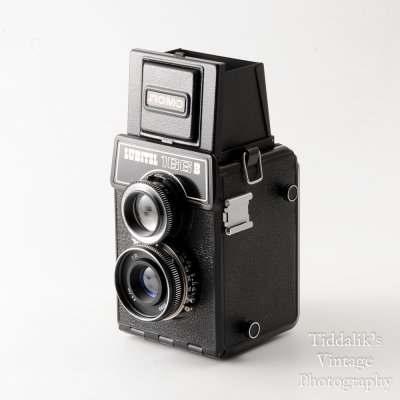 01 Lomo Lubitel 166B TLR 120 Roll Film Camera Boxed.jpg |
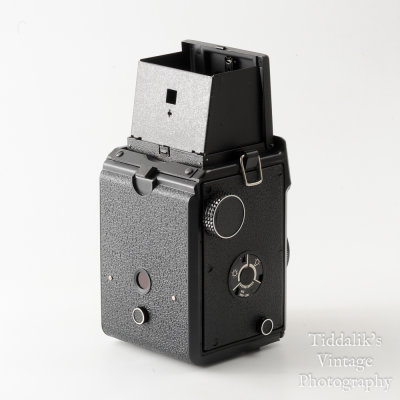 02 Lomo Lubitel 166B TLR 120 Roll Film Camera Boxed.jpg |
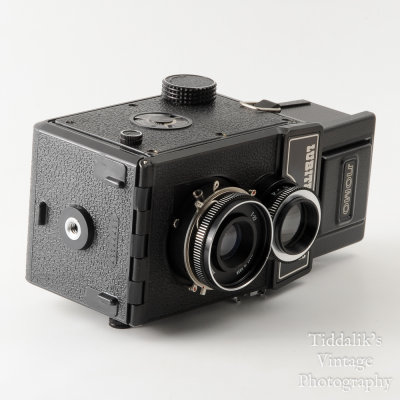 03 Lomo Lubitel 166B TLR 120 Roll Film Camera Boxed.jpg |
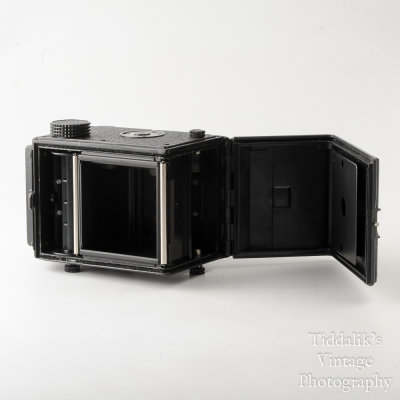 04 Lomo Lubitel 166B TLR 120 Roll Film Camera Boxed.jpg |
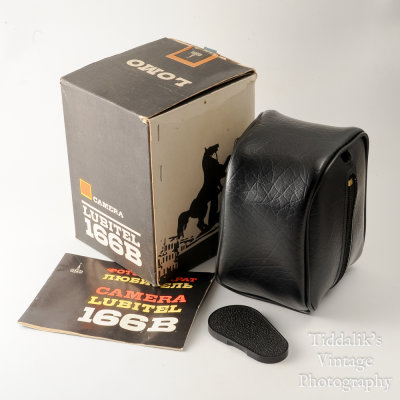 05 Lomo Lubitel 166B TLR 120 Roll Film Camera Boxed.jpg |
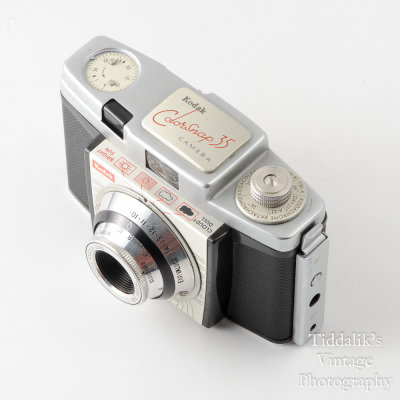
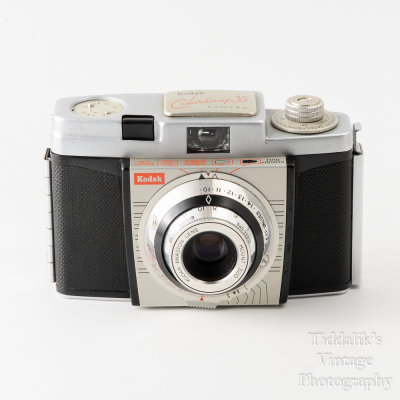 01 Kodak Colorsnap 35 35mm Film Camera.jpg |
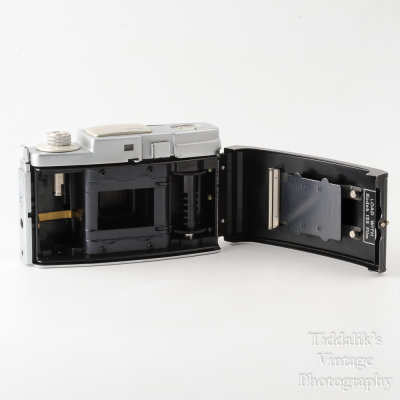
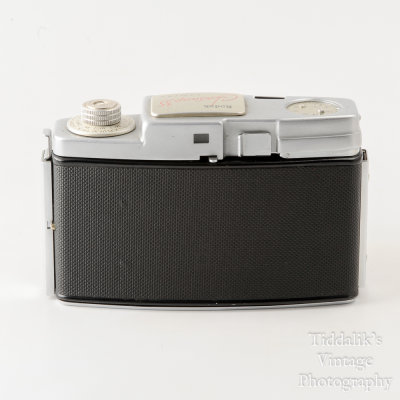 02 Kodak Colorsnap 35 35mm Film Camera.jpg |
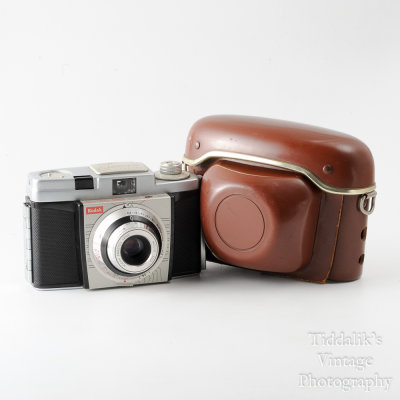
 03 Kodak Colorsnap 35 35mm Film Camera.jpg |
 04 Kodak Colorsnap 35 35mm Film Camera.jpg |
 05 Kodak Colorsnap 35 35mm Film Camera.jpg |
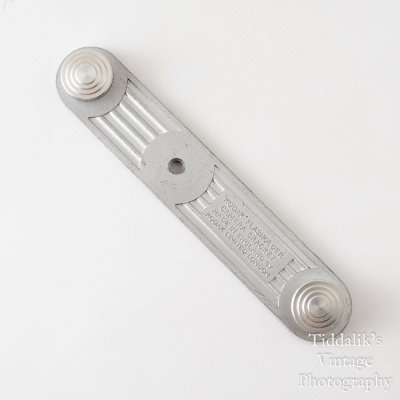 01 Vintage Kodak Flasholder Camera Flash Bracket.jpg |
 02 Vintage Kodak Flasholder Camera Flash Bracket.jpg |
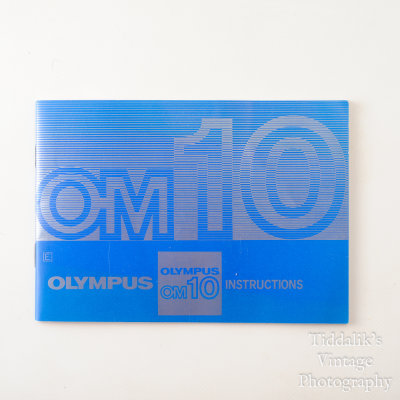 01 Olympus OM10 SLR Camera Instructions Manual.jpg |
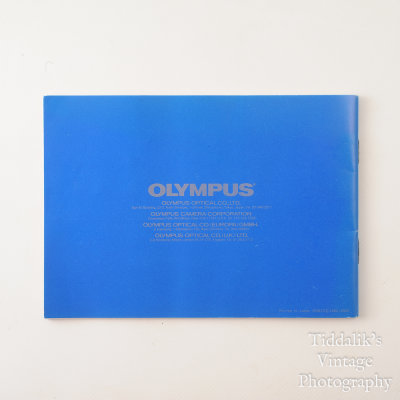 02 Olympus OM10 SLR Camera Instructions Manual.jpg |
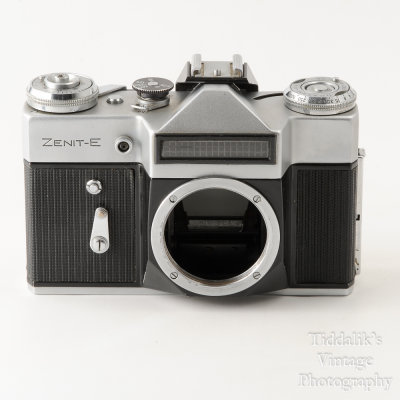 01 Zenit Zenith E 35mm Film SLR Camera Body with Case .jpg |
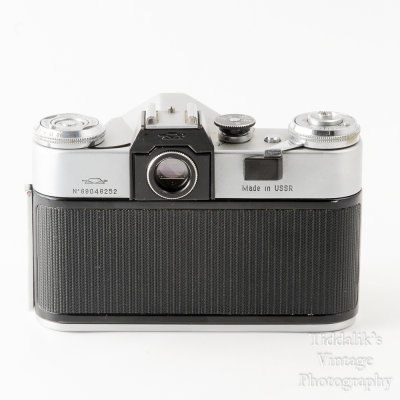 02 Zenit Zenith E 35mm Film SLR Camera Body with Case .jpg |
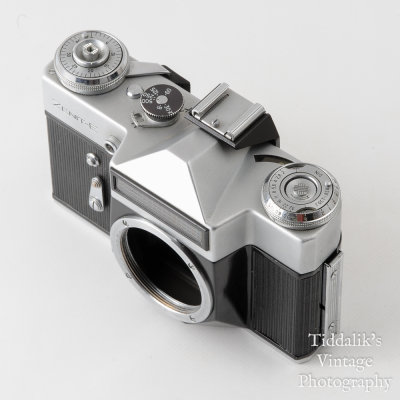 03 Zenit Zenith E 35mm Film SLR Camera Body with Case .jpg |
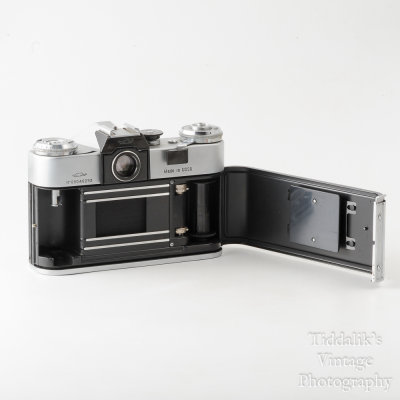 04 Zenit Zenith E 35mm Film SLR Camera Body with Case .jpg |
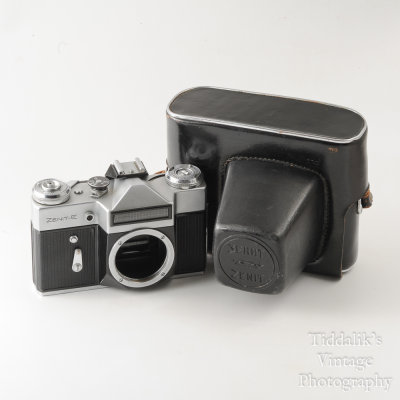 05 Zenit Zenith E 35mm Film SLR Camera Body with Case .jpg |
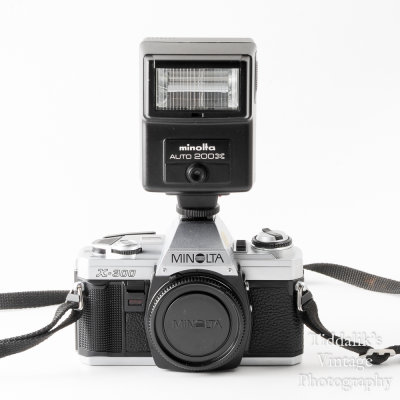 01 Minolta X-300 35mm SLR Film Camera Body with Auto 200X Flash.jpg |
 02 Minolta X-300 35mm SLR Film Camera Body with Auto 200X Flash.jpg |
 03 Minolta X-300 35mm SLR Film Camera Body with Auto 200X Flash.jpg |
 04 Minolta X-300 35mm SLR Film Camera Body with Auto 200X Flash.jpg |
 05 Minolta X-300 35mm SLR Film Camera Body with Auto 200X Flash.jpg |
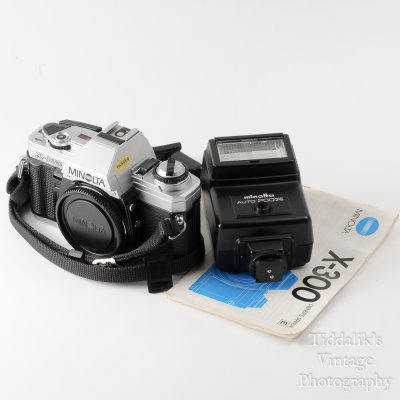 06 Minolta X-300 35mm SLR Film Camera Body with Auto 200X Flash.jpg |
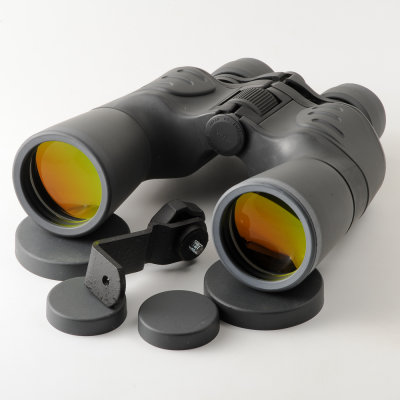 01 Chinon RB 8-20x50 Zoom Binoculars with Clamp, Case & Caps.jpg |
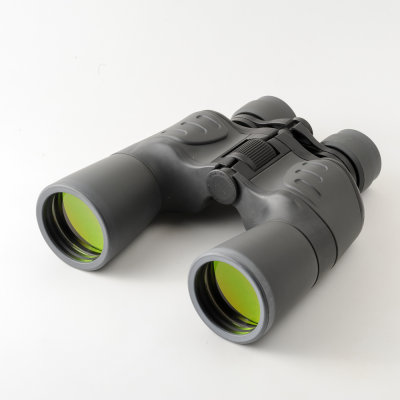 02 Chinon RB 8-20x50 Zoom Binoculars with Clamp, Case & Caps.jpg |
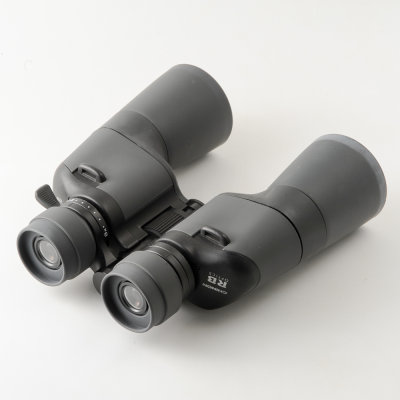 03 Chinon RB 8-20x50 Zoom Binoculars with Clamp, Case & Caps.jpg |
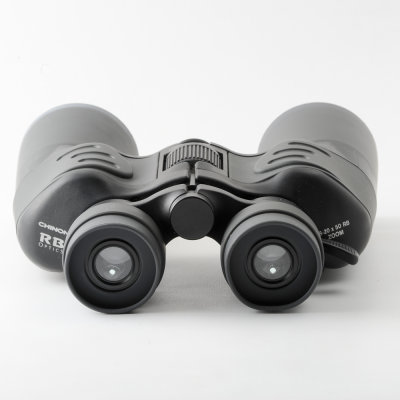 04 Chinon RB 8-20x50 Zoom Binoculars with Clamp, Case & Caps.jpg |
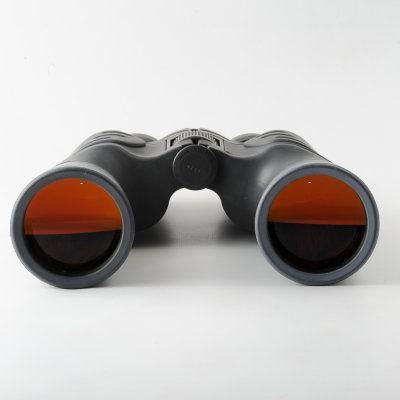 05 Chinon RB 8-20x50 Zoom Binoculars with Clamp, Case & Caps.jpg |
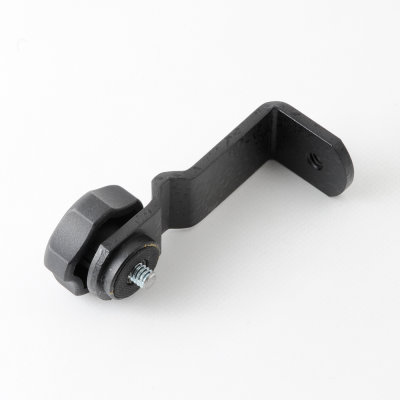 06 Chinon RB 8-20x50 Zoom Binoculars with Clamp, Case & Caps.jpg |
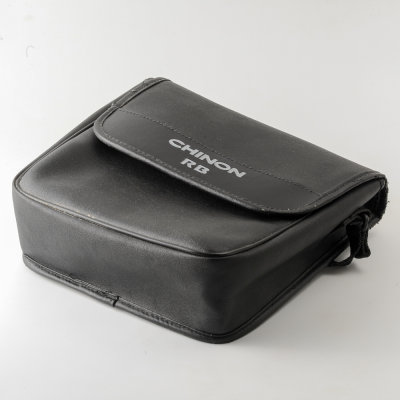 07 Chinon RB 8-20x50 Zoom Binoculars with Clamp, Case & Caps.jpg |
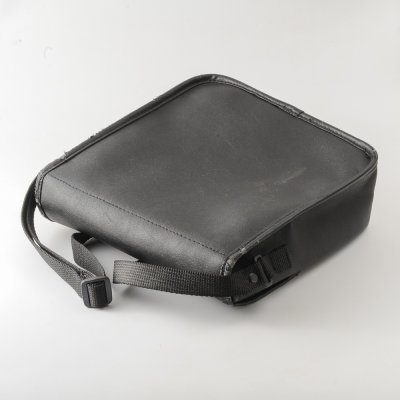 08 Chinon RB 8-20x50 Zoom Binoculars with Clamp, Case & Caps.jpg |
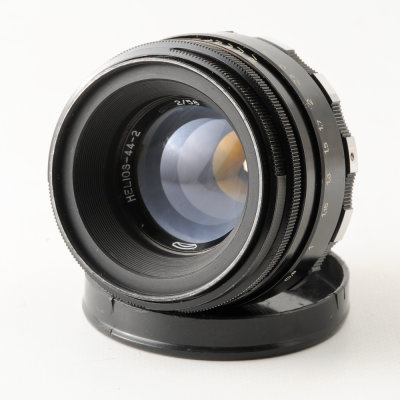 Helios 44-2 58mm f2 Preset Lens Black Zebra M42 Mount |
| previous page | pages 1 2 3 4 5 6 7 8 9 10 11 12 13 14 15 16 17 18 19 20 21 22 23 24 25 26 27 28 29 30 31 32 33 34 35 36 37 38 39 40 41 42 43 44 45 ALL | next page |
| comment |
| Guest | 17-Oct-2013 00:32 | |