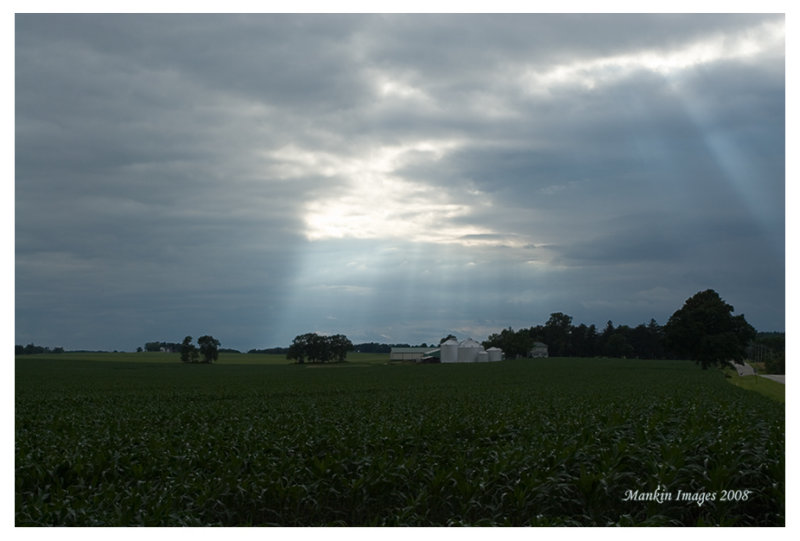
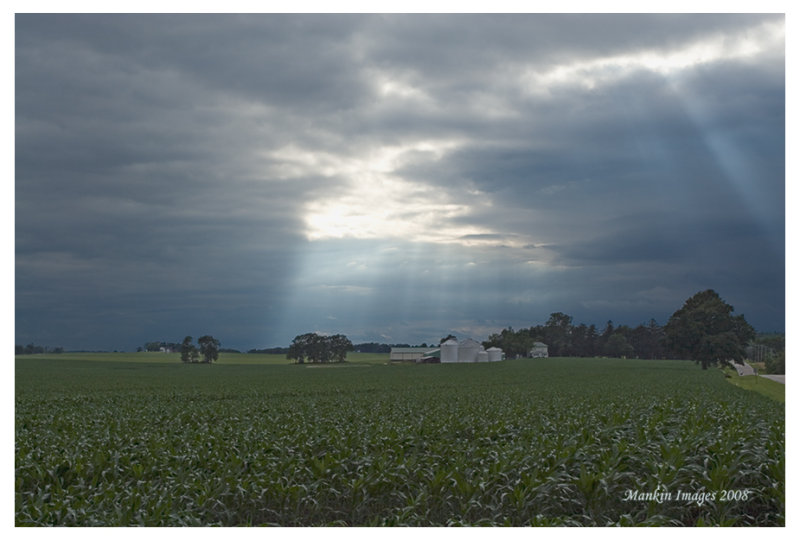
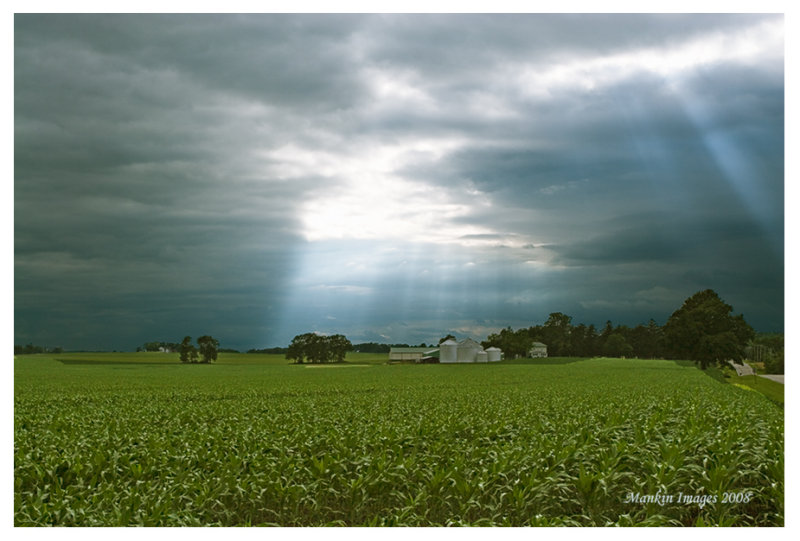
This image isn't very old, but it sprouted burr spikes immediately after
taking the converted raw file into Photoshop for post processing.
The sky was changing so fast that two different exposures, one for the sky
and the other for the corn field and out buildings, just wouldn't blend
as separate layers. This week I dug deeper into learning how to use Curves
in Ps, instead of relying only on the Levels function to flesh out an image.
I selected the corn field, feathered it 1 pixel, and extended the histogram's
light and dark points until the the field finally looked like what I saw when
I stopped to shoot it. Next I selected the sky, feathered it, and reworked
the histogram. Then I used Curves again on the whole image to increase
the contrast of the light and dark points --
and there's the new version.