


|
|
|
|
|
|
| John Small Photography | profile | all galleries >> Photo Talk >> Exposure >> The Zone System >> Nikon D300 | tree view | thumbnails | slideshow |
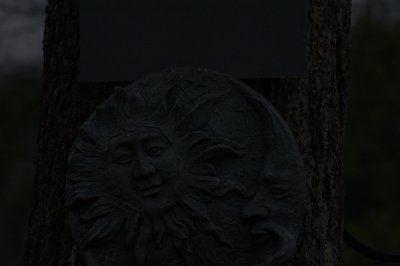
 Zone 0 - 3 DSC_0903.jpg |
 Zone 0 - 2 DSC_0902.jpg |
 Zone 0 - 1 DSC_0901.jpg |
 Zone 0 DSC_0900.jpg |
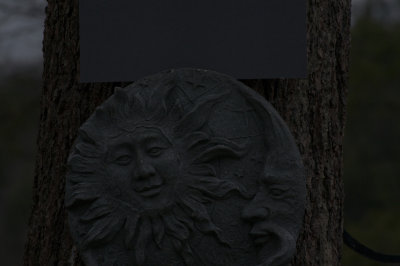
 Zone I DSC_0899.jpg |
 Zone II DSC_0898.jpg |
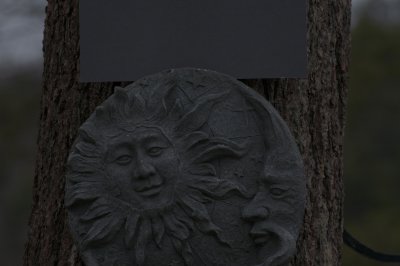
 Zone III DSC_0897.jpg |
 Zone IV DSC_0896.jpg |
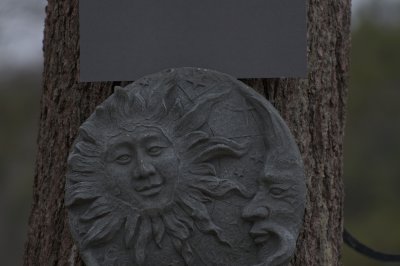
 Zone V DSC_0888.jpg |
 Zone VI DSC_0889.jpg |
 Zone VII DSC_0890.jpg |
 Zone VIII DSC_0891.jpg |
 Zone IX DSC_0892.jpg |
 Zone X DSC_0893.jpg |
 Zone X + 1 DSC_0894.jpg |
 DSC_0885.jpg |
 DSC_0886.jpg |
 DSC_0887.jpg |
 Zone 0 - 1 DSC_0718.jpg |
 Zone 0 DSC_0717.jpg |
 Zone I DSC_0716.jpg |
 Zone II DSC_0715.jpg |
 Zone III DSC_0714.jpg |
 Zone IV DSC_0713.jpg |
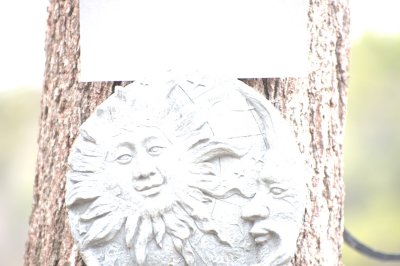
 Zone V DSC_0712.jpg |
 Zone VI DSC_0711.jpg |
 Zone VII DSC_0710.jpg |
 Zone VIII DSC_0709.jpg |
 Zone IX DSC_0708.jpg |
 Zone X DSC_0707.jpg |
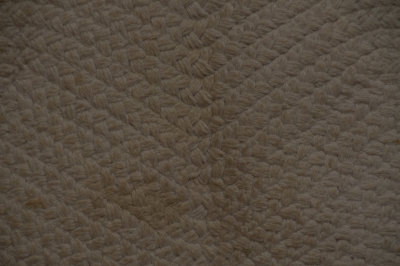
 Tilley Hat |
 Tilley Hat 100% Crop.JPG |
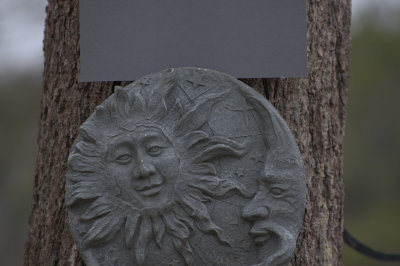
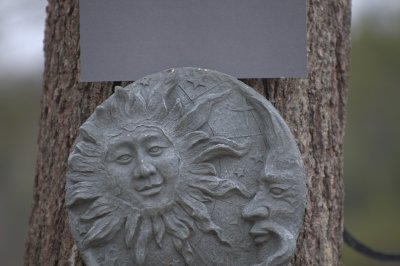
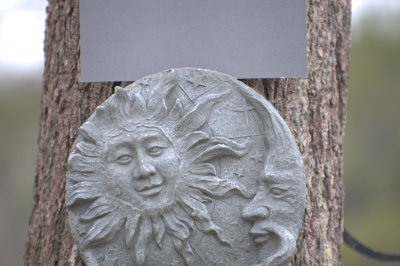
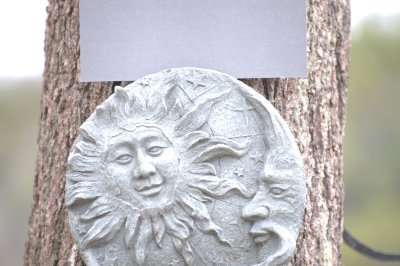
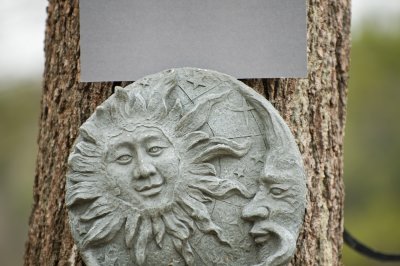 Zone VI Exposure Developed in Lightroom with WB set by the 18% gray card |
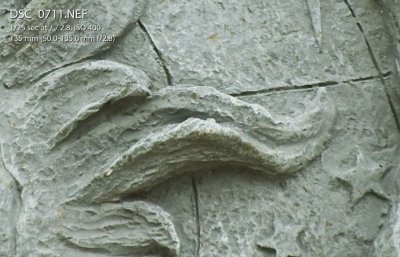 Plaque 100% Crop.JPG |
 Zone 0 |
 Zone I |
 Zone II |
 Zone III |
 Zone IV |
 Zone V |
 Zone VI |
 Zone VII |
 Zone VIII |
 Zone IX |
 Zone X |
 18% Gray Card DSC_0884.jpg |
| comment | share |