


|
|
|
|
|
|
| edmund j. kowalski | profile | all galleries >> Galleries >> Monster at the Zoo | tree view | thumbnails | slideshow |
 MonsterA2B1.JPG |
 MonsterA2B2.JPG |
 MonsterA2B3.JPG |
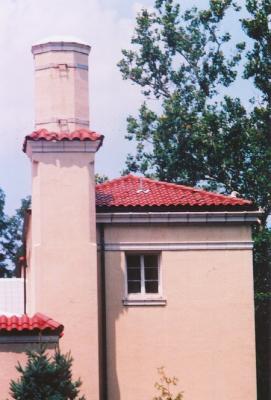 Birdhouse.JPG |
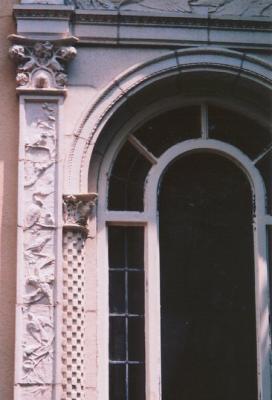 Details.JPG |
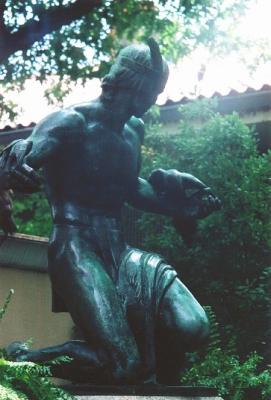 Indian.JPG |
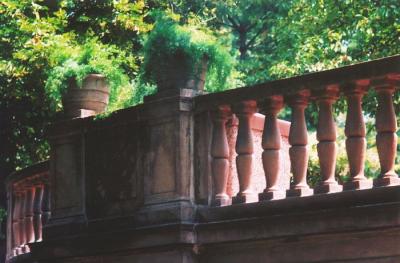 Railing.JPG |
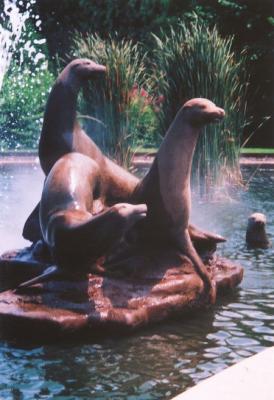 Seal Lions.JPG |
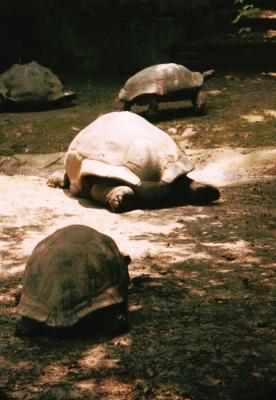 Tortoises.JPG |
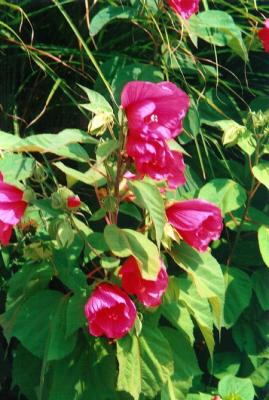 Botanical1.JPG |
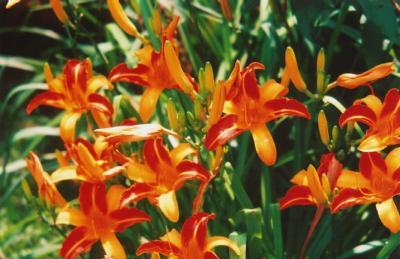 TigerLilies1.JPG |
 TigerLilies2.JPG |
| comment | share |
| Jacky Lee | 04-Apr-2007 20:35 | |
| J.Ed Baker | 19-Jul-2005 12:41 | |