photo sharing and upload picture albums photo forums search pictures popular photos photography help login
Type your message and click Add Comment
It is best to login or register first but you may post as a guest.
Enter an optional name and contact email address. Name
Name Email
help private comment
Michael | profile | all galleries >> Infrared Images >> Infrared processing choices. tree view | thumbnails | slideshow

Infrared processing choices.
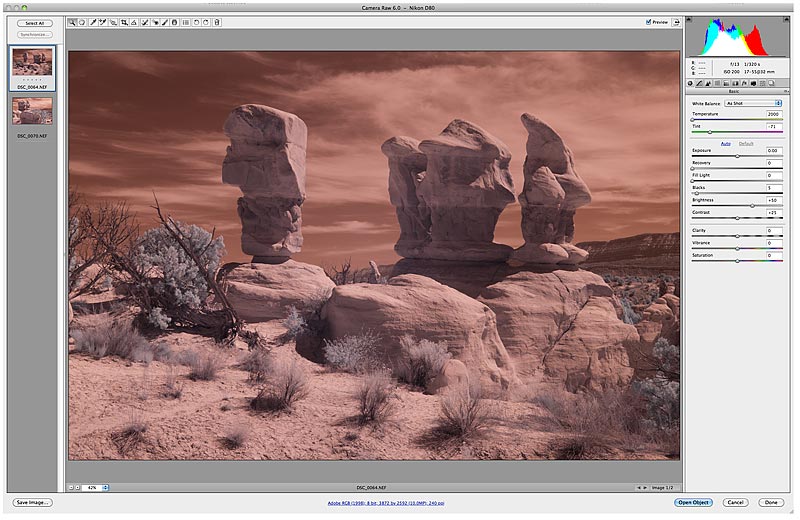
Decisions, decisions. How to interpret a digital Infrared photo from a RAW capture?
It all starts here in the RAW converter. For some, this is also where it ends. While many like to set a white point in here and use that for color balance, I prefer not to. My CWB in camera is set on green grass, I leave it as shot in Camera RAW, note that the color temperature is as low as it goes (2000K)

It all starts here in the RAW converter. For some, this is also where it ends. While many like to set a white point in here and use that for color balance, I prefer not to. My CWB in camera is set on green grass, I leave it "as shot" in Camera RAW, note that the color temperature is as low as it goes (2000K)

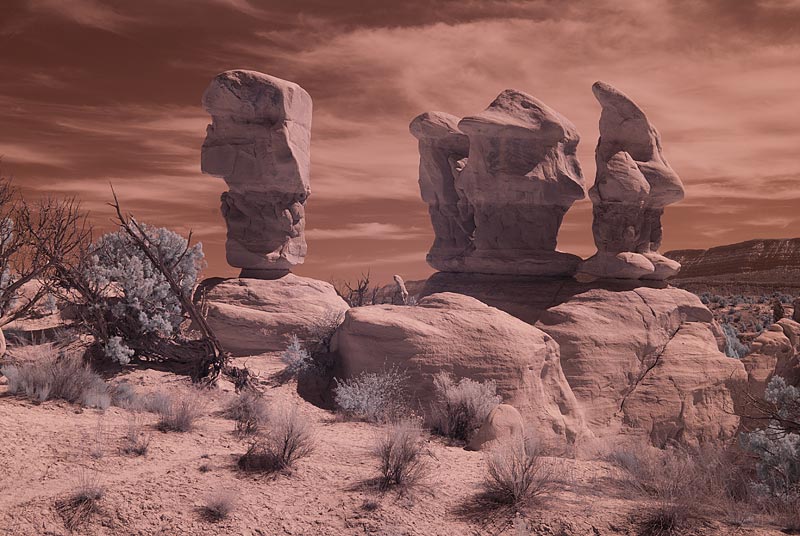
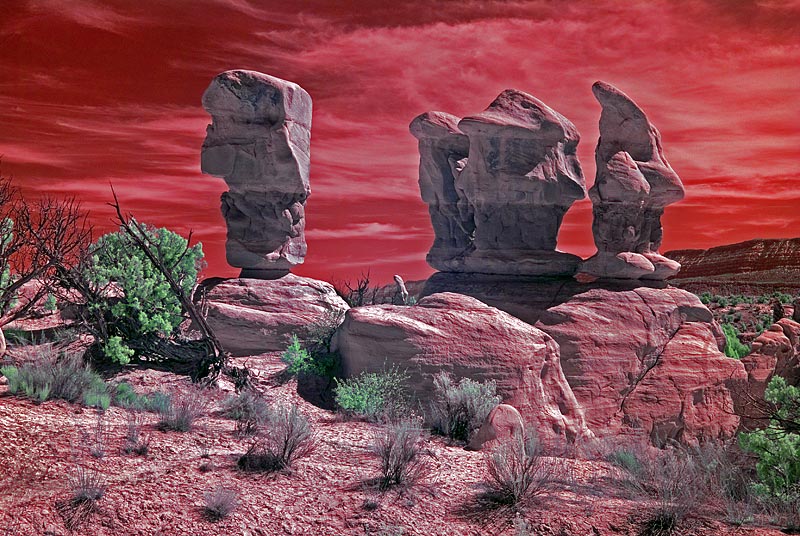
Here is the image opened in Photoshop, before we begin to fine tune it to our taste. From here on, let's refer to this as the original image.

Here is the image opened in Photoshop, before we begin to fine tune it to our taste. From here on, let's refer to this as the "original image".

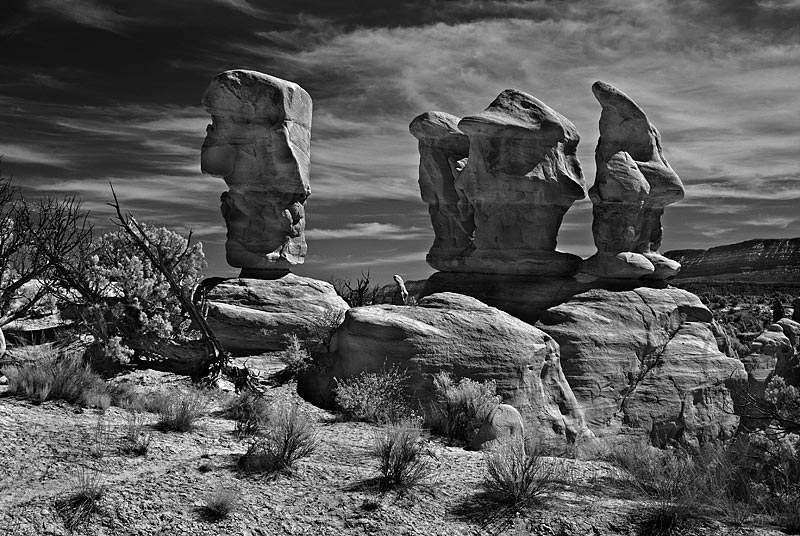
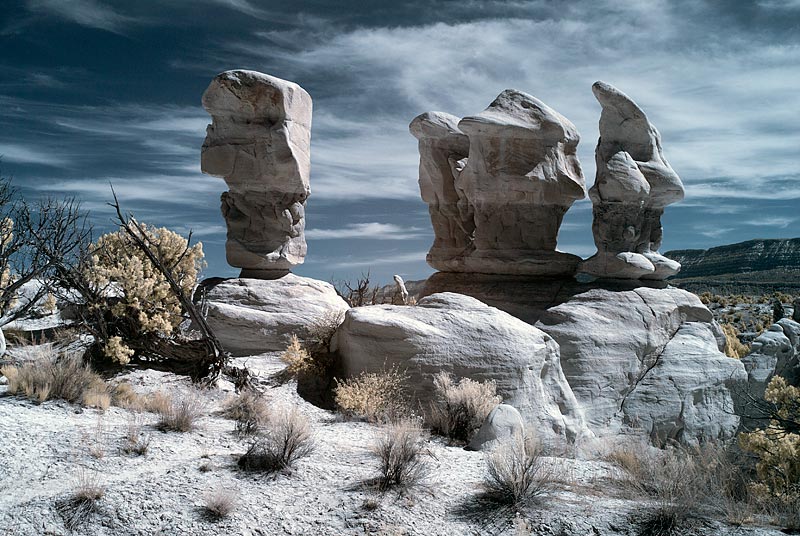
A B+W from the original image.

A B+W from the original image.

Original image with only levels adjusted.

Original image with only levels adjusted.

Original image with levels adjusted, then shadow/highlights adjusted.

Original image with levels adjusted, then shadow/highlights adjusted.

Original image with levels adjusted and hue/saturation amplified in the red and green channels.

Original image with levels adjusted and hue/saturation amplified in the red and green channels.

Original image with red and blue channels swapped.

Original image with red and blue channels swapped.

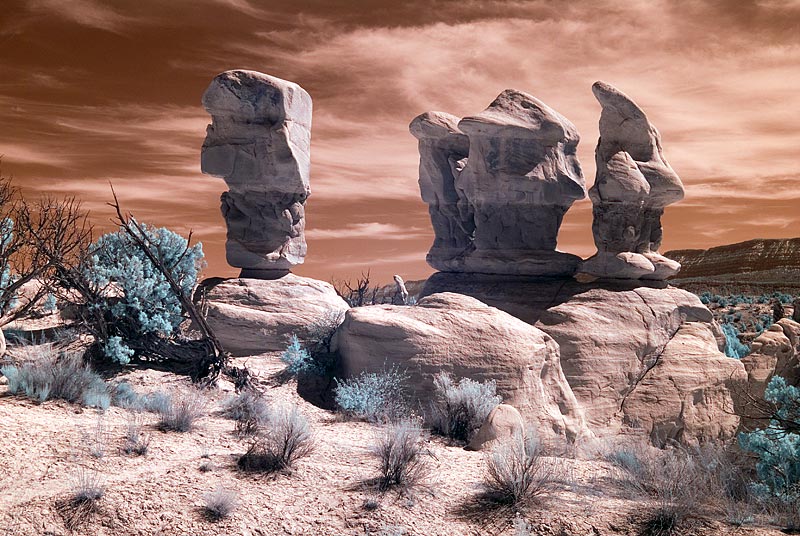
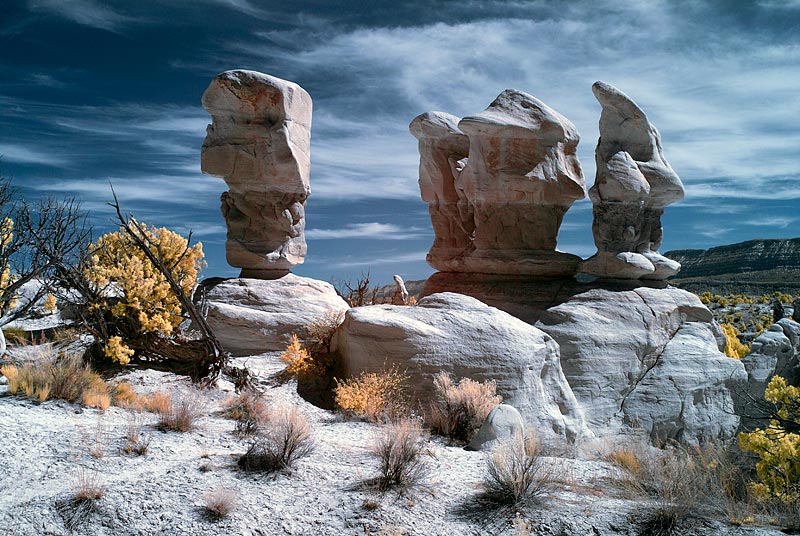
Original image with red and blue channels swapped, then hue/saturation adjusted in the blue and yellow channels.

Original image with red and blue channels swapped, then hue/saturation adjusted in the blue and yellow channels.

Original image with red and blue channels swapped, then hue/saturation adjusted in the blue and yellow channels. Then added a contrast mask with a 12 pixel radius on the Gaussian blur.

Original image with red and blue channels swapped, then hue/saturation adjusted in the blue and yellow channels. Then added a contrast mask with a 12 pixel radius on the Gaussian blur.

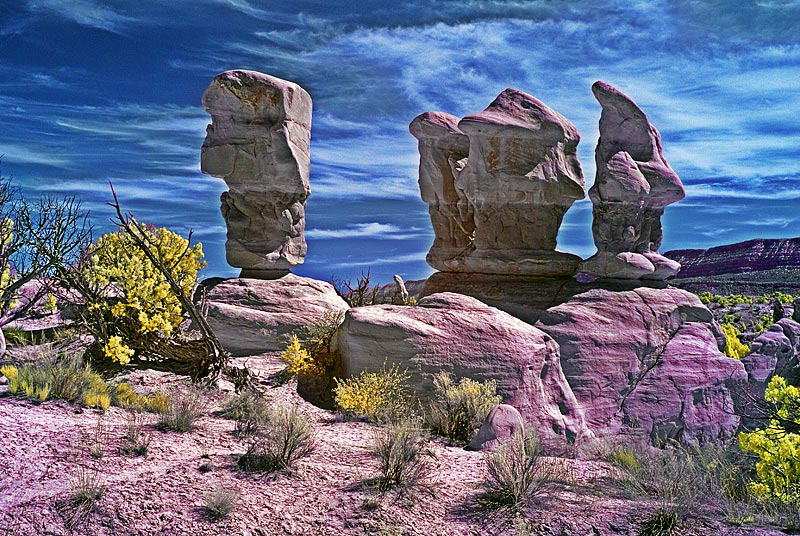
Original image with red and blue channels swapped, then hue/saturation adjusted in the blue and yellow channels. Next I used hue/saturation to make the rocks more magenta.

Original image with red and blue channels swapped, then hue/saturation adjusted in the blue and yellow channels. Next I used hue/saturation to make the rocks more magenta.

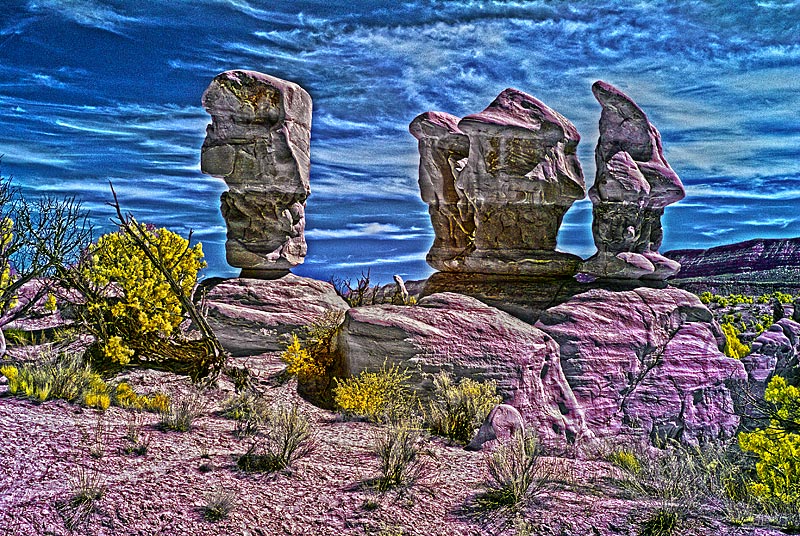
Same as previous image, then added some tone mapping to control the highlights and bring out more detail.

Same as previous image, then added some tone mapping to control the highlights and bring out more detail.

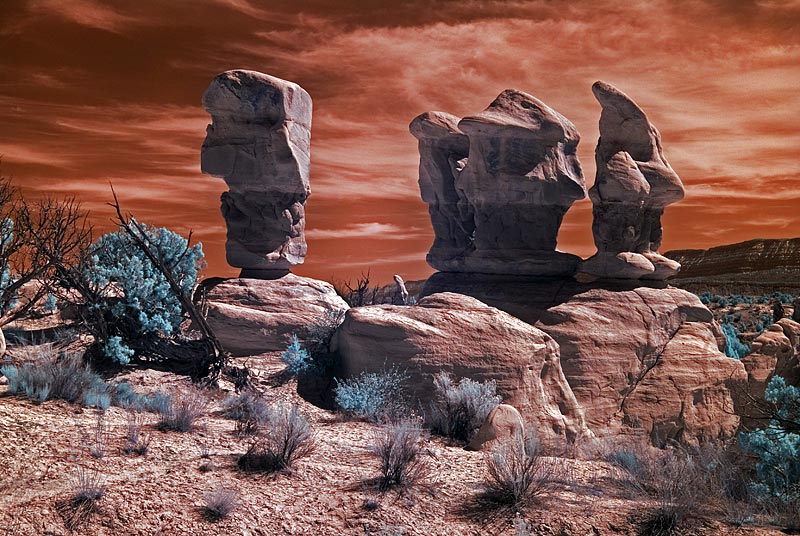
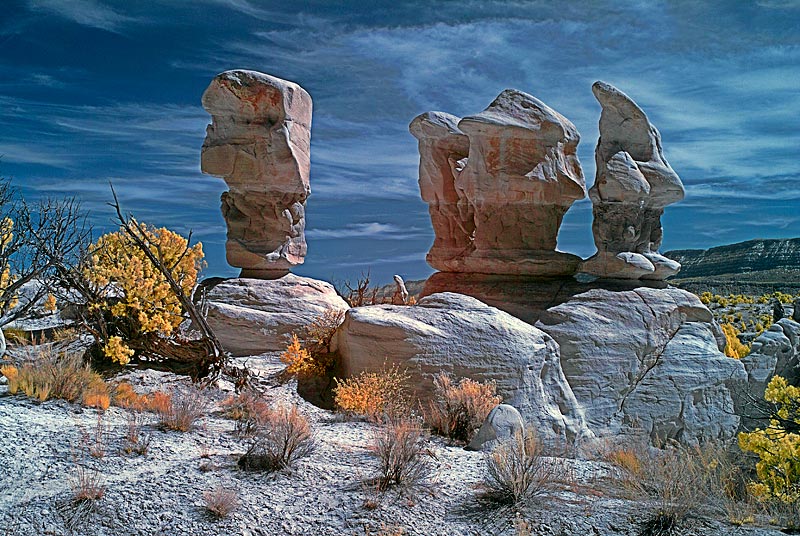
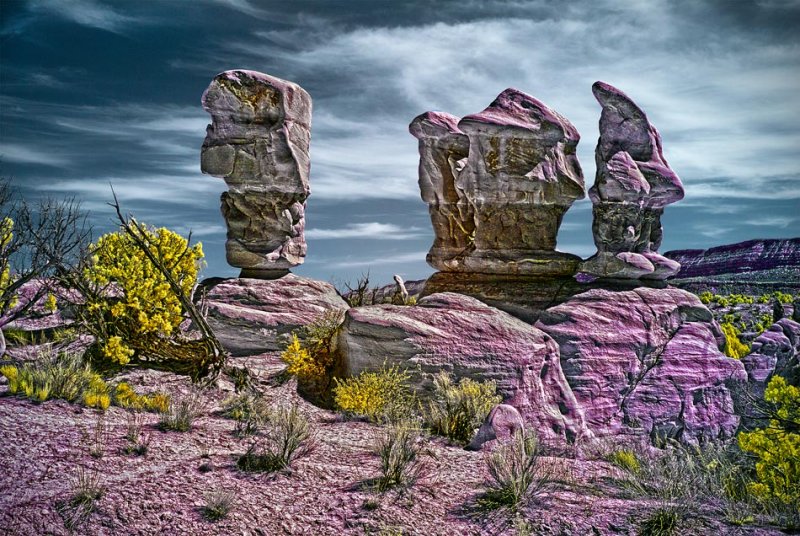
Previous image, with the sky from the original image after channel swapping. Then burn in the corners a bit. I think I'm done ... for now.

Previous image, with the sky from the original image after channel swapping. Then burn in the corners a bit. I think I'm done ... for now.