


|
|
|
|
|
|
| Michael | profile | all galleries >> Infrared Images >> How I post process 665nm Infrared for color | tree view | thumbnails | slideshow |
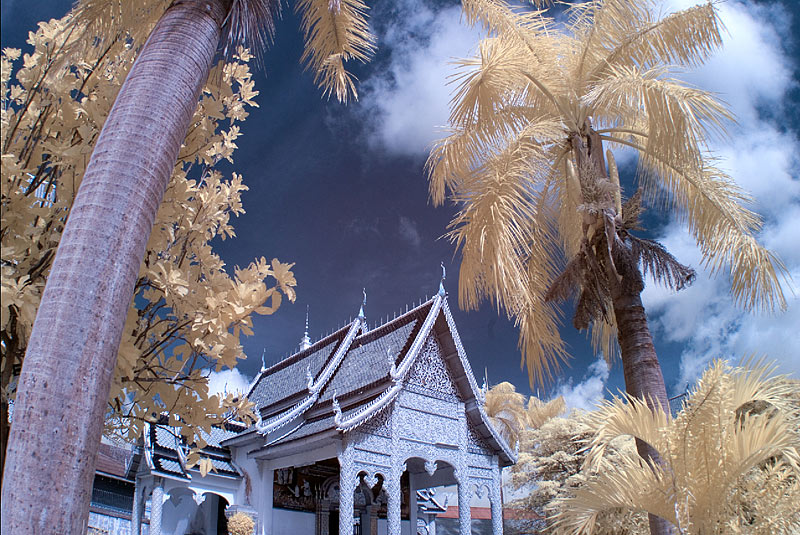
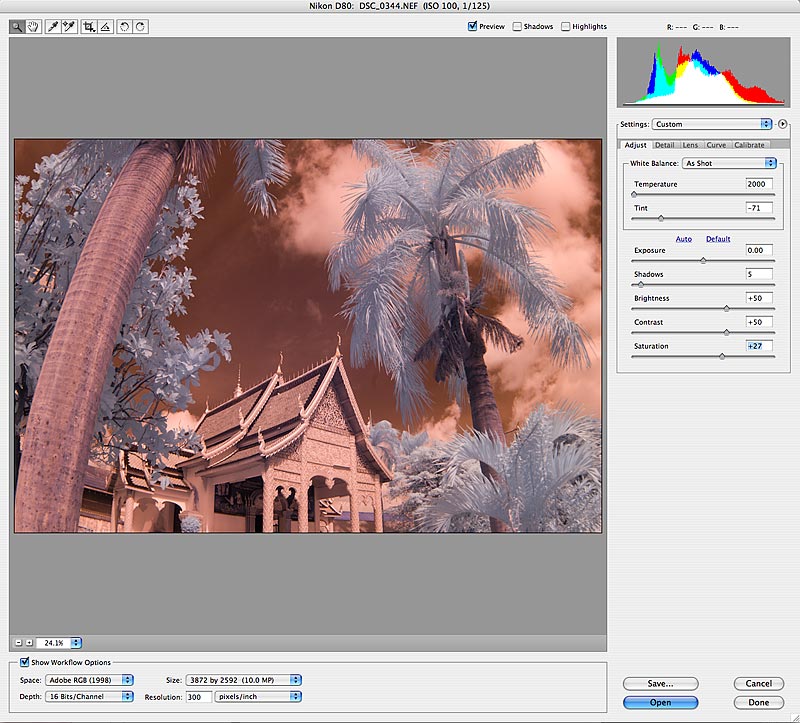 I Begin by opening the raw file in Adobe Camera Raw. I mainly just adjust shadows, contrast, and saturation to my liking. Note that the color temperature is as low as it can go (2000K). I leave it in 16 bit if there's a chance I'll be printing it. For this demo, let's work with it in 8 bit to speed things along. |
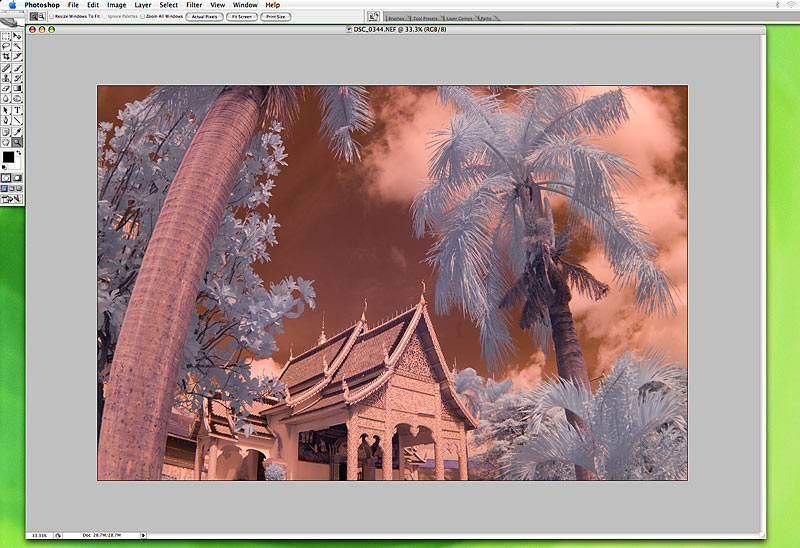 Here's the image as it appears opened in Photoshop. I currently use version CS2, but I'll be upgrading to CS4 soon. |
 Duplicate the image. (Image-Duplicate) Apply autolevels to one image. (Image-adjustments-autolevels). |
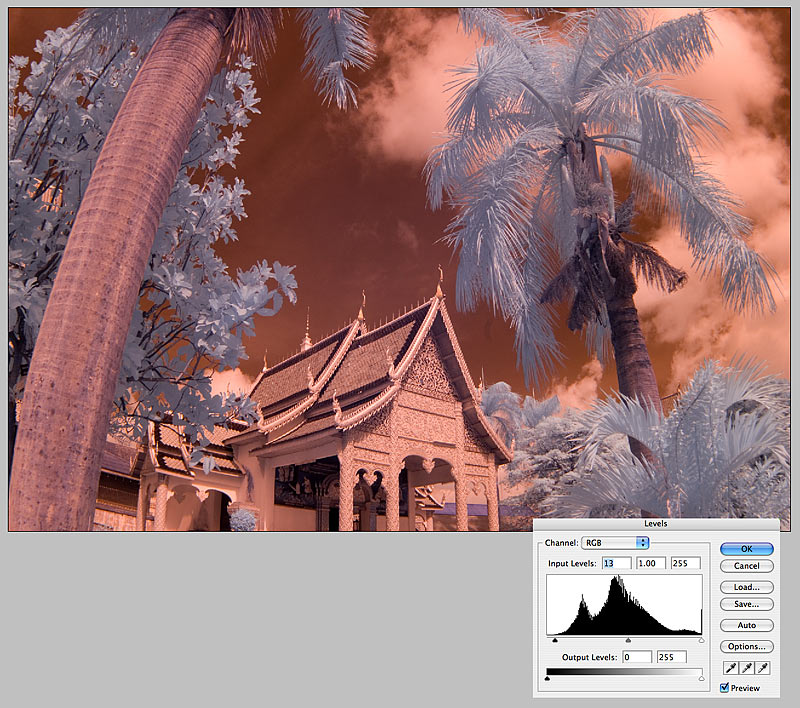 On the second version, adjust the levels manually. Compare the two versions and choose the best to work on. I'm going to use the autolevels version. |
 Swap the red and blue channels. (Image-adjustments-Channel Mixer) |
 Add auto contrast. (Image-adjustments-auto contrast) |
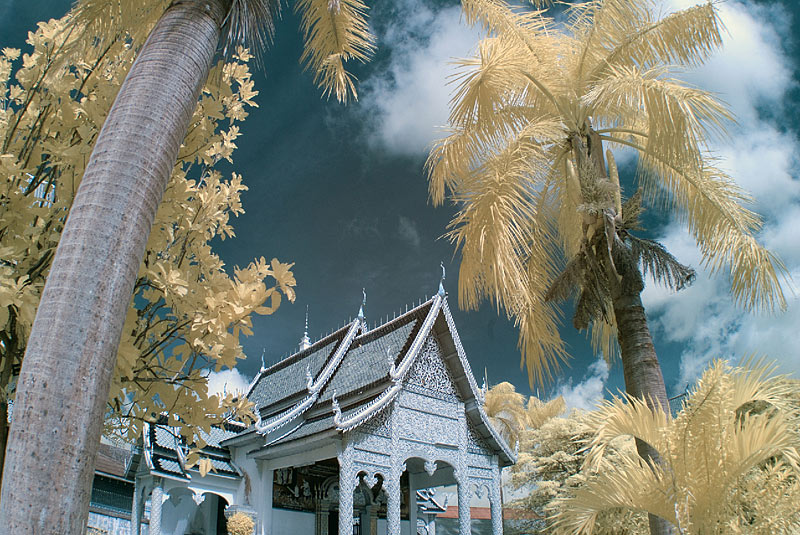 Add autocolor to image. (Image-adjustments-auto color) |
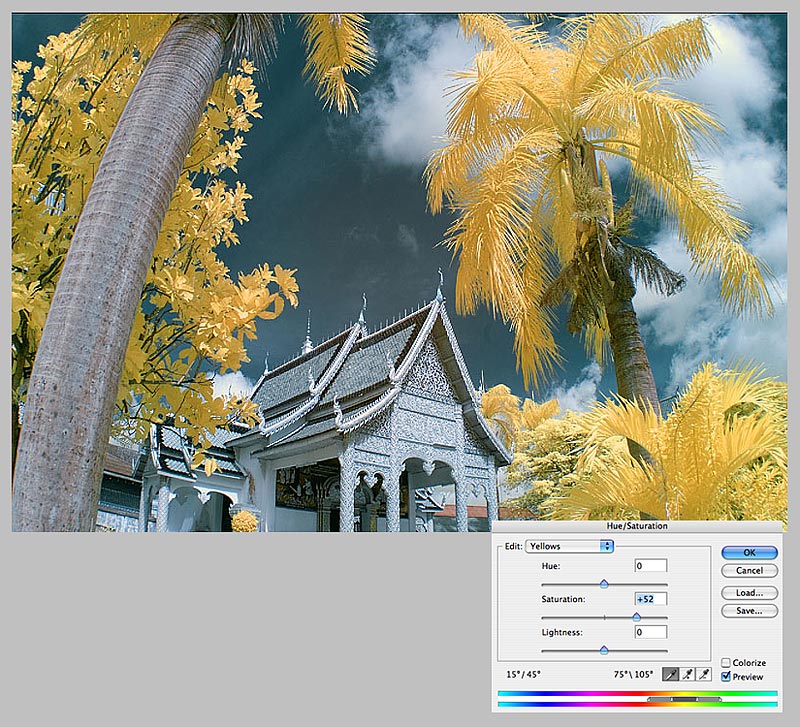 Add saturation to the yellow channel. (Image-adjustments-hue/saturation) |
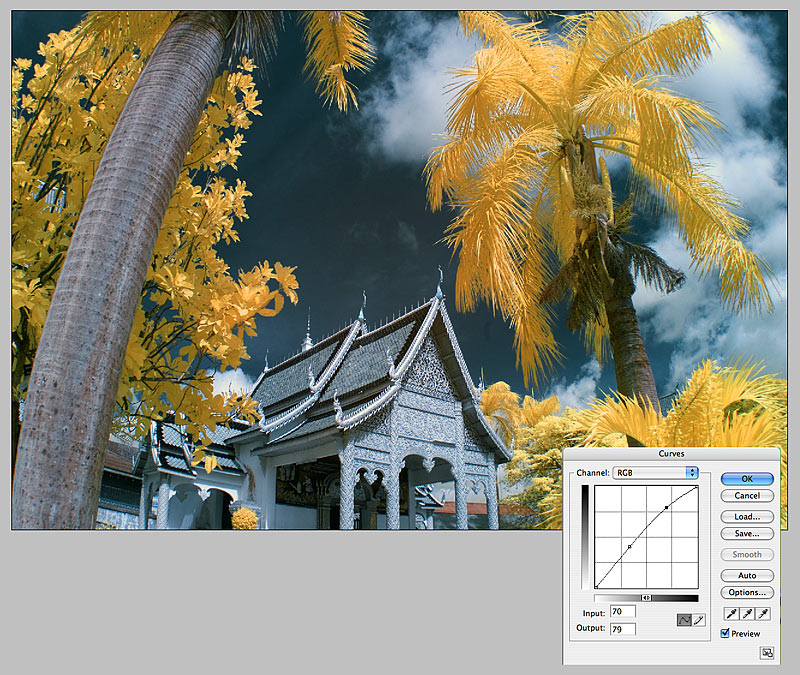 Apply curve to image to your liking. (Image-adjustments-curves) |
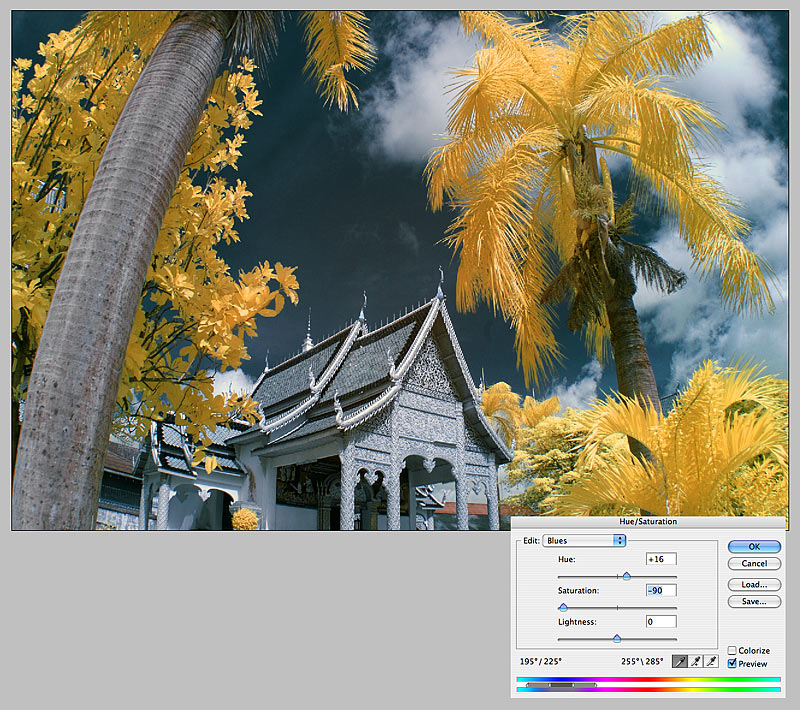 Tone down the blues in the image. (Image-adjustments-hue/saturation)
|
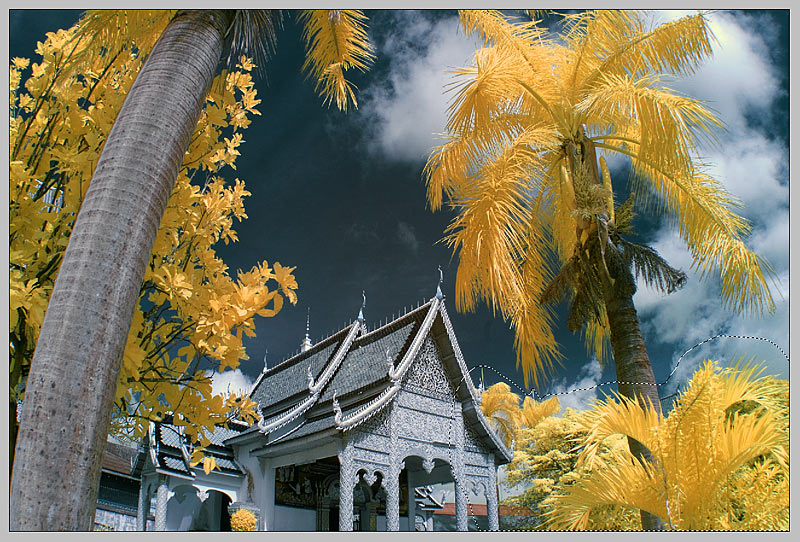 Select one of the palm trees at the bottom of the image. |
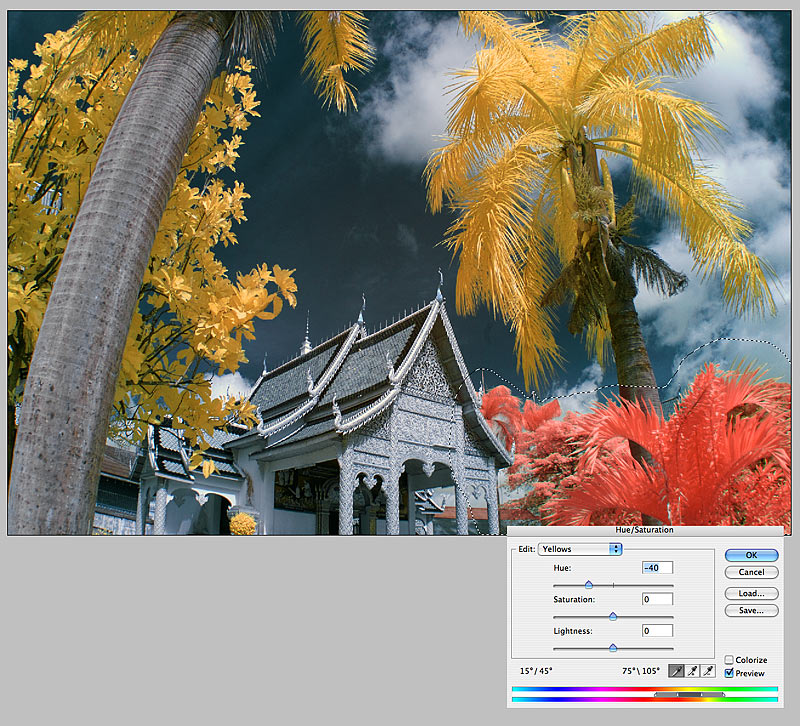 Make the yellow channel of the selection a different color. |
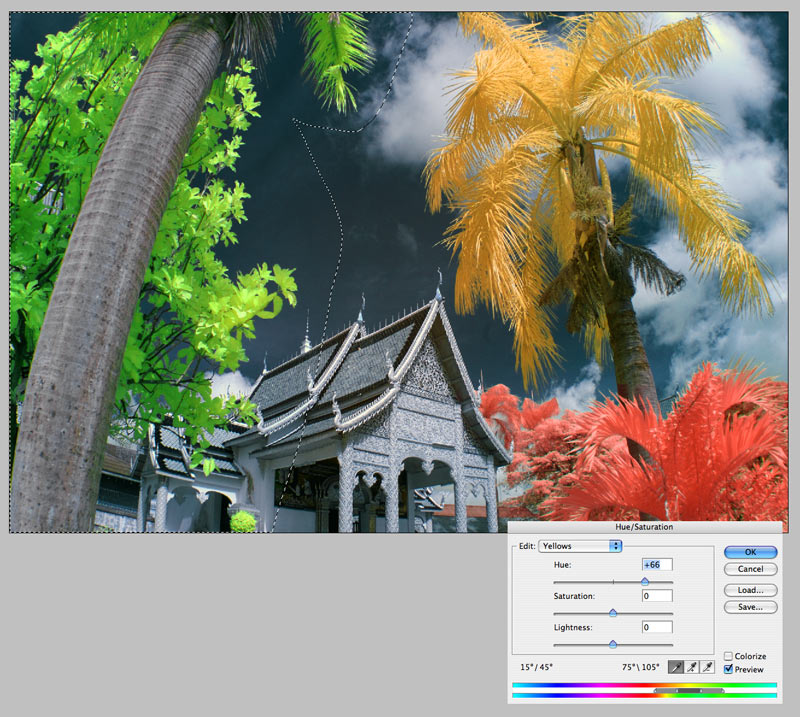 Select a different tree. make it another different color. |
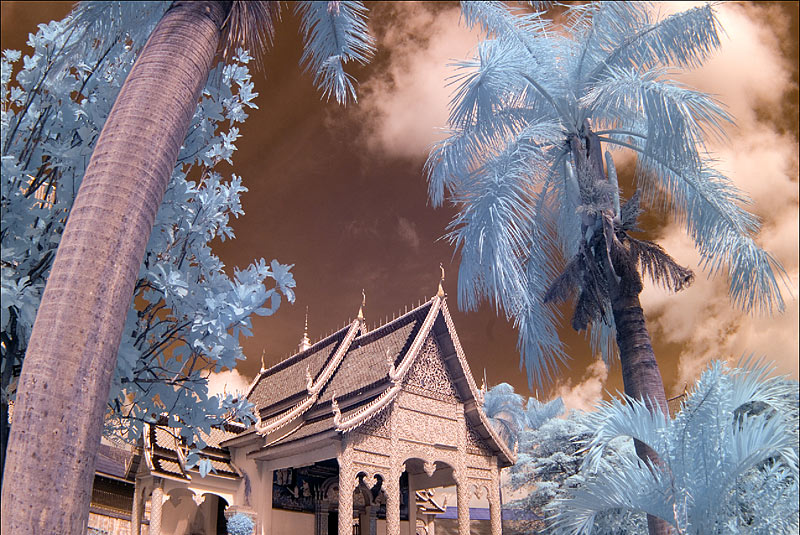
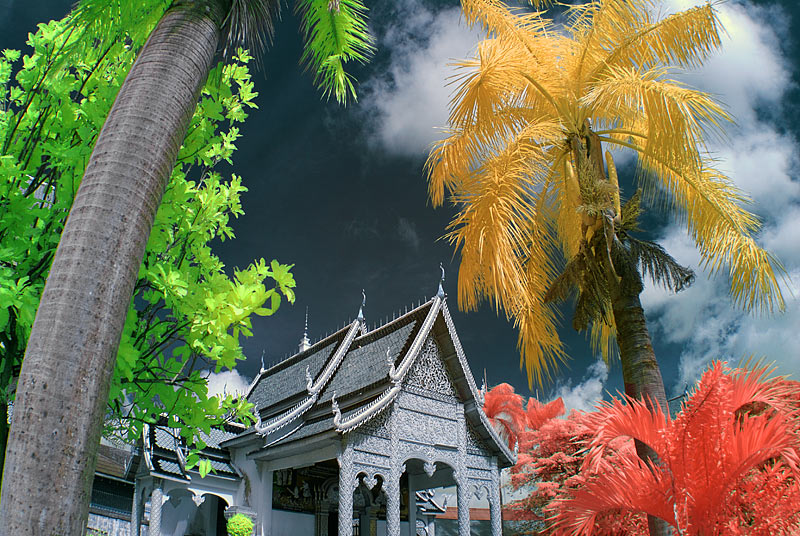 Here's the final image, after cloning out a dust spot between the yellow and red palms. |
| comment |
| Jim Kramer | 11-Jul-2009 21:59 | |