


|
|
|
|
|
|
| Andy Dodson | profile | all galleries >> R/C Aircraft Flying >> NPMAC 25 May 2014 Lake Cowley | tree view | thumbnails | slideshow |
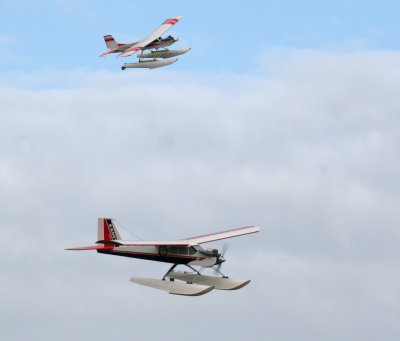
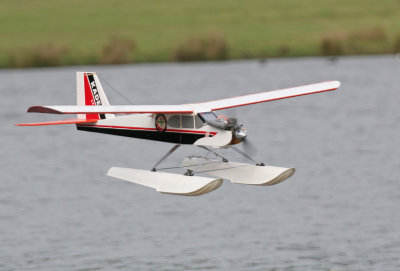
 John's Explorer 60 Trainer & Mike's Hanger 9 Alpha, IMG_9285 |
 Justin's SIG Kadet LT-40, IMG_9288 |
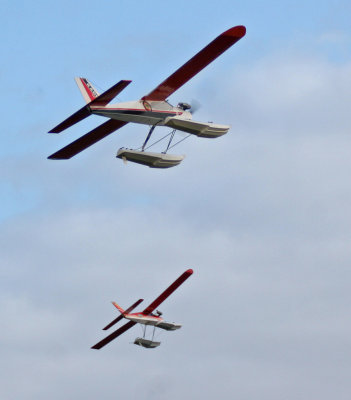
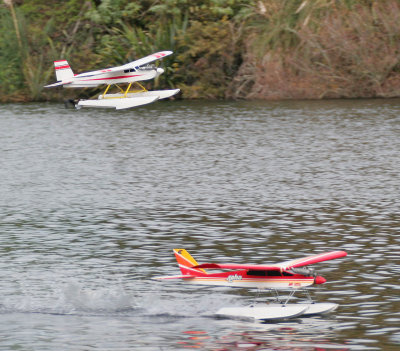
 John's Explorer 60 Trainer & Justin's SIG Kadet, IMG_9295 |
 Justin's SIG Kadet & Mike's Hanger 9 Alpha, IMG_9299 |
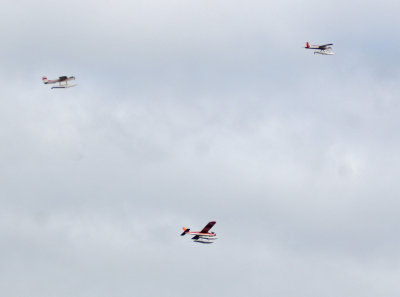 John's Explorer 60, Mike's Alpha & Justin's Kadet in the one shot - tighter formation flying required lads, IMG_9307 |
 Mike's Hanger 9 Alpha, IMG_9311 |
 Mike's Hanger 9 Alpha, IMG_9313 |
 Mike's Hanger 9 Alpha, IMG_9314 |
 Keith rescues his Seamaster Part 1, IMG_9318 |
 Mike's Hanger 9 Alpha, IMG_9321 |
 Mike's Hanger 9 Alpha, IMG_9323 |
 Mike's Hanger 9 Alpha, IMG_9324 |
 Mike's Hanger 9 Alpha, IMG_9326 |
 Mike's Hanger 9 Alpha, IMG_9327 |
 Justin's SIG Kadet LT-40, IMG_9334 |
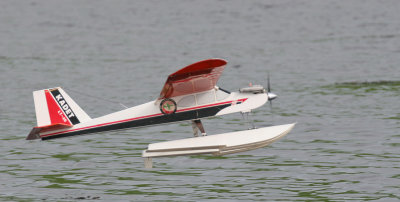 Justin's SIG Kadet LT-40, IMG_9338 |
 Justi's SIG Kadet LT-40, IMG_9343 |
 John's Explorer 60 Trainer & and Mike's Hanger 9 Alpha, IMG_9345 |
 Justin's SIG Kadet LT-40, IMG_9352 |
 Justin's SIG Kadet LT-40, IMG_9354 |
 Keith's Seamaster, IMG_9358 |
 Keith's Seamaster (mainly submerged) IMG_9360 |
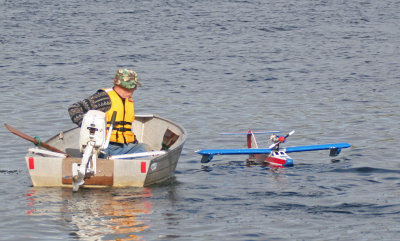 Keith rescues his Seamaster Part 2, IMG_9364 |
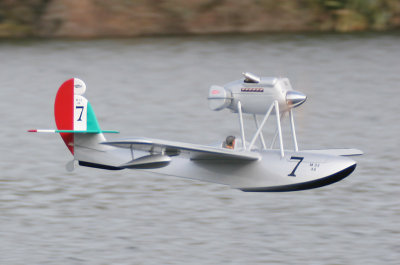 Justin's Kyosho SQS Macchi M33, IMG_9367 |
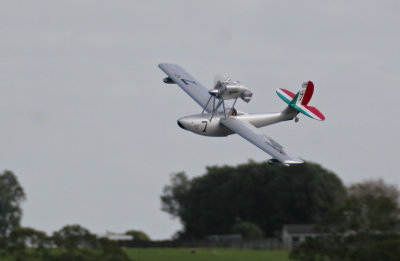 Justin's Kyosho SQS Macchi M33, IMG_9368 |
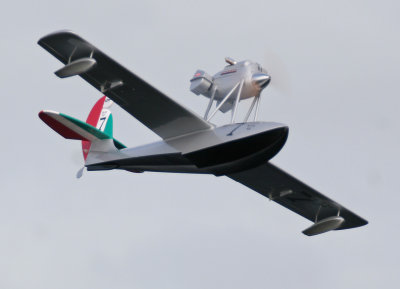 Justin's Kyosho SQS Macchi M33, IMG_9376 |
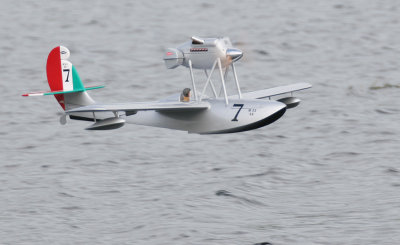 Justin's Kyosho SQS Macchi M33, IMG_9381 |
 Justin's Kyosho SQS Macchi M33, IMG_9383 |
 Justin's Kyosho SQS Macchi M33, IMG_9390 |
 Andy's Seawind, IMG_9398 |
 Andy's Seawind, IMG_9402 |
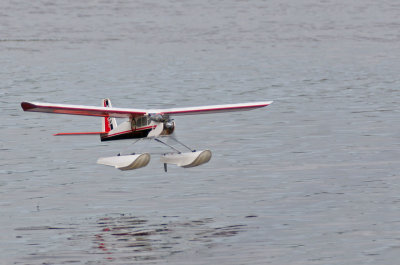
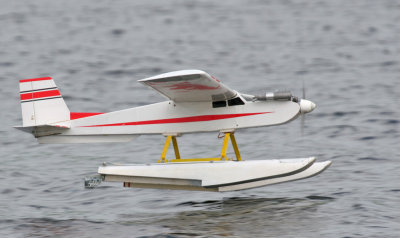 John's Explorer 60 Trainer, IMG_9411 |
 The landing was looking good at this stage, IMG_9418 |
 Landing not looking so good now, IMG_9422 |
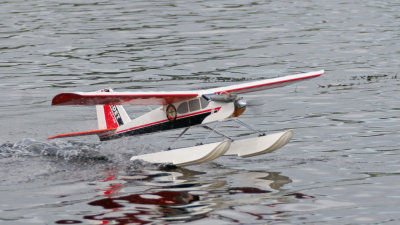
 John's Explorer 60 Trainer, IMG_9424 |
 John's Explorer 60 Trainer, IMG_9425 |
 Keith to the rescue of John's Explorer 60 Trainer, IMG_9427 |
 Keith's Seamaster IMG_9432 |
| comment | share |