


|
|
|
|
|
|
| Topics >> by >> the_ultimate_guide_to_cost_o |
| the_ultimate_guide_to_cost_o Photos Topic maintained by (see all topics) |
||
DIY Formica countertops - BiggerPockets Things To Know Before You BuyCut these strips with the keep piece off the lumber. Job the cutline inch past the edge (to represent the router bit's width). When using a router, cut from delegated right as you face the edge (and the tool is upright), to keep the bit from pulling. Check Here For More Using a chip brush, use contact cement to the back of the laminate strips for the counter's short sides and onto the substrate sides.  Allow the contact cement on both parts to dry to the touch. Take a strip and position it over the side without letting it touch, making sure it's evenly lined up all around. Working from one end to the other, stick the laminate to the substrate, smoothing it as you go. Touch up uneven edges Using the router turned on its side, cut off the overhanging edges of laminate, running the bit counterclockwise around the edges. Touch up unequal edges with a file or sander, keeping it flat on top of the particleboard and pushing away from the laminate. With the sides done, glue and trim the leading edge.  Keep the bit devoid of adhesive by occasionally unplugging the router and soaking the bit in water. Cover laminate back and substrate with contact cement Turn the top laminate sheet facedown. Pour contact cement onto the back and, using a paint roller, spread out the adhesive over the entire sheet. Roll any excess onto the substrate. Getting My Today's laminate countertops — no sighs or yucks in sight To WorkAllow the contact cement to dry to the discuss both parts. Laminate the top Lay wood scraps or dowels throughout the substrate every 12 inches approximately. Flip the laminate so that it is adhesive-side down, and rest the sheet on top of the scraps without permitting it to touch the substrate. 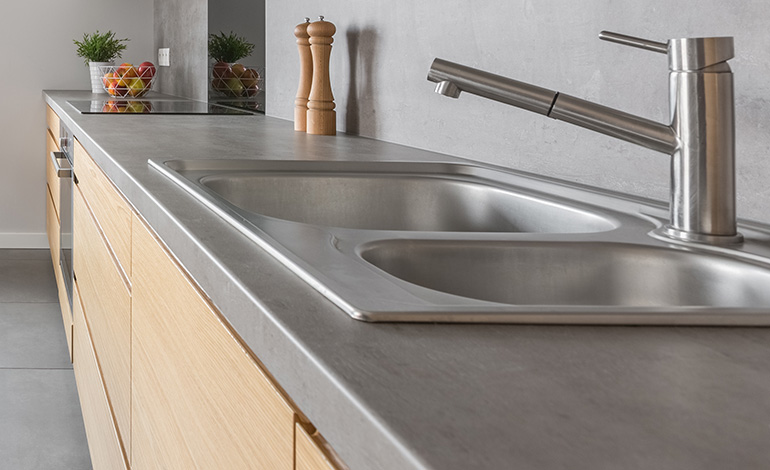 .jpg) Beginning in the middle, eliminate a scrap and press the laminate down. Exercising from the center, continue eliminating scraps and pushing the sheet into location, until the entire sheet is adhered. Roll over the counter with the J-roller, utilizing company strokes. Utilizing the trim router, cut off the excess around the boundary. |
||
|
||