


|
|
|
|
|
|
| Topics >> by >> the_only_guide_to_kitchen_ca |
| the_only_guide_to_kitchen_ca Photos Topic maintained by (see all topics) |
||
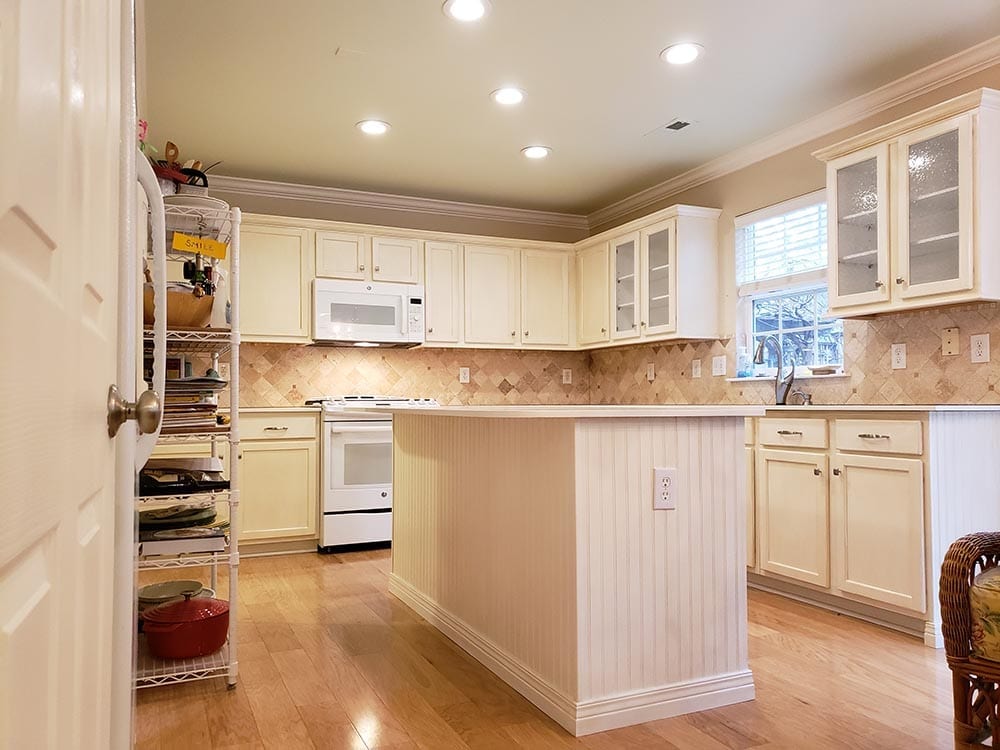 The Definitive Guide to 7 Mistakes Everyone Makes When Painting Kitchen CabinetsEnsure to follow the underlying structure of the cabinet or door with the brush. Where a rail butts into a stile, for instance, paint the rail initially, overlapping slightly onto the stile, then paint the stile prior to the overlap dries. While you're permitting the primer to dry, clean your brush and roller sleeve, and pour the excess guide back into the can in the past cleaning the paint tray. 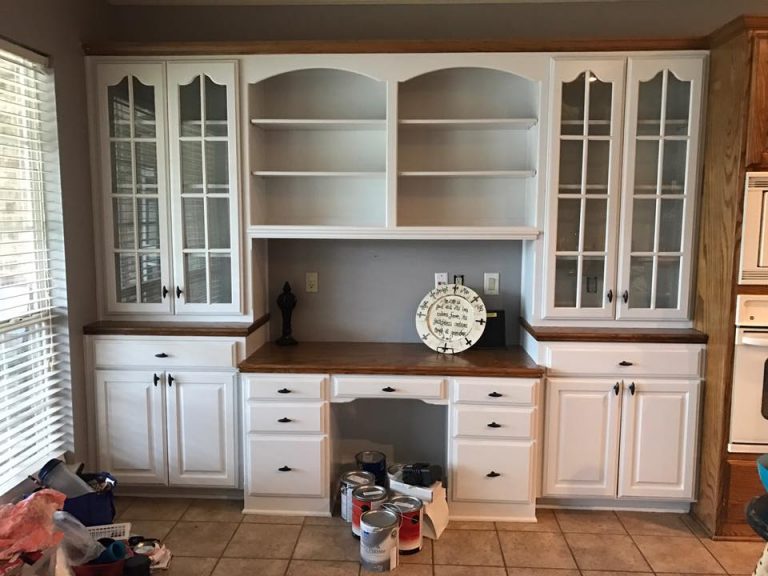 Sand, caulk, and fill After the primer is dry, sand the flat surface areas with 220-grit paper. Sand any profiled surfaces with a medium-grit sanding sponge. smartliving home repair services needs to wind up feeling glass-smooth. Squeeze a thin bead of latex caulk into any open seams. (The hole in a caulk tube's suggestion need to be no bigger than the pointer of a sharp pencil.) Pull the idea as you go, then smooth the caulk with a damp finger. Once the spackle is dry (about 60 minutes), sand once again with 220-grit paper, vacuum, and clean with a tack cloth. With a spray can of fast-drying oil-based primer, spot-prime the spackle and any areas where the sandpaper has actually "burned through" the guide. Wait an hour, then sand the guide lightly with 280-grit paper. 7 Simple Techniques For Kitchen Cabinet Painting Franklin TN - Bella Tucker7. Paint the cabinet boxes You're finally prepared to paint! If you're using roughly the same shade as the existing color, two coats ought to get the job done. You might even get away with one. Painting over a dark surface with a light color is tougher and might need three coats. Put some trim and cabinet enamel paint into the paint tray and load the brush and roller with paint. Use the brush to cut in along the edges, push the paint into the corners, and exclude roller strokes. Use the roller to apply enamel paint to the big flat surface where possible. 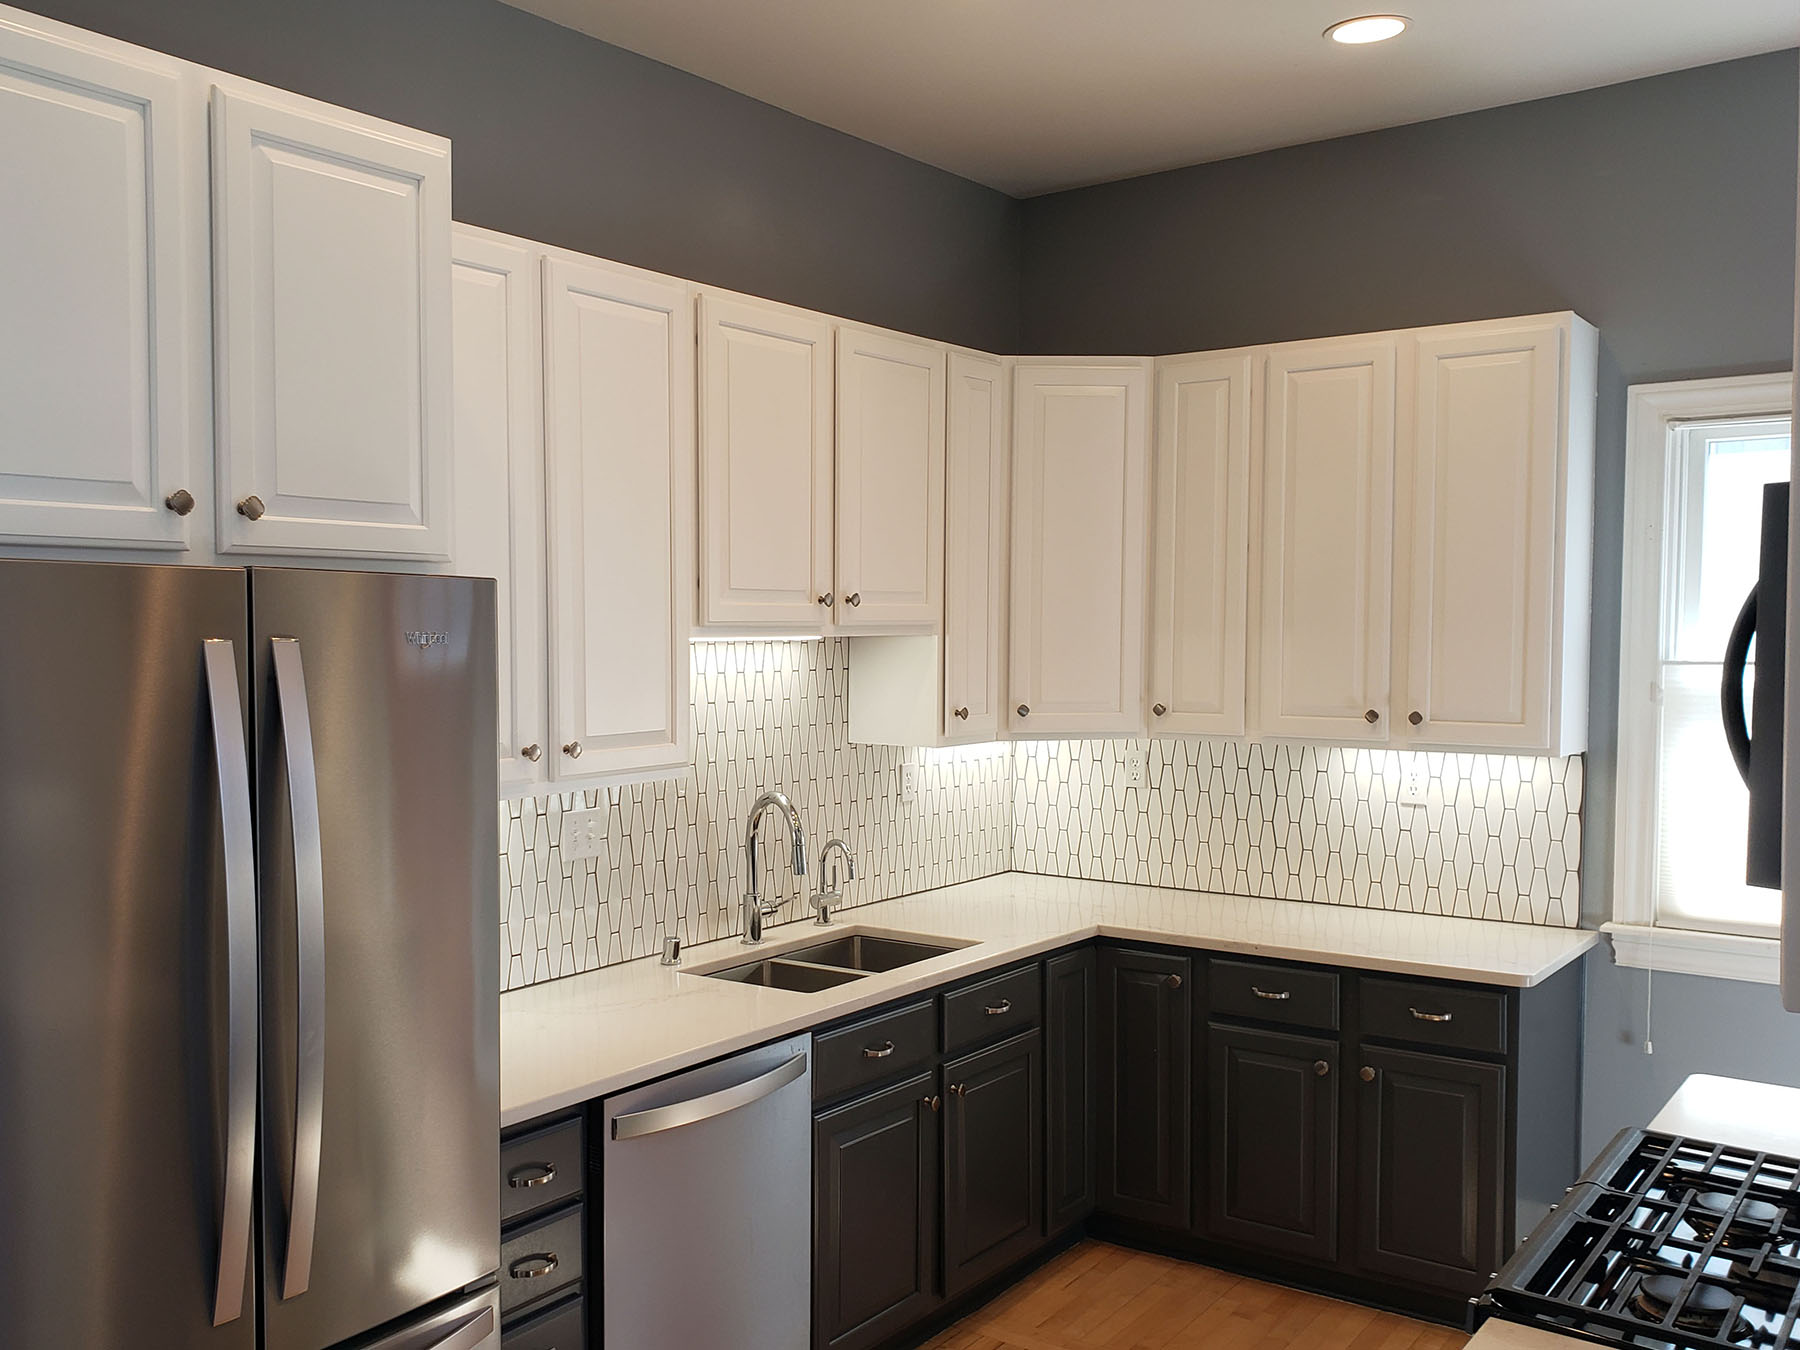 Cover the brush and roller with plastic bags to prevent them from solidifying while you wait on the very first coat to dry. In between coats, sand the surfaces gently, ensuring to tidy up the debris later. Use a second coat to the cabinet. This coat ought to provide a perfect, consistent finish with no thin or light locations where wood may show through. |
||
|
||