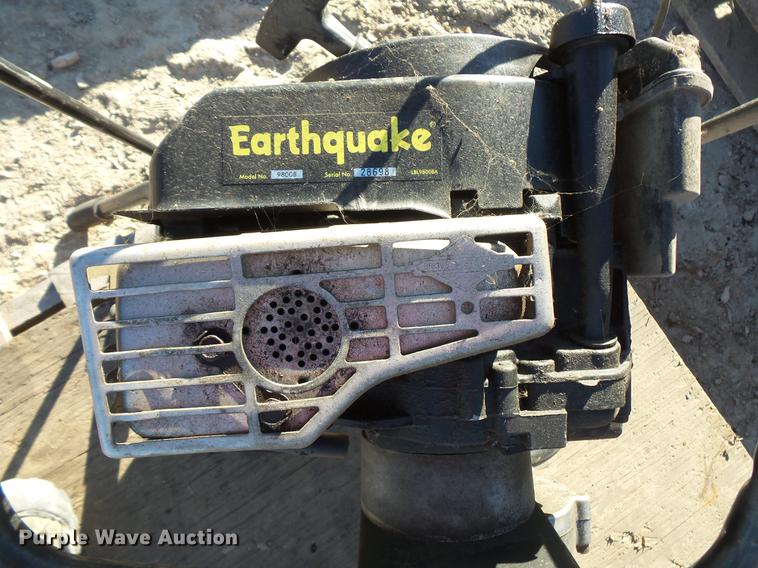
Earthquake Augers are tools utilized by farmers to clear away rocks that have been buried under the ground. There are two types of augers: hydraulic and carburetor. The former type of tool has been around the longest and is also the most common. However, with technological advancements, the carburetor is fast replacing it in the industry.
When using an earthquake auger, it is important to know exactly where the main stem is located. This is usually found near the middle of the auger or in the fish tail point. The fish tail point is where the impeller starts and ends while the gas cycle continues all the way to the nozzle which is located above the water line.
Before you attempt to use a boom platform or a digger, it is important to make sure that the soil around the site where you plan to dig is flat. https://billious.com/best-earthquake-augers/ Once this is done, dig holes for the auger. Ensure that these holes are at least three feet deep and that no roots will grow into them. Before you set out to dig, ensure that the auger runs parallel to the surface of the soil. If it is not, it could result in an accident as one side of the auger could brush up against a rock instead of going through it. Two people are best suited for this job, since one person can hold onto the rope connected to the spring while the other removes the rocks with a shovel.
The next step is to set up the rest of the pieces needed in the operation. Most operators need to secure a hose and then set up one end of the gas line connected to the auger with a threaded connection for water line support while another threaded line is tied to the other end. This line serves as a guide for the operators. A spade and pickax come next to remove the rocks and the soil around the site. They will use these to break up the dirt and rocks into smaller particles that will pass through the hole created by the auger.
Next, tie a hose on both ends and start moving the earth and debris to the location where the gas auger will be placed. The auger powerhead should be securely mounted in the location in order for it to function well. The gas pressure inside the cylinder must be released once all the rocks are moved into place and the soil reduced. The speed at which the earth is moved varies depending on the depth of the soil. This varies according to the type of soil and rock being excavated.
After the entire operation is completed, the operators should check everything to make sure there are no setbacks. To test if everything went well, the last step is to place the auger in the hole and activate the gas. It is advisable to test the rock ease in order to ensure that the best performance can be obtained. Before using the newly installed earthquake auger in a certain area, it is essential to familiarize yourself with the frequency and magnitude of earthquakes in the area.
This is because different areas have experienced different earthquakes, and a large earthquake auger will not function well if it does not have the capacity to dig to those depths. Once you are familiarized with the frequency and magnitude of an earthquake in your area, ensure that you have the appropriate Earthquake Auger that matches the need in your project. For example, if a large number of people will be affected, it is wiser to buy a 1-man earth auger rather than a two-man machine.
Once the earthquake auger has been purchased, and its installation is complete, it is important to install the auger on a level surface. This is because it is only suitable for digging shallowly into the ground. For this reason, it is advisable to dig a hole of at least one foot below the surface level and make sure that the hole is sealed. Digging too deep can cause damage to the auger or the soil around it.
|


