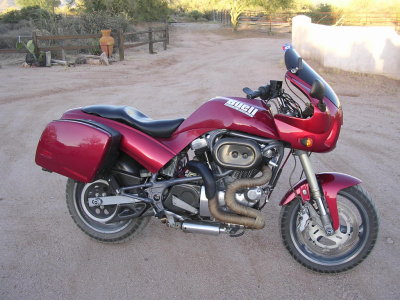
Started with my 98 Buell S3/T "Rain Dancer". Bought this bike by accident on Ebay with 1200 miles on it. |
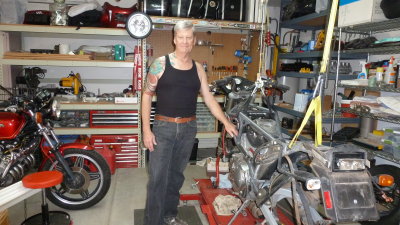
This 3 car garage is about 1/4 smaller than my old house. Still not organized so the CBX will have to temporarily move out. |
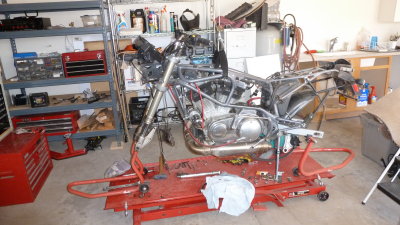
Dismantling begins with removing all the tupperware and wheels. Bike goes up on racing stands. |
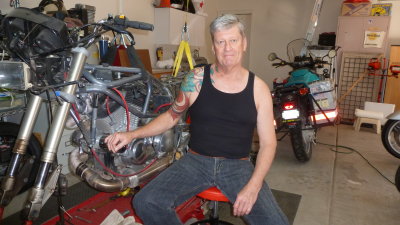
Now the headlight/dashboard assembly. Then the forks and bars. |
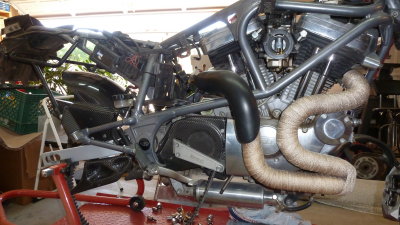
Next is the headers, SuperTrapp silencer, mono shock, carbon fiber sub-fender and cowling. |
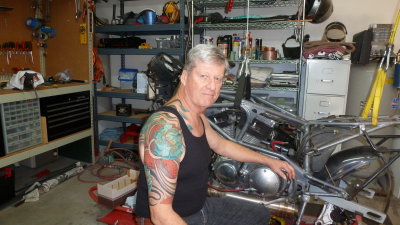
It was a bit wobbly so I hooked up front and back to ceiling hoists. I'll have to lift it soon anyway. |
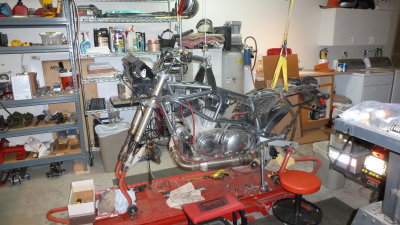
Two ceiling hoists were used to lift the bike off the race stands. |
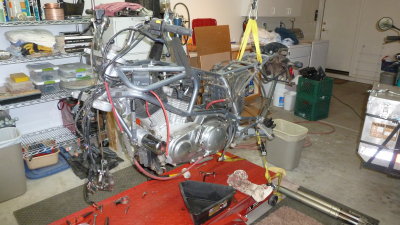
With two rear tiedowns to stabilize - the headers, silencer, forks and bars are finally off. |
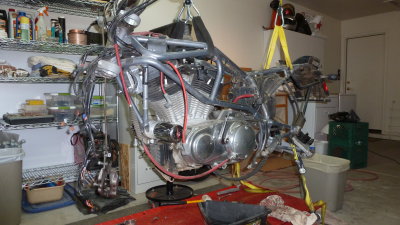
Now the wire harness has to be threaded back through the frame to keep in intact. |
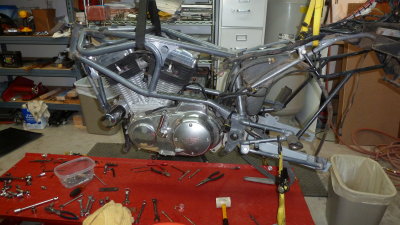
Most of the electrical is disconnected or removed as I go. |
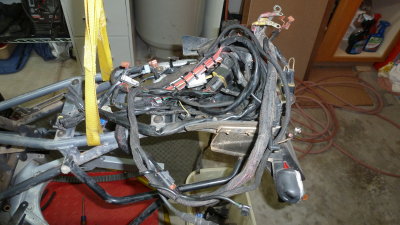
Wire harness is coiled on the rear frame. |
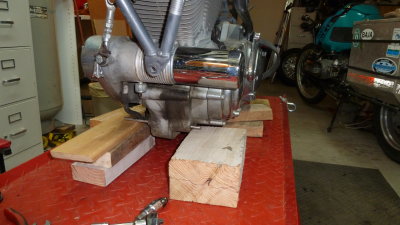
A rod is through the lower motor mount and blocked to set the engine on. |
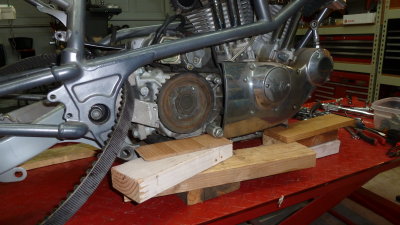
Had to shim it here and there to sit level and secure. |
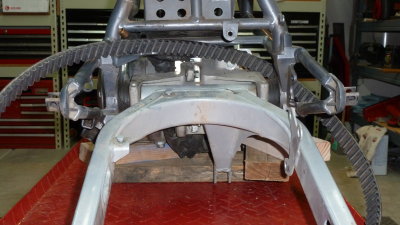
Removing the swingarm and you can see the two isolator mounts for the engine (left one one sheared). My 3rd set and last straw. |
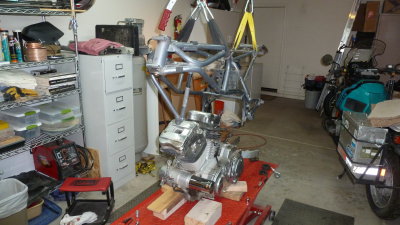
Both raising the hoists and lowering the lift - the engine is wiggled out and frame is free. |
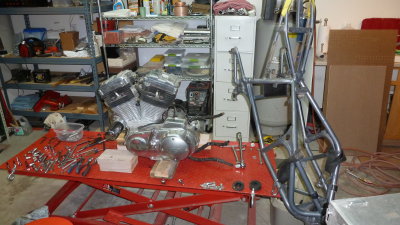
Front hoist removed and frame swings to the rear of the lift. |
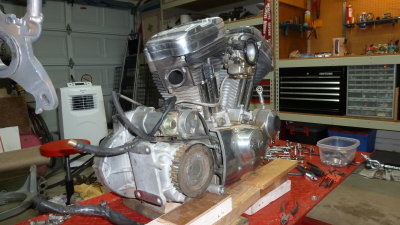
Arizona temps are 90�-100� and garage higher. I bought a portable A/C in background. Best $400 I've spent! |
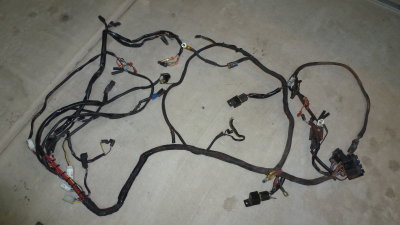
Harness doesn't look like much on the floor. |
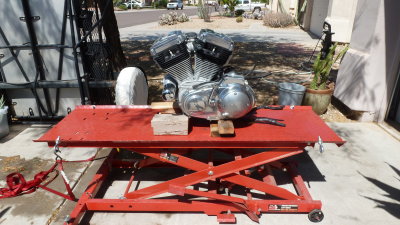
Rolled the motor into the drive for a pressure wash and scrubbing. |
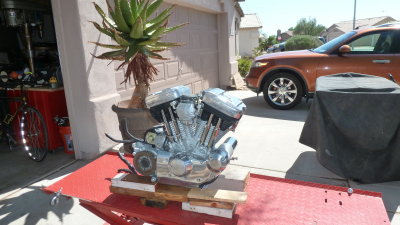
Looks like new! |
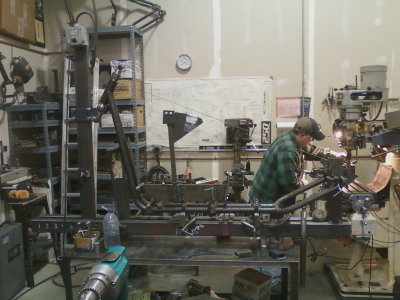
Custom Bobber frame was built for Buell engine by Bitter End Old School Choppers - Des Moines. |
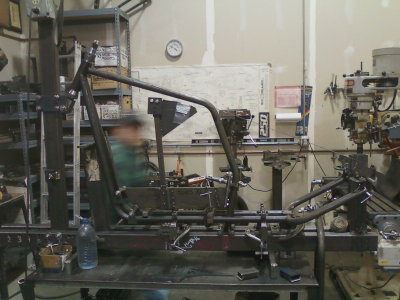
It's in the jig for the backbone to weld on and mounting tabs. |
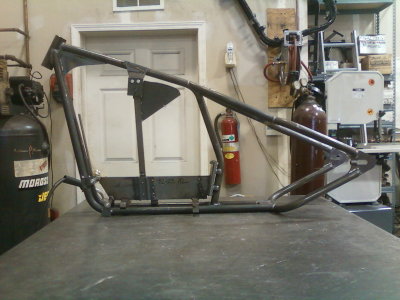
A few minor details left and alignment jig is on for final check. |
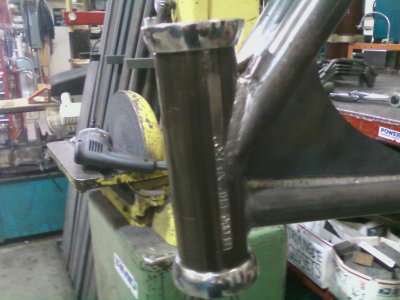
Manufacturers Statement of Origin (MSO)will have this number. I need it to title the bike. |
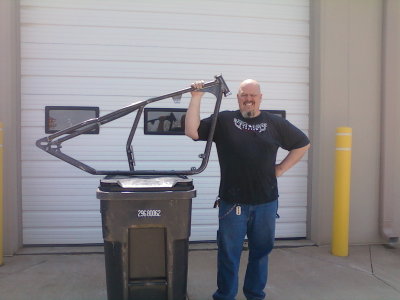
Owner of Bitter End: Big Al. Ready to ship! |
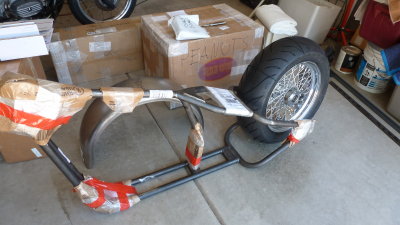
MY HOUSE!! ... It was like Christmas! |
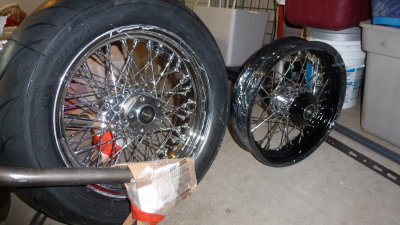
My black rim over-sized rear wheel was backordered so Al loaned me an all chrome one with tire mounted so I could start fitting. |
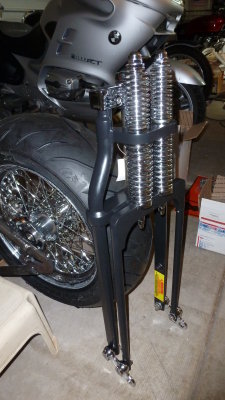
An old style springer made by DNA. It's a standard 28� rake. |
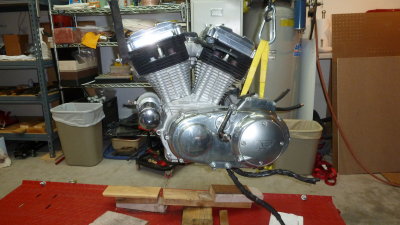
Engine is hoisted to go in the frame. |
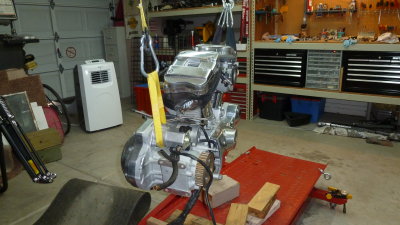
Took a bit to find a rear hookup point that wouldn't interfere with the installation. |
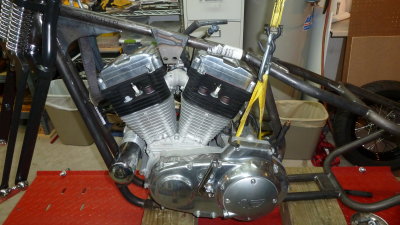
Had to support engine on a jack to switch rear hoist to other side of frame. |
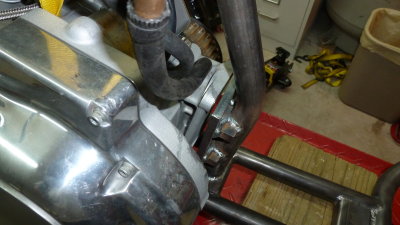
Aligning the rear mounting plate was tricky. I made up some new swear words. |
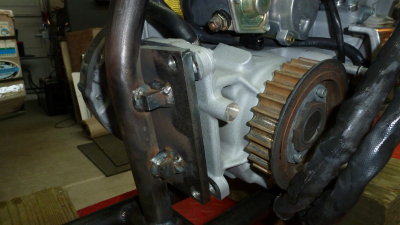
With a lot of jostling and swearing I got it in place. |
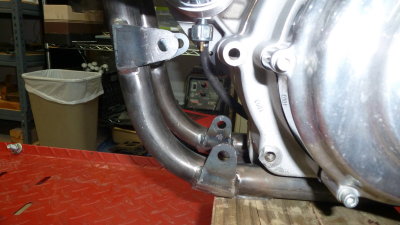
Is the frame short?!! ... What the hell...? |
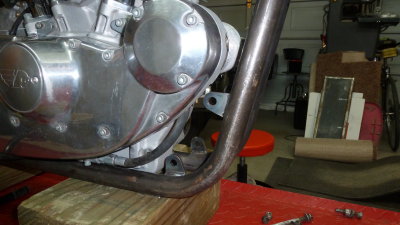
That's too big a gap to be an accident.... time to check the hardware box. |
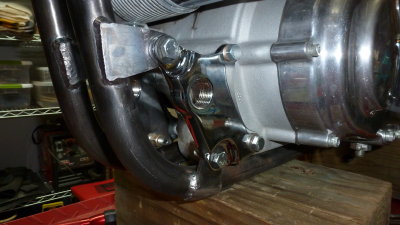
Looked in the box of parts...Uh...doh. Front motor mounts with footpeg holes. |
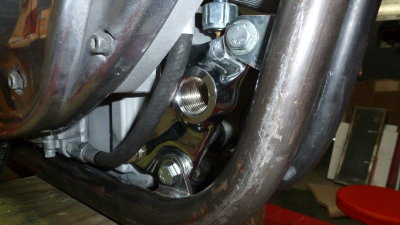
Right side was a holy bitch to get in. Took me almost an hour of swearing. |
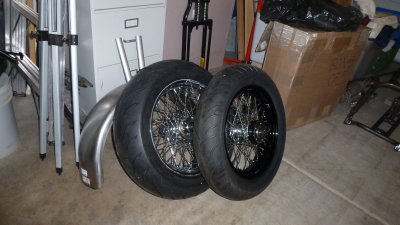
Maybe I'll just throw the wheels and fender on to see what it looks like. |
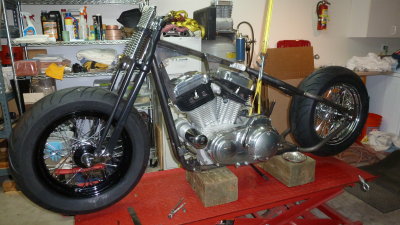
Ohhh Yeah! Damn - that is really going to look sweeeet!! |
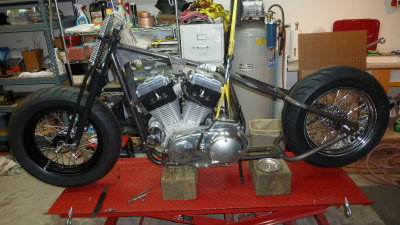
It's a long frame hardtail, but not too long. |
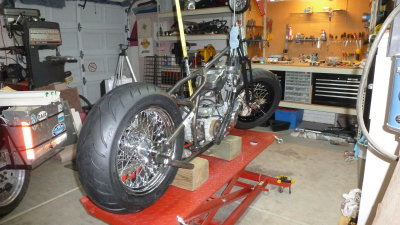
Front tire is 150x80-16 and bumped the rear to a 200x60-16.... $400 for the tires...yikes!! |
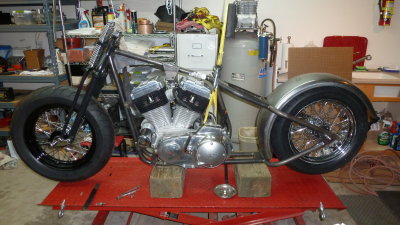
My oh my.... I'm really like'n it. |
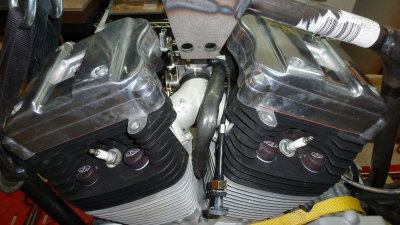
Big Al forgot to pack the top motor mount, but I can do without to keep building. |
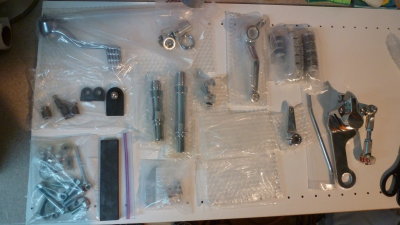
Bags of parts and no directions... |
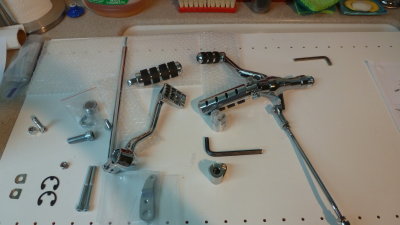
Figured out the bits. Man, HD stuff is HEAVY! |
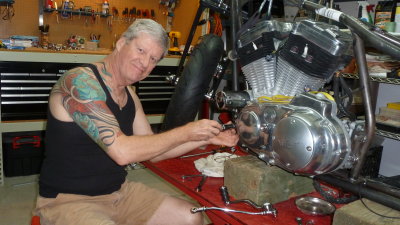
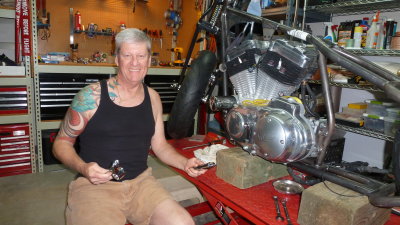
My friend came by and insisted I put some photos of myself in. |
Getting the shifter installed and adjusted. |
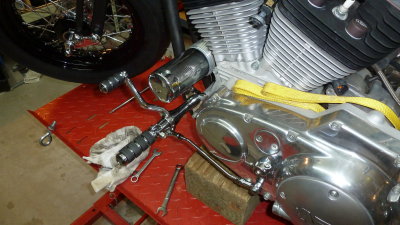
Looks....very Harley... |
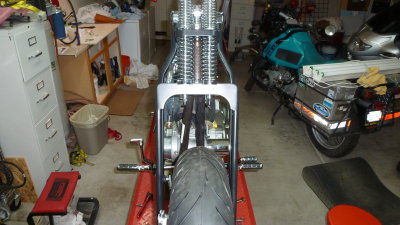
They don't stick out TOO far as the bike is very skinny. |
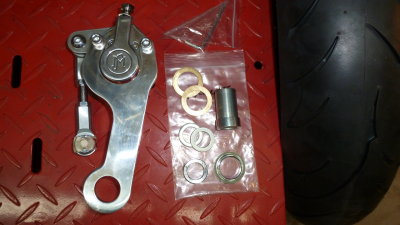
Front brake made by Performance Machine. |
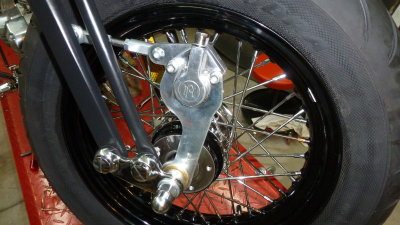
Had to puzzle out shims to align the brake/wheel. |
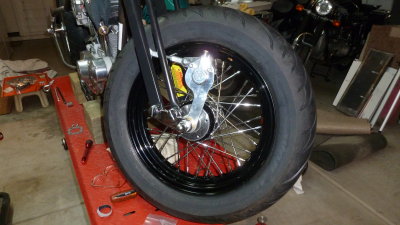
Still waiting for special rotor with 5 spokes and narrow friction area. |
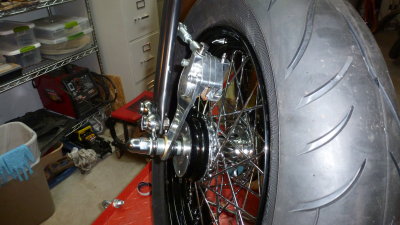
The friction area is 2" and matches the pads, which will be less obtrusive than a solid disc. |
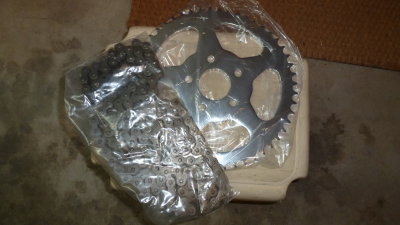
I'm converting from belt to chain drive as it looks more Old School. |
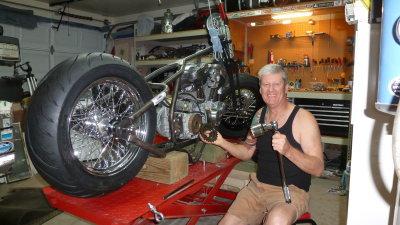
Holding the extended primary sprocket and $35 1 7/8" socket I had to buy. |
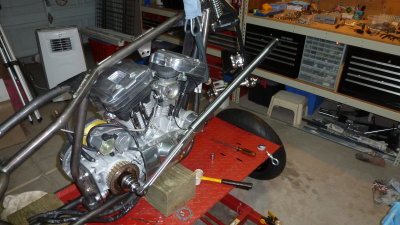
I bent 2 pipes as breaker bars so I got a BMW fork tube and put 2 tie downs on the other side of frame. |
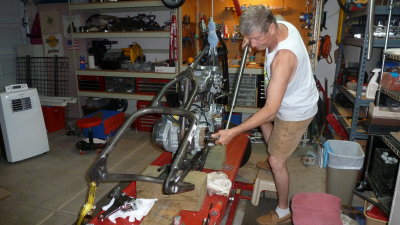
Ground off the chamfer on the socket to make sure it got the most bite on the thin nut. |
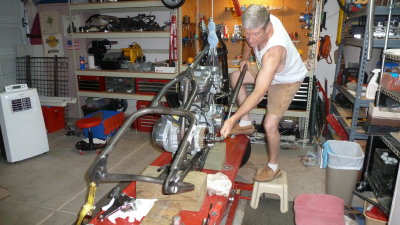
Made sure it was seated perfectly flat over the nut and against the drive pulley. |
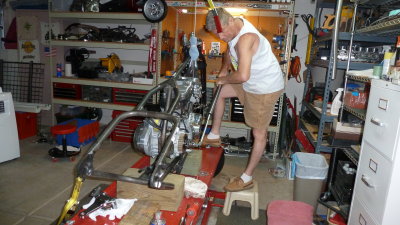
On the THIRD try I used all my weight and literally jumped down on it...POP!! Scared the hell out of me. |
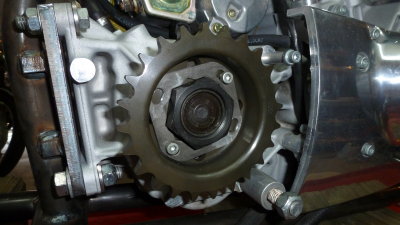
The new chain pulley and lock plate. 50lbs torque - THEN 1/4 more turn to seat. |
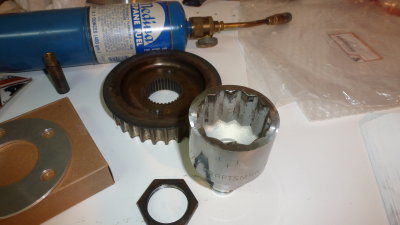
The belt pulley off with offending nut and nutcracker. |
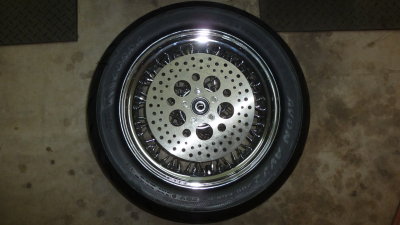
I hated the Swiss cheese rear brake rotor. It covered the spoke wheel completely. |
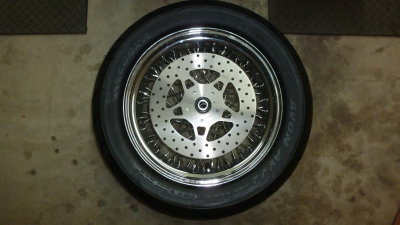
I bought front and back spoke rotors from EBC. The front has a narrower friction area to match pad. |
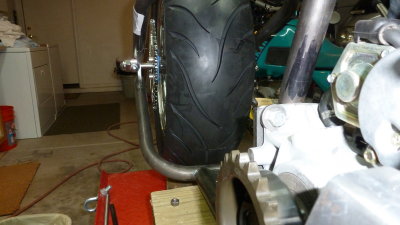
Now to align the rear wheel chain drive - then the caliper and rotor on the other side. |
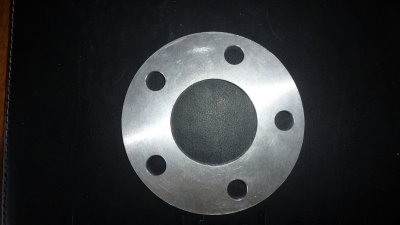
A 1/8" spacer bolts behind the pulley to start the offset. That's close enough to work out the rest. |
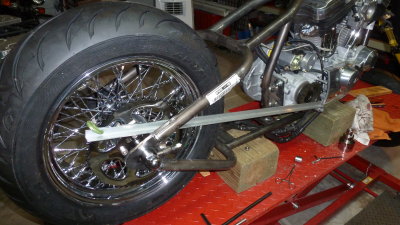
Clamped alum angle bar (perfectly straight) across flat of pulley and lightly resting on a bolt so wheel doesn't spin. |
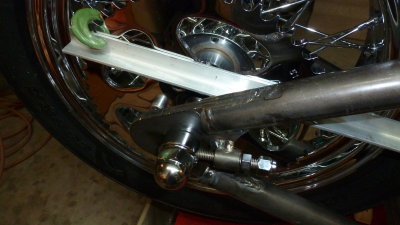
Used axle adjusters to align bar parallel across drive sprocket flat. |
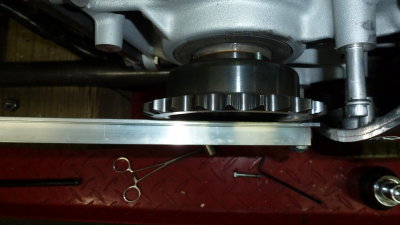
Nudged tire until the bar was barely brushing against the sprocket flats. Perfect alignment. |
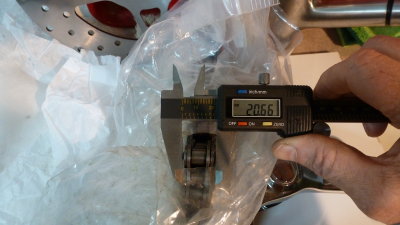
Chain is about 21mm |
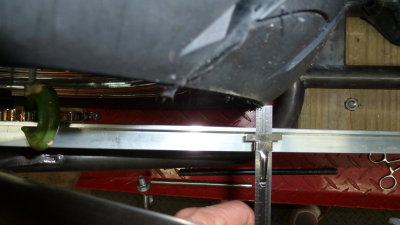
The chain will hit the tire if left like this. Need to center wheel and see if it widens. |
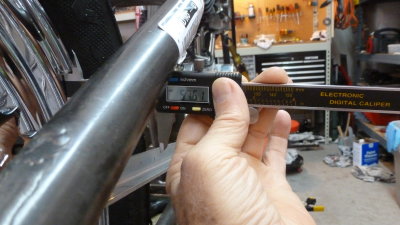
Now to find center for the rim. 6mm difference on the other side...so... |
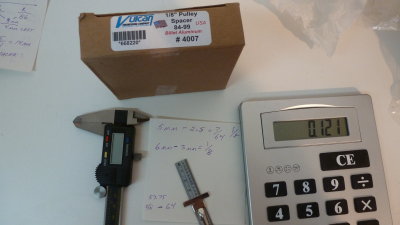
Hmmm...6mm converted to 64ths, divide by 2..add..factor full moon...UH..1/8th! 1 more spacer! |
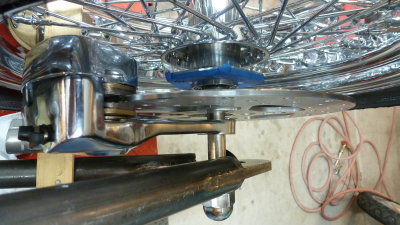
Check alignment of caliper and rotor. Blue tape is to protect the loaner rim. |
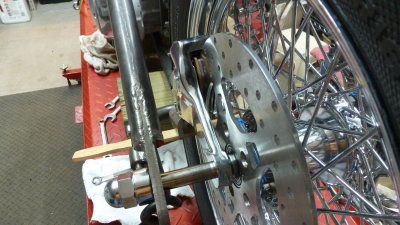
Way too far inboard. Would have to remove rotor to change pads. |
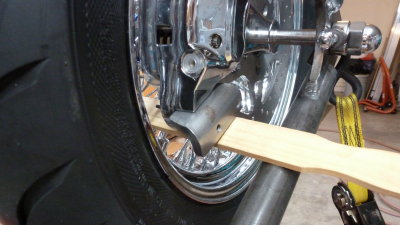
This bracket has to bolt to frame tab not welded on yet. Too far away to bridge. |
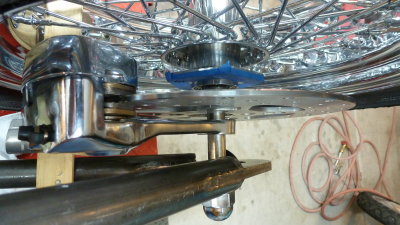
If I make a rotor spacer it brings it out of the rim. |
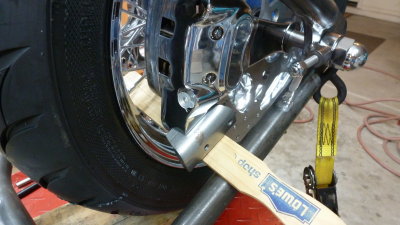
Rotor/caliper moved out still leaves it short of the frame, but may be workable. |
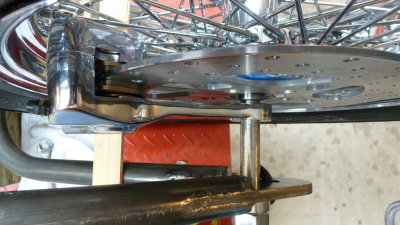
Will need spacers for rotor and chain pulley as well as axle to align rear wheel. |
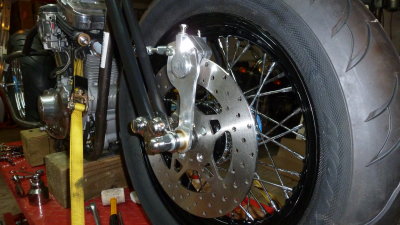
New rotor on so now to align the front wheel and caliper. |
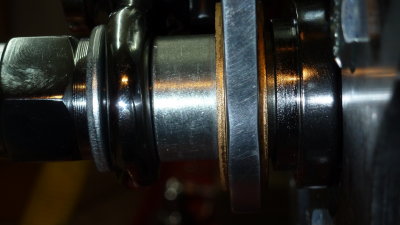
A large bushing goes against the bearing and the caliper slides over it with 2 brass bushings either side. |
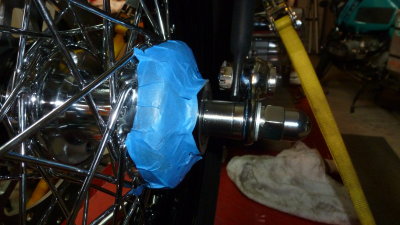
Two spacers on the right seemed to center the wheel about right. |
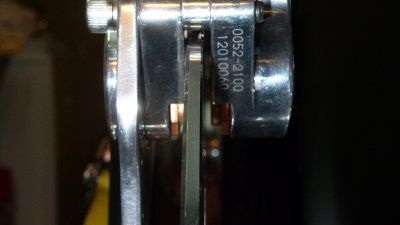
When I squeezed the stack the rotor is not centered in the caliper so it needs a shim. |
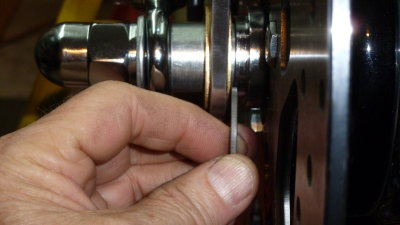
I align the caliper on the rotor and have a washer the thickness needed to shim the caliper over. |
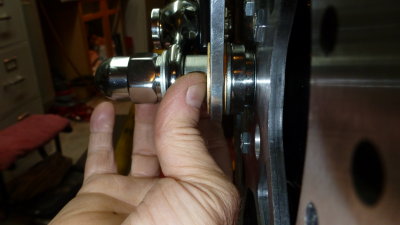
��With the shim in place I squeeze the stack again to hold the caliper in place. |
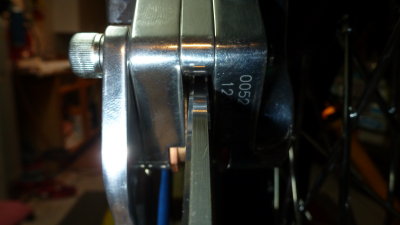
Perfect! Now the pads will have equal pressure and won't drag on the rotor. ��� |
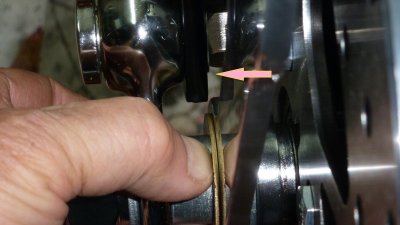
My concern now is the caliper is very close to the springer end. When it compresses it may hit it. (arrow) |
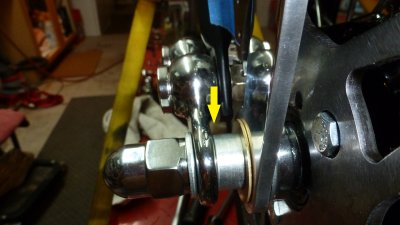
I'll need another washer/shim on the front of the stack to move it over a tad. |
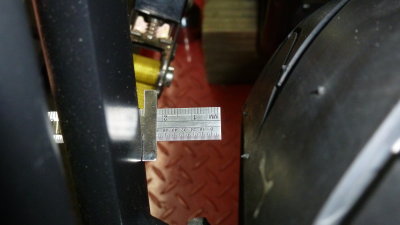
Checked centering and its 8mm wider on this side - so 4mm to center. Pretty damn close. |
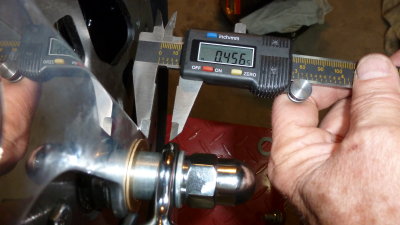
Also need a spacer to go over the bushing to pin the caliper in place. |
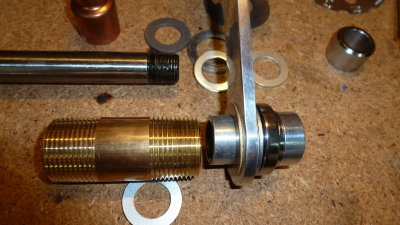
Got creative at Ace with a 1"ID brass pipe. Will cut from the smooth center to make a spacer that will pin the caliper in place. |
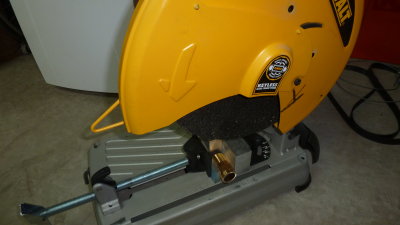
Was going to use the smooth center, but when I cut off the end I liked the threaded part so used it! |
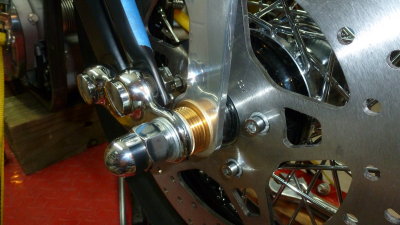
Ground it to size and deburred. Stack in place and looks great! |
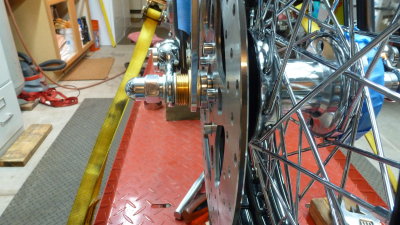
Added a washer to move everything over a tad to clear the springer end. |
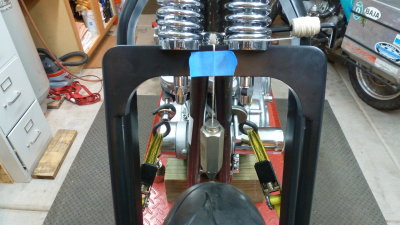
Used a plumb-bob to find center of forks for tire alignment. Within 3mm - Good Enuff!! |
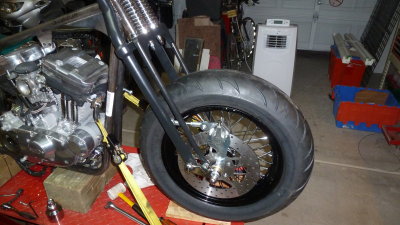
Looks great! I'll finish the back when I get the other 1/8 spacer. Then have to position rear caliper. |
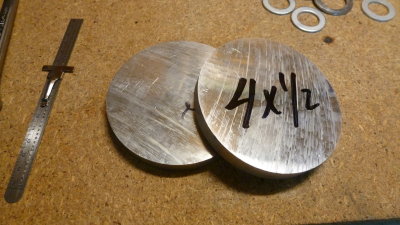
My favorite metal store, IMS, had tail cuttings perfect for making a spacer for the rear rotor. |
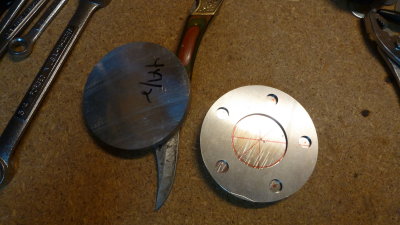
I used the drive sprocket spacers as a template and got as close to center as I could. |
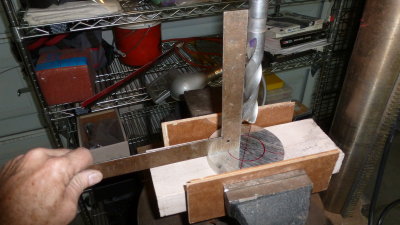
Made sure I was vertical after clamping it on the drill press. It needs to be exact. |
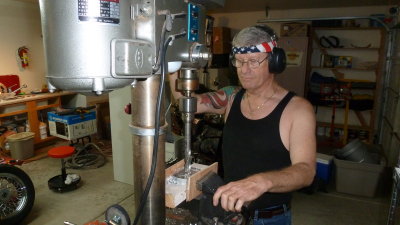
Making the initial hole, which has to be expanded to the wheel bearing housing. |
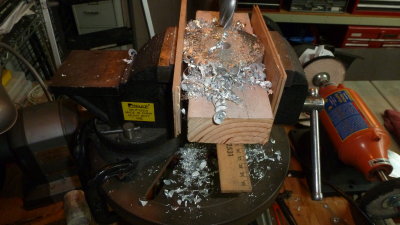
Center hole is done. Now to expand outward for the more precise work. |
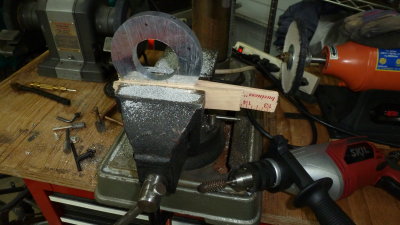
I used the center hole to expand from instead of the edge. It was tedious work, but had to fit precise. |
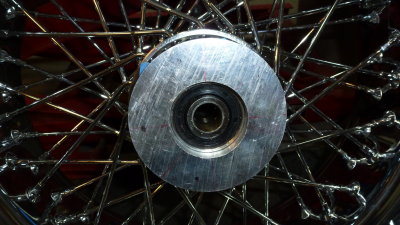
After much grinding and refitting, the spacer is snug on the bearing hub. |
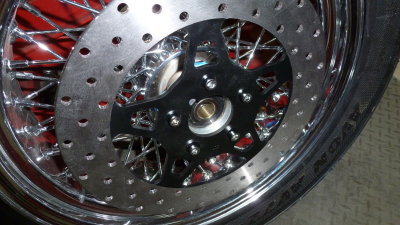
I painted the spokes on the rotor to offset the chrome spoke wheel. Drilled the mounting holes using it as a template. |
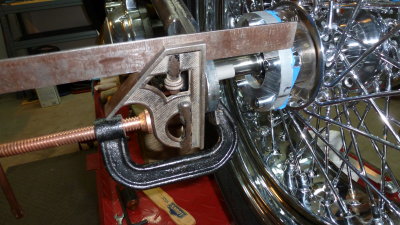
Had to make sure the spacer was perfectly round to the axle, so rigged up a crude way to measure it. |
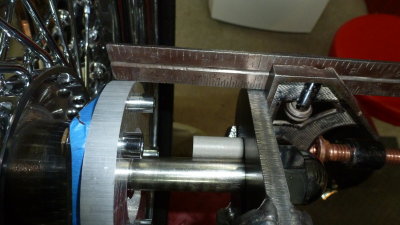
As the wheel rotated I marked the high area with a sharpie. Took it off, ground a bit and repeted until it was round. |
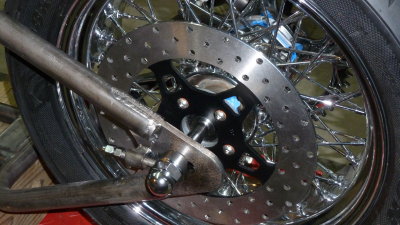
Rotor moved out far enough to be even with the rim edge. Close enough to bridge the gap for the caliper brace. |
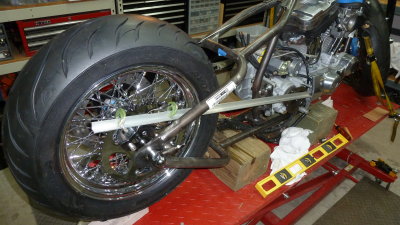
2 spacers moved the sprocket out 1/4". Now to recheck the wheel alignment to see if it clears. |
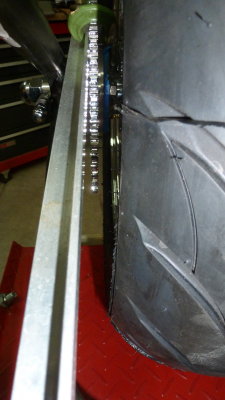
WooHoo! Now there is enough room for the chain to clear the tire. |
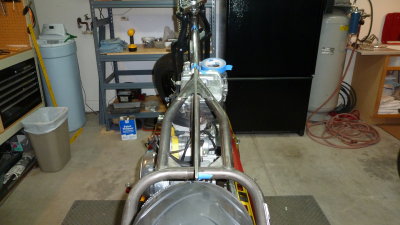
Hit the trifecta! Brake in position, chain clears the tire and the wheel is aligned to the frame!! |
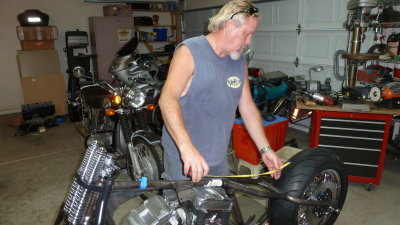
Jim Rundle,custom tank builder, came by for detail measurements. We mapped where each tank would fit. |
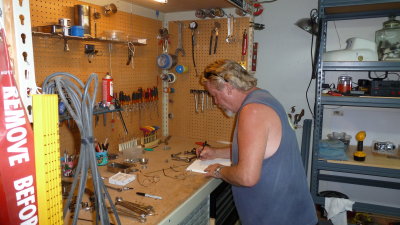
We also designed the rear fender to match the tank style. All have to hit precise marks for seat. |
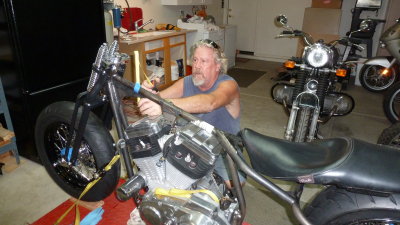
Making sure distance above/below the spine use the space well to get 4+ gallons. Used the Buell seat to mark position. |
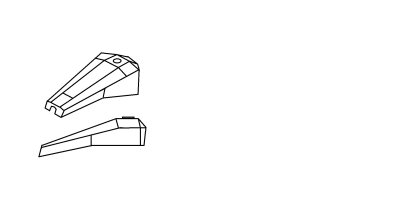
My concept-Jim's design. Will have locked compartment on narrow end. Stealth fighter look in aluminum. |
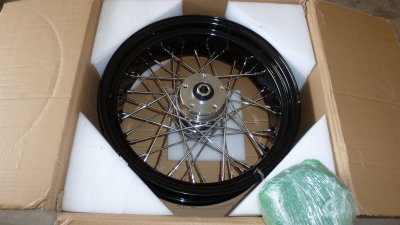
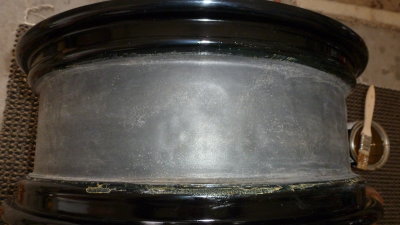
FINALLY!! After 5 month back-order the 5.5" black rim arrives! |
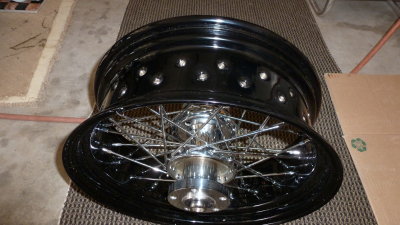
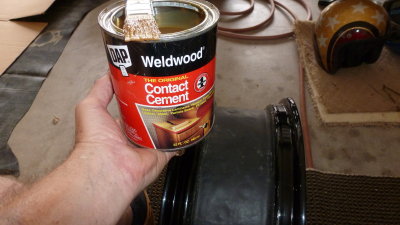
Contact cement applied liberally around center, covering spoke end nibs and up to the side curve |
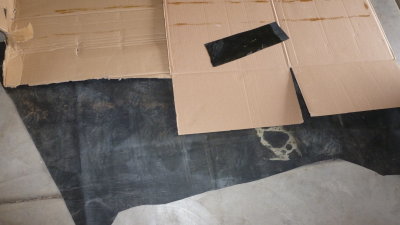
Sheet EPDM rubber or innertube cut in one, long strip works. It shoud go around the rim WITHOUT stretching. |
Coat the rubber stip emmediately after the wheel and let it sit for at least 15-20 minutes. Very important to let glue set up. |
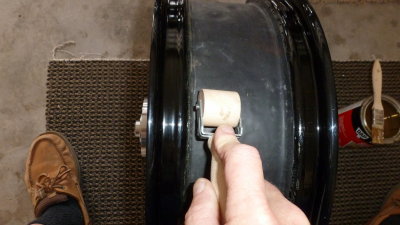
Roll out bubbles. DO NOT streatch rubber as it will contract back. Every inch rolled down with no air. |
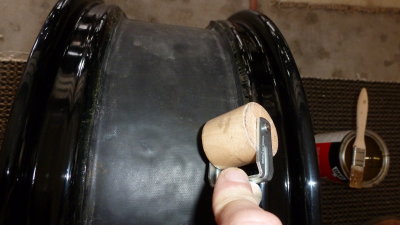
Don't glue up sides if sharp corner or it will air-gap. Center strip is fine if spokes are covered. |
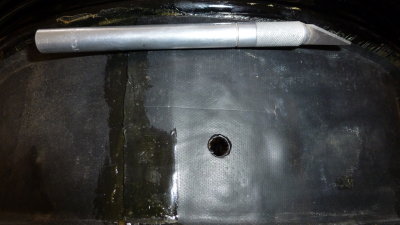
Overlap should have been opposite stem for balancing. When the tube is installed-put a rubber O-ring around the stem on outside. |
 |
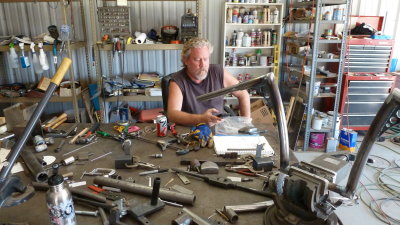
Stopped by Jim's shop to see progress. He has a lot of projects in work but mine at top. |
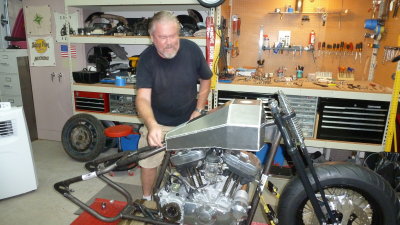
Jim brought over the new tank for fitting. Just as I had imagined! |
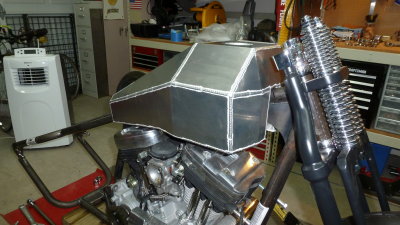
It has to flatten out in front to allow full fork swing. Long wheelbase so I need the turning radius. |
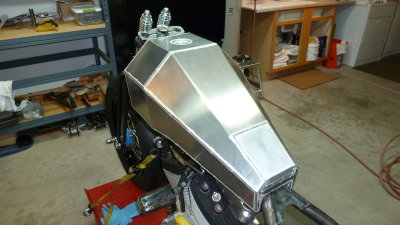
The rear still needs mod to move the tank back about 1.5". Compartment can be seen on bottom. |
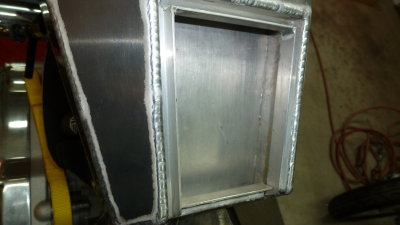
Nice job creating a small compartment for keys, money & documents. It will have a lock on it. |
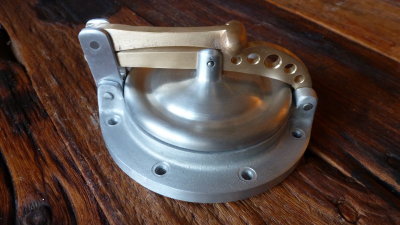
Spent way more than intended, but had to have this hand made fuel cap by Crafty-B. 5 week waiting list. |
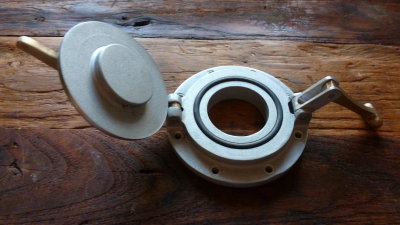
The tank is vented so the cap doesn't need to be. $300... but REALLY like the look! |
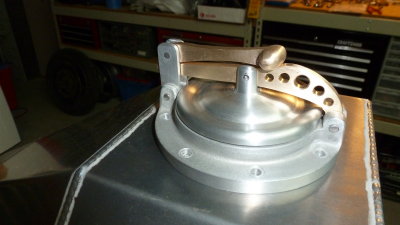
A 1930's Halibrand style racing cap. I couldn't find ANYTHING I liked better. |
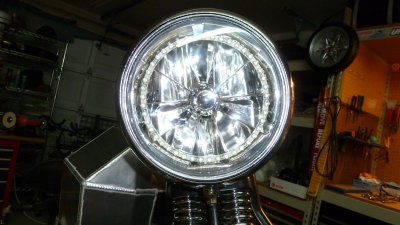
Bought old style 7" bucket then went to Radientz for a custom lens & Devil Eye. Pie cut reflector had to be shimmed a bit. |
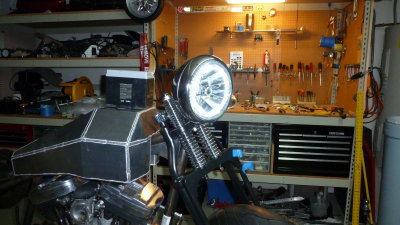
Radientz told me how to put ring INSIDE lens. Oven 300 for 8 minutes, slowly pried off lens & seated ring adhesive on reflector. |
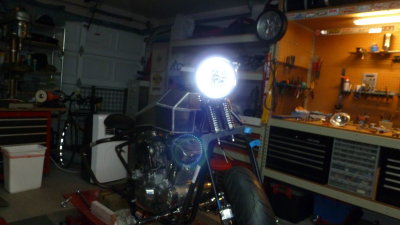
reheated and seated lens back on adhesive. LED's bright enough to use as daytime running lights. low pwr draw. |
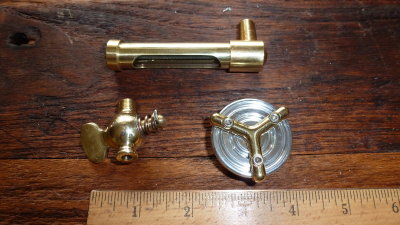
Bought the brass spigot & sight gauge from an antique car parts house. The cap is from Mooney's race equipment. |
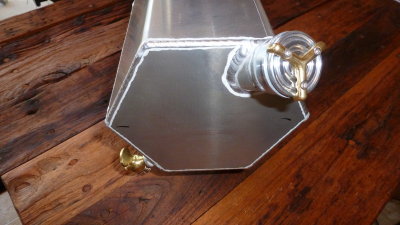
The oil tank is GREAT! Just what I wanted. Holds just short of 4 quarts, but will measure by filling. |
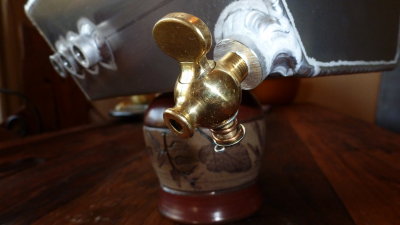
Model T petcock was perfect for oil drain. I will slip a hose over the nipple when draining oil. |
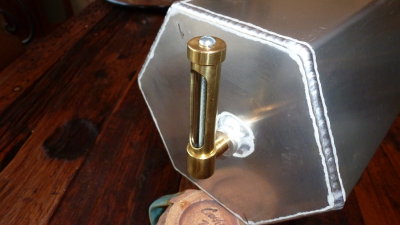
The sight gauge will be about 2/3 up for a full tank. |
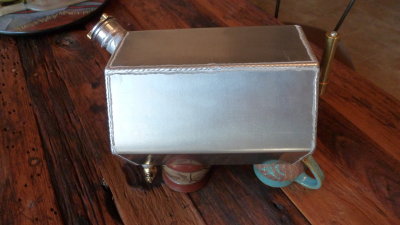
Will use copper fittings and lines from the tank and a short rubber hose @ engine to dampen vibration. |
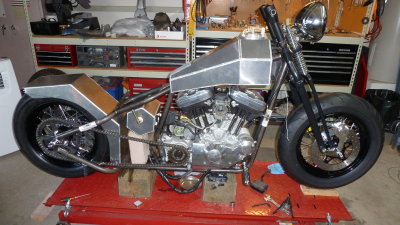
Fuel tank, oil tank, rear fender in place to check for fitting. Fender needs mods as I'm not happy with it. |
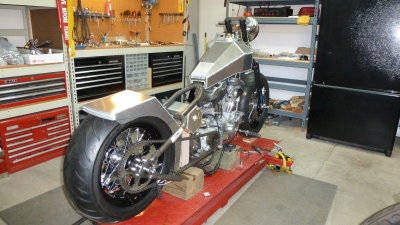
The tail lights & signals will be in the channels under fender with two integrated LED strips. |
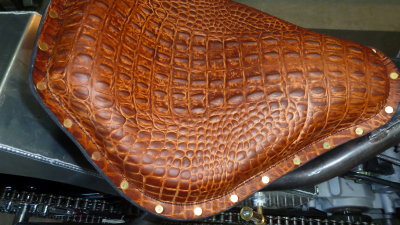
Seat arrived from Mother Road Customs. They have a buffet style selection to build exactly what I wanted. |
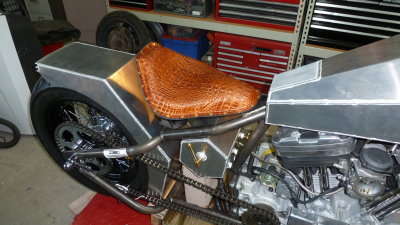
Seat has extra foam for my skinny ass. They did a beautiful job and took only a week to build. |
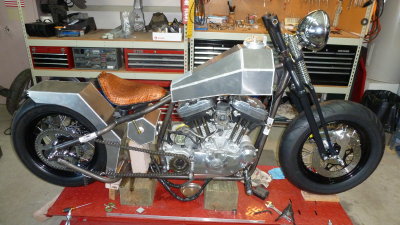
The bike is just starting to look like the Bobber I envisioned, but not there yet. |
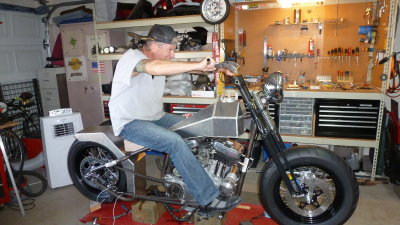
Where do the handlebars need to be to look as cool as possible . . .? |
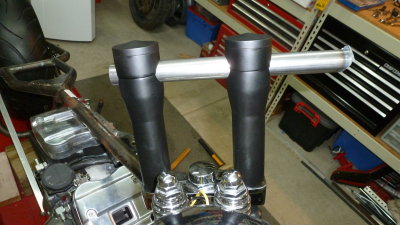
New risers made for DNA springer bolted on. Now can be measured for handlebar cross tube. |
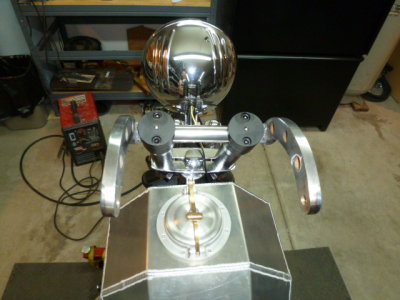
Pullbacks on riser bar and can start on the arms. I'm not the best welder so a lot of grinding to make it pretty... |
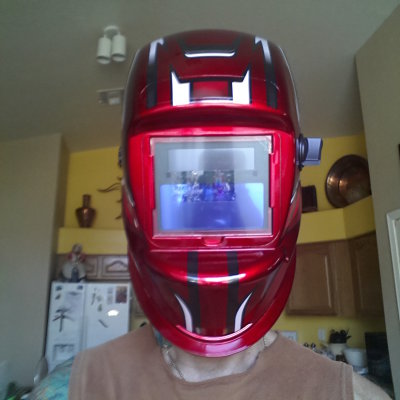
Old welding helmet quit so ran to Harbor Freight. Solar pwr with adjustable sensitivity/darkness. 6 yr battery life. Works slick |
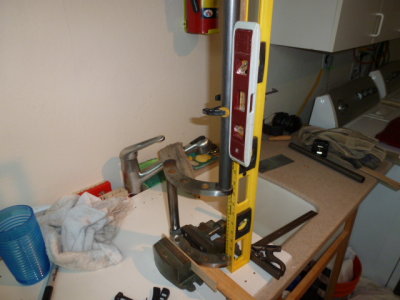
Kluged together jig to weld arms at right angle. Don't laugh - it worked. |
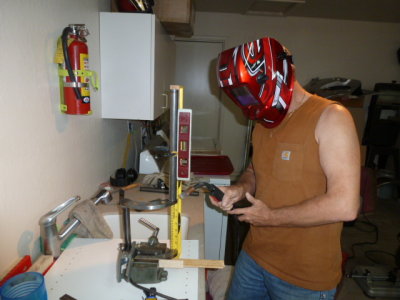
Look like a Power Ranger, but the new helmet works great. Yes - I burned the level... |
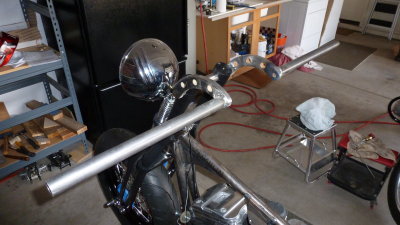
Will cut arms to length after fitting the hand controls and sitting on the bike for best arm spread. |
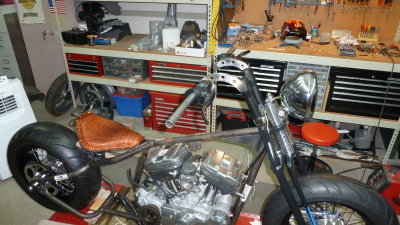
The bars will look great. Will cut holes to route control wires thru bars and out in center. |
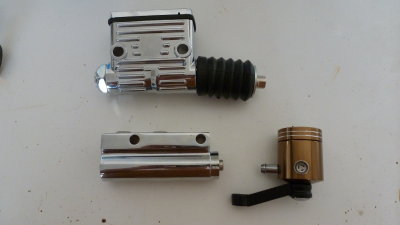
HD rear brake is big and fugly so bought horizontal one and remote reservoir so more mounting options. |
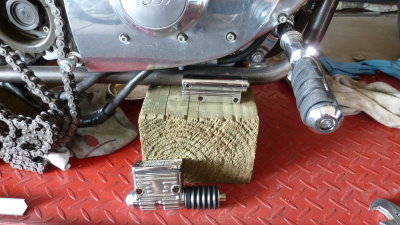
New one tucks under motor so will have shorter push rod with better alignment. |
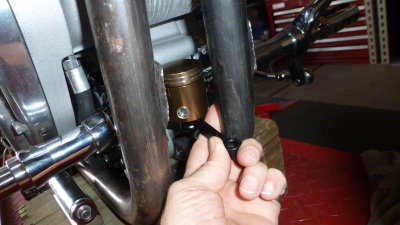
Can tuck reservoir away. It was surprise find on Ebay. Took a chance from Hong Kong but seller had high marks. |
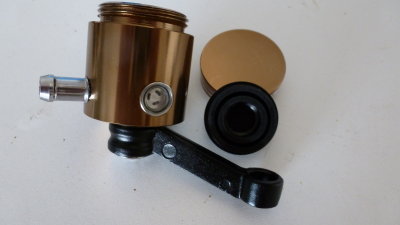
Astounded at high quality machining, finish, sight window and rubber gasket! $17 delivered!! |
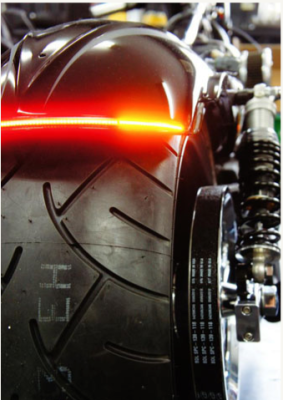
Two integrated LED tail light strips from Radientz (their photo). Will seat in fender channels - VERY bright. |
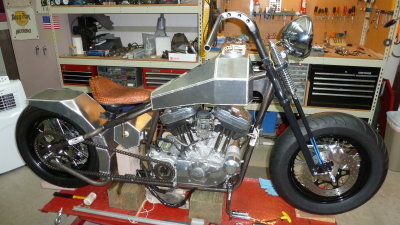
LOVE the new mods to fender. Extra bevel in rear & diamond cut on top corner. Trimmed off from tail light back. |
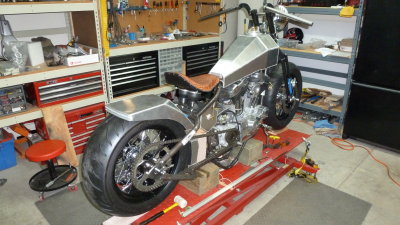
Now it looks like it all fits together! It's shaping up to be the custom Bobber envisioned. |
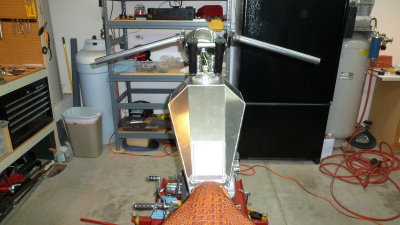
Custom handlebars in place and waiting for 2nd modification of rear fender. Not happy with the look of the first model. |
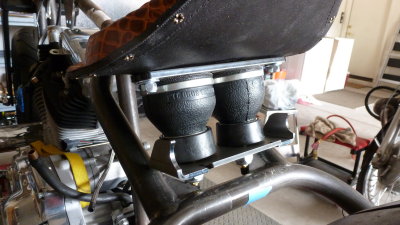
Twin AirRide seat absorbers from TC Brothers. Dampen vibration from hard-tail frame as well as cushions ride. |
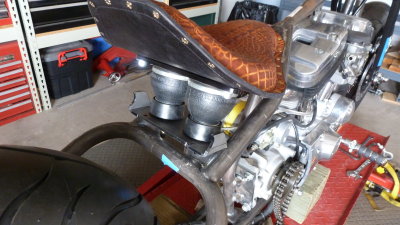
Checking position to weld brackets. The seat sits too high so have to figure something out. |
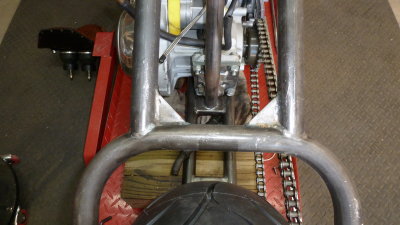
The first seat mount I made put the seat too high so have to figure out how to drop it down. |
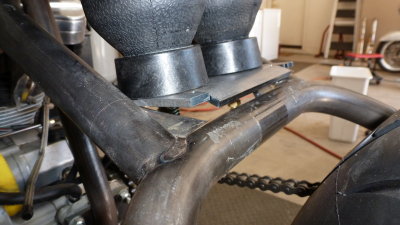
Cut off the plate that came with AirShocks to fit between frame. Angle is wrong for seat positioning. |
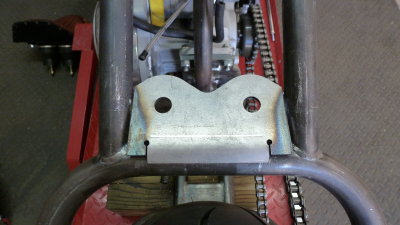
The frame tabs are in the way to drop angle down. Have to cut them. |
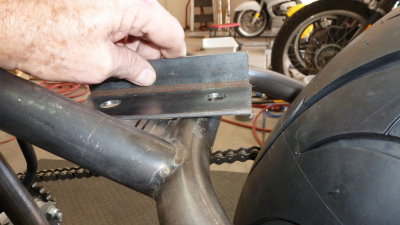
Used the old mount to measure angle the seat has to be. |
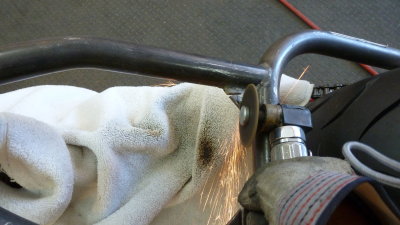
Hard to get the grinder in for the cuts. |
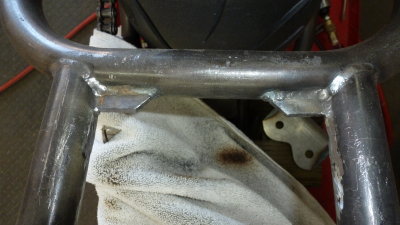
That should do it. |
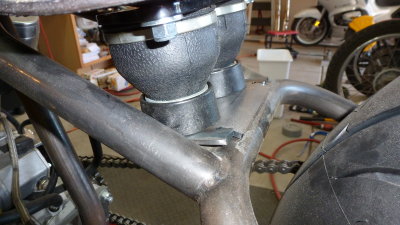
Now it angles the seat forward and is lower in the bike frame. |
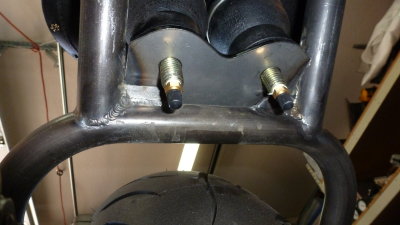
Will grind off more of the gussets so the air valve nuts will clear. |
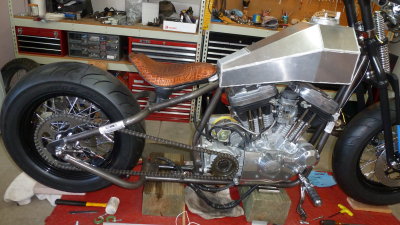
Perfect. The plate will replace the gussets and will actually be stronger. |
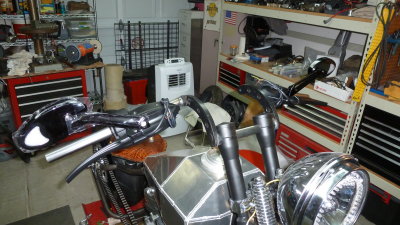
New controls by Arlen Ness slipped on with integrated mirrors by Rivco. |
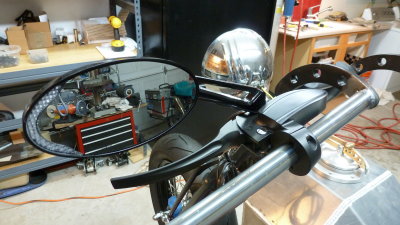
Mirrors have large, amber, LED turn indicator arrows on mirror side. |
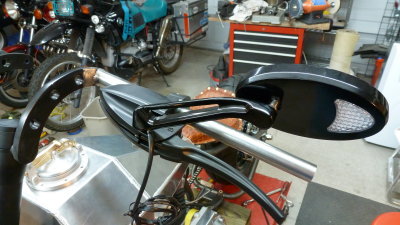
Back side (forward facing) has daylight bright amber LED signals, which are also running lights. |
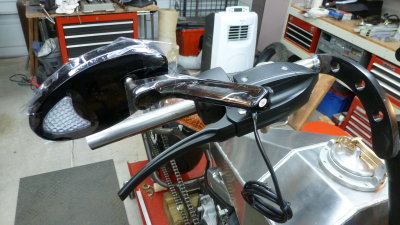
There is no need to mount separate turn indicators with these mirrors. Look great with the bike and bars. |
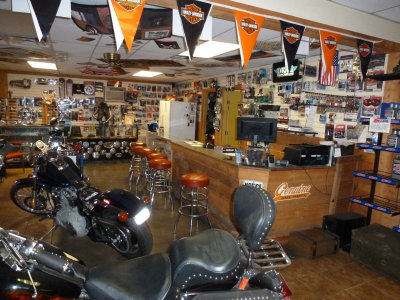
Selected Desert Custom Cycles to build the exhaust. Front is a local hang out for customers. |
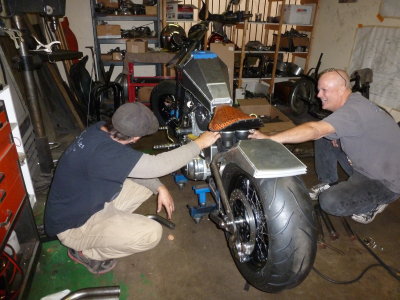
Out in back with my Bobber, fabricator Phil on left - Bill, the owner, on right. |
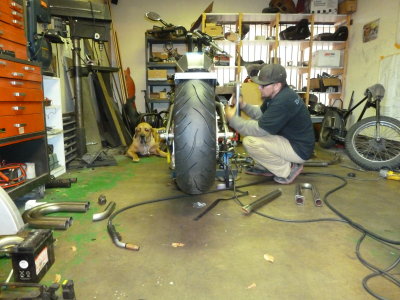
With his dog supervising, Phil starts planning the routing of the exhaust. |
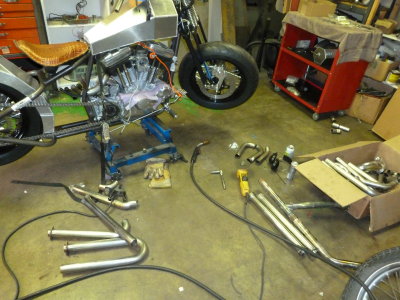
Lays out the stock and we look at routing. I wanted pipes straight out on both sides. |
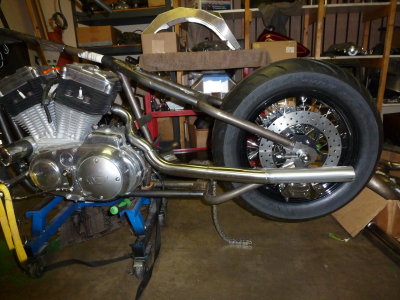
Needed to keep them low so the radiated heat doesn't fry the rider. Pipe size bumped from 1.75 to 2" at third bend. |
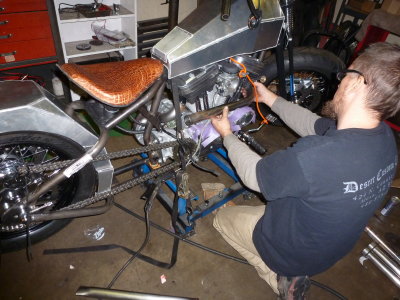
First tried routing the front forward around the pegs and down under - but didn't look right with the other side. |
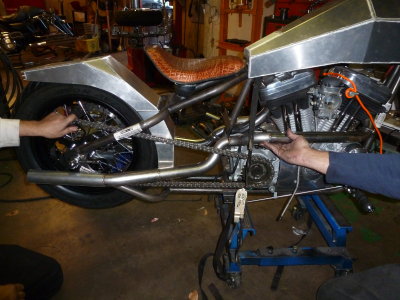
When routed high was able to match the left side bends for consistancy and line flow. |
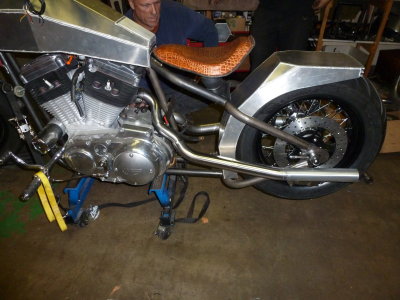
The trick was routing to preserve the center space for the oil bag and battery. |
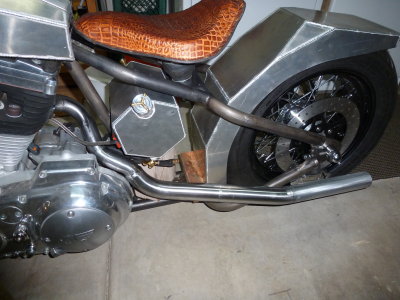
Oil bag set in place with block of wood. Looks awesome! |


