


|
|
|
|
|
|
| Steve Davis | profile | all galleries >> Projects >> TV Alcove Renovation, Nov 2020 | tree view | thumbnails | slideshow |
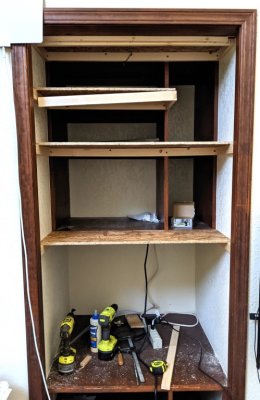
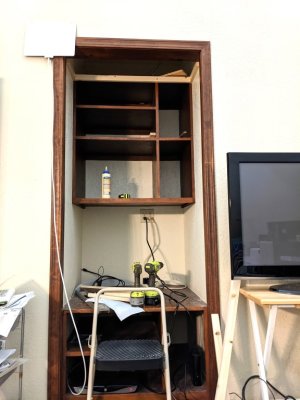 PXL_20201126_234950448b.jpg I removed the (unattached) turntable, records, books, and old TV from the space and started cutting and install shelf braces at the top; I didn't think there would be space to insert the shelves if I started at the bottom and worked up. |
 PXL_20201126_235012331b.jpg I glued and screwed the shelf supports into place on either side of the opening and screwed L-R horizontal supports onto the existing shelves after measuring and placing them, the thickness of the chip board shelf extensions, lower than the existing shelves. |
 PXL_20201126_235017514b.jpg The top shelf extension supports in place; the shelf did just barely fit into the space above. |
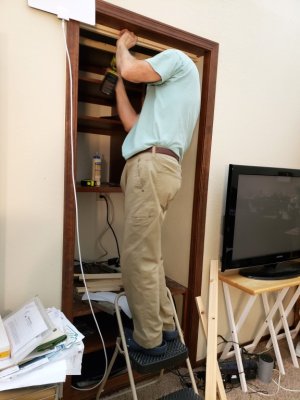
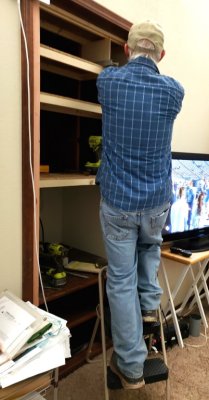
 20201126_181016b.jpg Mary caught me screwing in one of the side shelf supports. |
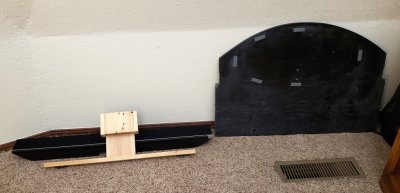 20201126_181036b.jpg The 'half-round' piece on the R is the shelf extension I had installed to support the old TV. After removing it, I decided I could rip it to size to use as the backing for the new wall mount. The bare wood pieces are the support for the sound bar we tried, but never got to work satisfactorily; I had had it attached to the underside of the TV shelf extension. The sound bar went to Goodwill. |
 20201126_181114b.jpg The top shelf was on about the same level as the framing for the alcove opening, so I attached the front shelf support to the inside of the framing. I used a different strategy to install the front supports for the lower shelf extensions. |
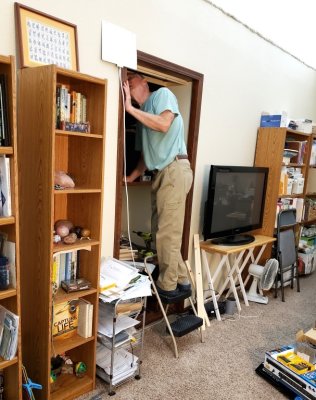
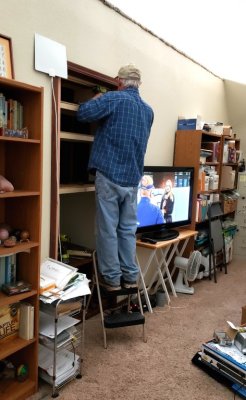
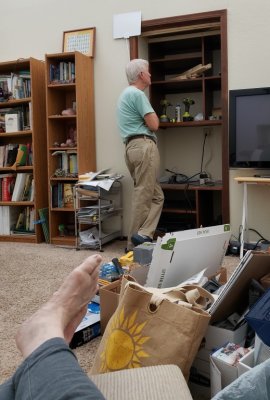 20201126_211819b.jpg Mary, from her seat on the couch, contemplating me contemplating next steps. My conclusion was to quit for the night. |
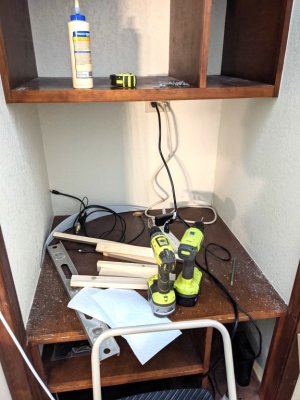
 PXL_20201127_222328096b.jpg By Friday I had decided how I would install the rest of the shelf supports and the 2"x4" stud supports for the TV mount, so went to work again. I cut the remaining shelves and tested their fit. |
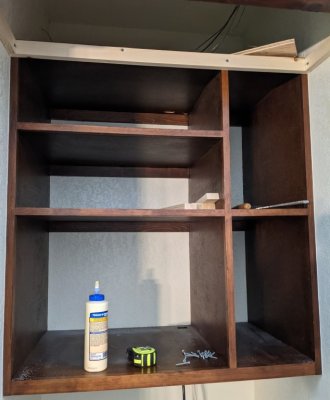
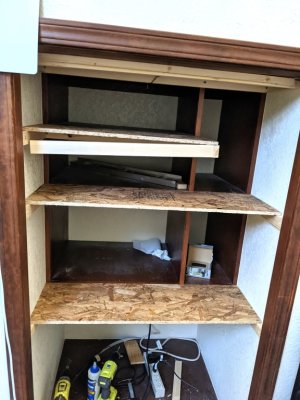
 PXL_20201127_222349328b.jpg The new shelf extensions will give us more storage space, once we open it up to our bedroom. We will have to remove the mirror on the opposite wall (I intend to attach it to a door to the new opening) and have the electrical box moved that is now on the back wall of the alcove. |
 20201127_175604b.jpg To support the shelf extension that did not go all the way across the opening, I attached a thin piece of plywood to the side of the existing shelf and to the side of the short shelf. |
 20201127_175615b.jpg Late in the process I realized I had not accounted for the thickness of the sheetrock that will need to be applied to the living room side of the alcove to close it off. Thankfully, the realization came before I installed the studs and I ripped them on the table saw to allow for sheetrock when we get to that stage (another, later project). I installed the studs on either side of the opening, directly to the existing finished framing, with 3 1/2" screws. I'll remove the trim around the opening when I start the next phase. |
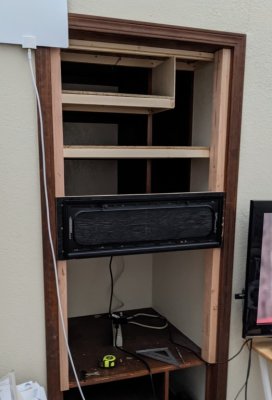
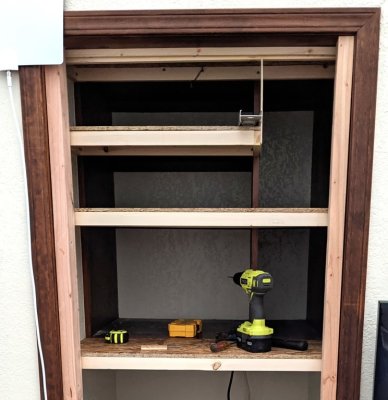 PXL_20201127_235547449b.jpg Here's a look at the shelf extensions with all their horizontal supports in place, the thin vertical support for the short shelf, and the vertical stud supports, to which I will attach the 3/4" plywood, to which I will attach the TV mount. |
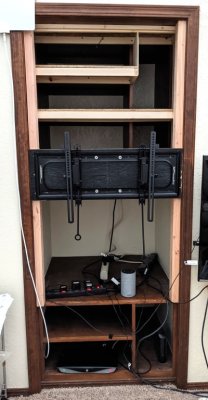
 PXL_20201128_032418603b.jpg To the studs, I attached the plywood piece I'd cut from the former support for the old TV with three 2 1/2" wood screws on either side. Then, using the template that came with the TV mount, I centered and leveled it on the plywood, taped it in place, and drilled holes for the 2 1/2"x1/4" lag screws that came with the mount. To give them sufficient purchase, I attached horizontal 2"x4" pieces to the back side of the plywood. I used the 4 lag screws, then added 4 smaller-gauge 2 1/2" wood screws with washers for good measure. |
 PXL_20201128_032427082b.jpg Front view of the renovated space, with the TV mount attached |
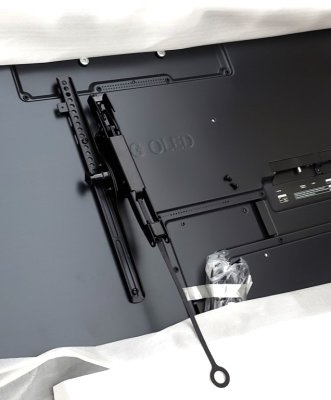
 PXL_20201128_044222318b.jpg I tried the fit of the supports that attach to the TV; the pieces with loops on the ends are the pull releases for the brackets that allow you to remove the TV from the wall mount. |
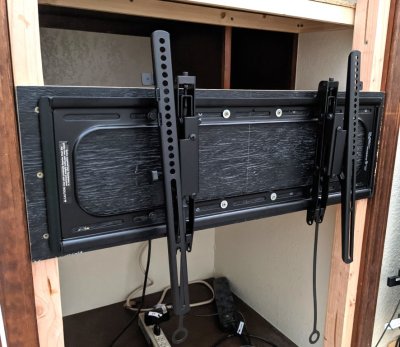 PXL_20201128_044231631b.jpg The brackets have a scissor braces that allow the TV to extend out from the mount 4"-6". |
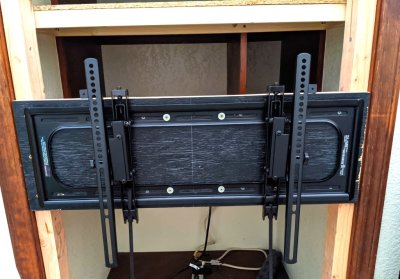 PXL_20201128_044242419b.jpg Front view of mount with brackets in place before being attached to the back of the TV |
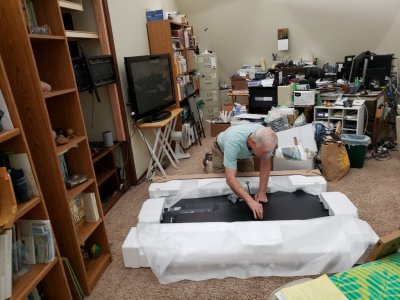 20201128_175118b.jpg After waiting in a line of 5-6 cars at the side of Best Buy Saturday evening, we got our TV loaded, brought it home, dragged it upstairs and unpacked it. The salesperson assured us we could safely lay the TV on its face briefly to attach the brackets, but I decided to leave it in its styrofoam packing while I attached them. There are multiple holes and slots on the brackets to allow them to attach to a variety of TVs. The bracket kit came with a collection of 6-8 sets of bolts for different TVs and ours happened to take the smallest diameter and shortest length of all the ones available. |
 20201128_175353b.jpg First bracket attached to the back of the TV, with hand-tightening screw on the outside edge that allows for holding the TV at a desired tilt. |
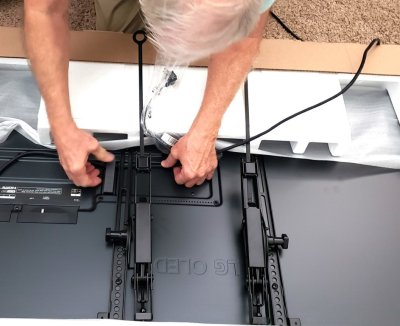 20201128_180330b.jpg I had already attached the brackets before threading the cables through the plastic chases on the back of the TV and the brackets extended down over the chases. Fortunately, the ends of the cables were small enough to slide between the brackets and the back of the TV, so I didn't have to remove the brackets to get the cables in place. |
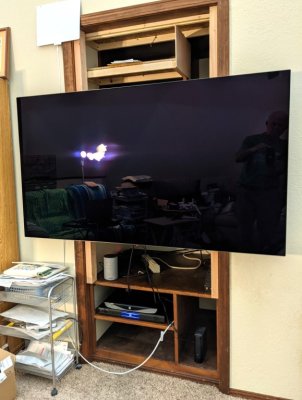 PXL_20201203_032525730b.jpg Sadly, there was no one present to take photos of Mary and me wrestling the TV up onto the mount, but we managed to get it in place and it looks pretty good. |
 PXL_20201203_033314035b.jpg Here's a view of the scissors bracket attached to the TV and hooked onto the wall mount. |
| comment | share |