


|
|
|
|
|
|
| Steve Davis | profile | all galleries >> Projects >> Tankless Water Heater Installation, July 23, 2025 | tree view | thumbnails | slideshow |
 PXL_20250723_162942291.MP.jpg Christian and Trent had the 11yo hot water tank and pan out of the house before I started taking photos. |
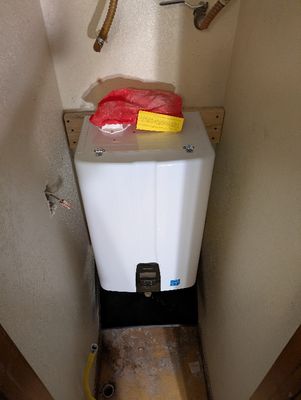
 PXL_20250723_162959831.MP.jpg The new tankless heater was larger than we expected, but fit easily into the old space. The black trough to catch any leakage or condensation is on the porch. They replaced the old hot and cold water lines with polyethylene (PEX) tubing. |
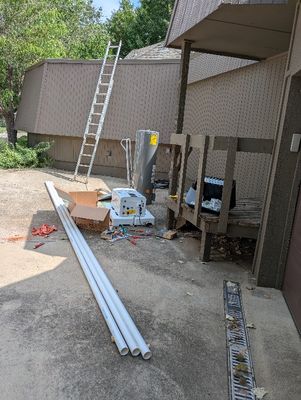 PXL_20250723_163011083.MP.jpg They also replaced the metal vent tubing with PVC pipe. |
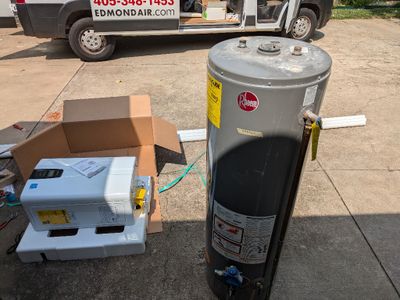 PXL_20250723_163029371.MP.jpg The new and the old |
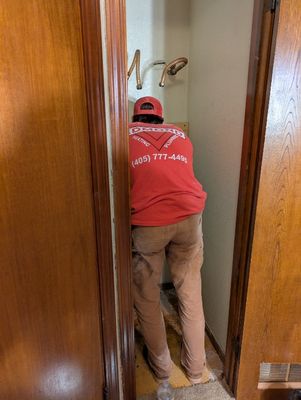 PXL_20250723_162612893.MP.jpg Christian installed 2"x4" boards on the back wall of our water heater closet to mount the new heater. |
 PXL_20250723_180945957.MP.jpg The new unit mounted on the wall |
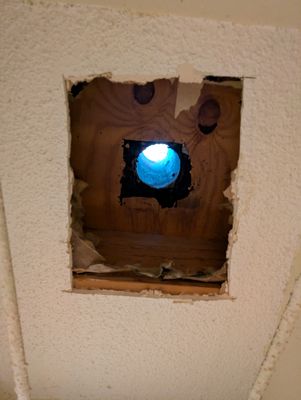 PXL_20250723_180954250.MP.jpg Looking up and out.
|
 PXL_20250723_181009755.MP.jpg Looking down.
|
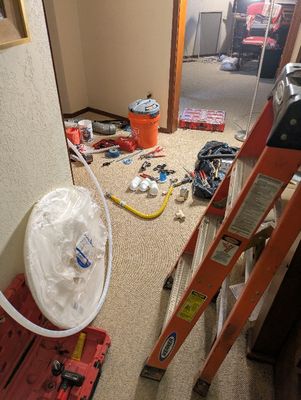 PXL_20250723_201111597.MP.jpg Work site |
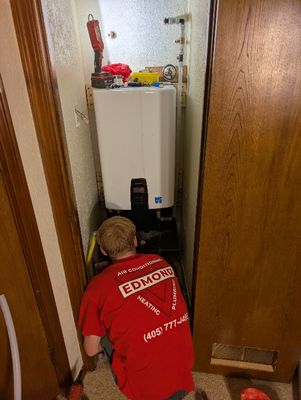 PXL_20250723_201211531.MP.jpg Trent, checking connections
|
 PXL_20250723_212847182.MP.jpg Christian, making final adjustments to vent pipes going into the ceiling |
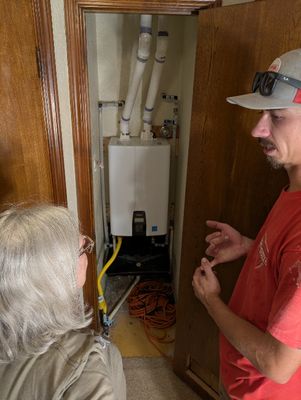
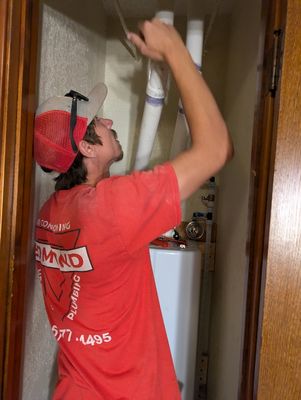 PXL_20250723_212901580.MP.jpg Christian, explaining how they worked out the venting |
 PXL_20250723_223542406.MP.jpg All installed
|
| comment | share |