


|
|
|
|
|
|
| Steve Davis | profile | all galleries >> Projects >> New Siding Installation and Painting, Oct-Nov 2018 | tree view | thumbnails | slideshow |
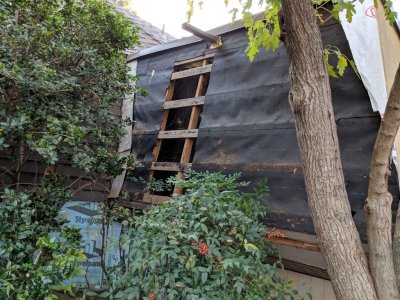
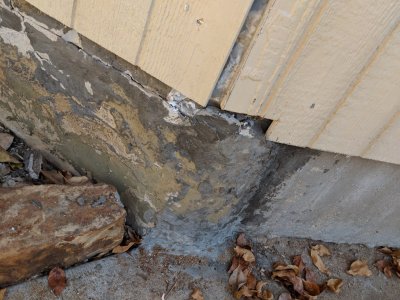
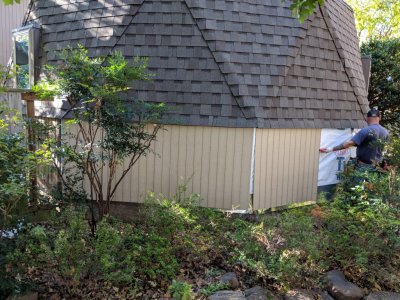
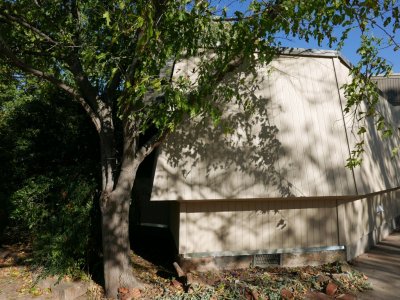
 IMG_20181029_091039.jpg In this corner, there was not sufficient flashing to direct the water off the siding below the roof; the water had rotted the siding, exposing the insulation beneath. |
 IMG_20181029_091036.jpg The wood slats and flashing were in good shape. |
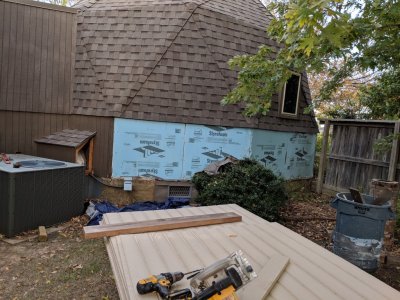
 IMG_20181029_091422.jpg Tim cleaned up the styrofoam insulation I had put on many years ago before they attached the new siding. |
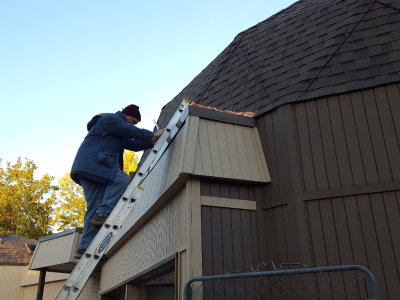
 IMG_20181029_091425.jpg Tim working on the front of the house |
 IMG_20181029_091434.jpg The old extruded styrofoam insulation I installed still looks in pretty good shape. |
 IMG_20181029_104502.jpg I asked Jesse to change the trim in the corner where the two levels of the siding don't meet. |
 IMG_20181029_104508.jpg I also asked him to do something about the right angle cut on this corner.
|
 IMG_20181029_104519.jpg They put flashing under the siding and over the concrete. |
 IMG_20181029_104549.jpg Tim measures for the next piece of siding |
 IMG_20181029_104557.jpg Tyvek and flashing over then insulation, then the siding |
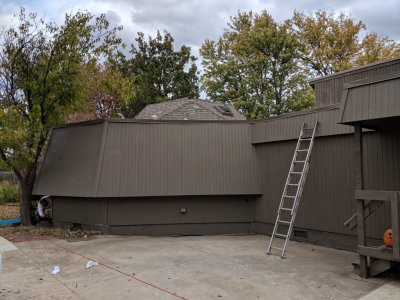
 IMG_20181029_104602.jpg Since I had put up the fence (on the left) with screws, Jesse was able to remove three boards, so they could work more easily to put up the siding and trim. |
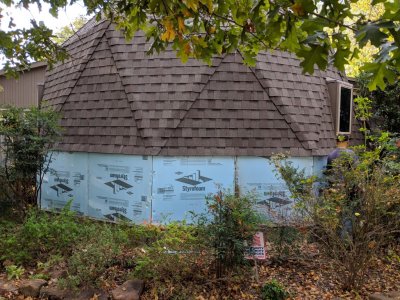
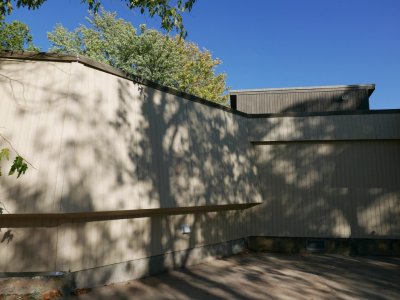
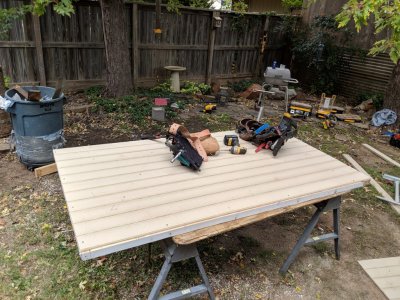
 IMG_20181030_082536.jpg To simplify the work (the existing panels here were in fair condition), I agreed to have them apply the new panels over the old on this section of the house. |
 IMG_20181030_082539.jpg Panels in foreground before being cut and applied to house |
 IMG_20181030_082548.jpg One more cut to get the fit just right |
 P1030723.jpg Going back around to the front of the house, the trim was going on. |
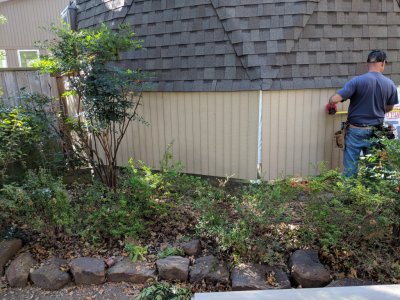
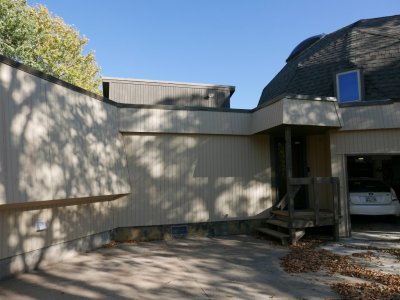 P1030724.jpg West side of the house |
 P1030725.jpg Exterior of laundry room and bathroom with trim added |
 P1030726.jpg Exterior of bathroom |
 P1030727.jpg West end of bathroom |
 P1030728.jpg West end of bathroom |
 P1030730.jpg Front window above new siding |
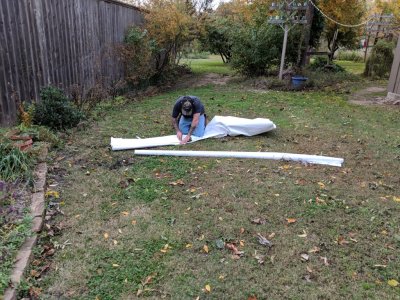 IMG_20181030_082650.jpg Tim cutting Tyvek to go on before the siding |
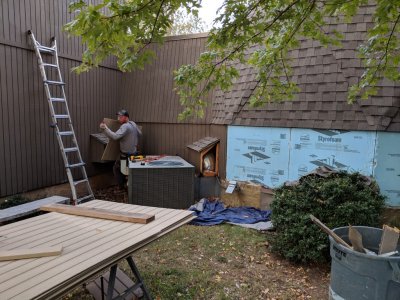
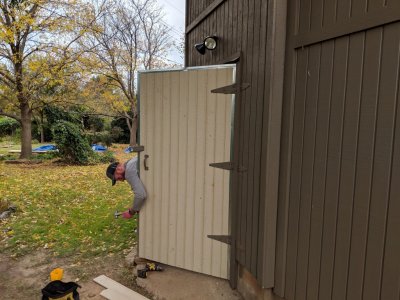
 IMG_20181030_114216.jpg They removed the old door to the shed to replace the exterior panel that had rotted at the bottom because I had put metal trim on that collected water. |
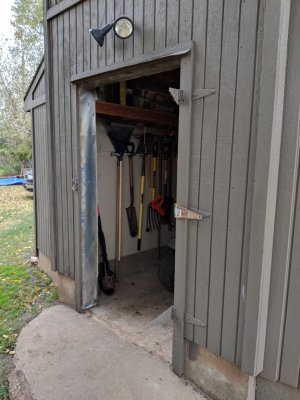 IMG_20181030_114232.jpg The shed door is very heavy, so I was happy to have them remove it and replace the exterior face. |
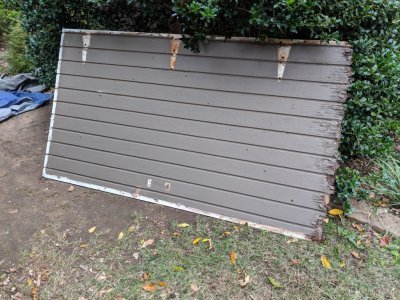
 IMG_20181030_114433.jpg Shed door with its new face |
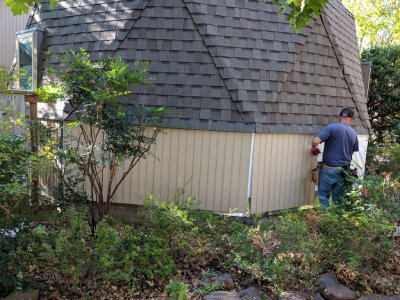
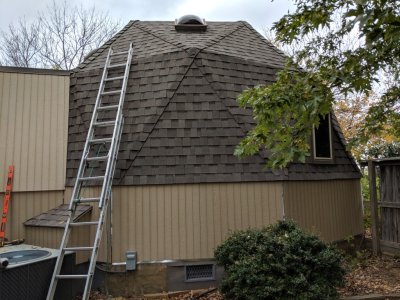
 IMG_20181030_130746_1.jpg New siding, sans trim, on the east side of the small dome |
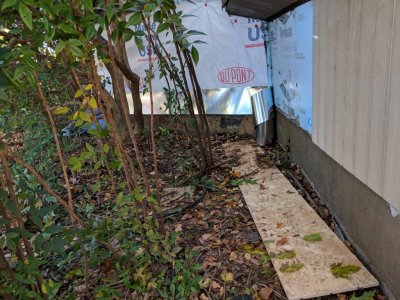
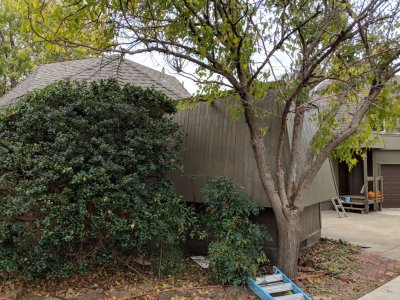
 IMG_20181030_130751_1.jpg The re-paneling job stopped at the sunroom. |
 IMG_20181030_130756.jpg New panels, with the new bottom flashing showing, on the east side of the house |
 IMG_20181030_130814.jpg Jesse nailed down the metal trim on the sides of the newly-paneled shed door so it would close smoothly. |
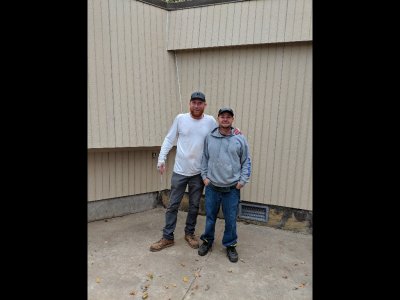 IMG_20181031_103626b.jpg They were rushing to load up before the rain started, but I asked Jesse and Tim to pose in front of their work before they left. |
 20181102_181547b.jpg We had a significant leak from this trough section of flat roof on the right side of the garage door, either around the scupper or from backing up under the edge of the shingles; rain ran down the inside of the garage wall and was eroding the sheetrock. Jesse suggested having a metal cap built to go up under the shingles and then over the entire corner to deflect the water. I opted for having him fill in the whole trough with spray foam insulation and close off the scupper. |
 20181102_181541b.jpg I used an old, long serrated-blade knife to trim the rough edges of the foam insulation that Jesse had sprayed to fill the trough over the garage door, then applied a coat of white sealant over it. |
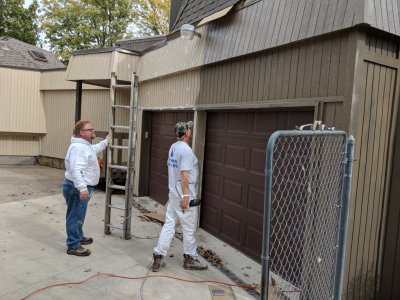 IMG_20181103_133322.jpg Shane and Paul moving from S to N around the front of the house |
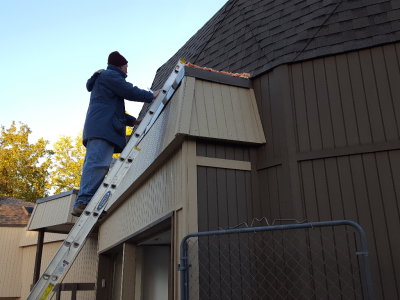
 IMG_20181103_133648.jpg Shane and Paul painting around the light over the garage |
 IMG_20181103_141712.jpg West side of the house with new siding and paint |
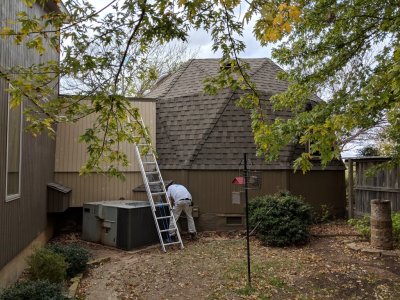
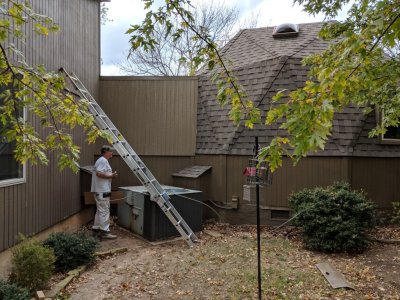
 IMG_20181103_151233.jpg Shane is touching up places around the bathroom exterior. |
 IMG_20181103_151307.jpg New siding and paint on the downstairs bathroom exterior |
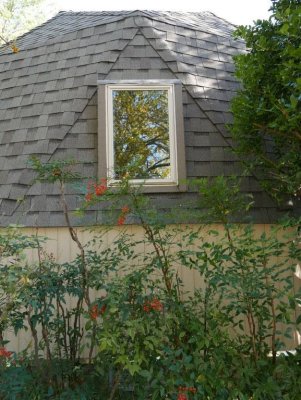
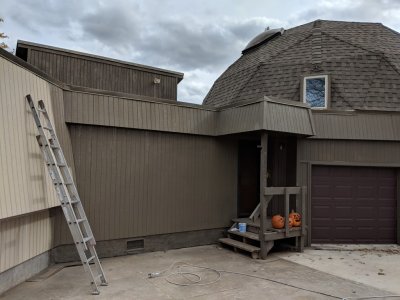
 IMG_20181103_151315.jpg Front of the small dome with new paint |
 IMG_20181103_151400.jpg Front of the small dome with a new coat of paint on the new siding |
 IMG_20181103_151518.jpg Paul painting the east side of the front dome |
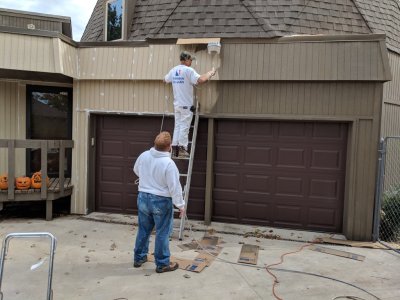
 IMG_20181103_152840.jpg Paul putting on the last of the paint on the replaced siding |
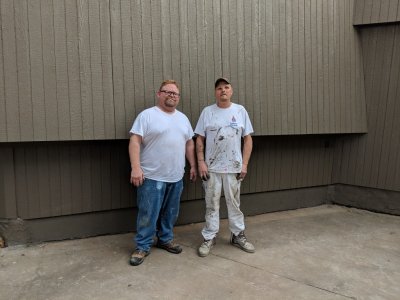 IMG_20181103_165058.jpg Paul (R) and his cousin and helper Shane (L), after painting the new siding. |
| comment | share |