


|
|
|
|
|
|
| Steve Davis | profile | all galleries >> Projects >> Back-up Generator Installation, Nov 2021 | tree view | thumbnails | slideshow |
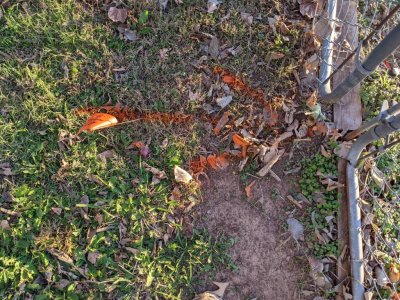
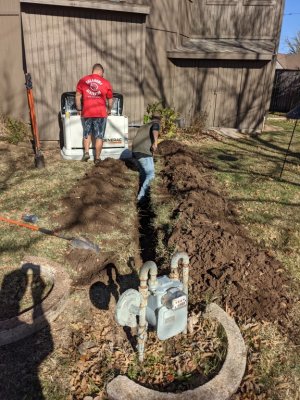
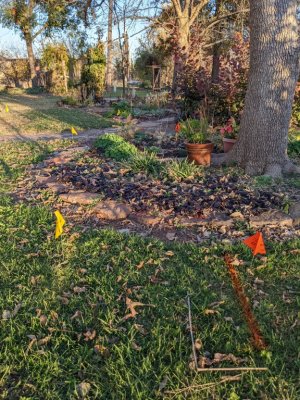 PXL_20211122_224853904b.jpg As usual, the first step for any project involving digging is getting the utility locations marked. |
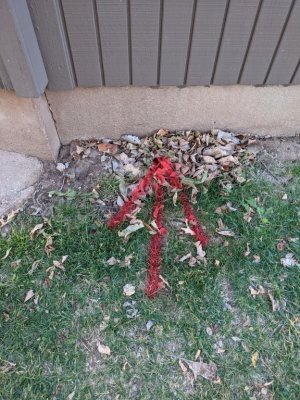
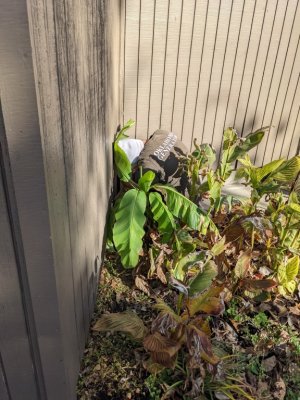
 PXL_20211122_224450746b.jpg I have put in some flower beds over some of the utility lines. |
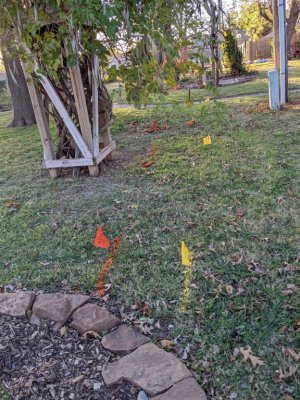
 PXL_20211122_224516597b.jpg Stating the obvious? |
 PXL_20211122_224716093b.jpg |
 PXL_20211122_224720116b.jpg |
 PXL_20211122_224957000b.jpg |
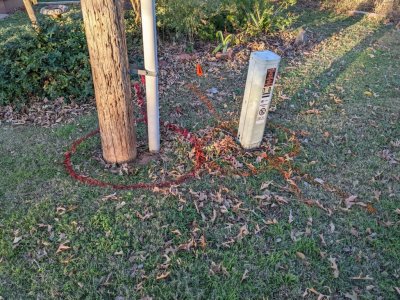
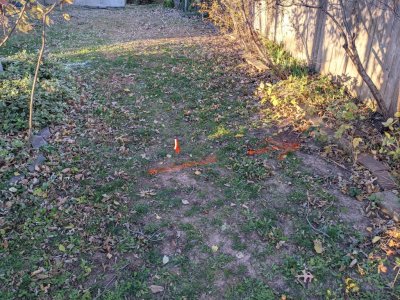 PXL_20211122_224342608b.jpg Apparently there is an ATT line running from our yard to our neighbors'. |
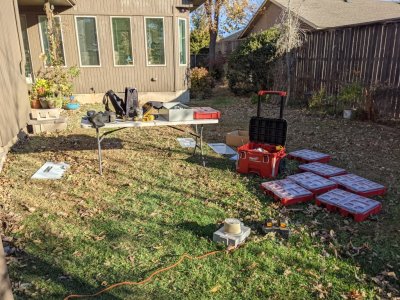
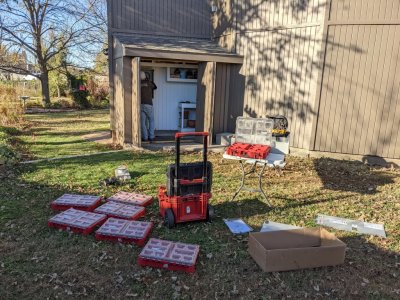
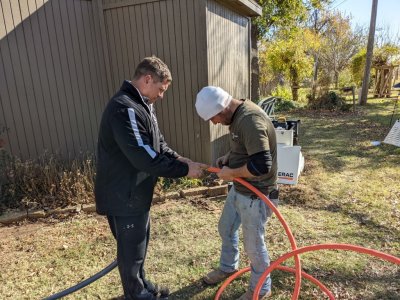
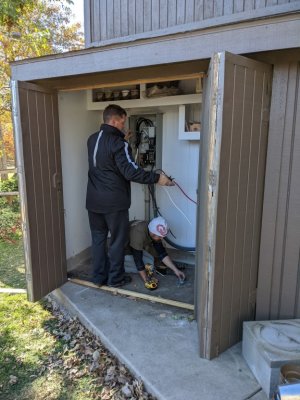
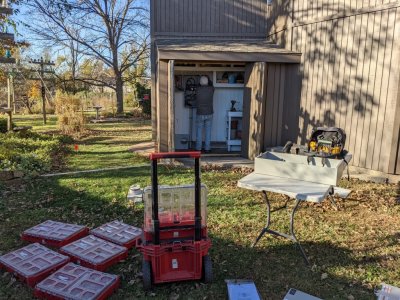 PXL_20211123_145908896.jpg Aaron and Kyle were well-organized; they brought boxes of tools and supplies, and their own work table. Kyle started by shutting off power and removing our old main fuse box. |
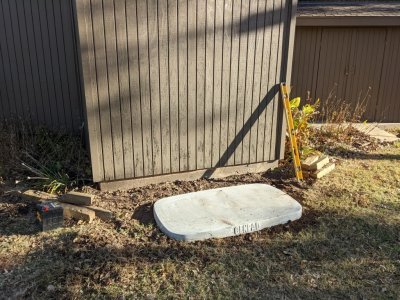 PXL_20211123_150046920.jpg Aaron leveled the ground and placed the concrete pad for the unit. |
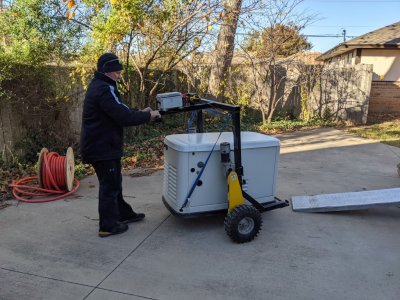
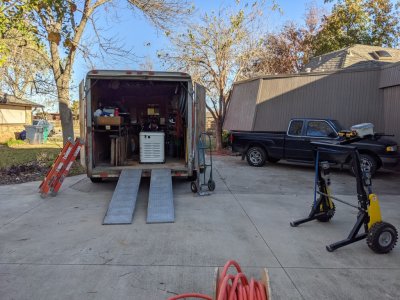 PXL_20211123_150102074.jpg Aaron pushed... |
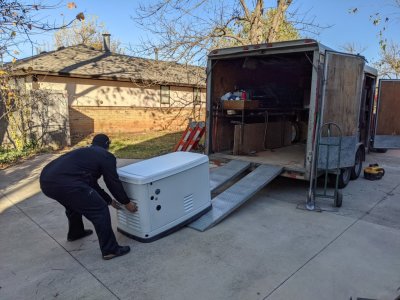 PXL_20211123_150146221.jpg ...and pulled the unit off their trailer. |
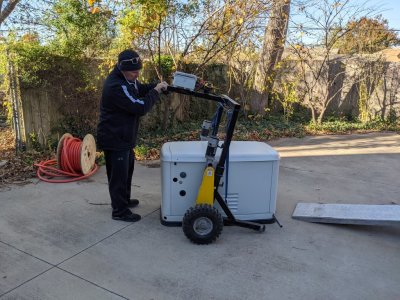 PXL_20211123_150247882.jpg Then he arranged their handy-dandy battery-operated crane on either side of the unit. |
 PXL_20211123_150313039.jpg Somebody had designed an impressively efficient system for moving the unit: The unit had holes on one end that a pipe slid through to allow the crane to pick it up. Then ties with J-hooks were fit into holes in the other end to allow the crane to lift the unit off the ground. |
 PXL_20211123_150338046.jpg Easy-peasy |
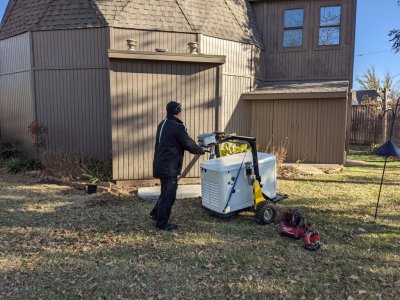 PXL_20211123_150419856.jpg Moving the unit to its resting place |
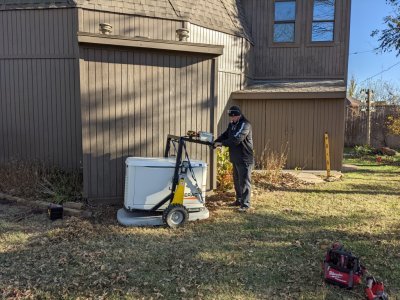 PXL_20211123_150453545.jpg Setting it into place |
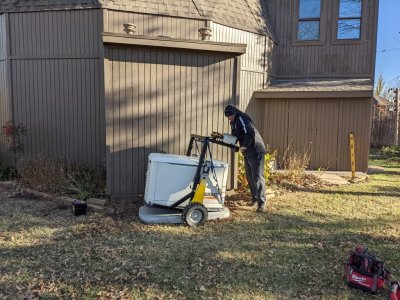 PXL_20211123_150456740.jpg Easy does it |
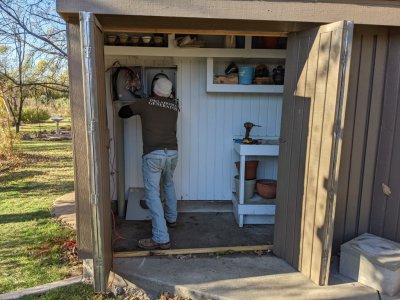
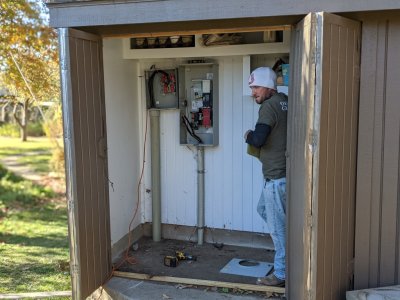
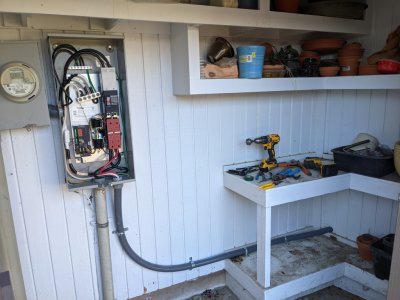
 PXL_20211123_150537321.jpg On the other side of the garage, Kyle had everything laid out to get to work. |
 PXL_20211123_150548687.jpg Kyle, working on the power boxes |
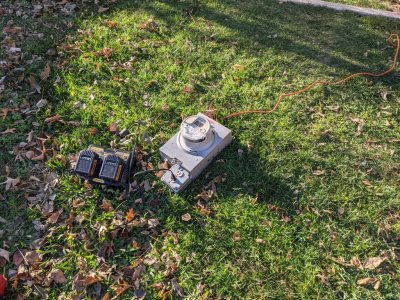 PXL_20211123_150552157.jpg They kept the meter running and had power for charging batteries. |
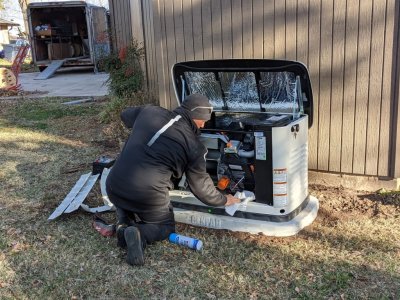
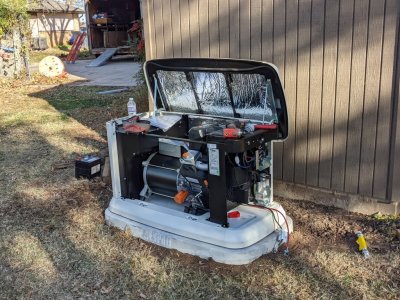
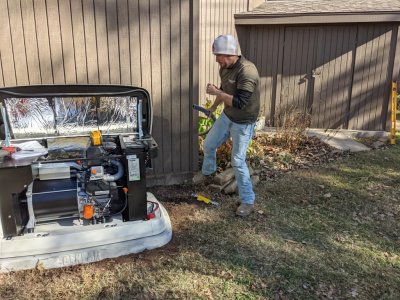
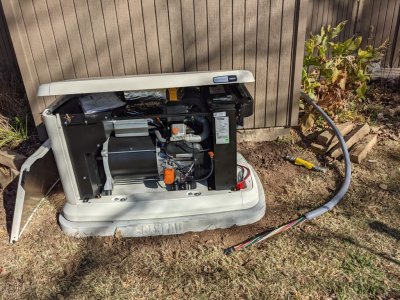
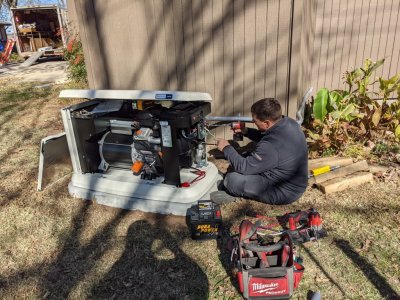
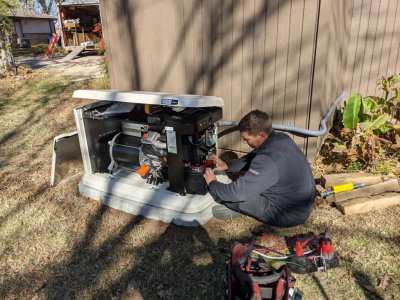
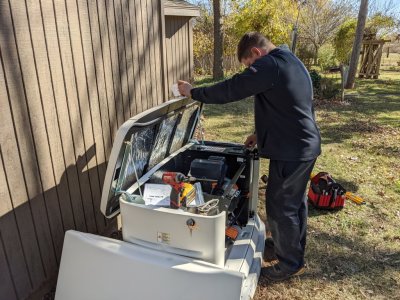
 PXL_20211123_150614436.jpg Aaron exposed the 'innards.' |
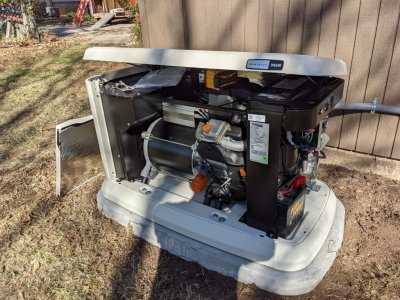
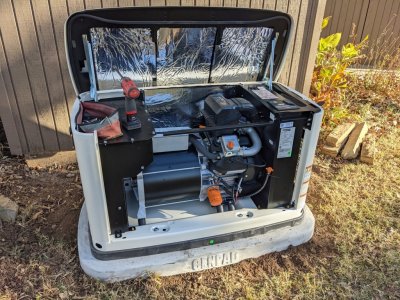 PXL_20211123_150729111.jpg Inside the box is a little combustion engine. |
 PXL_20211123_150822272.jpg |
 PXL_20211123_151139103.PORTRAIT.jpg After attaching the unit to the concrete base, Aaron carefully wiped it all clean. |
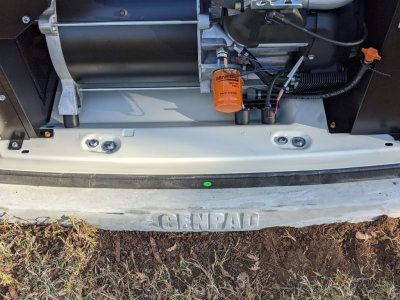 PXL_20211123_151213506.PORTRAIT.jpg The box and the base had pre-drilled holes to bolt the two together. |
 PXL_20211123_151238636.PORTRAIT.jpg Aaron and Kyle worked together to loosen some of the tight connections in the main power box. |
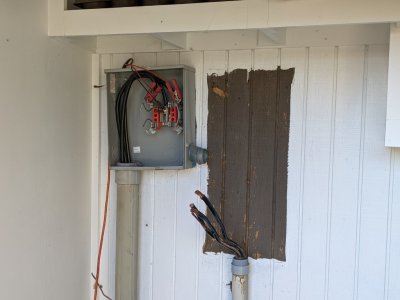 PXL_20211123_152914730.PORTRAIT.jpg Old power box removed |
 PXL_20211123_153105754.PORTRAIT.jpg Ready to install the battery |
 PXL_20211123_153919614.PORTRAIT.jpg New box in place |
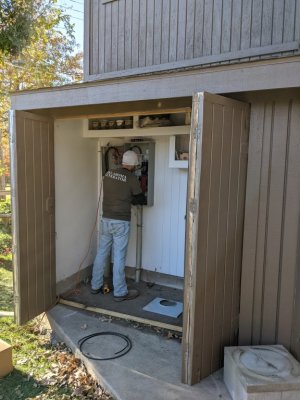 PXL_20211123_154917166.jpg Kyle started re-attaching wires. |
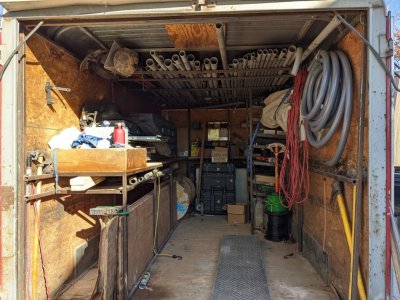 PXL_20211123_155441671.jpg The interior of their trailer |
 PXL_20211123_162144087.jpg Pilot hole for the wiring from the power box to the unit |
 PXL_20211123_162406543.jpg The hole was drilled from the outside, where the power box is, into the garage. |
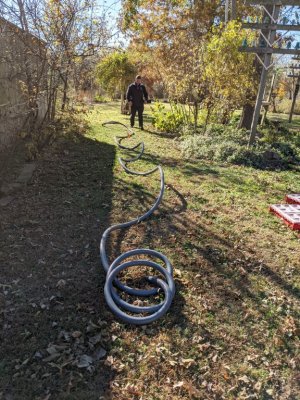 PXL_20211123_162717227.jpg Aaron unrolled the protective sheath for the wiring to let it relax in the sun. |
 PXL_20211123_163025905.jpg After the pilot hole, a larger hole was drilled to accommodate the sheathed wiring. |
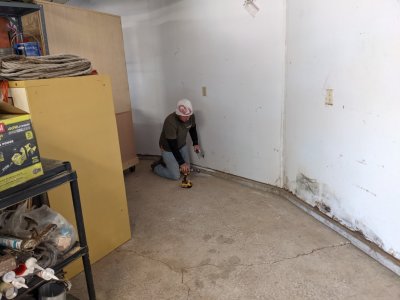
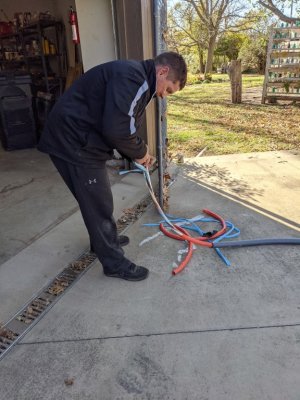
 PXL_20211123_163752342.jpg On the side of the garage near the unit, Kyle got into the flower bed to make another hole in the wall. |
 PXL_20211123_163839947.jpg Kyle, pulling the protective sheathing through the wall to check the required length before cutting it. |
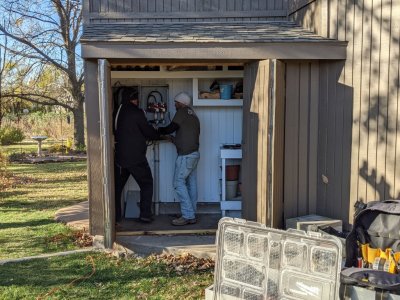
 PXL_20211123_163939860.jpg Inside the garage--where I had cleared a lot of junk for them to work--Aaron and Kyle pressed the sheathing to the wall to insure an accurate measurement. |
 PXL_20211123_164518072.jpg They attached a thin, stiff rod to the end of the wiring to guide the wiring through the sheathing. |
 PXL_20211123_164614797.jpg Snaking the wiring into the sheathing |
 PXL_20211123_164640848.jpg |
 PXL_20211123_165136770.jpg Next, Aaron stripped the ends of the wires, so they could be attached to the unit on one end and the power box on the other. |
 PXL_20211123_165805977.jpg Kyle attached the sheathing to the wall with brackets, while Aaron attached the wires to the power box. |
 PXL_20211123_170610340.jpg All hooked up on this end |
 PXL_20211123_170832710.jpg |
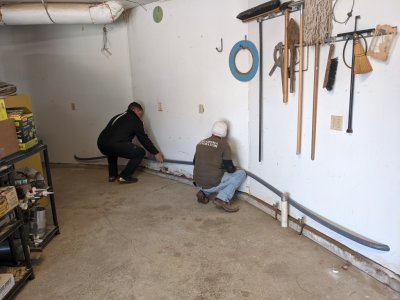
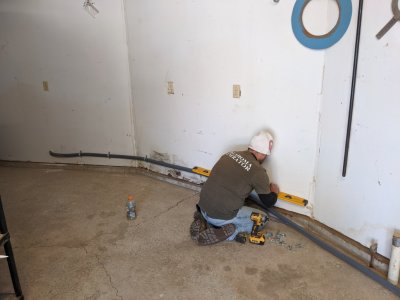 PXL_20211123_171742240.jpg Kyle was careful to make sure the sheathing looked nice and level, using brackets to attach it around the inside wall of the garage. |
 PXL_20211123_173514663.jpg He did the same thing on the outside wall. |
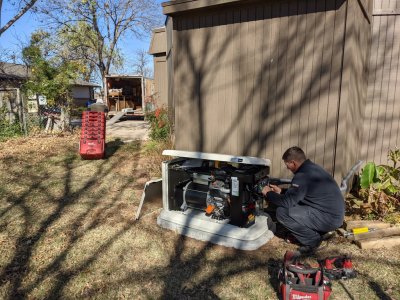
 PXL_20211123_173934076.jpg Then Aaron got to work attaching the wiring to the unit. |
 PXL_20211123_174151922.jpg Then he installed the battery. |
 PXL_20211123_174234136.jpg All hooked up |
 PXL_20211123_174249478.jpg At the same time, Kyle started re-packing their tools and supplies. |
 PXL_20211123_174329716.jpg |
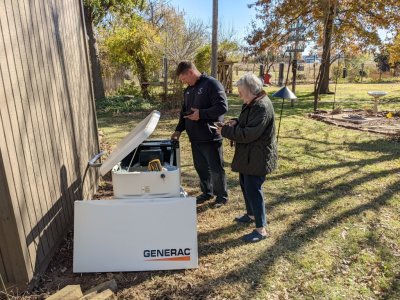
 PXL_20211123_174458111.jpg Next, Aaron started entering codes into the unit's electronics. |
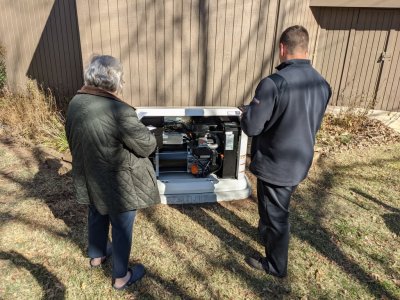 PXL_20211123_175852463.jpg Then Mary came out to test the alerts on her phone. |
 PXL_20211123_175902947.jpg It works! |
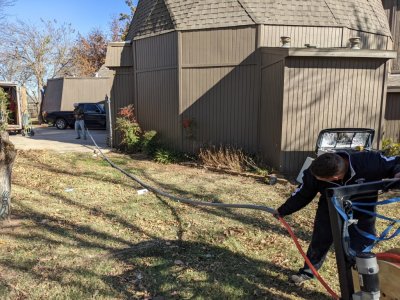
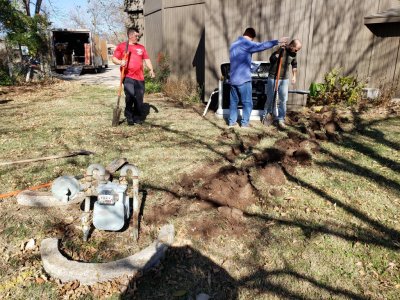
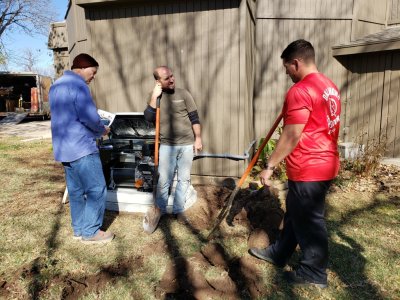
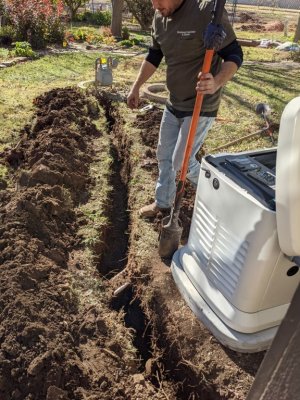
 PXL_20211123_183026480.jpg The plumbers were still on another job, so Kyle and Aaron started digging the trench for the gas line. |
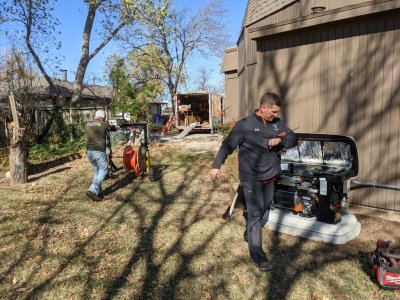
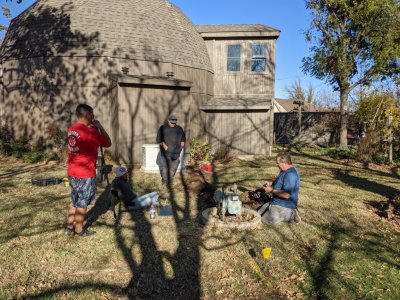
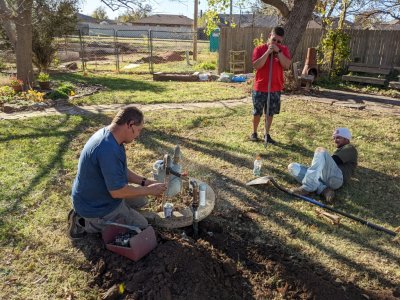
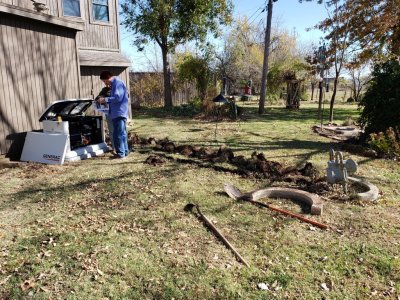 20211123_122747b.jpg Steve consulted photos we took when the sprinkler system was installed to prevent a severed line. |
 20211123_122800b.jpg "I think the lines run thataway." |
 20211123_122813b.jpg Not looking so certain |
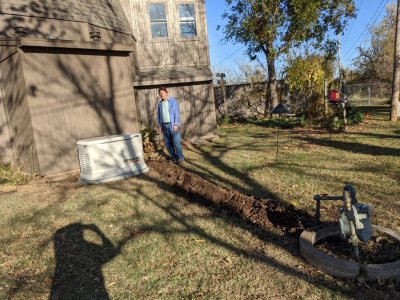
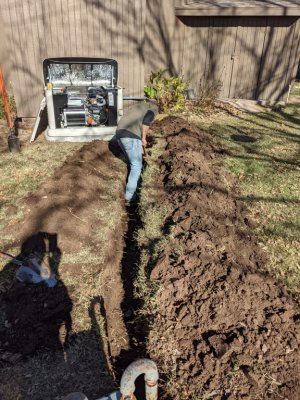 PXL_20211123_193607749.jpg Kyle finished out the trench. |
 PXL_20211123_193617418.jpg It got warm by the time they got the trench dug. |
 PXL_20211123_193635065.jpg The sprinkler line was unscathed. Funny story though: Steve didn't think about the location of two sprinkler heads, which, as it turned out, had been covered by the concrete pad and had to be capped and moved later. |
 PXL_20211123_205602897.jpg We took a lunch break and, when we came back out, the plumbers had arrived, had already buried the gas line and were working on attaching it to the meter. |
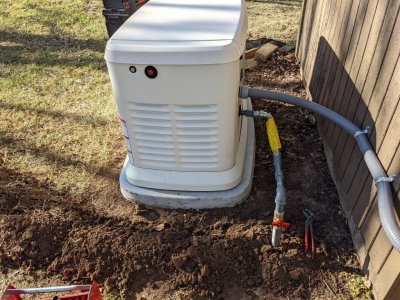 PXL_20211123_205641369.jpg A flexible metal joint attached the gas line to the unit. |
 PXL_20211123_205657686.jpg Putting the finishing touches on the gas connection |
 PXL_20211123_210546781.jpg Adding a little paint |
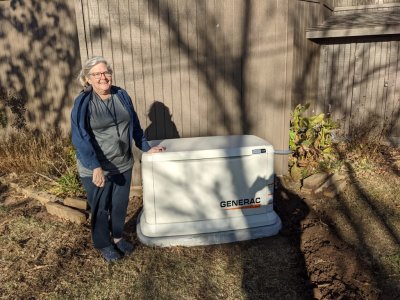 PXL_20211123_212432741.jpg Mary, beside the finished generator |
 PXL_20211123_212456369.jpg Steve took his turn. |
 20211123_153607b.jpg Mary took a few yard photos; this beebalm was still blooming. |
 20211123_154033b.jpg The view from the back of the yard |
| comment | share |