


|
|
|
|
|
|
| Steve Davis | profile | all galleries >> Projects >> Backyard Deck, Jul-Sep 2018 | tree view | thumbnails | slideshow |
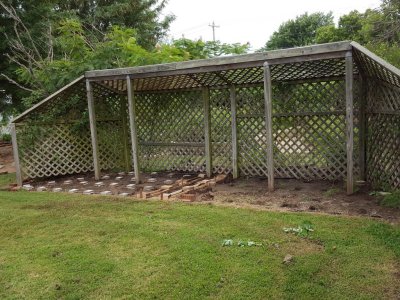
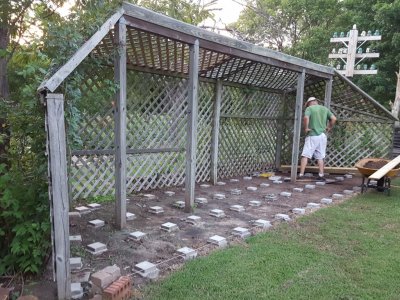
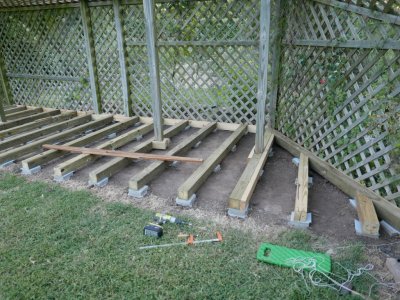
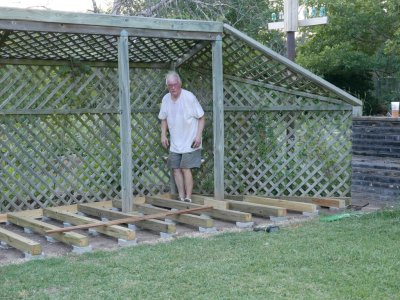
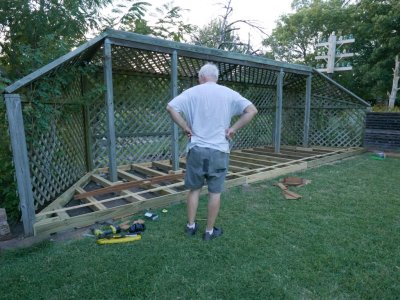
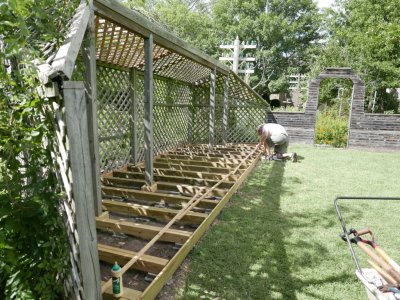
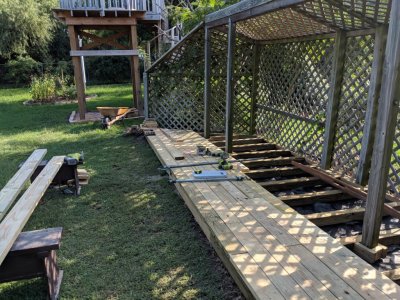
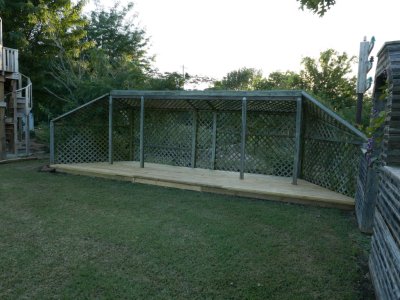
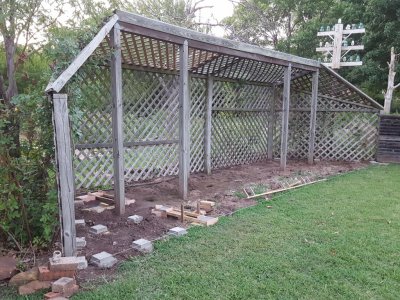 20180803_202852.jpg I spent a long time before this August 3 photo, deciding how to start and what to do at each step in the process--whether to level the deck N-S or let it run with the slope of the yard, how many supports to use, what size lumber for underlayment and deck, whether to use composite decking, what circumference and depth to use for the piers, etc, etc, etc. |
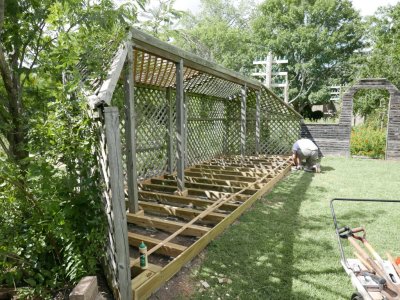
 20180803_202901.jpg I thought it would look odd to raise the south end 8" to offset the slope of the yard, so I chose something in between and the deck is not as steep as the yard, but not level either. |
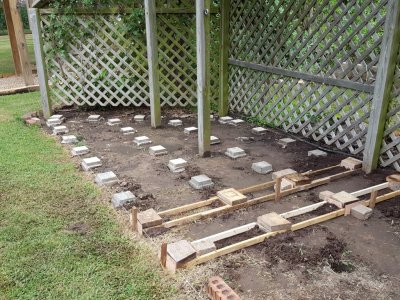
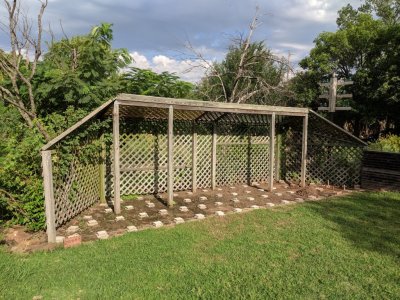
 20180803_202934.jpg I chose about 20" for the spacing each direction for the piers, which meant I had to put in a lot of piers--4 deep x 13 across = 52+ holes and piers. |
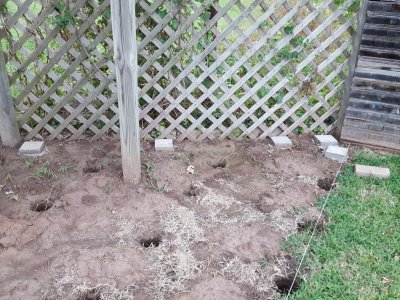
 20180803_202919.jpg The ground was soft under the trellis and I dug the holes with a garden trowel after measuring and marking them in each direction. |
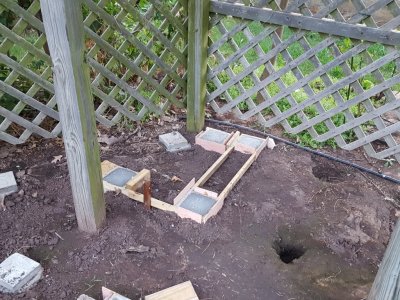
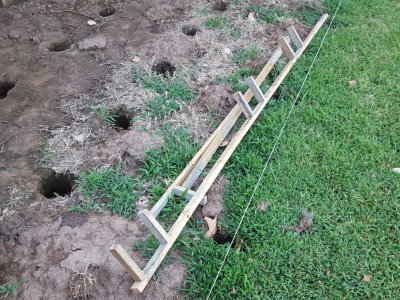 20180803_202926.jpg After trying to make individual forms for each hole and leveling between them, I decide to build a form I could use for each row of holes front-to-back. Thus, I could level the form front-to-back and know all 4 holes were level E-W--to the extent I accurately staked the forms before pouring concrete. Four holes took 1.5-2 bags and was about as much as I wanted to tackle in a day, so I could disassemble and re-use the forms from day to day. |
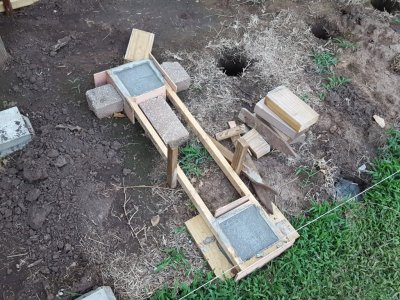 20180803_202910.jpg In some places, because of the supports for the trellis, I had to pour two holes at a time. |
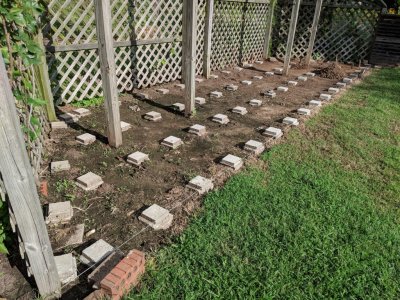
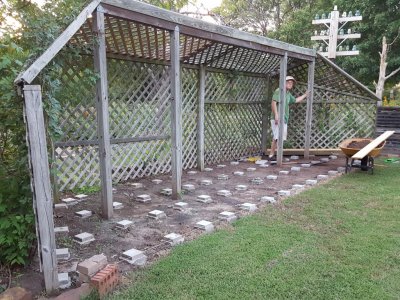
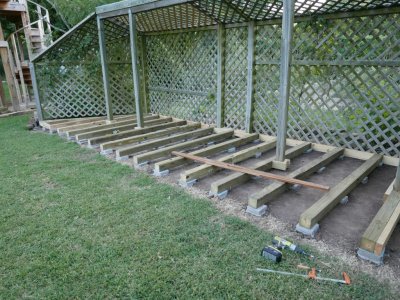
 20180816_182808.jpg Between unusual summer rains and days doing other things, it took me a long time to get all the piers poured. |
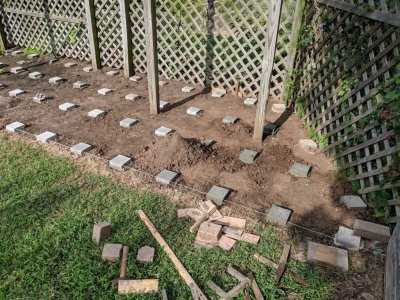
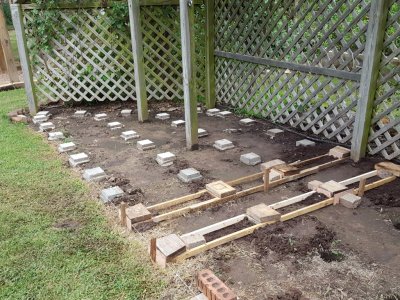 20180816_182811.jpg Because of various flaws in my workmanship, I had to dig up and re-seat 4-5 piers to make them level or in line with the others, further slowing down my progress. |
 20180816_182836.jpg Counting to see how many more holes I have to fill--about halfway there |
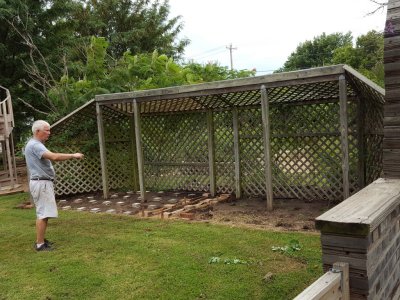
 20180816_182911.jpg I had pulled grass and weeds, sprayed Round-up, and transplanted some of the things growing under the trellis, before I started the deck project. |
 IMG_20180824_092218.jpg |
 IMG_20180824_092239.jpg The last few piers to be poured |
 IMG_20180824_092258.jpg |
 IMG_20180824_093004.jpg |
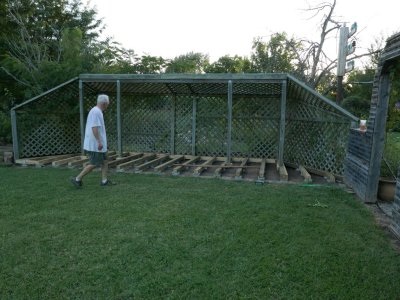
 IMG_20180824_093016.jpg Finally, all the piers were in place, leveled to my satisfaction and ready to put down some lumber. |
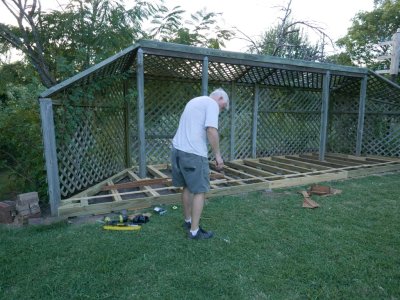
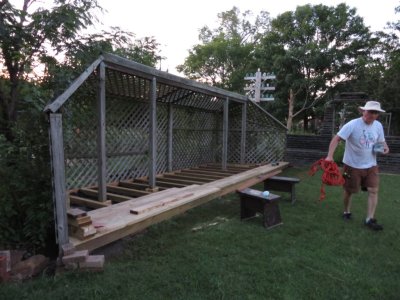
 20180825_195736.jpg One day during the process, two 4" x 4" x 8' beams appeared in the yard by our driveway. I thought some kindly neighbor had left them for us and I decided I would use them as heavy-duty supports for the decking. |
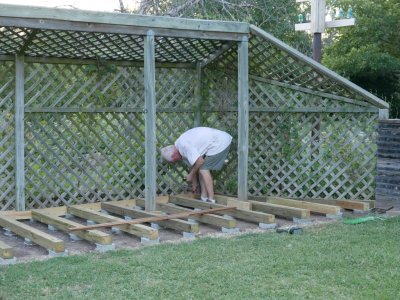
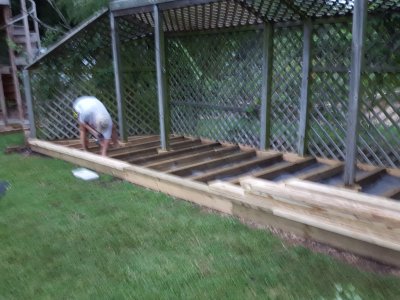
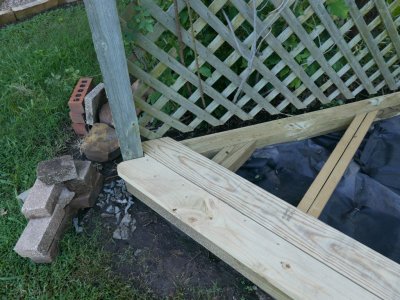
 20180825_195747.jpg I started at the N end and cut one of the four-by-fours to fit along the angle of the trellis. I had also decided to use a 1" x 6" board upright between the joist and the trellis to discourage varmints from getting under the deck. |
 20180825_195753.jpg |
 20180825_195809.jpg Thinking deep thoughts about what's next |
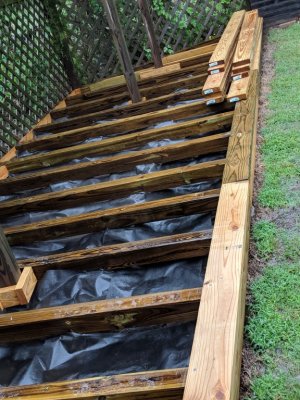
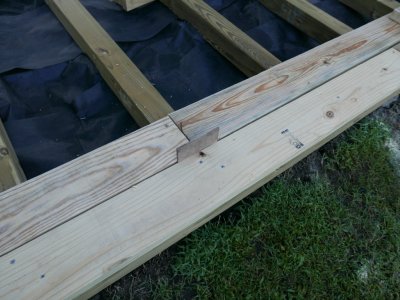
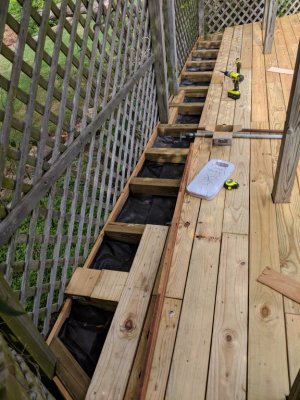
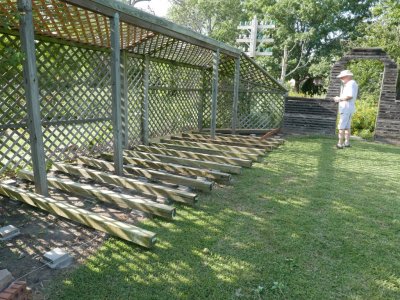 P1020578.jpg It was not until later that I discovered the two mystery 4" x 4"s had been left by the fellow who was coming to work on the gates to our back fence. But, by then, I had been 'inspired' and committed to using 4" x 4" beams for all the deck joists--and they made for a very sturdy deck. |
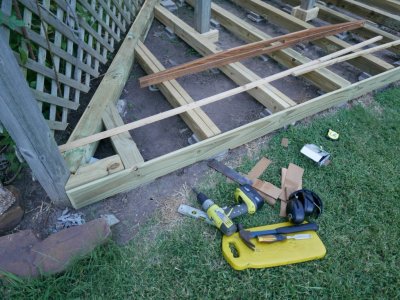
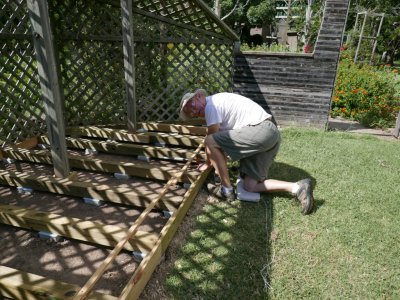
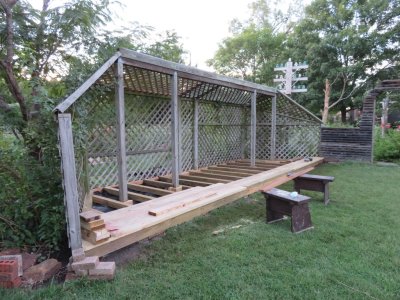
 P1020579.jpg I had pulled a line across the front of the trellis to use as a guide for my forms and piers. |
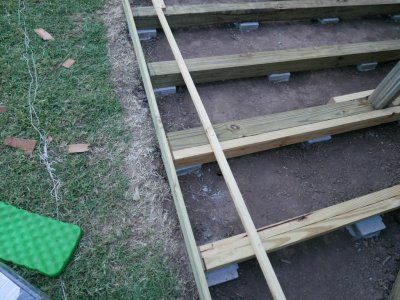
 P1020580.jpg I used the same line as a guide for cutting each joist--the back side of the trellis was not even, so the joists came out different lengths. I used the straight-edge Dad had made me to check how evenly the joists were running down the hill and used wedges between some of the joists and piers to bring joists in line. |
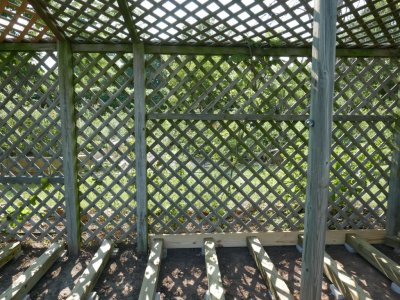 P1020581.jpg I screwed the 1" x 6" upright boards to the ends of the joists to keep both in place. |
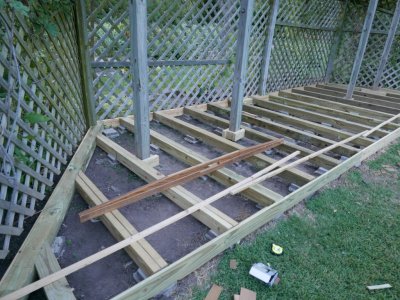
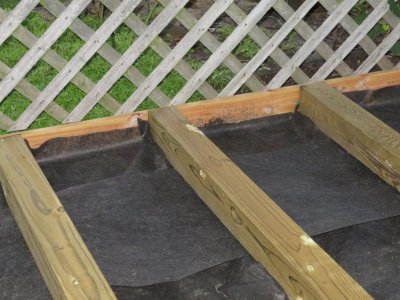
 P1020656.jpg I also used some plate pad material as a moisture barrier on top of each pier and used some 2" x 4" material for decking nailers around the trellis vertical supports. |
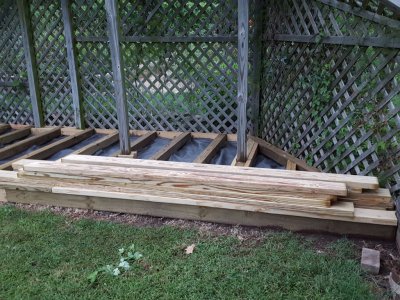
 P1020657.jpg I marked all the joists by the string pulled across the front of the trellis and cut them to length, but my inaccurate marking, cutting, etc. required me to use shims on a few of them when it came time to apply the 1" x 6" pieces across the front. |
 P1020658.jpg Once I got all the joists cut and screwed in place, I cleaned up the work area, removing all the dried concrete and excess dirt. |
 P1020659.jpg |
 P1020660.jpg |
 P1020661.jpg |
 P1020662.jpg |
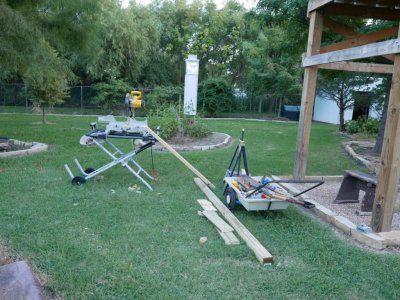 P1020720.jpg I rolled the miter saw out into the backyard from the garage to save time with cutting the lumber. |
 P1020721.jpg |
 P1020722.jpg I screwed some strips of wood down to the tops of the joists to insure I didn't kick any of them out of alignment while I was applying the front 1" x 6" trim. I screwed the trim in place and used shims and the straight-edge to insure the facing was true. |
 P1020723.jpg |
 P1020724.jpg As mentioned earlier, I used the straight-edge made for me while we were working on the house to check the support beams for (reasonable, though not perfect) alignment north to south. |
 P1020725.jpg |
 P1020726.jpg |
 P1020727.jpg |
 P1020728.jpg |
 P1020729.jpg |
 P1020730.jpg Shake shingle shims used to true up the face trim at the N end |
 P1020731.jpg |
 P1020957.jpg |
 P1020958.jpg |
 P1020959.jpg |
 P1020960.jpg |
 20180903_193838.jpg |
 20180903_193903.jpg |
 20180903_193913.jpg |
 20180906_195257.jpg |
 20180906_195309.jpg |
 20180906_195312.jpg |
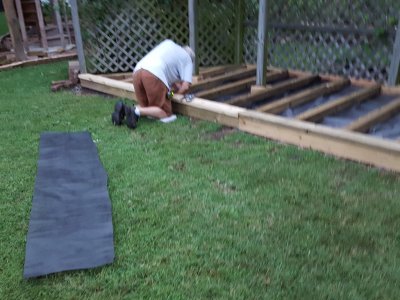
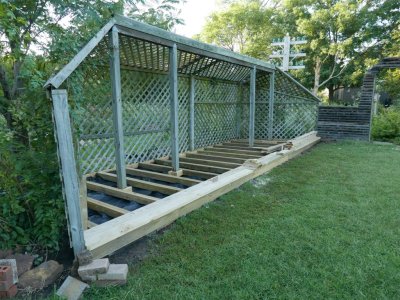
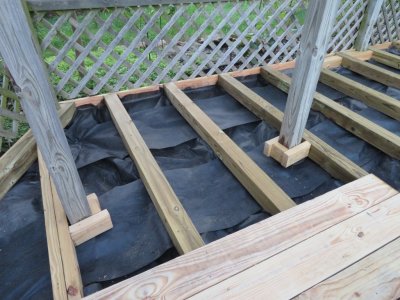
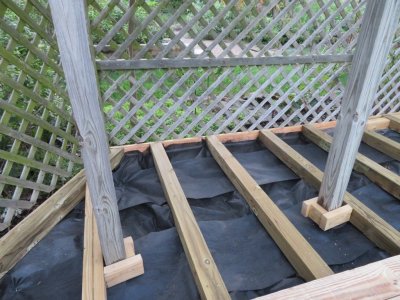
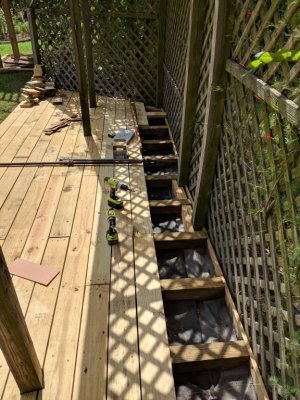
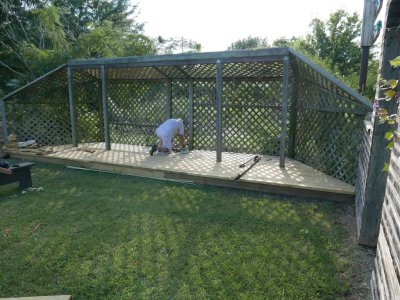
 20180906_195319.jpg To help inhibit the growth of weeds from under the deck, I decided to install layers of yard cloth between the support beams before putting down the decking. |
 20180906_195325.jpg |
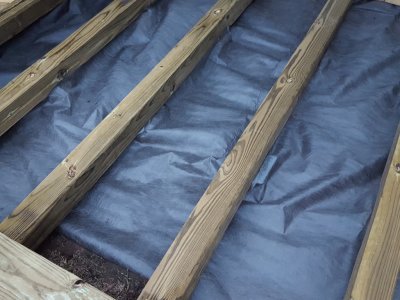 20180906_195334.jpg I stapled the yard cloth to the beams, hoping to seal off all light. |
 20180906_195355.jpg |
 IMG_20180907_175104.jpg |
 IMG_20180907_175106.jpg Then it rained some more. |
 IMG_20180907_175118.jpg |
 IMG_20180907_175121.jpg |
 IMG_20180907_175128.jpg And more |
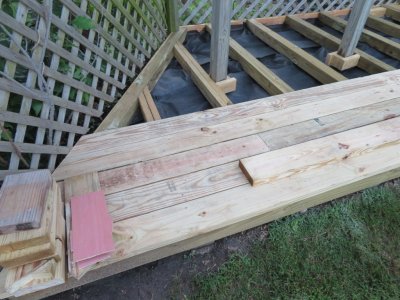
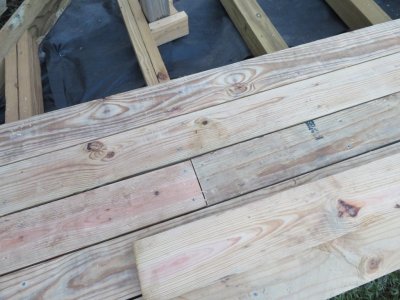
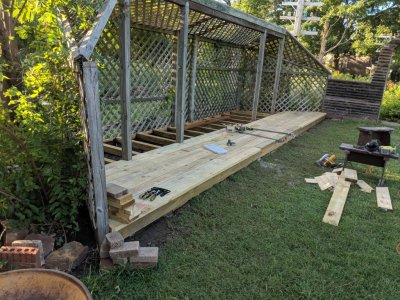
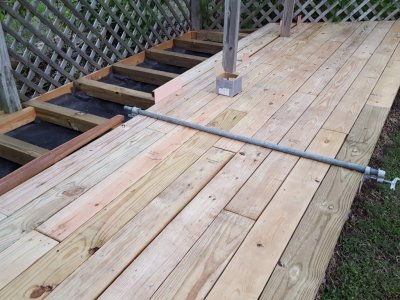
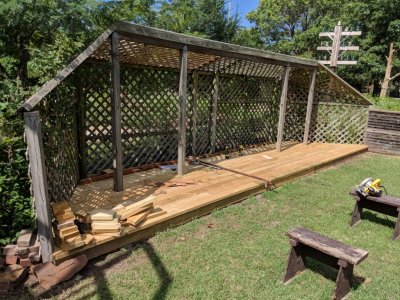
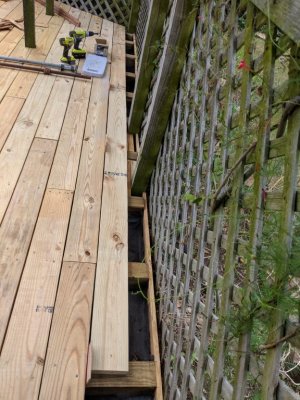
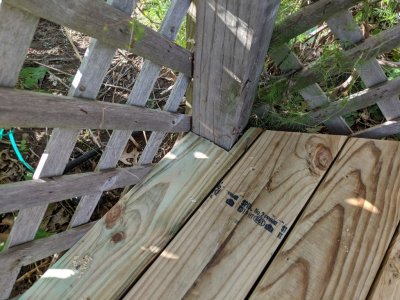
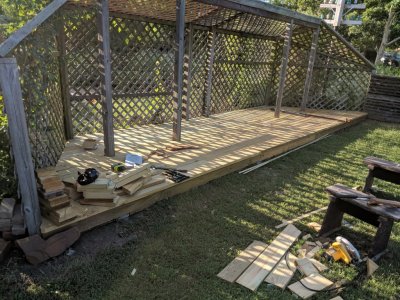
 P1020981.jpg When it stopped raining, I started laying the decking, 2"x 6" boards of varying lengths. |
 P1020982.jpg Detail of corner work at the south end of the deck |
 P1020983.jpg I alternated lengths of boards, so joints of adjacent rows did not line up. |
 P1020984.jpg I used wood shims and nails as spacers to insure deck boards were evenly spaced and to allow for expansion at the joints. |
 IMG_1477.jpg Putting away cords and tools at the end of the day |
 IMG_1479.jpg |
 IMG_1480.jpg Detail of the day's work |
 IMG_1481.jpg |
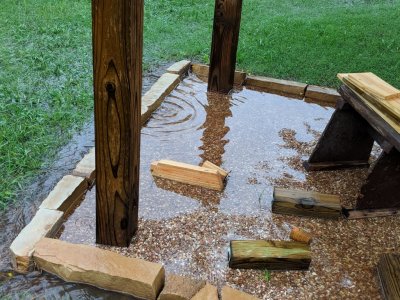
 IMG_1482.jpg I built braces around each of the posts to have something to screw the decking into and to help support notched decking. |
 IMG_1483.jpg |
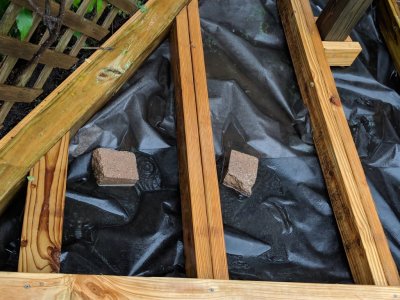
 IMG_1484.jpg I layered the yard cloth to increase its opacity--I really didn't want to be spraying grass-killer between the deck boards in the future. |
 IMG_1485.jpg |
 IMG_1486.jpg |
 IMG_1487.jpg The spacing of deck supports worked out to make notching impossible at the north end, so I cut the 4" x 4" beam to butt each side of the post and spliced the two beam pieces together with 2" x 4"s on either side. |
 IMG_20180911_170513.jpg Almost halfway through; getting ready to notch decking around posts |
 IMG_20180911_170524.jpg There was enough warp in some of the deck boards that I used pipe clamps to pull them into place for correct spacing along their full length before screwing them to the support beams. |
 IMG_20180911_170541_1.jpg |
 IMG_20180911_183845.jpg |
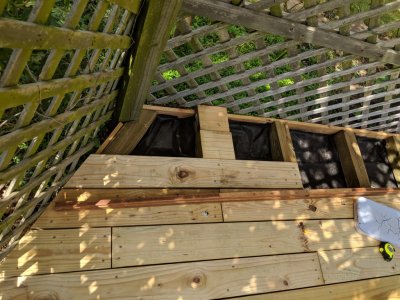
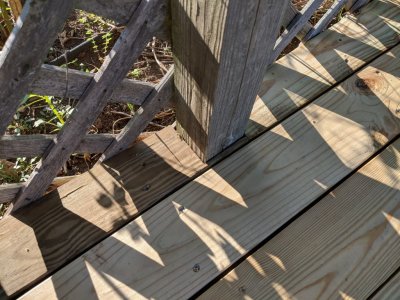
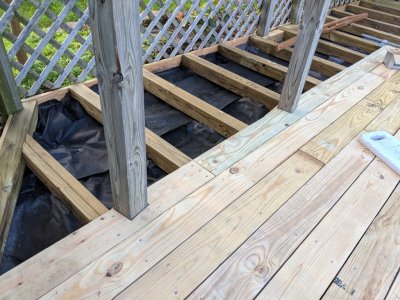 IMG_20180911_183855.jpg Detail of deck boards notched around two of the trellis posts |
 IMG_20180911_183859.jpg |
 IMG_20180911_183914.jpg |
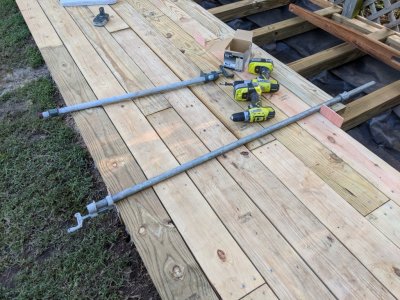 IMG_20180911_183922.jpg Pipe clamp holding warped deck board in place |
 20180913_194442.jpg All the notches for posts completed |
 20180913_194452.jpg |
 IMG_20180920_125824.jpg As I got closer to the back edge, I started making some small adjustments to the spacing between deck boards, so I wouldn't end up with a sliver of deck to try to attach at the back edge. |
 IMG_20180920_125841.jpg |
 IMG_20180920_125856.jpg I used a couple of scrap ends to judge how my spacing was going. |
 IMG_20180920_125905.jpg |
 IMG_20180920_125930.jpg Another load of deck boards |
 IMG_20180920_142810.jpg Next to last row |
 IMG_20180920_142817.jpg Still using nails and pieces of thin plywood for spacers |
 IMG_20180920_142826.jpg |
 IMG_20180920_142840.jpg |
 P1030316.jpg Working on the last row |
 P1030317.jpg |
 P1030318.jpg |
 P1030319.jpg |
 IMG_20180920_172653.jpg The notches in the back-row deck boards, made to fit around the two posts in the middle of the back of the trellis, were deep, but worked. |
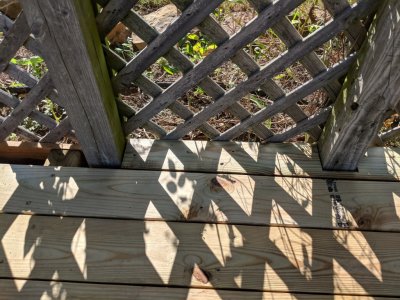 IMG_20180920_172701.jpg |
 IMG_20180920_172708.jpg Detail of notch cut for the last board on the north end |
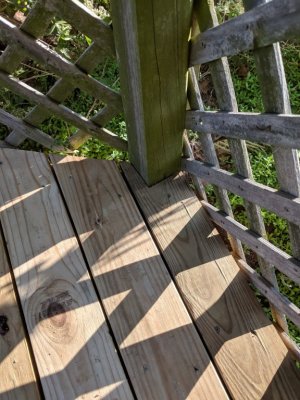 IMG_20180920_181012.jpg Detail of notch cut for the last board on the south end--as with several of the posts, this one had twisted over time, so the notch cut was not square |
 IMG_20180920_181016.jpg The last notch in the last board |
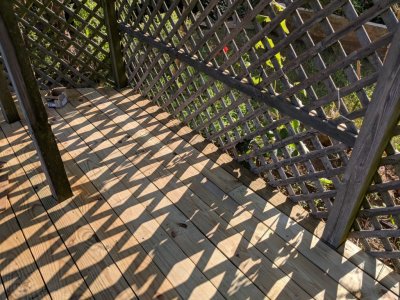 IMG_20180920_181022.jpg The deck is down! |
 IMG_20180920_181036.jpg I still wanted to add some trim pieces to the face of the deck to cover joints. |
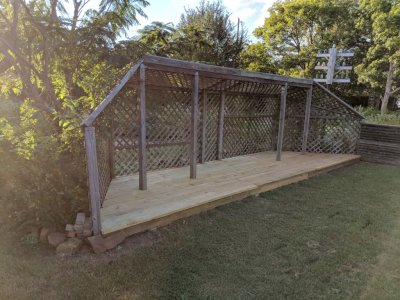 IMG_20180920_183346.jpg It looks better without all the scraps and tools lying around. |
 IMG_20180920_183400.jpg |
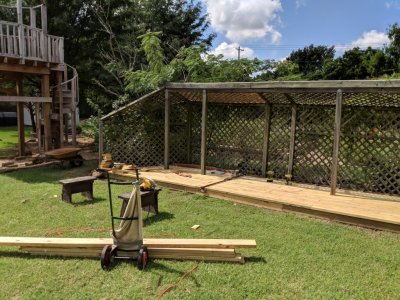
 P1030496.jpg Hard to tell on this long shot, but trim pieces are in place. |
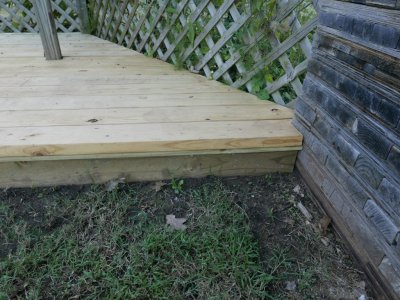 P1030497.jpg Closer look at some of the trim under the overhanging front edge of the deck |
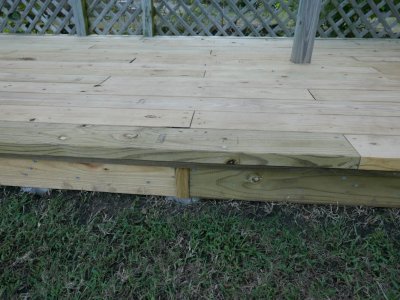 P1030498.jpg Vertical joint trim on the face of the deck |
 P1030499.jpg |
 P1030500.jpg |
 P1030501.jpg End of the day |
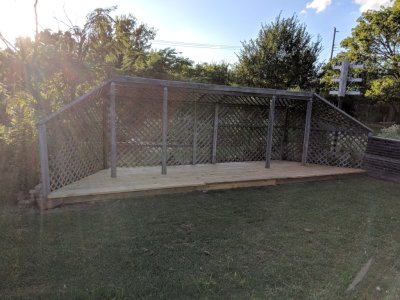
 P1030503.jpg Deck project completed September 27--over 3 months, but done at last |
| comment | share |