


|
|
|
|
|
|
| Steve Davis | profile | all galleries >> Projects >> Combining Front Yard "Boat" Beds, Sep 2019 | tree view | thumbnails | slideshow |
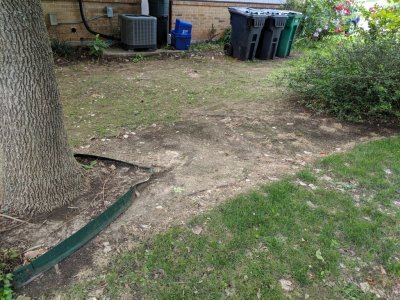 IMG_20190902_152629b.jpg I started by spraying Round-up on the areas between the existing beds in August, then allowed it to do its work while we went on a birding trip to far west Texas. |
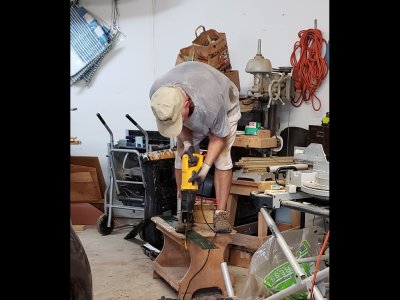 20190917_155427b.jpg Mary caught me standing on my workbench Dad built to hold down a piece of the edging with the saws-all Doug L gave me. |
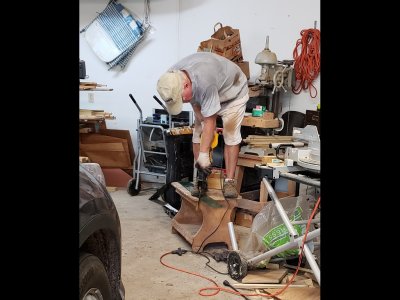 20190917_155430b.jpg Cutting a piece of the edging with the metal-cutting blade in the saws-all |
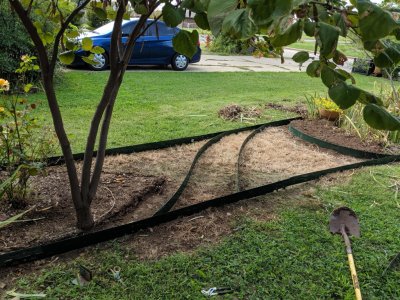
 20190902_135428b.jpg When we returned, I removed the piece of edging at the north end of the middle bed and installed new straight edging to connect it with the north bed. I left the north bed edging intact. |
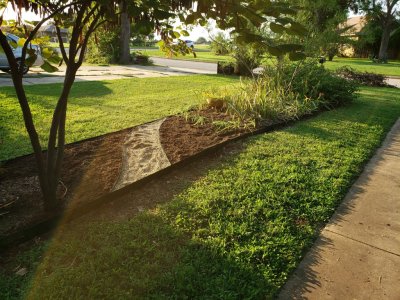
 IMG_20190902_152643b.jpg Here is the curved path outline and outer edging installed before putting any soil additives. |
 IMG_20190902_152709b.jpg I removed irises from the south end of the north bed to allow space for some different plants there. I gave the irises to our neighbor Yung. |
 IMG_20190902_183511b.jpg I'm not sure I got any photos of the process of adding sand, top soil and potting soil to the beds, or of putting gravel in the path; here is an "after" photo. I dug up the areas with a shovel, then used our Mantis tiller to mix in all the additives. |
 20190902_184311b.jpg Here and following are some views of the new connecting bed with the soil and gravel path installed, with the daylilies and ornamental grass (sadly, probably dead) that John C gave me, along with some "surprise bulbs" in the south end of the north bed. |
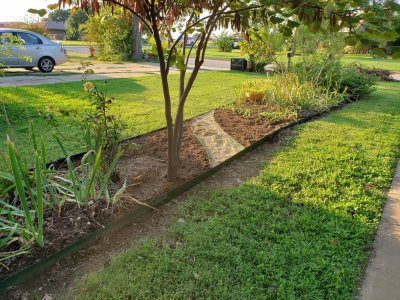 20190902_184319b.jpg Bed and path borders installed with materials added |
 20190902_184341b.jpg Long view of the middle and north beds after installing the connecting bed |
 20190902_184437b.jpg Another view (from the west side) of the connection between the middle and north beds |
 IMG_20190917_145629b.jpg Starting the connection between the south and middle "boat" beds. It took me two weeks to get back to work on this project. I decided to trim the quince and it was a bigger job than I anticipated (a common error I make): there were sprouts from the quince all the way out into the yard that I hadn't seen under its overgrown branches. I dug out all of them before continuing with the bed construction. |
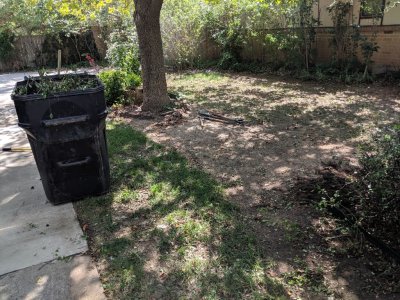 IMG_20190917_145653b.jpg I filled "big blue" with the cuttings and dug-up sprouts from the flowering quince bush at the south end of the middle bed. |
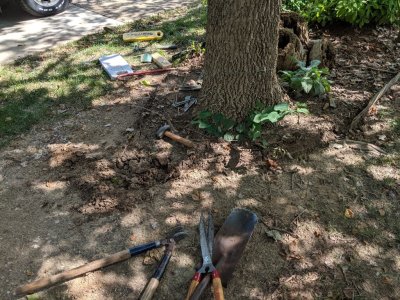 IMG_20190917_145634b.jpg The south bed was the first one I installed years ago and the stakes holding the old edging were so stuck in the ground I had to use the small sledge to break them loose. |
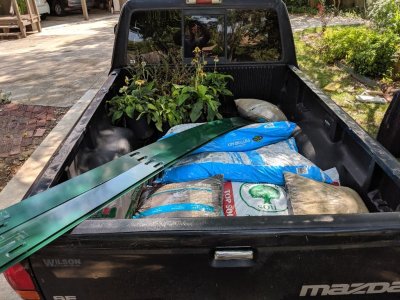 IMG_20190917_145647b.jpg Supplies for the south "boat" bed, plus some "Charlie Brown" echinaceas for the front section |
| comment | share |