


|
|
|
|
|
|
| Steve Davis | profile | all galleries >> Projects >> Boardwalk, Jun-Jul 2025 | tree view | thumbnails | slideshow |
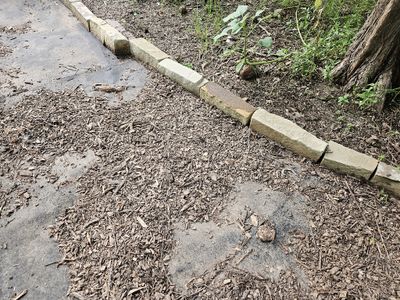 20250701_200005b.jpg This is what my nicely mulched path looked like after the heavy rains we got this Spring. I chopped this beginning cypress knee, and a few more, out of the path before laying down the boardwalk. Time will tell how determined the tree is to continue growing them there. |
 PXL_20250626_215942596.MPb.jpg I bought treated 1"x6" and 1"x4" lumber in 8' and 10' lengths. I ripped 2 of the 10' into 2 pieces and laid them down to provide support and nailers for the boardwalk itself. I wanted small gauge screws to attach the boards (slats) to the laths underneath so they were less likely to split the boards; to save time, I didn't want to drill a hole for each screw. I chose 1" sheetrock screws because they had lasted decades in much earlier outdoor projects.
|
 PXL_20250629_234246405.MPb.jpg I estimated pretty well how many slats it would take to cover 10' and ran out of my first load of lumber. It occurred to me that, if the rain could wash away my wood chips, my boardwalk might become a floating raft, so I drove some stakes into the ground and screwed the 2 middle slats to them to hold the whole thing in place. I did that a couple more times with each section. I also overlapped a slat, screwing it into the back end lath of one 10' course and the front end lath of the next 10' course, to hold the whole path together. |
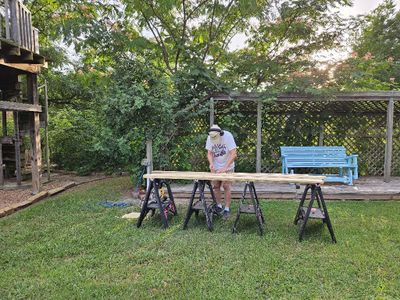
 20250701_194028b.jpg Mary took some photos of my setting up to work after buying another load of lumber. We had an electrical outlet installed at the S end of the big trellis a few years ago, so I was able to use my circular saw closer to the work site. |
 20250701_194336b.jpg I took 3-4 measurements for each slat to get the width and angles where the ends met the rock border on each side. Sometimes I could remember all the measurements till I got them marked on the board. |
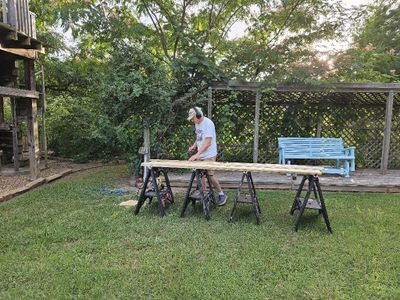 20250701_194338b.jpg I tried to save some of my remaining capacity to hear. |
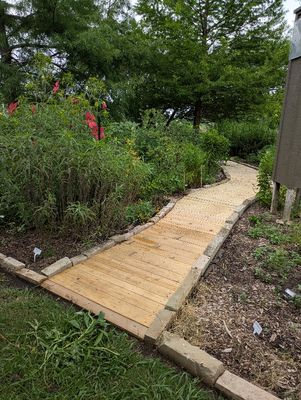
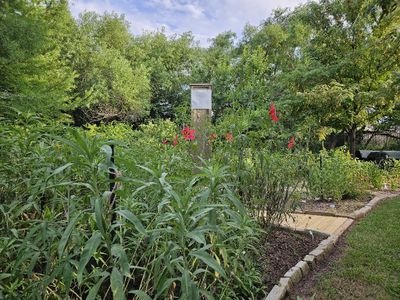 20250701_194358b.jpg The W end of the boardwalk. We've named each of the flower beds in the yard. The bed behind (to the S) of the boardwalk is the back fence bed, the one to the N (foreground) is the cypress tree bed and the one across the grass path (out of the photo to the right) we call the grove bed because we've got a variety of trees over there. |
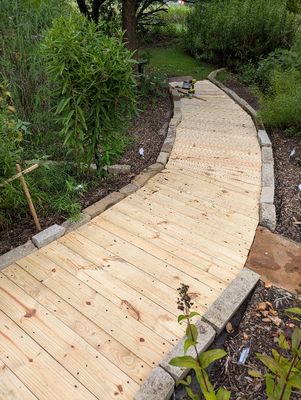
 20250701_194451b.jpg Progress |
 PXL_20250705_230540949.MP.jpg The bare earth area on the left was previously covered by the wider mulch path. After moving the border rocks closer together to make the path narrower, that area will now become more of the back fence flower bed.
|
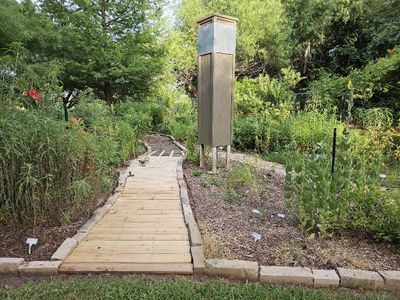
 PXL_20250705_230844897.MP.jpg The west end of the boardwalk |
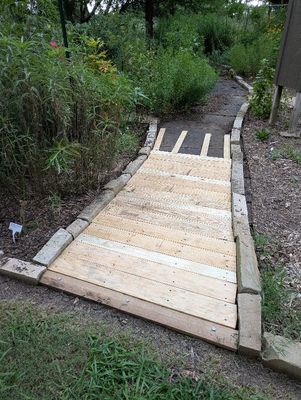
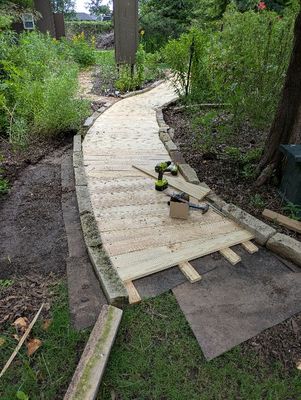
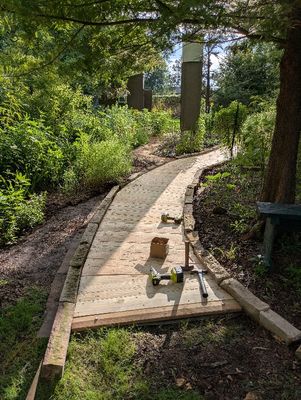
 PXL_20250705_230856055.MP.jpg The boardwalk extends around a couple of curves as it meanders between the 2 flower beds. I cut 2-3 triangle-shaped slats and placed them in the biggest curves to reduce the angles of the side cuts of the remaining slats. |
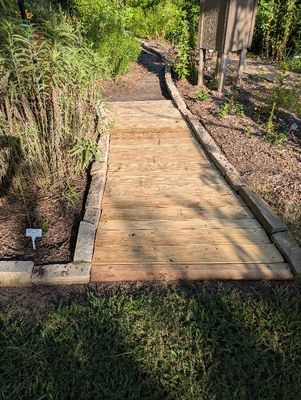
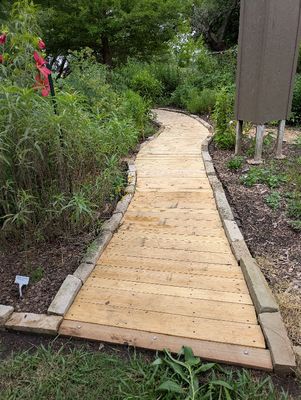 PXL_20250705_230902763.MP.jpg Looking east from the west end of the boardwalk |
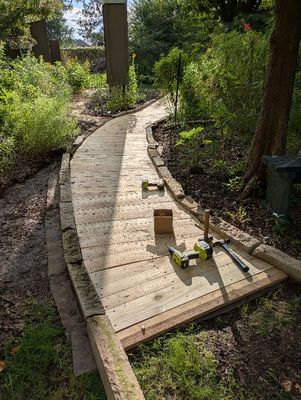
 PXL_20250705_230916146.MP.jpg The (east) end is in sight. |
 PXL_20250706_000334911.MP.jpg Looking W from the E end. I will move more flower bed border rocks on the left (out of sight in this photo) to expand the back fence bed as it extends to the gate in the SE corner of the yard and fence. |
 PXL_20250706_000343241.MP.jpg Last boards installed, the job site is ready for clean-up. |
| comment | share |