


|
|
|
|
|
|
| Steve Davis | profile | all galleries >> Projects >> Backyard Shed 2016-17 | tree view | thumbnails | slideshow |
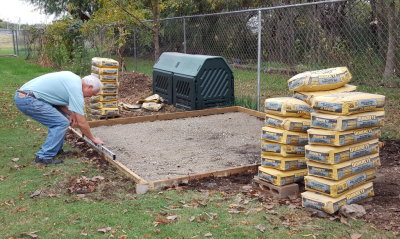 20161104_173400b.jpg Checking the level on the forms. |
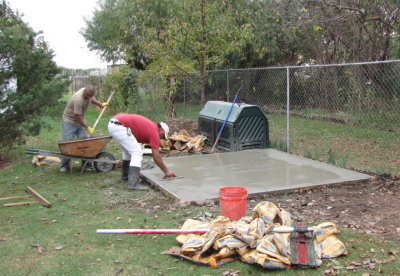
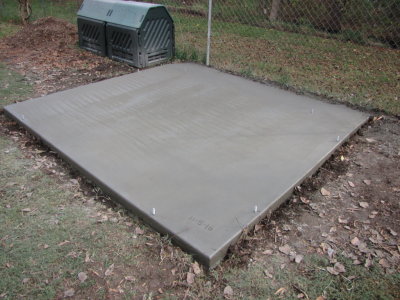
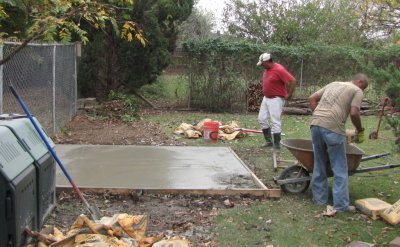 IMG_3860b.JPG Carlos and his cousin Juan putting the finishing touches on the pad for the south shed. |
 IMG_3862b.JPG |
 IMG_3863b.JPG |
 IMG_3864b.JPG |
 IMG_3865b.JPG |
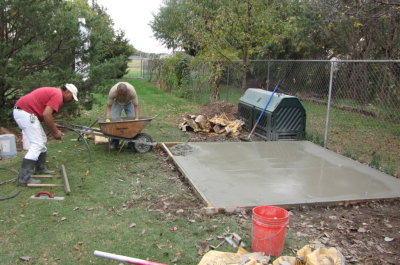
 IMG_3866b.JPG A look at the pad from under the locust tree. |
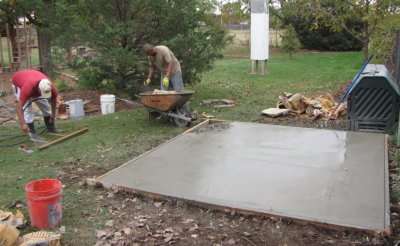
 IMG_3867b.JPG I asked Carlos to slope the back (south) edge of the pad toward the fence to help with water run-off and eliminate grass behind the shed. |
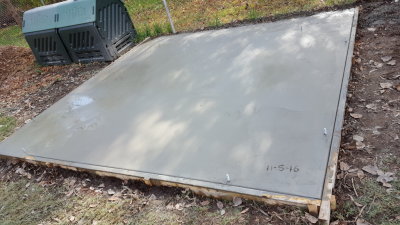 20161105_132526b.jpg Carlos suggested we write in the concrete or put in our hand prints, so we put the date, as we have on other projects. |
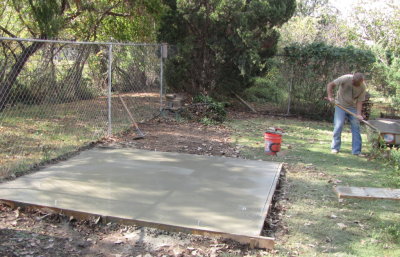
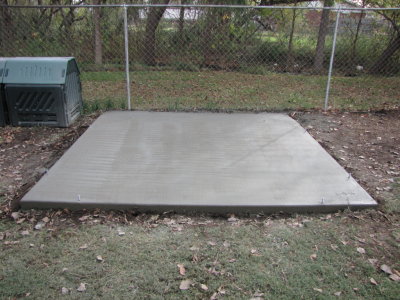
 IMG_3870b.JPG All finished but letting it dry enough to pull a broom over it. |
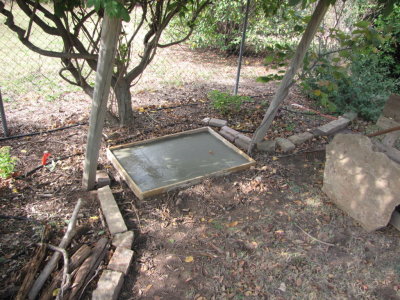 IMG_3868b.JPG They had a little concrete left, so I made a quick form for the bench that sits under the west wisteria vine. They also filled a form I had for making stepping stones. |
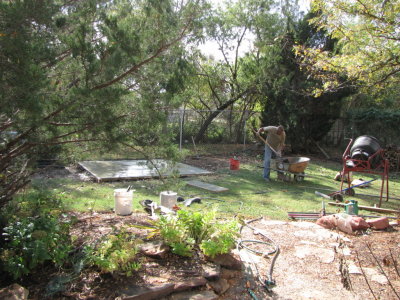
 IMG_3871b.JPG Yesterday and today the weather was slightly cool, just right for working in the yard. |
 IMG_3872b.JPG |
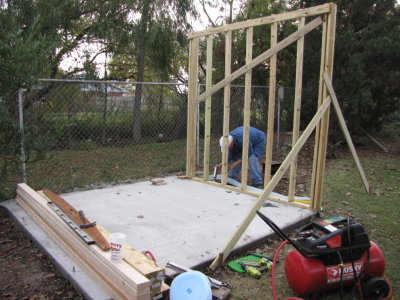
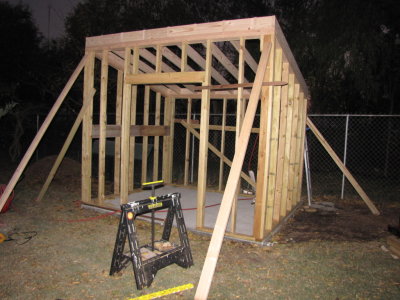
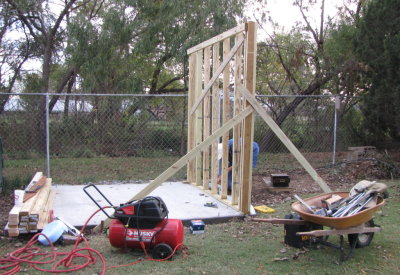 IMG_3874b.JPG After time for a little rain and curing, the pad was ready to build on. I put the plates and studs together, tilted them up and attached some 1x4 braces to hold the wall up while I put down the plate pad with some caulk and drilled holes for the anchor bolts. |
 IMG_3875b.JPG |
 IMG_3876b.JPG |
 IMG_3877b.JPG Had to get out 'the muscle' to move the wall into its final resting place. |
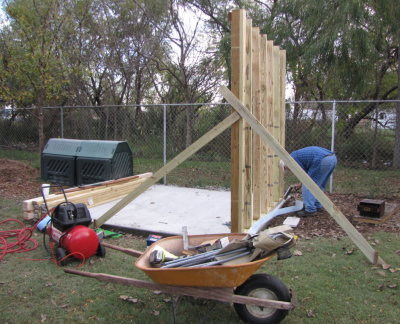
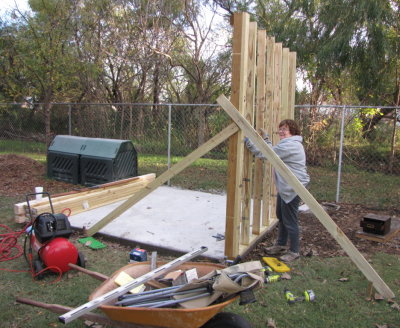
 IMG_3878b.JPG I got the back (south) wall in place without assistance--it's the shortest one--but needed Mary to help me again with the east wall. I attached some horizontal pieces with screws to hold the studs in place and give us something to lift them all at once. |
 IMG_3881b.JPG |
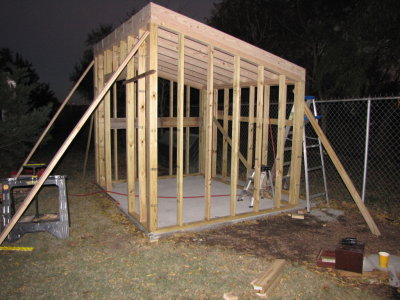
 IMG_3884b.JPG East wall up and tied into the west wall at the top with a temporary plate. |
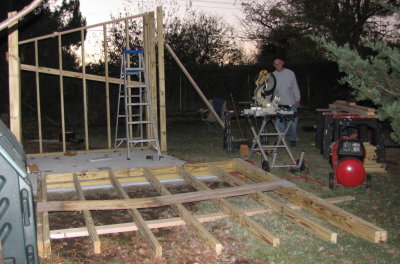
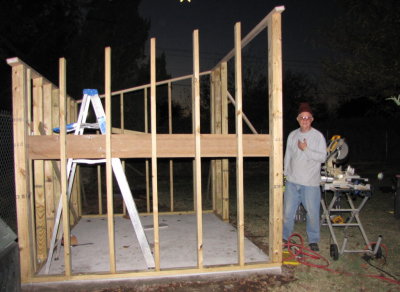
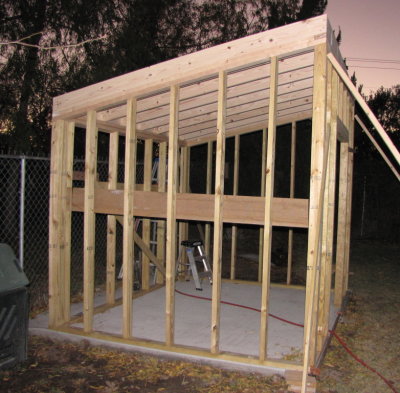
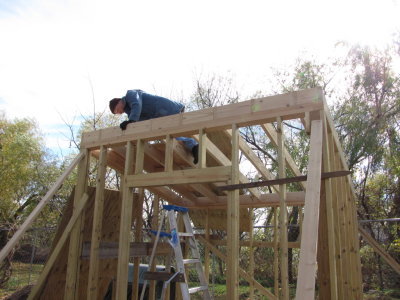
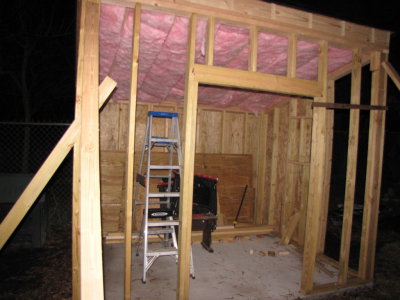
 IMG_6199b.JPG Working on getting all the top plates in place and the sections of the north wall on either side of the door opening. |
 IMG_3923b.JPG Door header up |
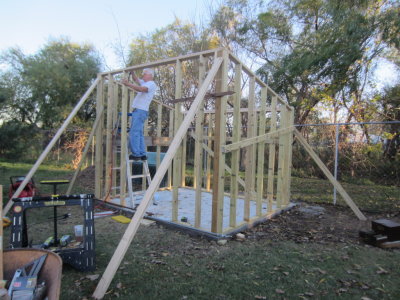
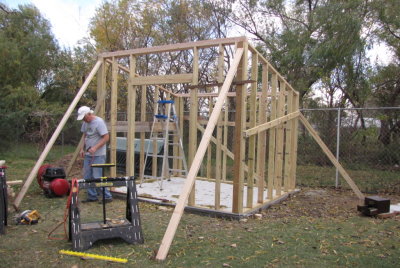
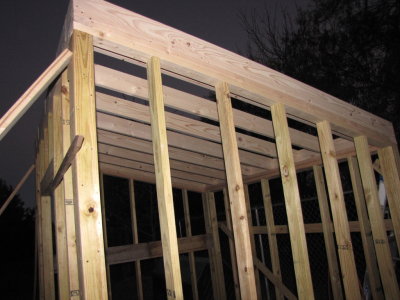
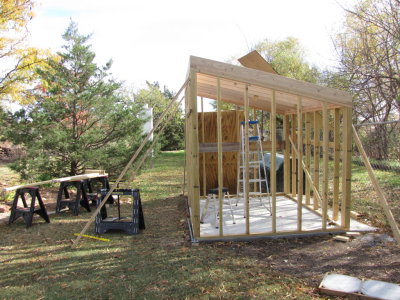
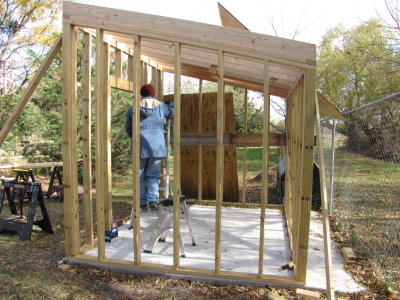
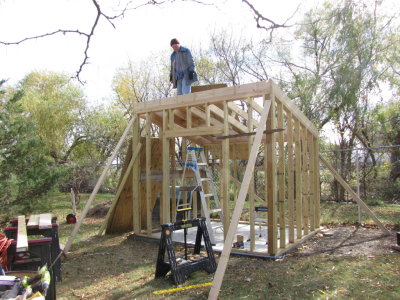
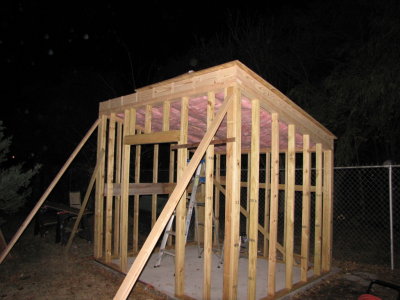
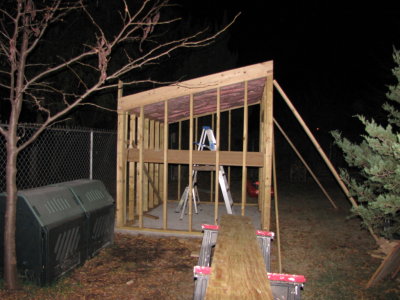
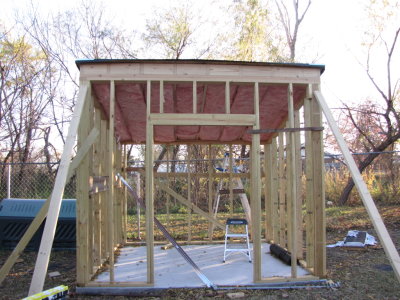
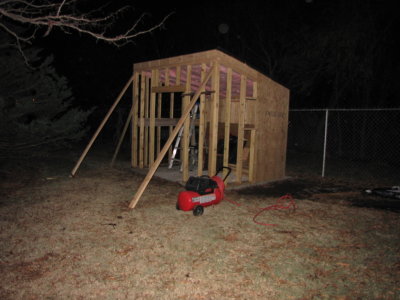
 IMG_3929b.JPG Rafters in place |
 IMG_3932b.JPG |
 IMG_3933b.JPG |
 IMG_3934b.JPG |
 IMG_3935b.JPG |
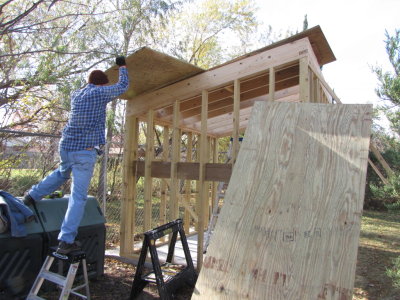
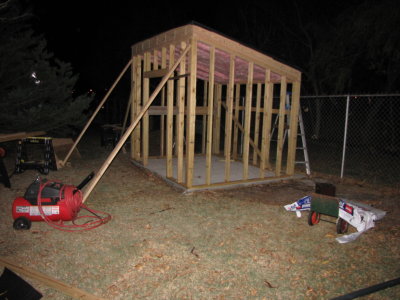
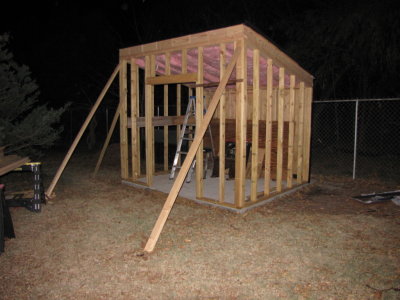
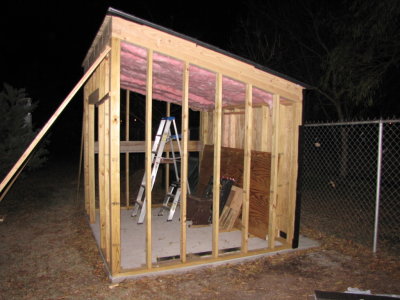
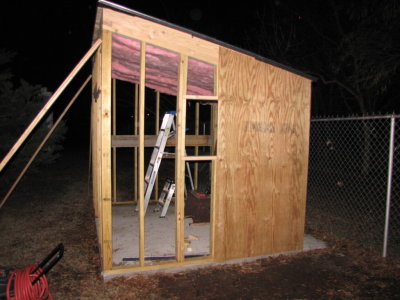
 IMG_3936b.JPG I decided to build the roof similar to the sunroom roof, but without eaves. |
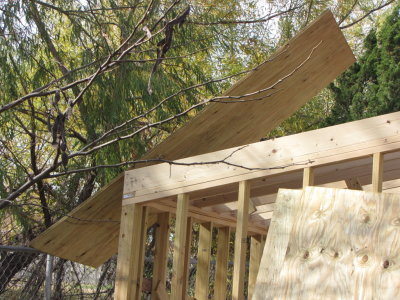
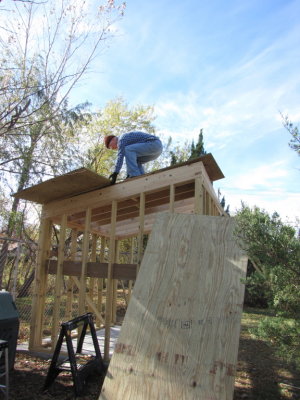
 IMG_4009p.JPG Last night, I managed to get the very heavy 3/4" (11/32) treated plywood from the pickup to the backyard using a two-wheel cart. Then I tried lifting and pushing a piece up onto the roof from the back (shortest) side. I managed to get my head out from between it and the top of the fence, but it got caught in the chain links and the horizontal fence section and I couldn't get enough leverage from below to get it free, so I left it sticking in the air over night. |
 IMG_4010p.JPG |
 IMG_4011p.JPG |
 IMG_4012p.JPG |
 IMG_4013p.JPG |
 IMG_4014p.JPG I didn't trust the rafters or myself balancing on them, so i put some braces between a couple of them and screwed down some smaller pieces of plywood on top of them to stand on. |
 IMG_4016p.JPG |
 IMG_4017p.JPG I managed to pull the stuck piece of plywood onto the roof by standing on my temporary platform. |
 IMG_4019p.JPG |
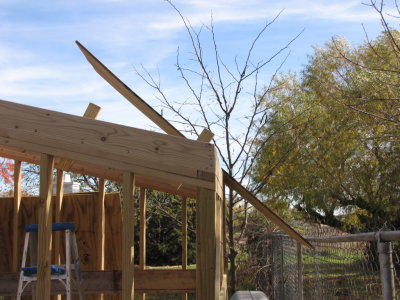
 IMG_4043p.JPG I had given up on trying to get the boards up to the roof from the back and was trying to push them up from the side without success. |
 IMG_4045p.JPG |
 IMG_4046p.JPG Mary suggested moving the boards a step at a time, so I got out a bench and sawhorse. |
 IMG_4047p.JPG And, of course, she was right |
 IMG_4051p.JPG |
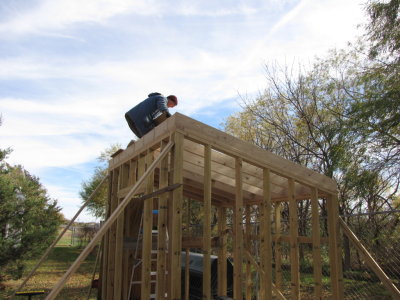
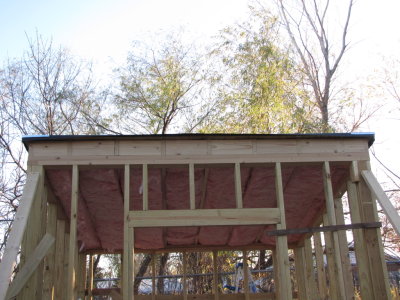
 IMG_4061p.JPG Once I got two pieces of plywood on the rafters, I moved them around and removed my temporary platform. I laid out the shed to use standard widths of plywood on the walls, but since the roof is angled and will have 2" edges to cover the siding and trim, the 4'x8' boards were not long enough and I had to add a 7" strip along the bottom before attaching the 4'x8' boards. I stapled in the insulation from the top, so it would hang down and fill the space between rafters. Then, I got the bottom strip and two full sheets of plywood up before it got too dark to see what I was doing. |
 IMG_4062p.JPG |
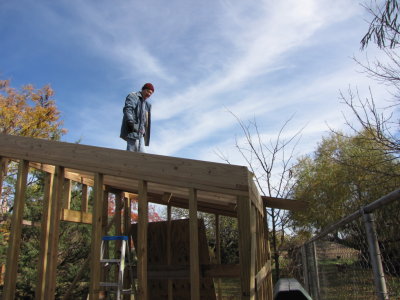
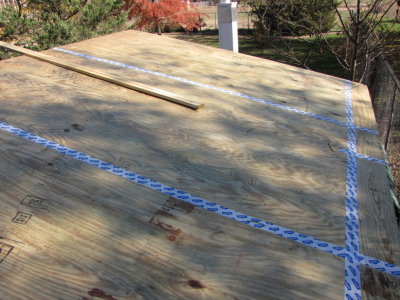 IMG_4063p.JPG I ripped the final piece of plywood to width and nailed it in place. Then I used some of the house wrap tape left from the sunroom to cover all the seams. |
 IMG_4065p.JPG |
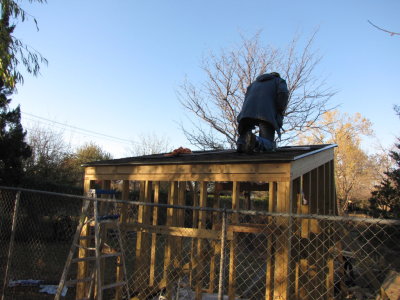
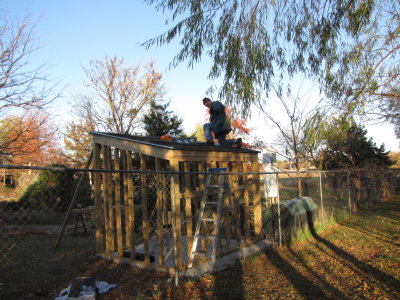
 IMG_4066p.JPG I put tar paper over the whole roof with 6" overlap and put metal trim on three sides--I wanted to put the top (north) trim over the shingles and then decided to get bigger pieces of trim too. Then I started putting down shingles. |
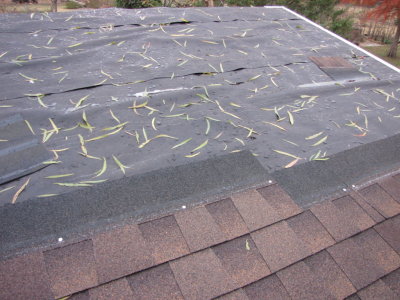 IMG_4067p.JPG The next day I had to remove rain water and willow leaves before I could apply any more shingles. |
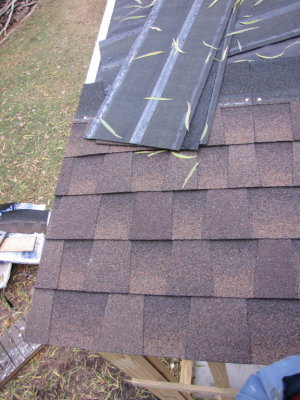
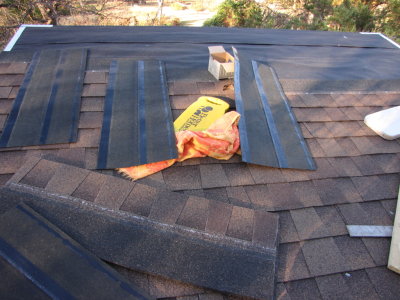
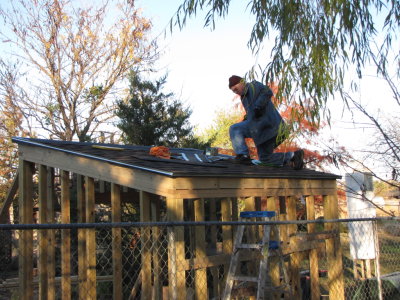
 IMG_4069p.JPG I bought 3 packets (one square) of shingles and estimated the roof area to be a little less than what that would cover. |
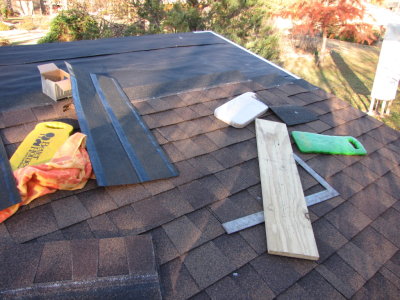 IMG_4070p.JPG I used the old towel to wipe off water and leaves, and the board and framing square to cut the shingles. Because it was cool, the plastic strips covering the adhesive on the back came off easier than in my past experience, and I pulled off all to help keep the shingles in place in the wind. |
 IMG_4072p.JPG |
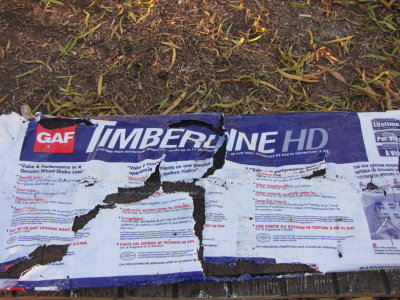 IMG_4074p.JPG Mary recorded the type of shingles we bought, which we finally got at Home Depot. She picked the color, barkwood, which is different from what we have on the house, barnwood. |
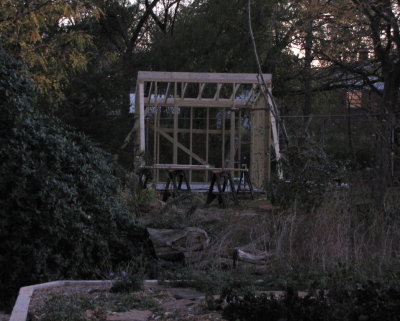
 IMG_4075p.JPG Mary took a few pictures from behind the fence. |
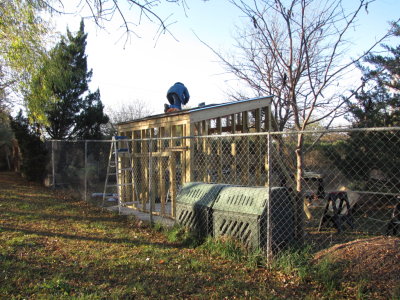
 IMG_4077p.JPG As I suspected, no one is ever going to see these shingles. |
 IMG_4078p.JPG |
 IMG_4079p.JPG |
 IMG_4080p.JPG |
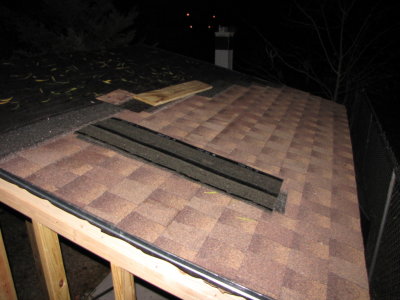
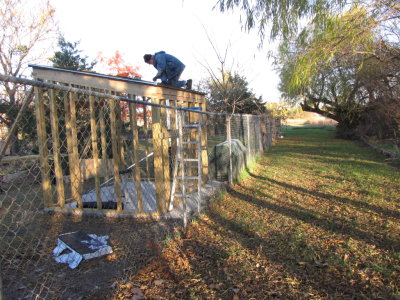
 IMG_4087p.JPG Shingles all on; just need the trip across the front |
 IMG_4088p.JPG |
 IMG_4090b.JPG I put on the wider trim on top of the shingles on the top edge, then worked on the back wall. |
 IMG_4091b.JPG To keep water off the bottom edge of the plywood, I put a strip of tar paper along the bottom of the wall, put the plywood in place and then pulled the tar paper up on plywood and tacked it with staples. |
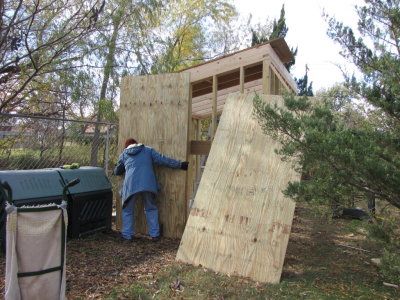
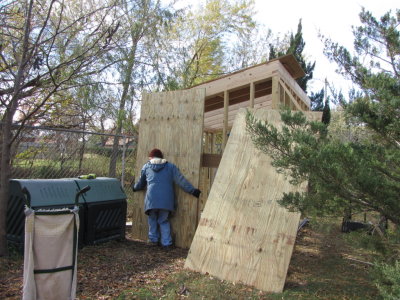
 IMG_4092b.JPG I cut off the sheets of plywood to fit under the roof on the back (south) wall and installed 2-1/2 pieces to cover it. Then I stapled on tar paper with 6" overlap to keep out water. |
 IMG_4094b.JPG I managed to get the first sheet on the west wall before dark. |
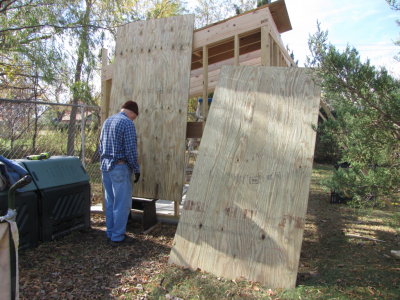
 IMG_4095b.JPG We agreed to put windows in the east, west and south walls and I framed in the space for windows on the south and west walls before putting up the plywood. |
 IMG_4096b.JPG |
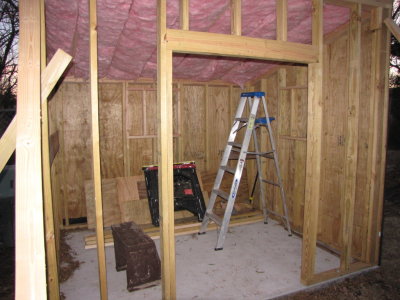
 IMG_4097b.JPG Looking inside from the east. |
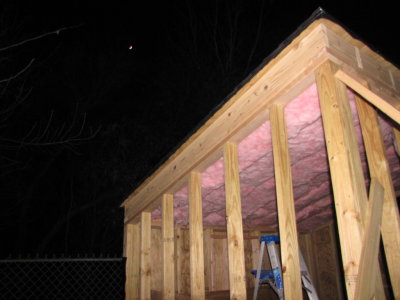 IMG_4098b.JPG The moon was up by the time I was getting photos--getting close to the shortest day. |
 IMG_4137b.JPG Got the second section of the west wall on this afternoon (two pieces of plywood) and used the last of the tar paper to cover most of it. The temperatures have been very low for several days, so it was a few days before I got back to work. |
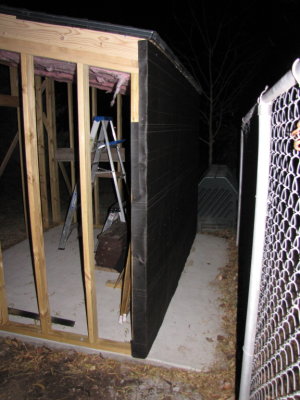
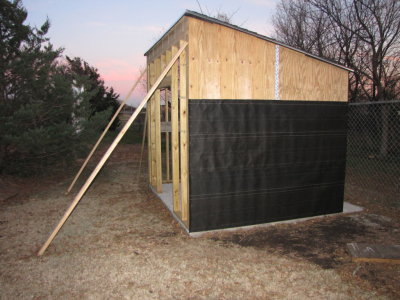
 IMG_4138b.JPG Now the shed is shielded from the south and west. |
| comment | share |