


|
|
|
|
|
|
| Steve Davis | profile | all galleries >> Projects >> Backyard Shaded Bench, Dec 2024-25 | tree view | thumbnails | slideshow |
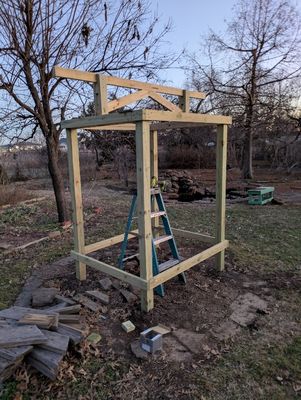
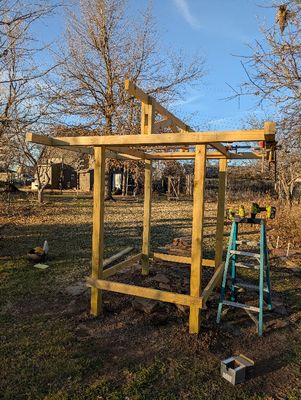
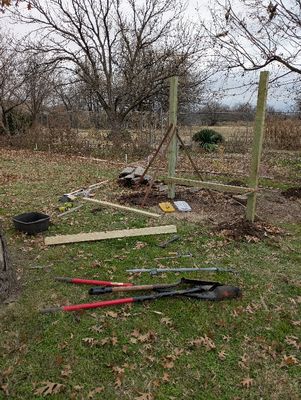 PXL_20241223_210910032.MP.jpg I bought treated lumber, including 4-4"x4"x8' posts and 2"x4"x8' and 2"x4"x10' boards, to start the project. I dug 4 holes with shovel and posthole digger in a 4'x5' rectangle where the old bench had been, moving some of the flagstones I had put around the locust tree that had been there. I mis-measured and had to fill in and re-dig one hole and widen a couple of others to get a square layout for the posts. I started with the 2 along the W edge, using scrap wood for braces to ensure the posts were plumb and clamps to hold the horizontal piece in place while attaching it to the posts. I used a level to ensure the posts were plumb and the horizontal piece was level between the 2 posts, rather than measuring up from the sloping ground. |
 PXL_20241223_210921681.MP.jpg I put one screw in the horizontal piece to attach it to the left post at the height I want the bench, minus the thickness of the bench seat, then leveled the horizontal piece and clamped it to the right post to screw into place using 2.5" deck screws. |
 PXL_20241223_210940981.MP.jpg |
 PXL_20241223_213333404.MP.jpg |
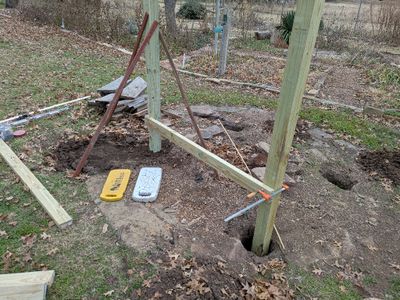
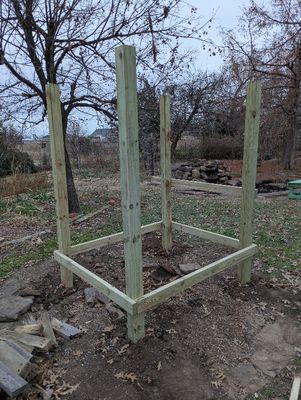
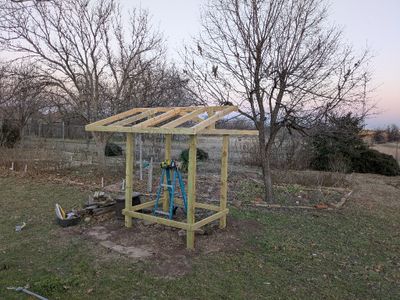
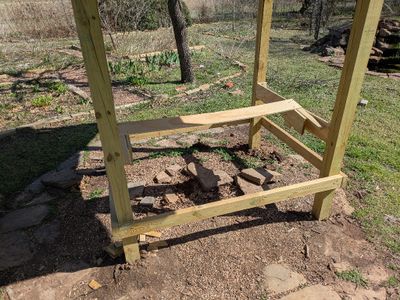
 PXL_20241223_225540510.MP.jpg I used a spare horizontal piece to hold the third post plumb, then attached the lower 4' horizontal piece the same way I did the 5' piece between the first 2 posts. Then I attached a brace to the fourth |
 PXL_20241223_225554184.MP.jpg Before filling in the dirt around the post in the last hole |
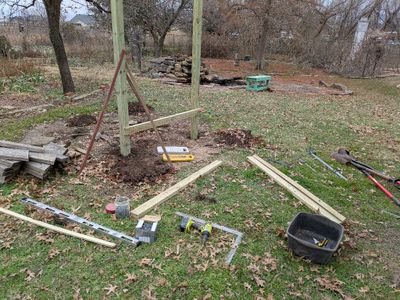
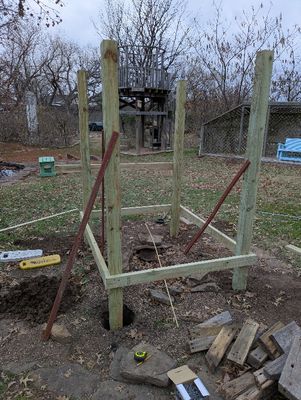
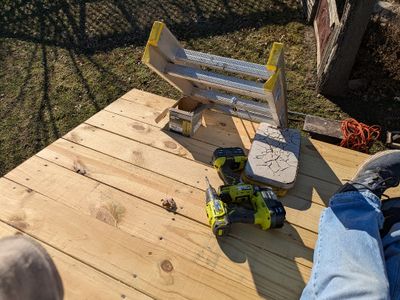
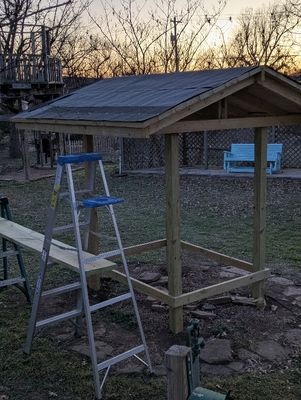
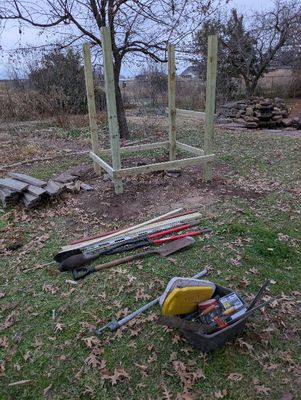 PXL_20241223_230943941.MP.jpg First stage complete and tools ready to take in |
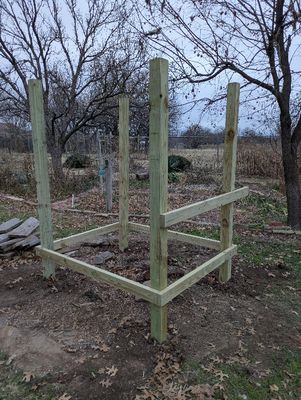
 PXL_20241223_230950565.MP.jpg I left the extra brace on until next time. |
 PXL_20241223_231001681.MP.jpg |
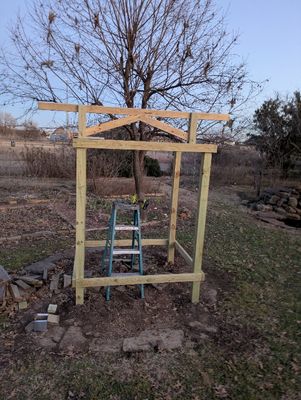
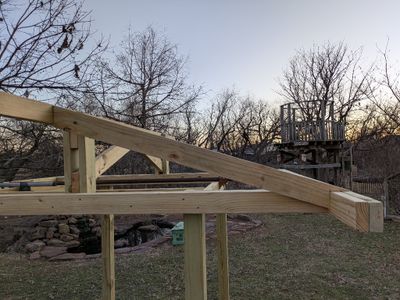
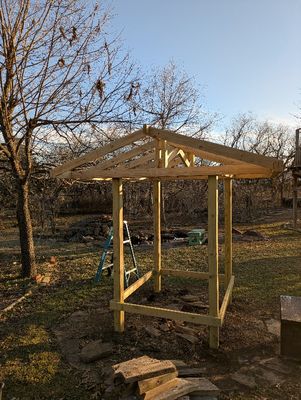
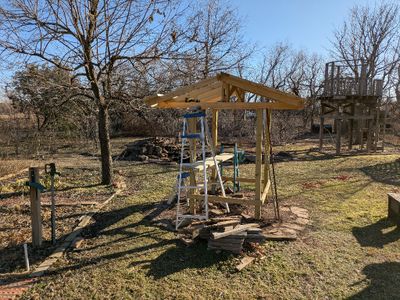
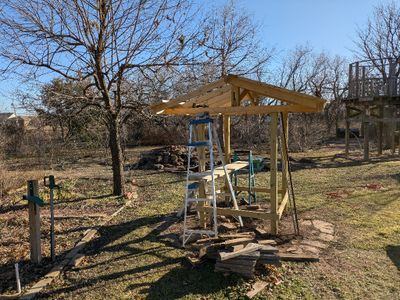
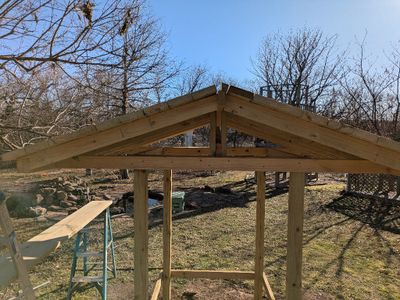
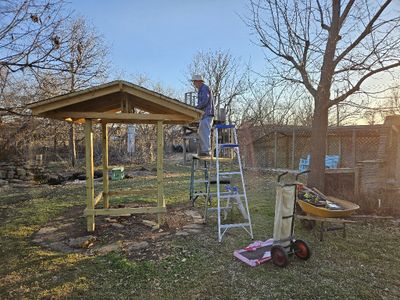
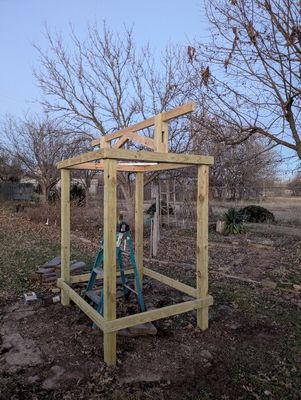 PXL_20250116_235959273.MP.jpg After several days of inactivity because of the cold temperatures and snow, I started working on the roof ridge line. I had made some drawings of how to build the end supports but, otherwise, it was a 'design as I go' activity. The supports were not as stable as I'd hoped, so I installed the braces between them and the ridge, which seem to provide the stability I want. |
 PXL_20250117_000010968.MP.jpg |
 PXL_20250117_000028694.MP.jpg |
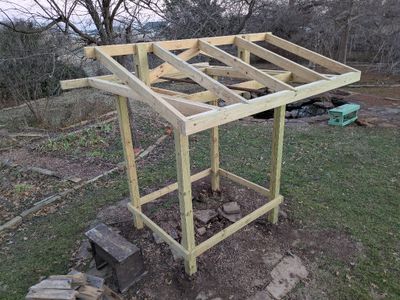
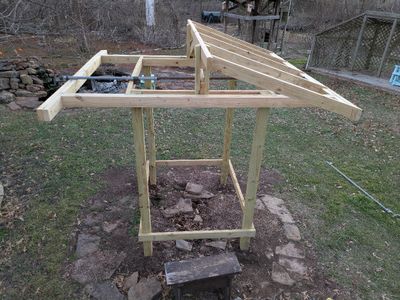
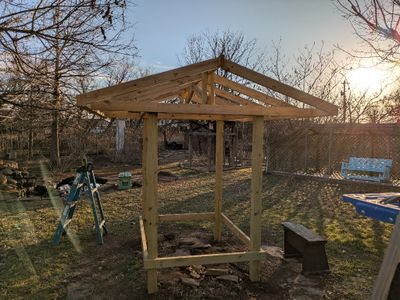
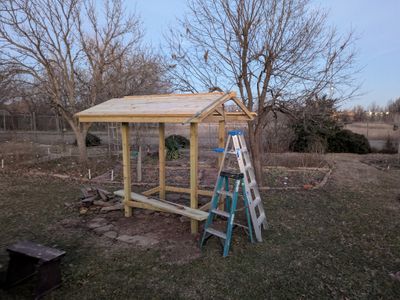
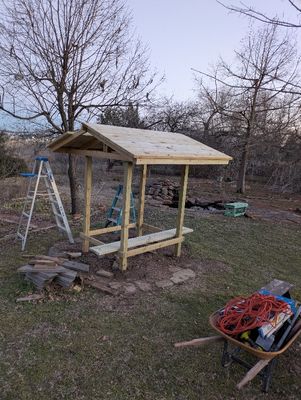
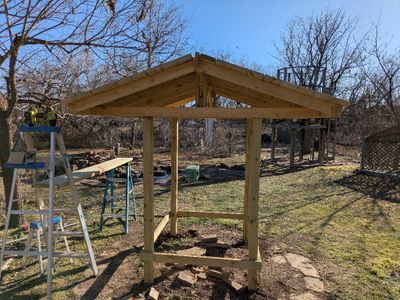
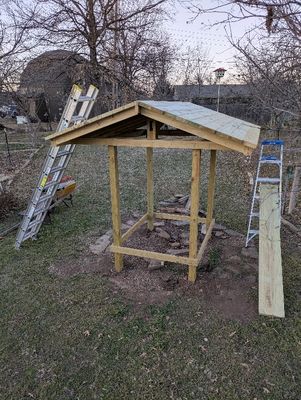
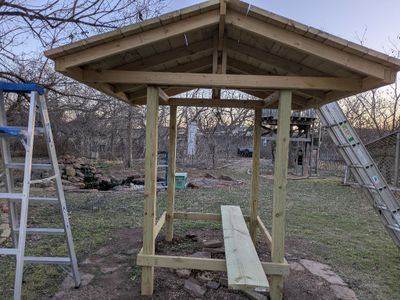
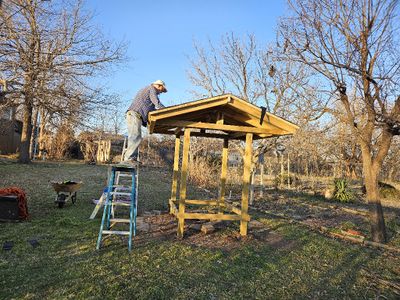
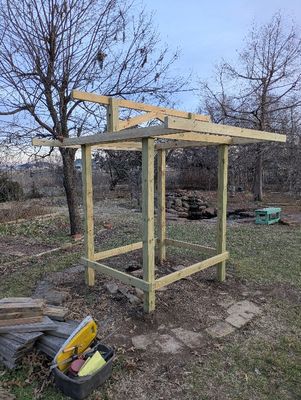 PXL_20250201_234931389.MP.jpg Finally got some weather warm enough to get back out and start constructing the perimeter of the roof structure. |
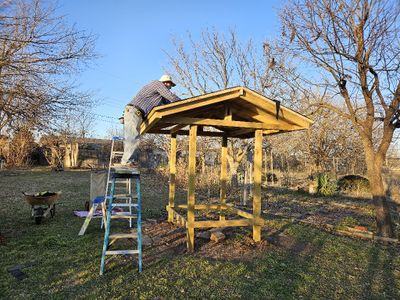
 PXL_20250201_234950760.MP.jpg Looking at the project from the SW corner |
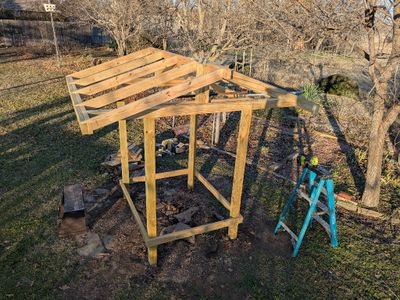
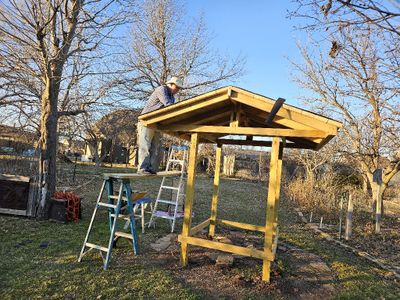
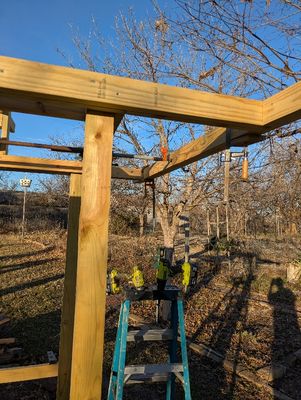 PXL_20250203_230553485.MP.jpg Another nice day (actually unseasonably hot) allowed me get some more work done. I wanted to double all the outer supports for the roof rafters and got that done today. |
 PXL_20250203_230600714.MP.jpg The outer support on the E side was very warped--bowed out--so I used a couple of Dad's old pipe clamps to pull it straight before attaching the second board to it. I'm leaving the clamps on till I get the rafters and decking attached, to ensure they stay in line. |
 PXL_20250203_230612411.MP.jpg I'm drilling holes for the screws to avoid splitting any of the 2"x4"s and using 2-1/2" deck screws to secure them. |
 PXL_20250203_235940470.MP.jpg After I got the side supports in place, I measured the hypotenuse of the roof triangle--from the roof ridge to the outer edge of the outer supports, cut an 18-degree angle at the top end using the miter saw and 72-degree cut by hand on the outer end, starting the cut free-hand on the table saw, then finishing with a jigsaw. |
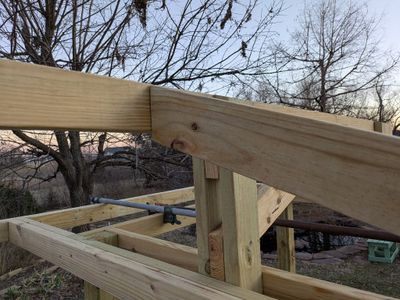 PXL_20250203_235944387.MP.jpg Top end, where the rafter meets the roof ridge |
 PXL_20250203_235957021.MP.jpg I'll use this piece as the template for the W side. I tested it on the E side and it's a little long, so I'll need to take off about 1/4" to fit that side. |
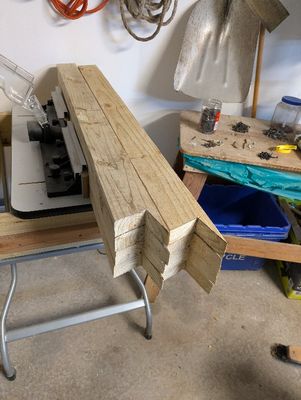 PXL_20250207_212215184.MPb.jpg I used my template rafter to cut out 7 more rafters before running out of the right-sized lumber. |
 PXL_20250209_000800509.MP.jpg Looking up and W from under the bench roof
|
 PXL_20250209_000819159.MP.jpg I attached each rafter at the outer edge with a single screw, then at the top with 2 screws through the back of the ridge board. |
 PXL_20250209_001031426.MP.jpg NW view |
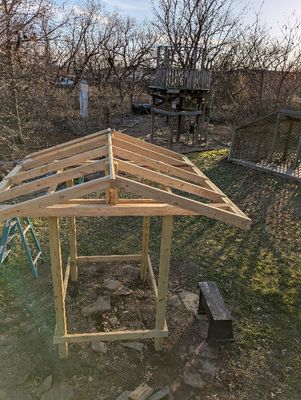
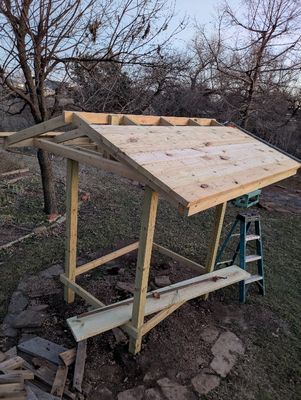
 PXL_20250209_001104832.MP.jpg Looking down on the roof from the N |
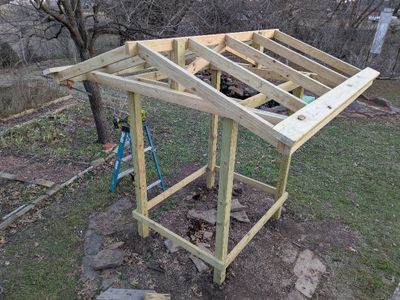
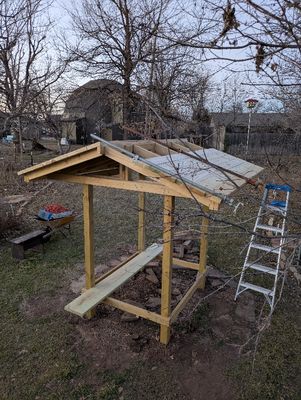
 PXL_20250209_231112854.MP.jpg The next day I was able to install all the E side rafters. |
 PXL_20250209_231150809.MP.jpg |
 PXL_20250209_231228580.MP.jpg |
 PXL_20250209_231255108.MP.jpg |
 PXL_20250210_000833007.MP.jpg Then I cut a couple of 8'x2"x6" boards to exactly 96" and put together 2 stop blocks made by screwing a piece of 1"x4" onto a 2"x4" block. The latter I clamped onto each end of my 'plate' to act as spacers to hold each 2"x6" board in place with about a 1" lap over the bottom edge of the roof to provide a drip line. I measured down from the top of the ridge board, adjusted the 2"x6" alignment a bit, to ensure it was parallel to the ridge line, and screwed each into place. |
 PXL_20250225_003928232.MP.jpg |
 PXL_20250225_004007759.MP.jpg |
 PXL_20250225_223001856.MP.jpg |
 PXL_20250225_223011907.MP.jpg |
 PXL_20250225_223014679.MP.jpg |
 PXL_20250226_003431242.MP.jpg |
 PXL_20250226_003511330.MP.jpg |
 PXL_20250226_003549426.MP.jpg |
 PXL_20250227_221519383.MP.jpg |
 PXL_20250227_221525352.MP.jpg |
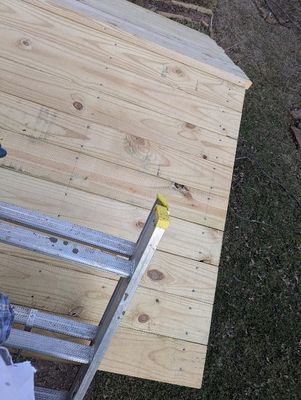
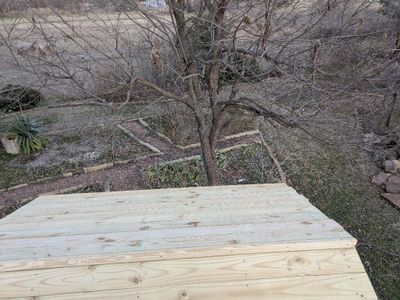
 PXL_20250227_222618061.MP.jpg The view from up top |
 PXL_20250227_222623258.MP.jpg I had climb onto the roof to put the last couple of rows of decking in place. |
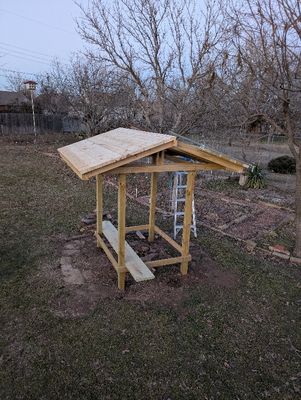
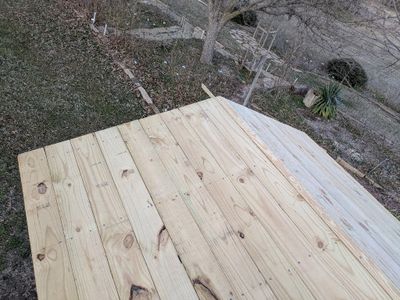
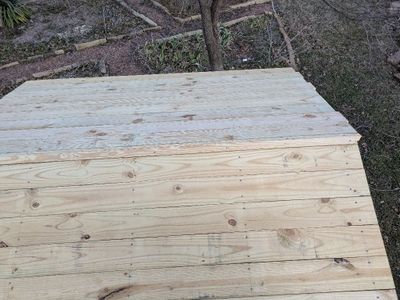
 PXL_20250228_001954247.MP.jpg Decking on both sides finally completed |
 PXL_20250228_002114364.MP.jpg The end view |
 PXL_20250228_002409209.MP.jpg |
 PXL_20250228_002416522.MP.jpg |
 PXL_20250228_002423864.MP.jpg With the end edges cut off to match each other |
 PXL_20250228_002439433.MP.jpg |
 20250301_175034.jpg Mary caught me putting on shingles. |
 20250301_175038.jpg |
 20250301_175044.jpg |
 20250301_175104.jpg |
 20250301_175108.jpg |
 20250301_175115.jpg |
 PXL_20250302_004055098.MP.jpg West side shingles applied, I put a few bricks on the cold shingles to hold them down till the sun was able to get the adhesive to hold. |
 PXL_20250302_004111449.PORTRAIT.ORIGINAL.jpg I had just enough shingles to get started on the E side at the end of the day. |
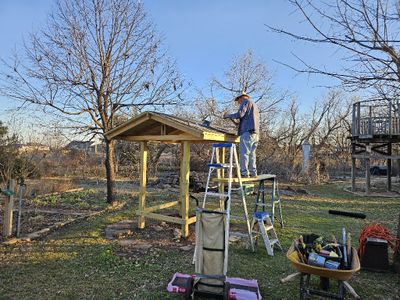
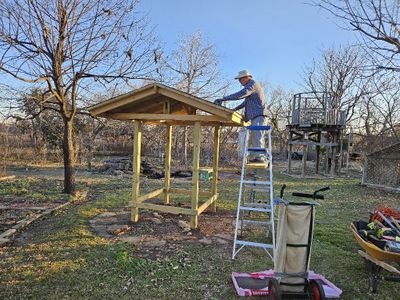
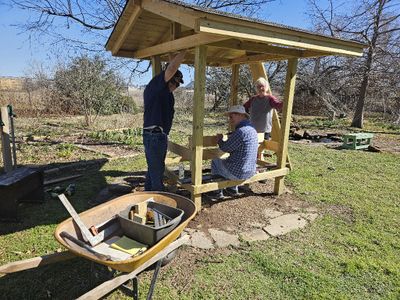 20250310_160841.jpg Gerald and Vicki came over while I was contemplating the moveable tabletop. |
 20250310_160858.jpg I was again using a mock-up tabletop/back to try to determine where to put hinges. |
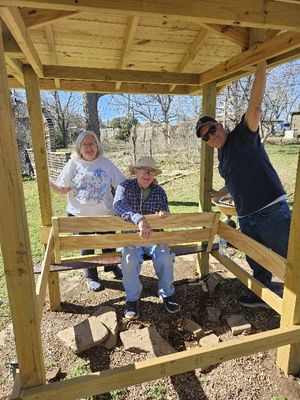
 20250310_160934.jpg Mary, Steve, Gerald |
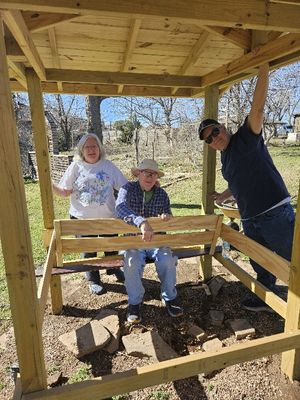 20250310_160935(0).jpg No progress being made |
 20250310_160935.jpg |
 PXL_20250311_204054831.MP.jpg I remembered--a little late--that I wanted to put flagstones beneath the table; I'll have to undo a few steps to get access. |
| comment | share |