


|
|
|
|
|
|
| shinjohn | profile | all galleries >> '01 Odyssey Mods (Audio), Pics, and Meets >> SWI-3 Upgrade and Customization | tree view | thumbnails | slideshow |
| previous page | pages 1 2 3 ALL | next page |
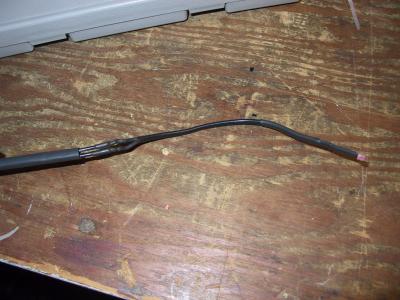 the provided 4' length for the IR emitter wasn't enough; I added about 8'-10' extra length... wrapped it up nice and tight! |
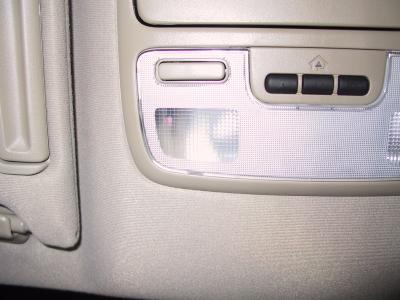
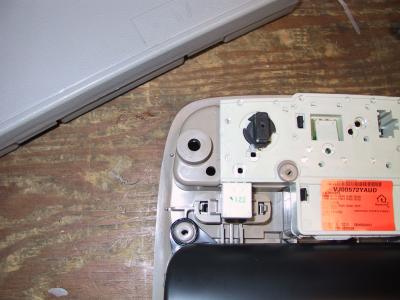 drilled a hole in my map light, happens to line up with one of the ejector pin tool marks from the cavity side of the mold |
 other side..... |
 wire ties are so versatile, aren't they? |
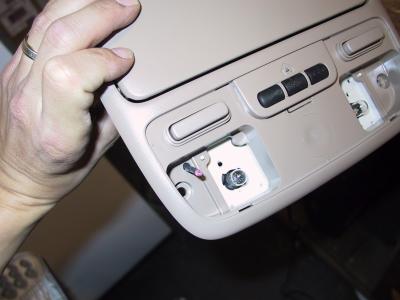 that's it for mounting it |
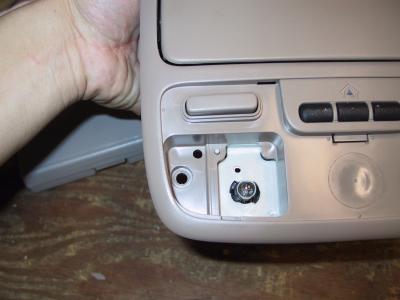
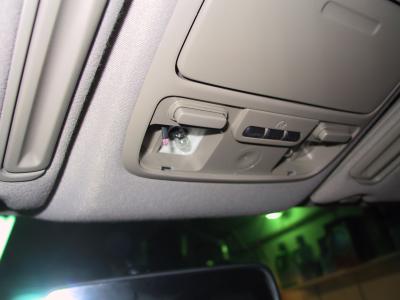 map light reinstalled |
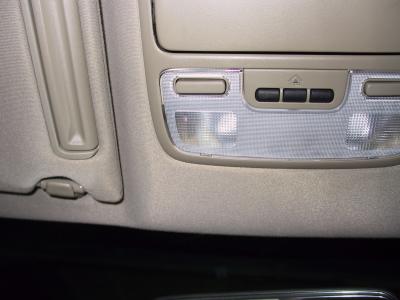
 another angle |
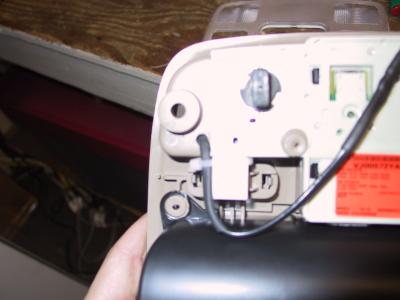
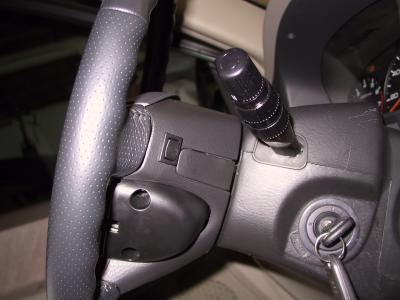
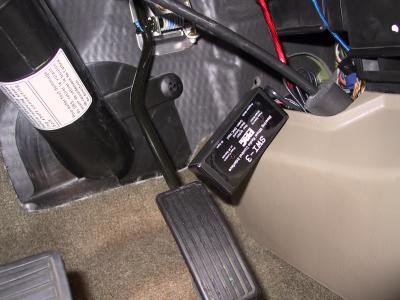 PAC SWI-3 easily in reach for reprogramming. |
 IR emitter works just great THROUGH map light lens |
 another angle |
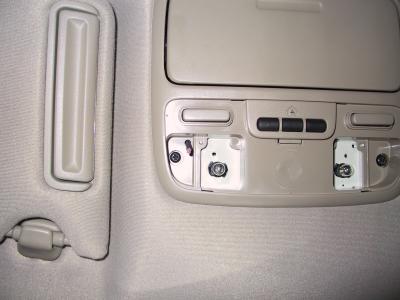
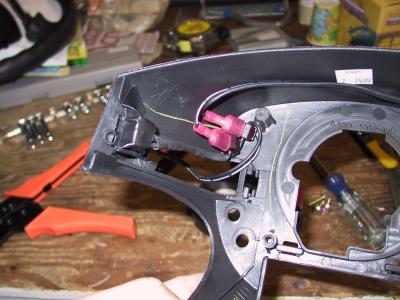
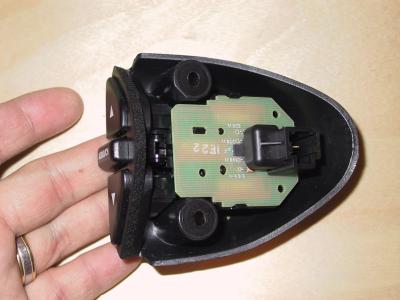 Was curious what OEM buttons PCB looked like... |
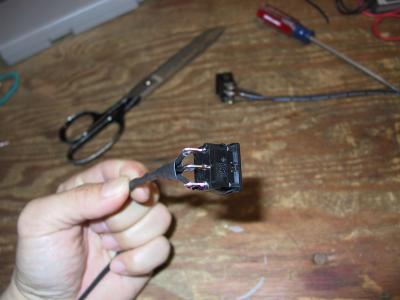
 There's your resistor network |
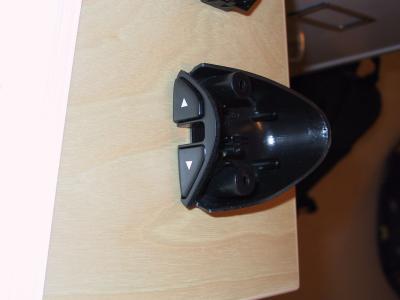
 Buttons |
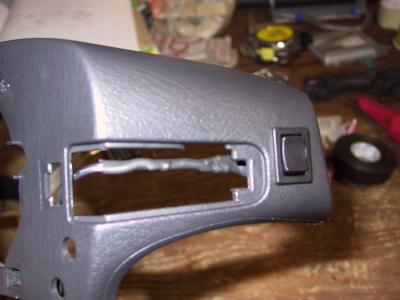
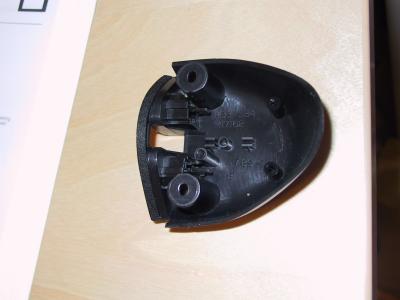 Housing |
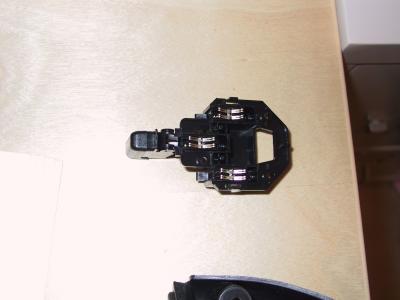
 other side |
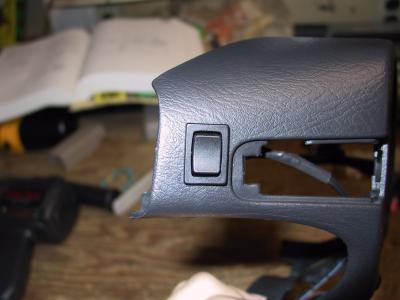
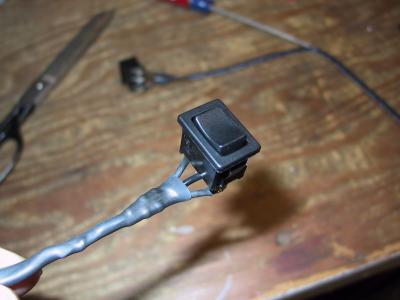 momentary contact rocker switch I used for my mod |
 all soldered and wrapped up tight |
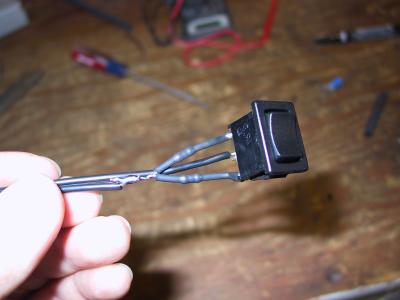 resistors showing under heat shrink tubing |
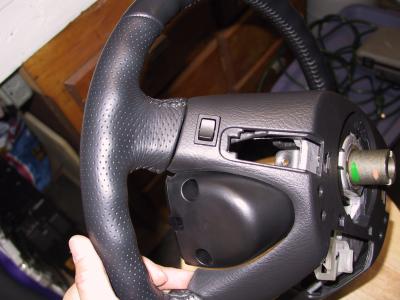
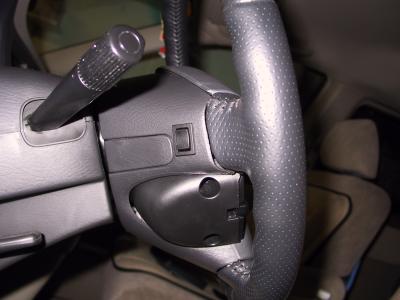
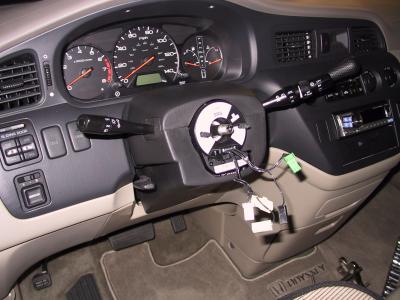 had to pop the wheel off... AGAIN! |
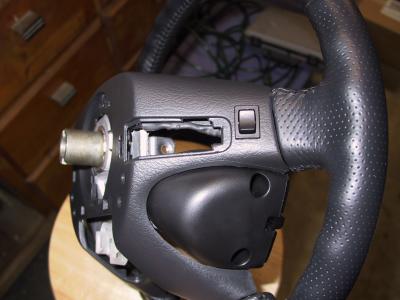
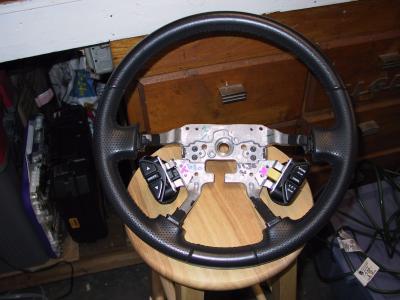 My TL-S wheel |
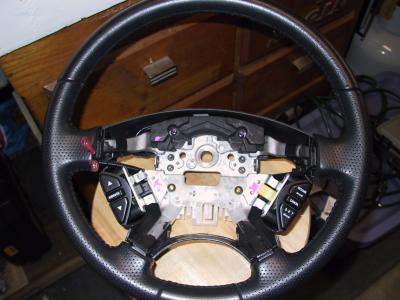
 Mounted the switches on plastic housing |
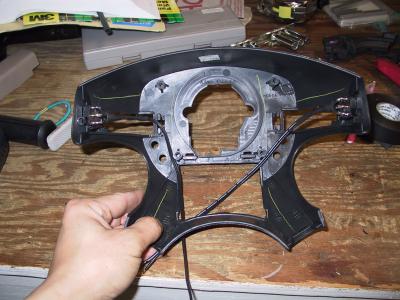
 right side housing |
 left side housing |
 wired together in parallel - note use of T-taps to make everything easy to service/disassemble/troubleshoot |
 mounted back on wheel, left side |
 mounted back on wheel, right side |
 loose wires |
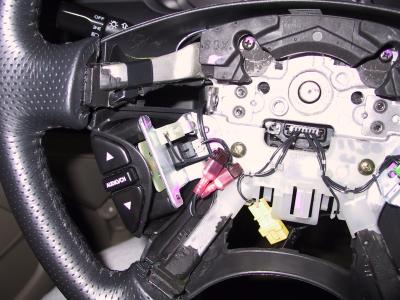 tapped into main SW line, again with T-taps |
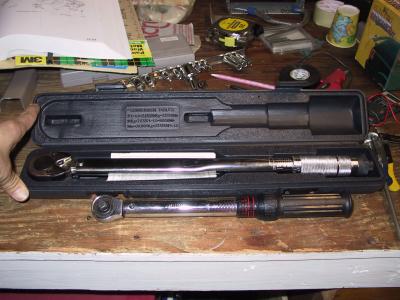 If you're doing this kind of work, you need two different torque wrenches, high range (for wheel nut) and low for air bag screws |
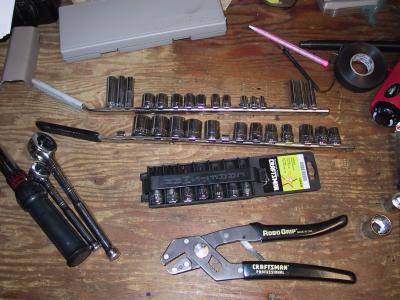 Of course I have sockets and I love my Robogrips |
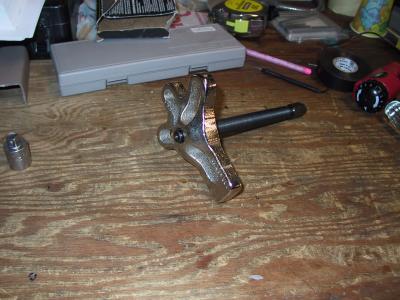 My steering wheel puller |
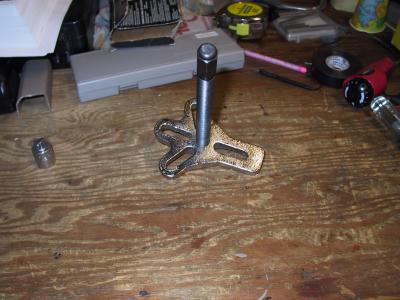 other side |
 all back and tidy, working just fine, left side |
 right side as well, woohoo!! |
| previous page | pages 1 2 3 ALL | next page |
| comment | share |