


|
|
|
|
|
|
| shinjohn | profile | all galleries >> My buddy Steve's '05 STI >> Subwoofer Fabrication | tree view | thumbnails | slideshow |
| previous page | pages 1 2 3 ALL | next page |
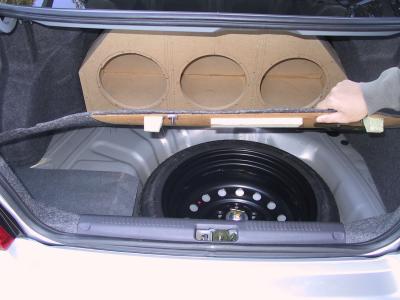
 Cardboard templates used to size up the enclosure |
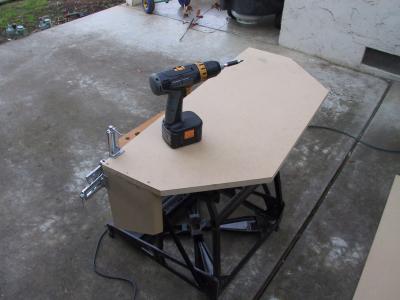 Start of the enclosure build. |
 Corner clamps used to line pieces up. |
 Steve driving the first screws. |
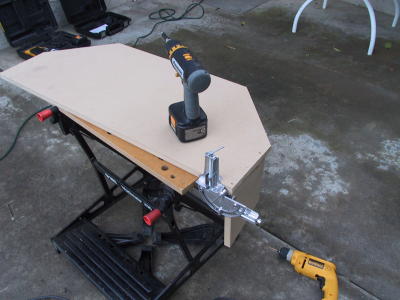
 Bottom and sides attached. |
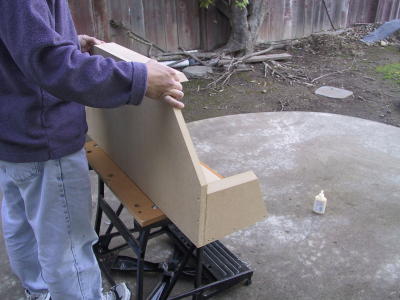
 Visualizing the finished size. |
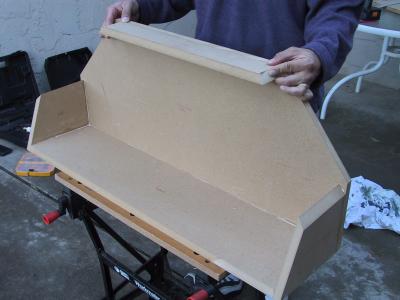
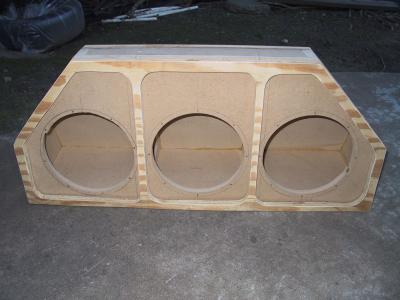
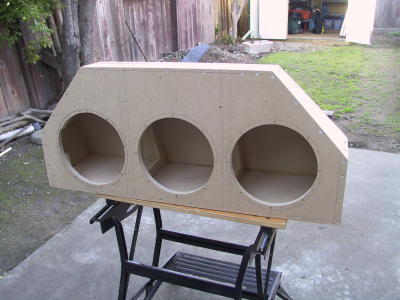 Enclosure is for (3) Arc Audio 10D4s. |
 Note the angles that required compound miter cuts, internal bracing. Jagged hole result of Rotozip. (I need a router! :D) |
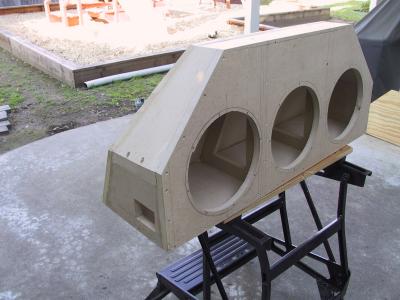
 This side faces the back seat of the car. |
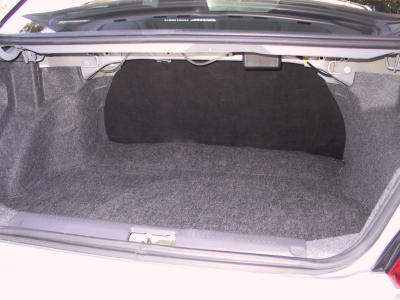 Empty trunk, ready for test fit. |
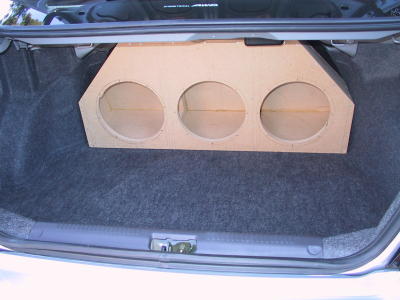 First try: fits like a glove. |
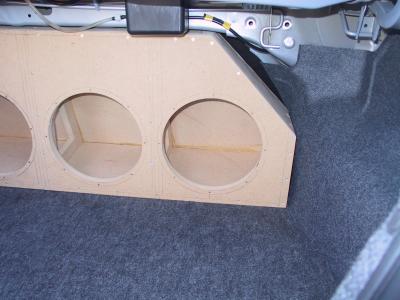 Pretty tight, though a tiny bit of volume is unutilized. |
 Other side is similar. |
 Note that the spare tire is accessible WITHOUT removing the enclosure; very important! |
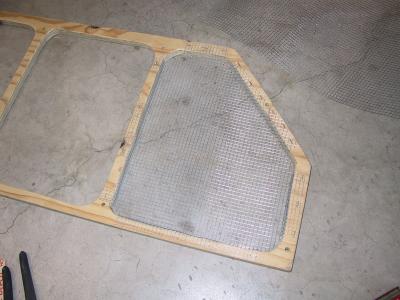
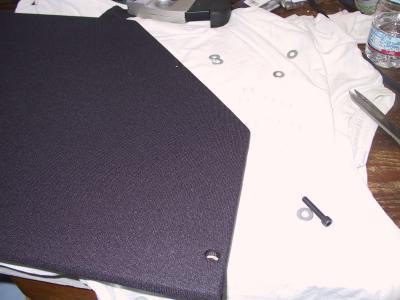
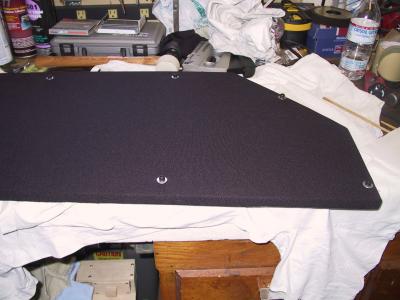
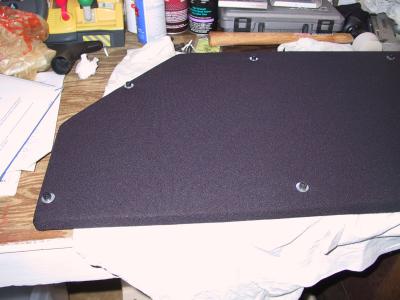
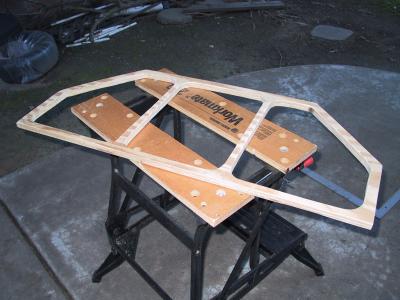 Plywood frame to be used for a speaker grill. |
 Fit to the enclosure, looks good. Steel mesh will be added to provide more protection to the drivers. |
 Total internal enclosure volume is ~1.5 ft^3. |
 A little grey carpet. |
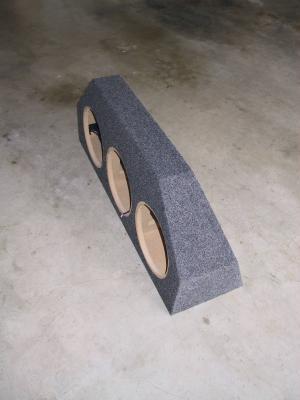 Another angle. |
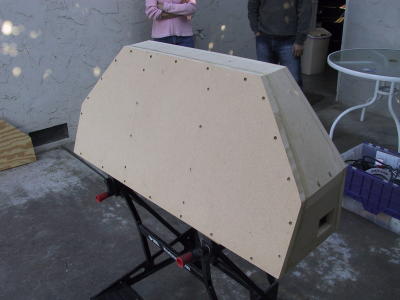
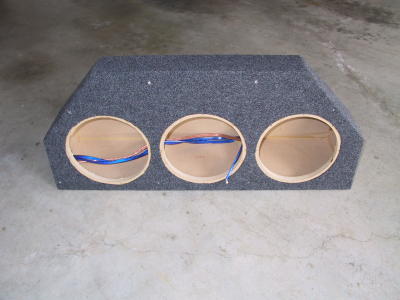 Rear face. |
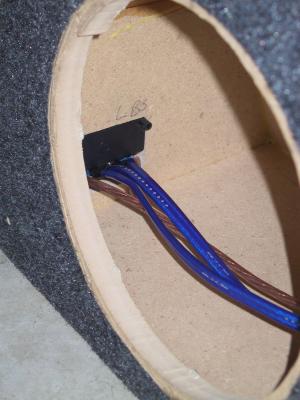 Terminal cup detail. Poorly cut driver hole works OK. (oops!) |
 Threaded insert for the grill. |
 Terminal cup outside. |
 Drivers installed. |
 First piece of formed wire mesh installed to the grill frame. Mesh installed from the inside. |
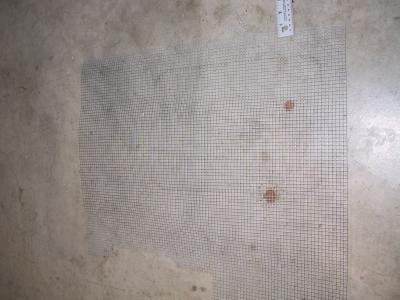 Used 1/4" square screen. Note the pattern drawn on the mesh, using the frame as a template |
 Center piece of grill taking shape. |
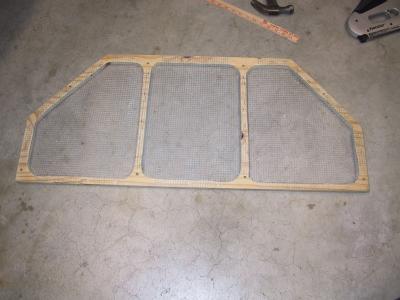 Done with the mesh. You can see the details of attachment here. |
 Grill fit back on. There should be plenty of space for driver excursion. Now for some grill cloth for the stealth look! |
 A little grill cloth stretched over it.... |
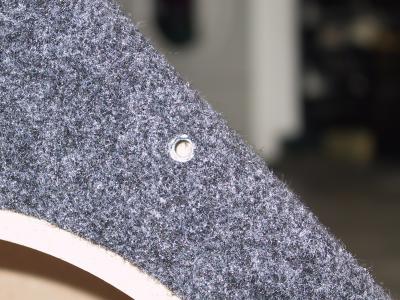
 I'm countersinking the screws, so I wanted to dress around the holes with ferules (white plastic hard to see on the cloth) |
 I used epoxy to bond the ferule to the inside of the countersink. Then used washers and screws to clamp it to dry. |
 Actually, with the screw heads sticking out, it doesn't look bad.. but this is not how it was intended to be... |
 Finally finished and installed on the box. The white plastic adds some contrast... |
 Debating on coloring the ferules black, or changing the screws to stainless to match the "STI" theme... |
 Another angle... |
| previous page | pages 1 2 3 ALL | next page |
| comment | share |