


|
|
|
|
|
|
| shinjohn | profile | all galleries >> '01 Odyssey Mods (Audio), Pics, and Meets >> Stage 3 of Ody AV Installation: Drop Down and DVD Player | tree view | thumbnails | slideshow |
| previous page | pages 1 2 3 ALL | next page |
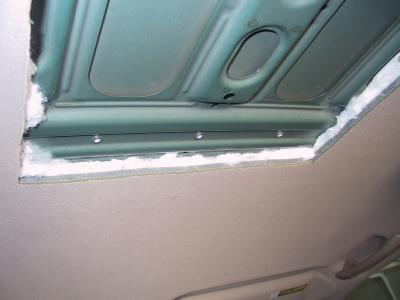 Cut headliner exposing crossbeams. Note I've used factory holes for #10 rivet nut inserts. |
 Close up of the insert; instead of tapping into the sheet metal, I used these rivet nuts, which create a strong threaded attach |
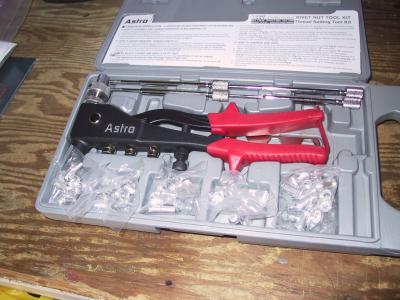 The tool: Astro Rivet Nut Kit |
 Close up of the tool and some practice samples. |
 Here's a first practice/adjustment sample; the washer (sheet metal) is trapped by the barrel as it deforms to create a flange. |
 A closer look at practice samples. The first one had the clamping depth way too shallow. |
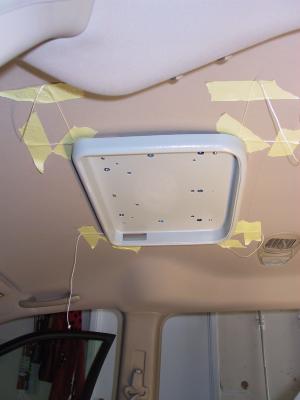 I used strings and tape for alignment and precise cutout for the bezel in order to get this as flush as possible. |
 I trimmed the bezel's lip down ~0.5", sanded, primed, and painted it to match the interior trim of the vehicle. |
 Plate installed and hole completely cut. |
 Notice that I use a total of 6 attach points. Three were existing holes (#10) the others I drilled holes for #6 Rivet Nuts. |
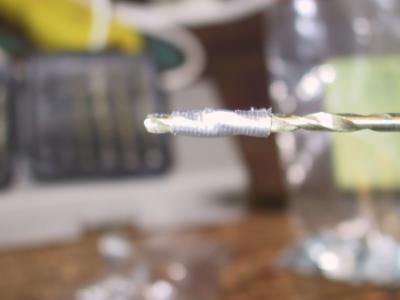 Here's how to drill into the cross member without fear of damaging the roof: use duct tape to limit drill depth. |
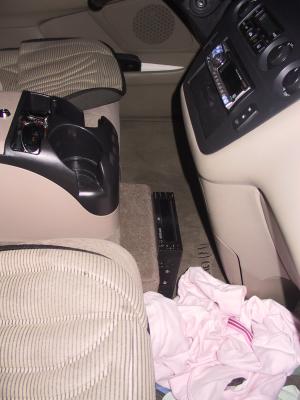 Side view of temporary DVD player mount. I wanted it under the head unit in the double opening; but it's a tad too deep. |
| previous page | pages 1 2 3 ALL | next page |
| comment | share |