


|
|
|
|
|
|
| shinjohn | profile | all galleries >> '01 Odyssey Mods (Audio), Pics, and Meets >> Stage 2: Custom Center Console Sub | tree view | thumbnails | slideshow |
| previous page | pages 1 2 3 4 5 6 7 ALL | next page |
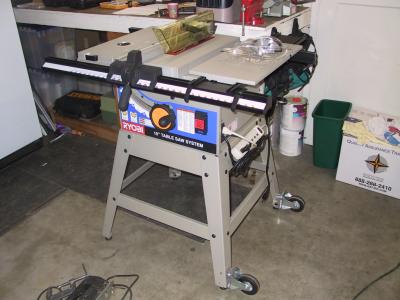 I usually don't buy Ryobi, but I LOVE this table saw, it ROCKS! Pull out the car, wheel it out and I'm off cutting... |
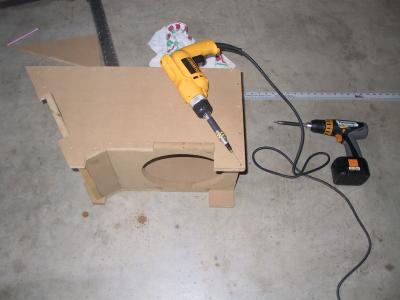 Two drills: corded DeWalt for drilling/countersinking, Cordless Panasonic for driving. |
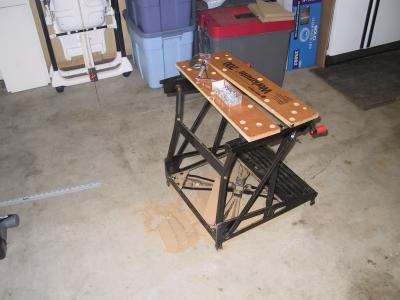 Workmate bench for hand tools. 3" c-clamps for fixturing workpiece. |
 My workbench during work in progress: a bit cluttered cuz it's all the space I have. House came like this, I need a workshop! |
 #6 screws always on hand, my favorite hand tool: Panasonic cordless drill. |
 So I get thirsty when I work on projects! |
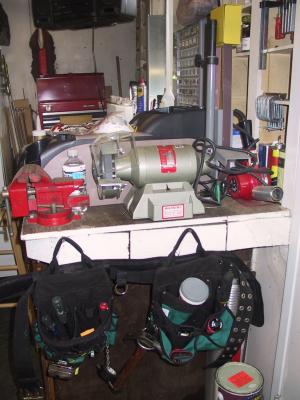 Side view of my workbench: tool belt, grinder, clamp, etc... |
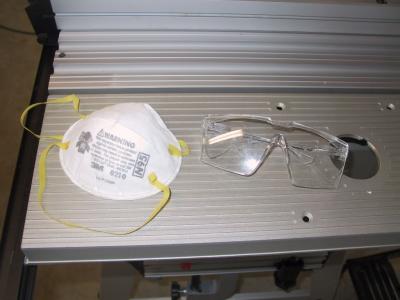 ALWAYS wear eye protection and respirator during woodworking, esp. when working with MDF! |
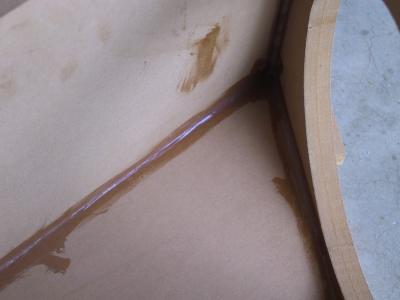 Seal up the inside with silicone caulk to make it air tight. Not pretty, but who cares inside the enclosure! |
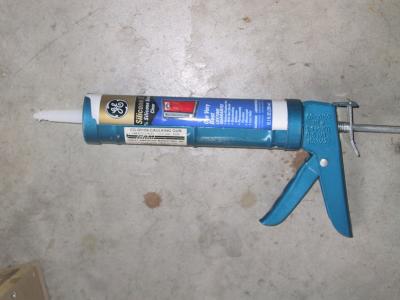 Only the best: GE Silicone II |
 OK, so I get REAL thirsty... (it's a 2 beer job!) |
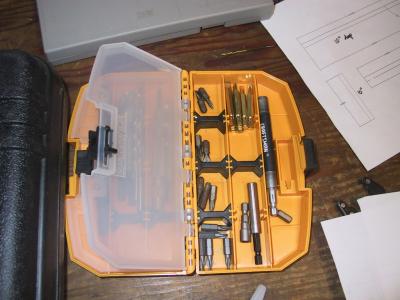 Every modder should have a variety of driving bits for his drill. |
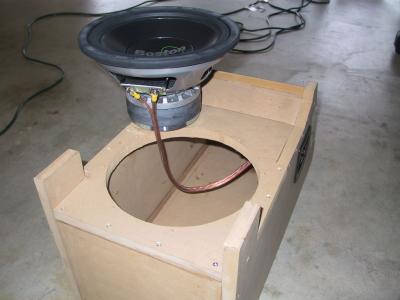
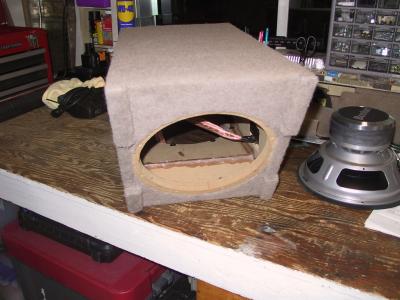
 The enclosure assembled: about 1 ft^3 internal volume. |
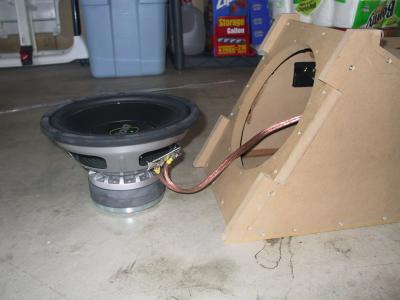
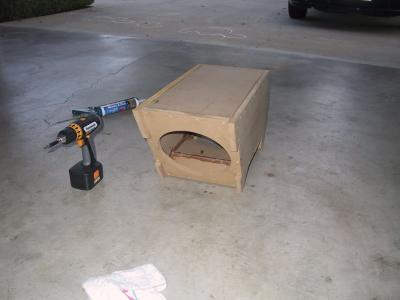 Rear view, one sub rear-fires. |
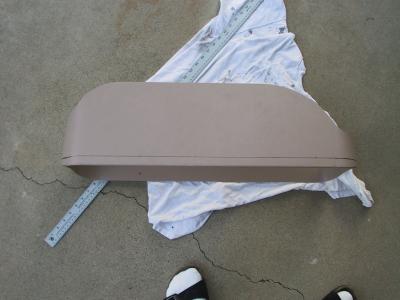
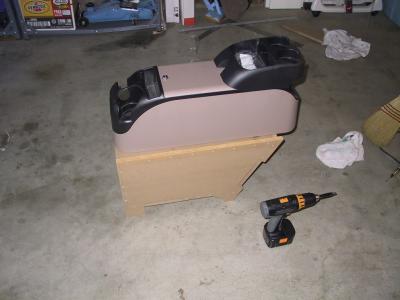 The enclosure is a stand for a center console. Installed, the top of the console is even with the tops of the front armrests. |
 Side view of the enclosure. |
 Bottom view: one sub down-fires. |
 Upside down, from the rear. |
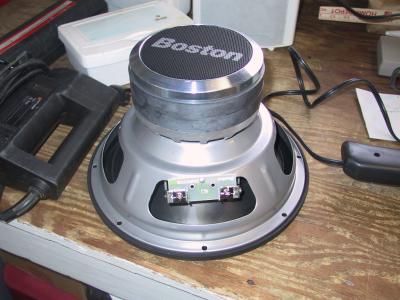
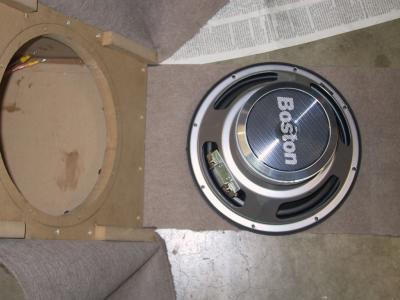
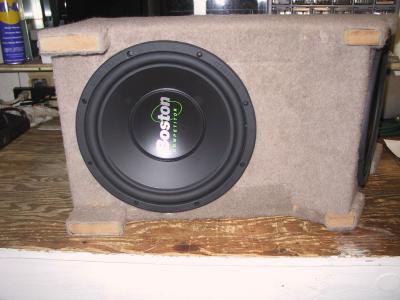
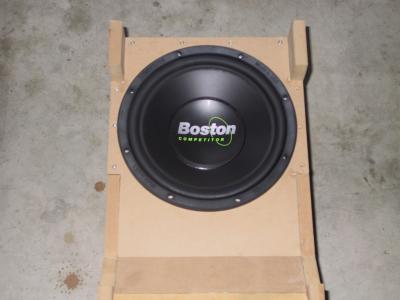 Check fit: Boston Competitor 1000. Note the notched design to minimize enclosure width. |
 From the rear. |
 I always use T-nuts and machine screws to fasten the driver to the enclosure. MUCH more secure! |
 Disassembled nut and screw. |
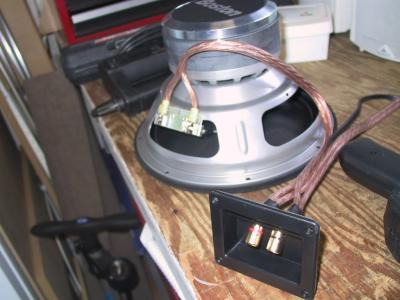
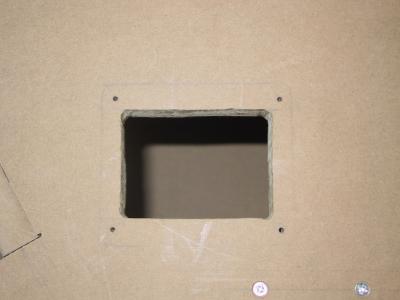 Binding post cup cut-out. |
 Cables soldered to terminal, since there is no need to remove these later. |
 Terminals on the Competitor 1000 (4 ohm) |
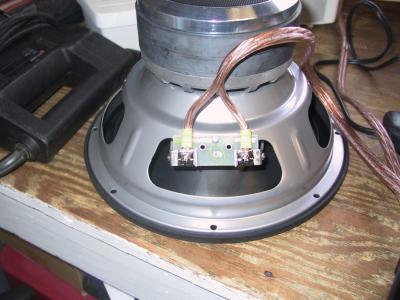 Use spades for speaker side connection |
 Hooked up! |
 Make sure this is air tight too! |
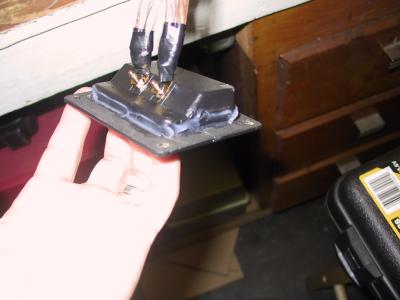
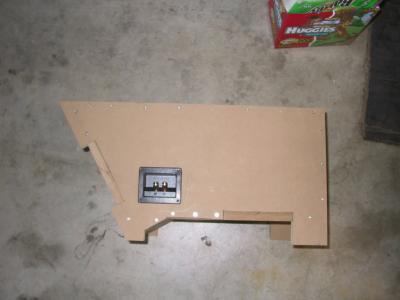 Terminal cup installed. |
 Plenty of cable length for easy install/connection. |
 Rear sub, equal length cables. |
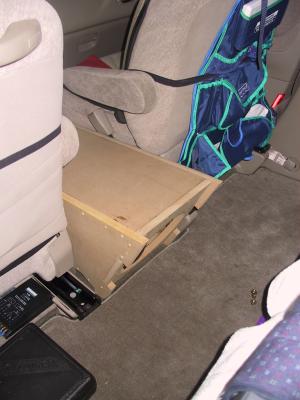
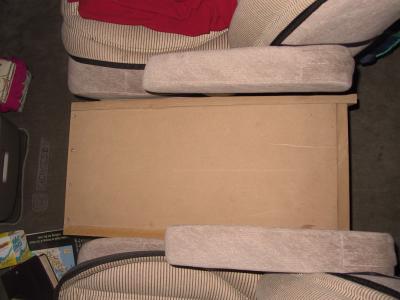
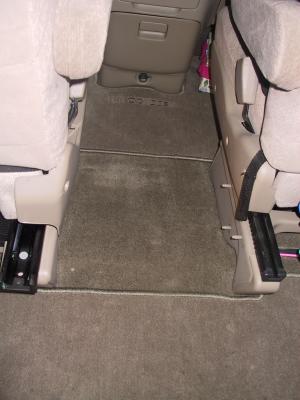 Tray removed for test fit. Note the floor is not even, thus the "stilts" on the sub box. |
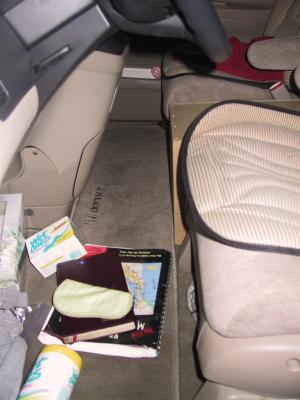
 Fits perfect. No overlap on the rear floor mat. |
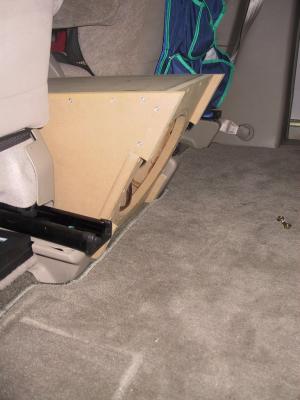 Angle matches seat frame. |
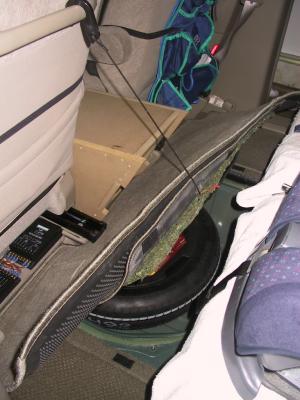 Sweet! Spare tire well totally accessible. |
 No overlap on the front floormat either. Yes, the seat cushions are ugly as heck, but they are great for my wife's bad back! |
 Perfect fit side to side. Any wider it would touch. |
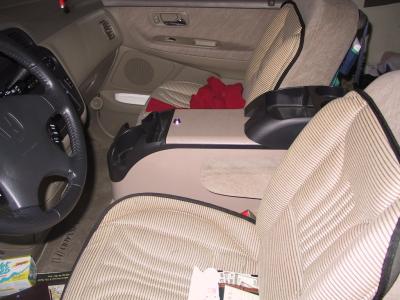 Console fits on top. It will sit lower after I shave the plastic lip on the bottom of the console. |
 Cupholder and dump bin still accessible. |
 Rear of the console will also be tapered to contour with the sub. |
 Bottom lip of the console to be modified. |
 Tray would fit on top too. Does that look better? |
 You can just see the side terminal for speaker wire hookup. |
 Daddy's helpers. |
 All ready for some carpet.... |
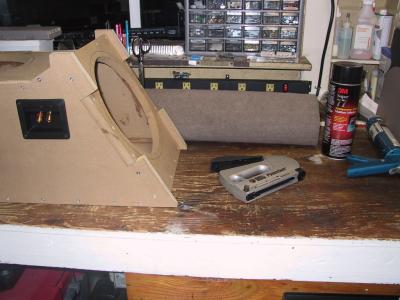
 Measure twice, cut once, try to do as much of the enclosure with one continuous piece. |
 One side done. |
 Try to keep seams on the bottom surface, and avoid corner seaming. Can you find the staples? |
 Cutting and fitting the back side. |
 Use the sub to get the outline perfect. |
 Mark with sharpie and cut. |
 Nice fit. |
 Measured and cut this last piece.. |
 Not my best work, but you don't see the bottom anyway... |
 Folding the sides over. |
 Pretty much done! |
 Side view with terminal cup. |
 Rear view. |
 Front view, again, note the seams on the front, 0.75" in, NOT at the corners |
 Acousta-stuf |
 Put it in and fluff it up! |
 Apply gasket on the sub, not the box. |
 Wired up and ready to drop in. |
 Use lock washers to keep them from coming loose. |
 Ready to rock! |
 Bottom sub. |
 Rear sub gets a grill soon.... |
 Here's how much I need to trim down the console lip |
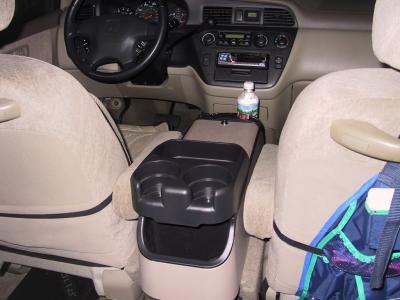
 Installed. Straight back view. Working on the grill/back piece right now. |
 View from rear, at an angle. I got this console at Walmart. |
 Almost even with the arm rests. It's the perfect height! |
 My trusty Rotozip for hole cutting. Yep, I messed up there, the pivot slipped! |
 Ready to put some wire mesh on the grill... |
 Test fit, perfect! |
 Some acoustically transparent grill cloth... |
 All done! In real conditions, you can't see the mesh underneath, the strong flash of my camera reveals it though! |
 I added a decorative piece to cover the end of the console, it also holds the grill in place, along with friction.. |
 Back installed in the Ody, very subtle, and well protected now! |
 Measured frequency response. f3 is ~35-40 Hz. A little more volume (lower Q) and it would have stayed flatter to 20Hz! |
| previous page | pages 1 2 3 4 5 6 7 ALL | next page |
| comment | share |
| shinjohn | 01-Mar-2004 19:49 | |
| Guest | 29-Feb-2004 16:26 | |