


|
|
|
|
|
|
| shinjohn | profile | all galleries >> '01 Odyssey Mods (Audio), Pics, and Meets >> Stage 2: Custom Center Console Sub | tree view | thumbnails | slideshow |
| previous page | pages 1 2 3 4 5 6 7 ALL | next page |
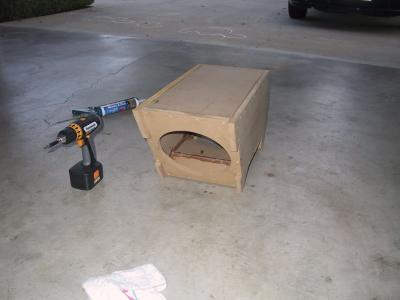
 The enclosure assembled: about 1 ft^3 internal volume. |
 Rear view, one sub rear-fires. |
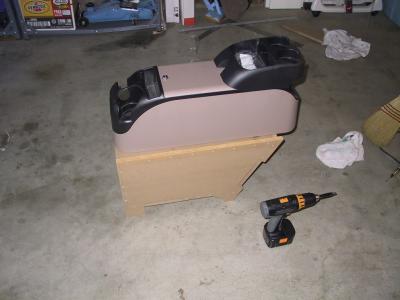 The enclosure is a stand for a center console. Installed, the top of the console is even with the tops of the front armrests. |
 Side view of the enclosure. |
 Bottom view: one sub down-fires. |
 Upside down, from the rear. |
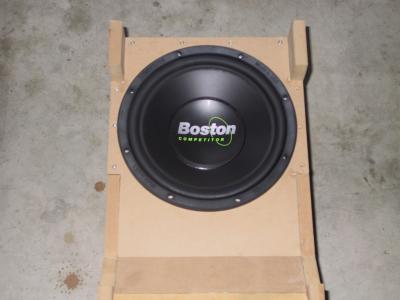 Check fit: Boston Competitor 1000. Note the notched design to minimize enclosure width. |
 From the rear. |
 I always use T-nuts and machine screws to fasten the driver to the enclosure. MUCH more secure! |
 Disassembled nut and screw. |
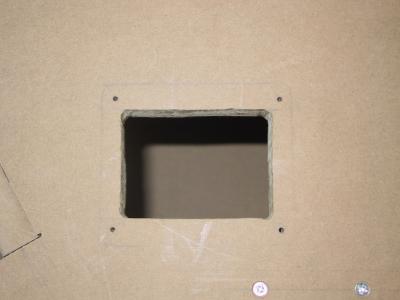 Binding post cup cut-out. |
 Cables soldered to terminal, since there is no need to remove these later. |
| previous page | pages 1 2 3 4 5 6 7 ALL | next page |
| comment | share |
| shinjohn | 01-Mar-2004 19:49 | |
| Guest | 29-Feb-2004 16:26 | |