


|
|
|
|
|
|
| shinjohn | profile | all galleries >> Galleries >> 2011 Honda Pilot Audio/Video Install | tree view | thumbnails | slideshow |
| previous page | pages 1 2 3 4 5 6 7 8 9 10 11 12 13 14 ALL | next page |
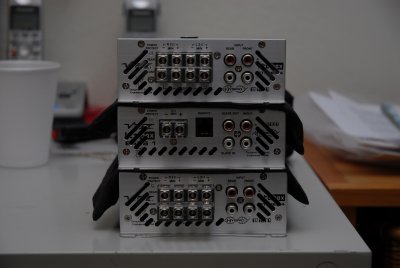 End caps of amps modified to allow more air flow. |
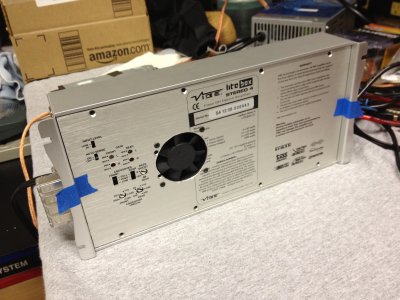 Litebox 4 modified for larger internal fan. |
 Subwoofer candidates: (2) Peerless XLS vs. DIYMA R12 |
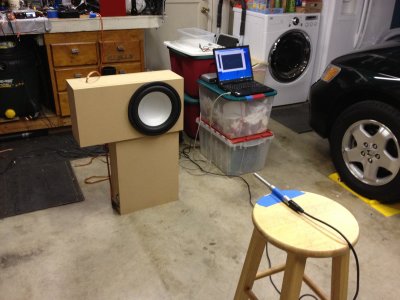 Inside garage measurement setup |
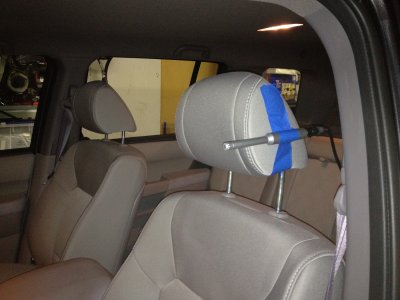 In car microphone postion |
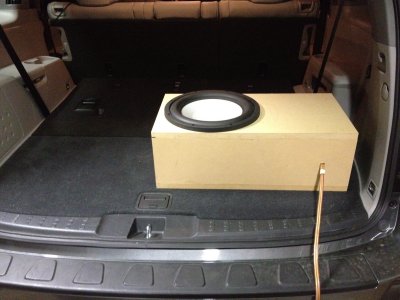 Test enclosure in car position: DIYMA R12 |
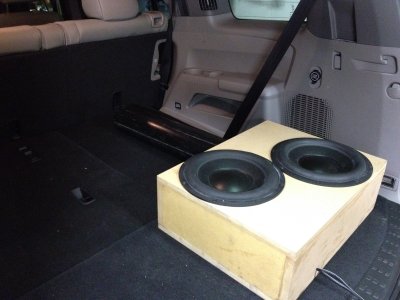
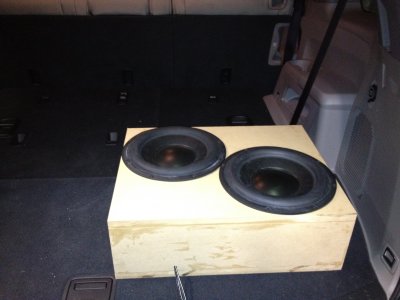 Test enclosure in car position: Peerless XLS 10s |
 Ported alignment testing. |
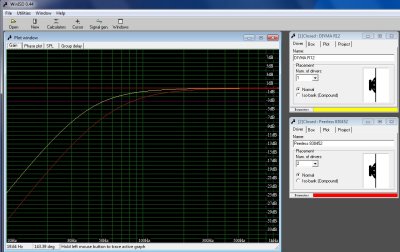 WinISD modeling results: gain |
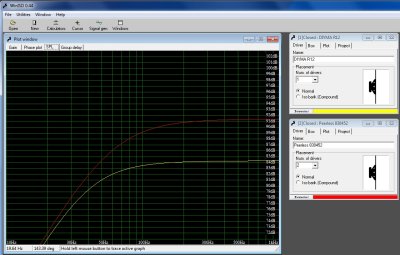 WinISD modeling results: spl |
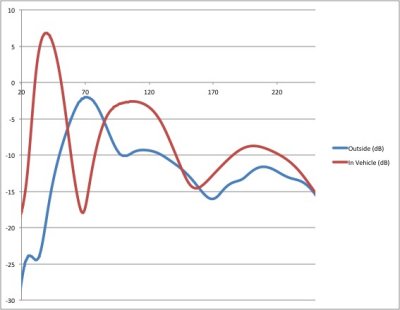
 DIYMA R12 test data comparison (non-calibrated) |
 Peerless XLS 10s test data comparison (non-calibrated) |
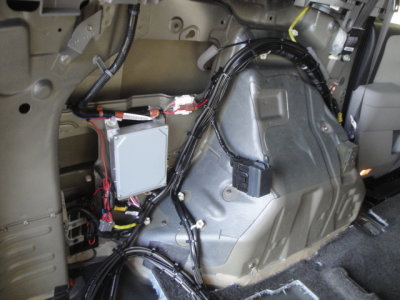
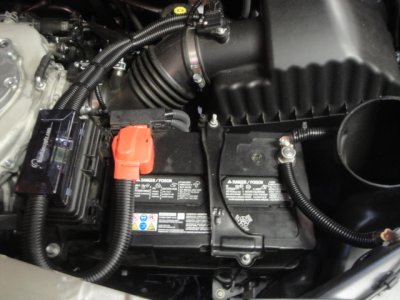 Battery wiring: 2 4 gauge cables run back. |
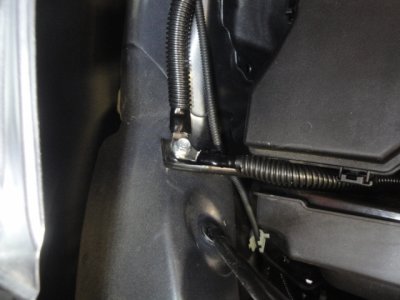
 Battery to first ground point. |
 and then to next grounding point on other side of vehicle under hood. |
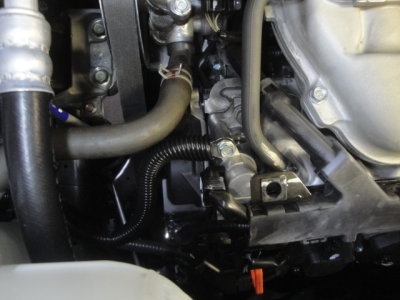 and final ground point under hood at engine block. |
 Head unit: Pioneer DEX-P99RS |
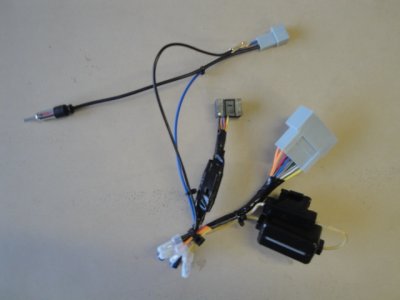 Head unit wiring harness. |
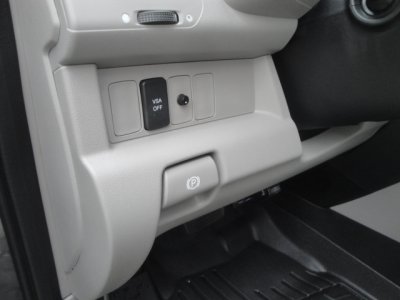 Remote bass knob mounted in an extra knock out panel |
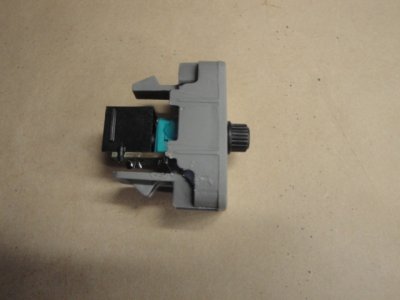 Side view showing size of controller. |
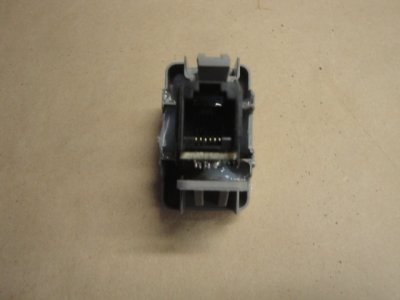 Rear view of knock out panel and remote bass knob. |
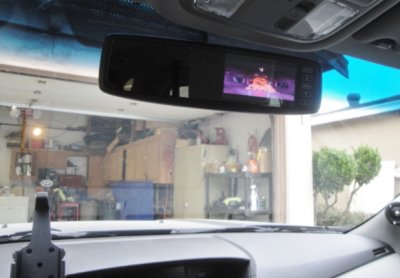
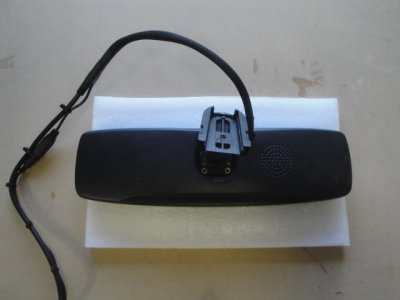 Directus TD43BT Rearview mirror/monitor with built in bluetooth |
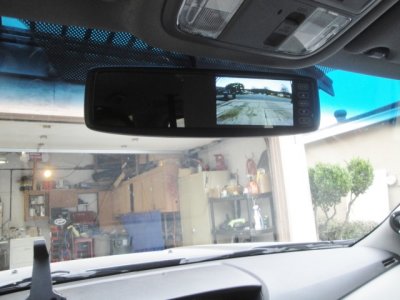 Mirror mounted in vehicle, showing rear backup camera image (automatically turns to camera in reverse) |
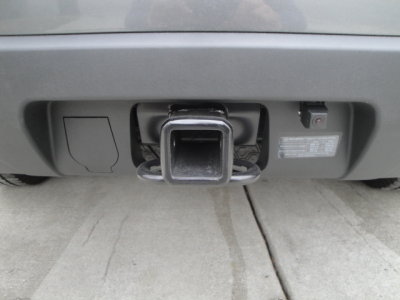 Farenheit CCD-4XS backup camera mounted to rear bumper |
 BT mirror microphone. |
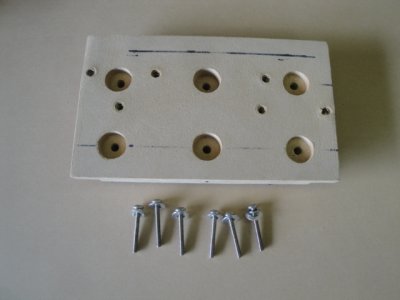 Mounting spacer for Nesa roof mount screen. |
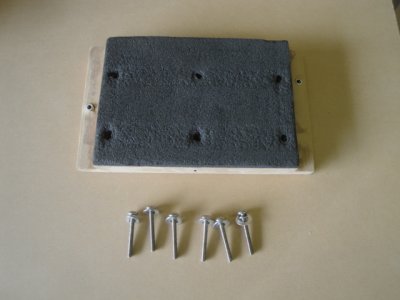 Foam on mounting side of screen mount. |
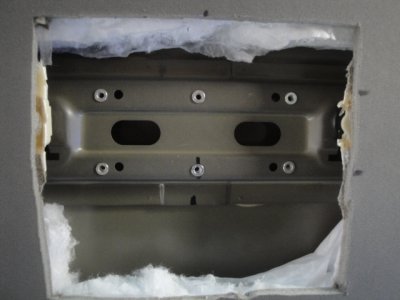 Hole cut in headliner and rivnuts installed into cross beam. |
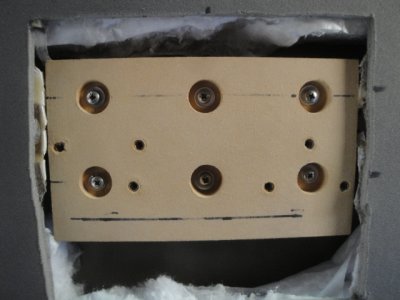 Mounting spacer installed to cross member. |
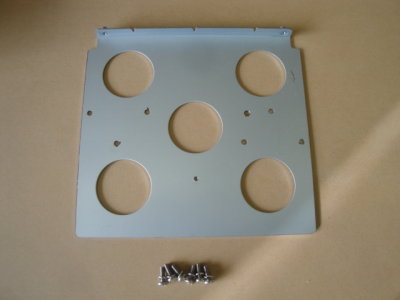 Nesa screen mounting plate. |
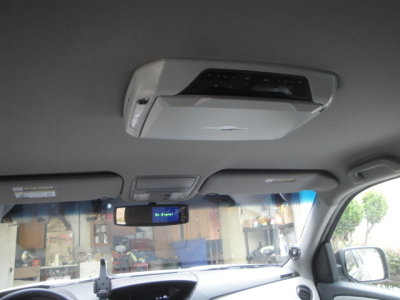 Nesa NSC-103MH 10.3" Ceiling Mount Monitor with built in DVD/USB/SD |
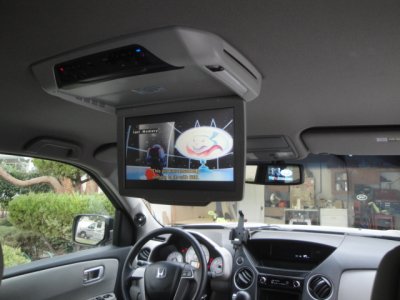 Monitor open, playing DVD. |
 Another angle. |
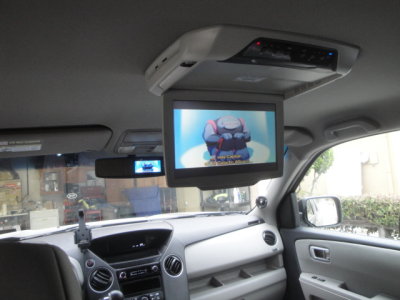
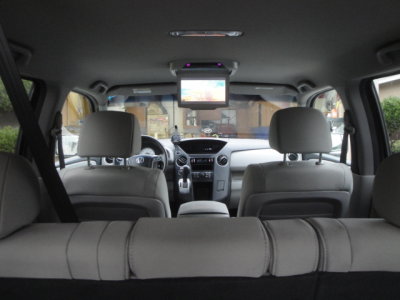 Monitor is big enough for rear seat passengers as well. |
 Note mirror monitor can input DVD signal (just used if needed to cue up movie, not for driving) |
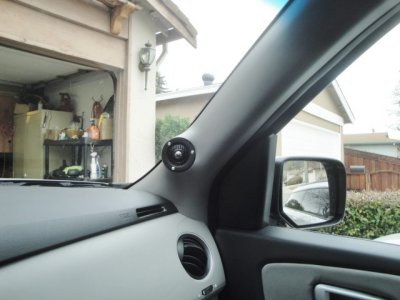
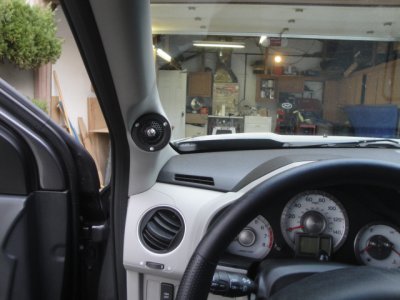 Left tweeter |
 Left tweeter, another angle |
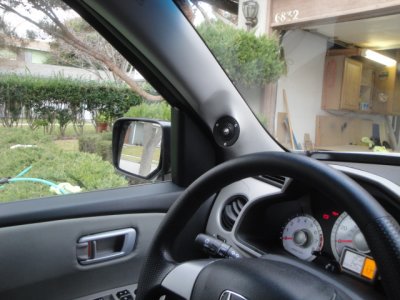
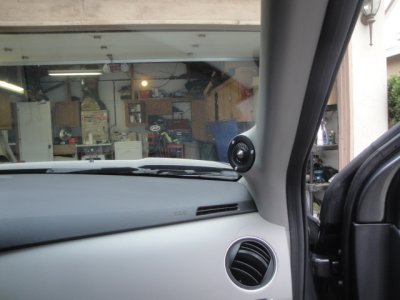 Right tweeter |
 Right tweeter, another angle |
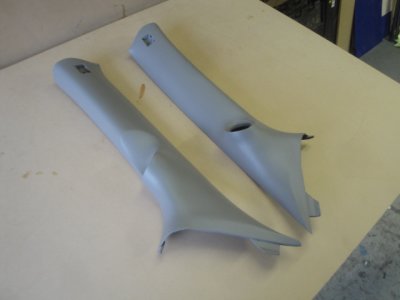
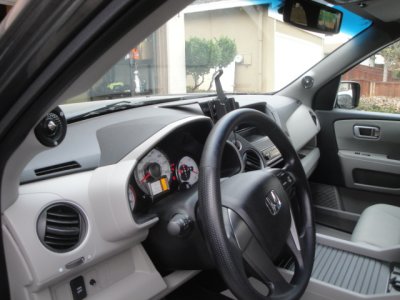 Both pillars from driver's side. |
 Full shot of front |
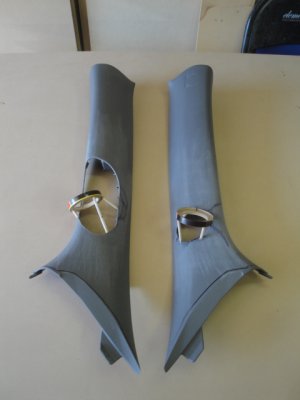 Pillars trimmed and mounting rings aligned (done by laser pointer in car) |
 Note tweeter height limited by side curtain air bag location. |
 Cloth stretched and wrapped. |
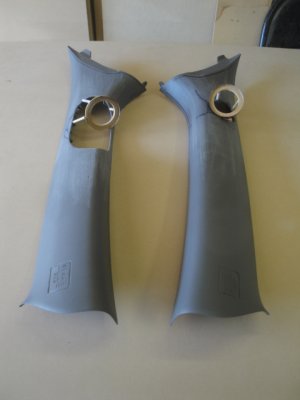
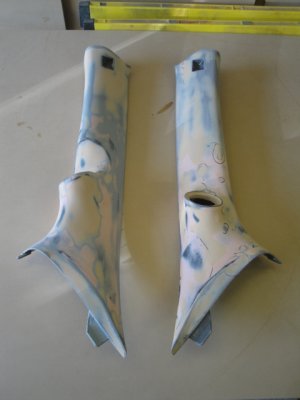 Pillars smoothed out with body filler. |
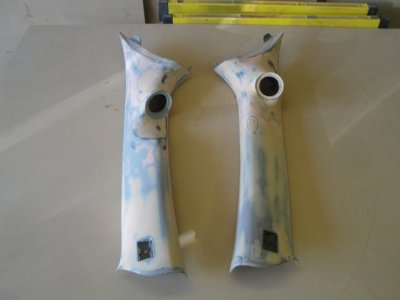 Pillars smoothed out with body filler. |
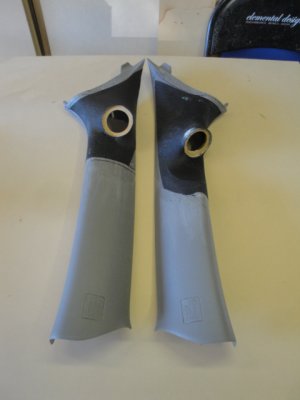
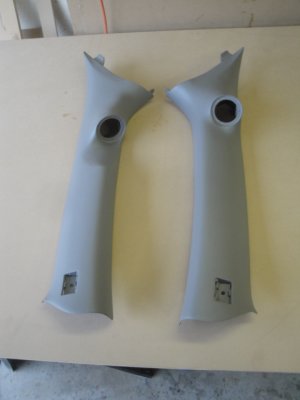 Pillars painted since vinyl could not stretch over extreme contours. |
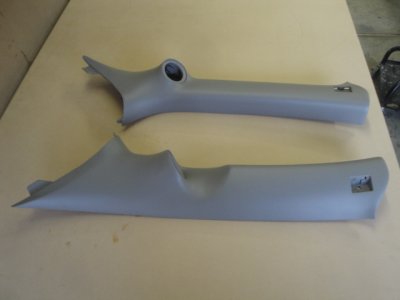 Ready to install |
 Ready to install |
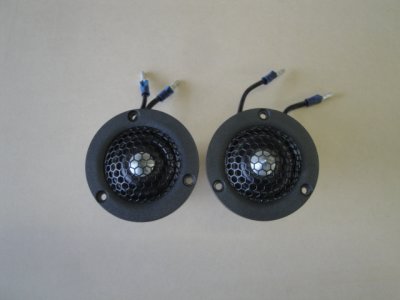 ScanSpeak Illuminator R3004/6020-10, 1" Ring Radiator Tweeters |
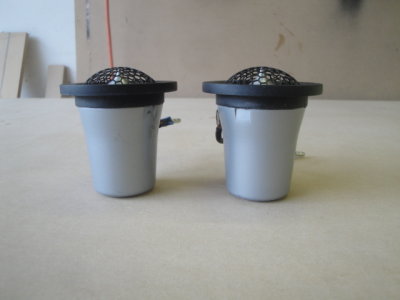 Deep suckers. |
 ScanSpeak Illuminator R3004/6020-10, 1" Ring Radiator Tweeters |
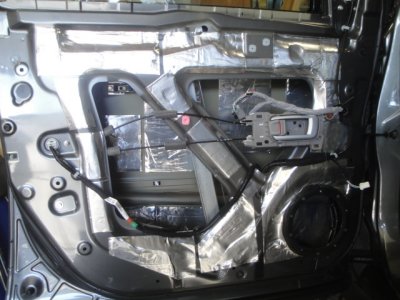
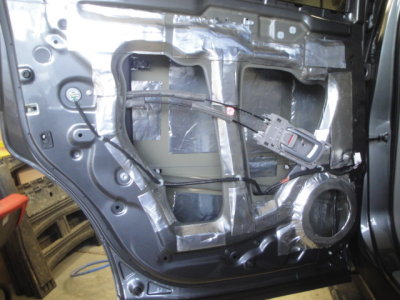
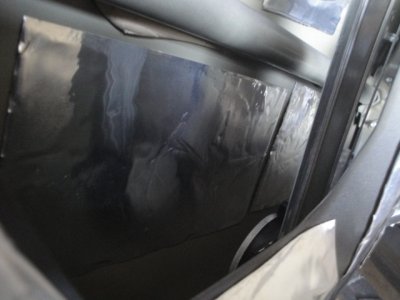
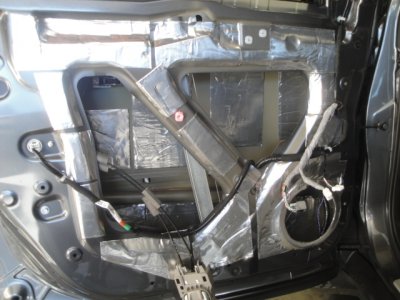 Driver's door with CLD installed. (75% coverage) |
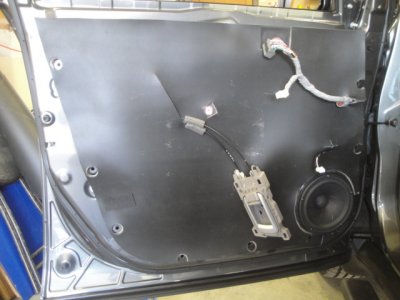
 Internal door shot. |
 Internal door shot. |
 Internal door shot. |
 Internal door shot. |
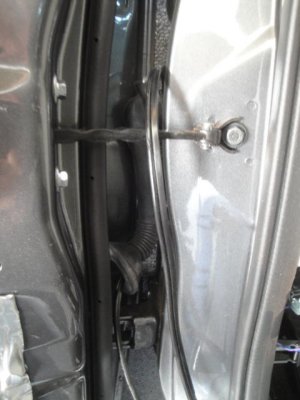 Running speaker cable to door: driver's |
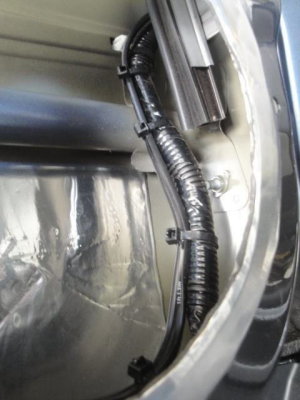 Running speaker cable to door: driver's |
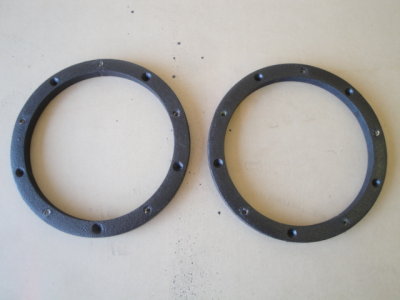 Front midbass speaker rings |
 Speaker ring installed driver's side |
 Speaker ring installed driver's side |
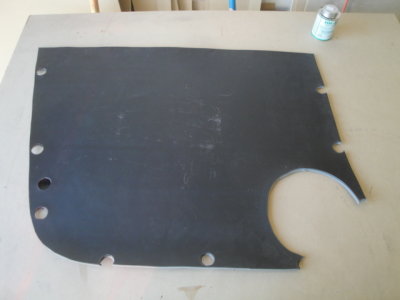
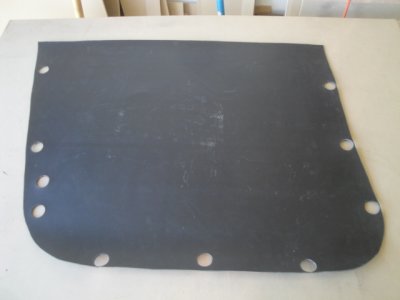 MLV rough cut to driver's door shape |
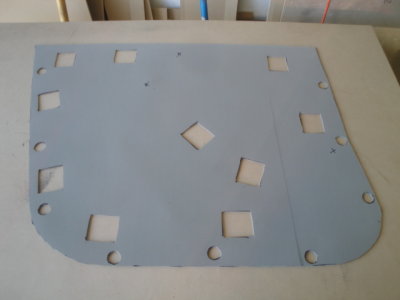 Decoupling foam to match MLV, holes for velcro |
 Decoupling foam to match MLV, holes for velcro |
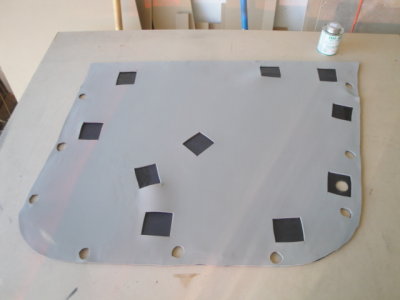
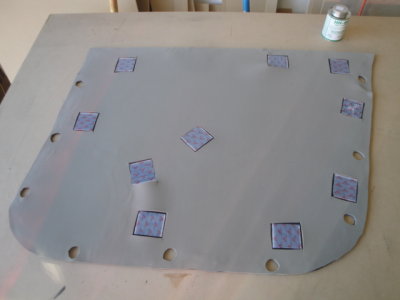 Velcro attached to MLV. |
 Cut to fit door mid cut out |
 Fit to door panel |
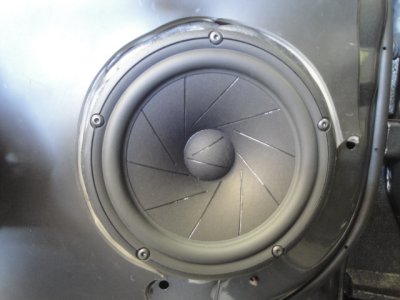
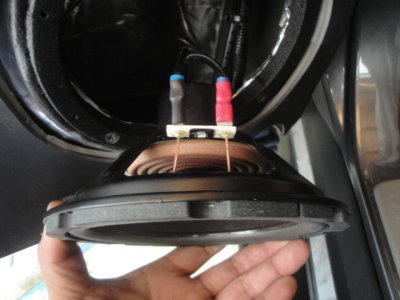
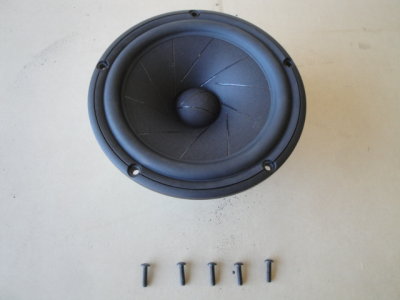 Scan 18S midbass with screws |
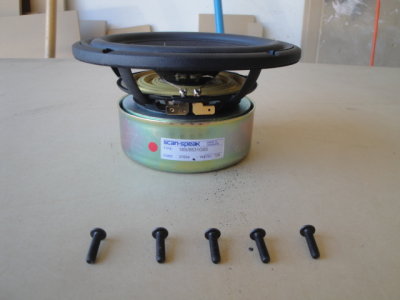 Scan 18S/8531G00 midbass with screws |
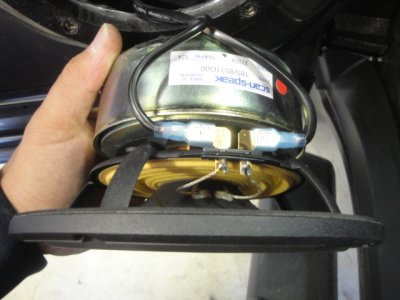 Scan mid wired in door. |
 Installed. |
 Nice fit! |
 Door panel also treated with CLD. |
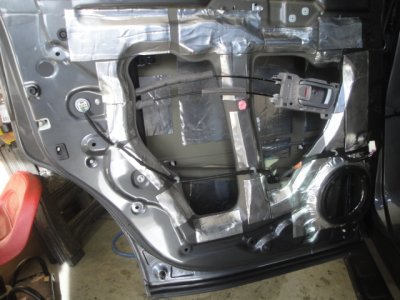
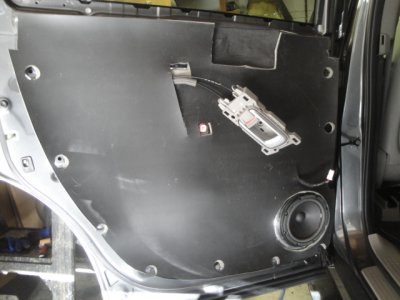
 Rear driver's side door with CLD. |
 Rear driver's side door with CLD. |
 Rear driver's side door with CLD, cloth tape wrap on wires. |
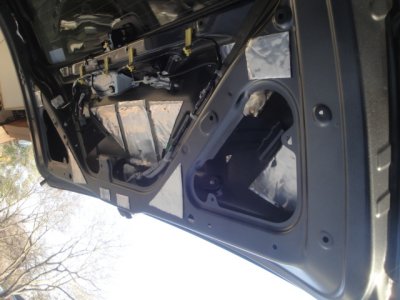
 Rear driver's side door with CLD. |
 Rear driver's door wiring. |
 Rear driver's door wiring. |
 Rear driver's door wiring. |
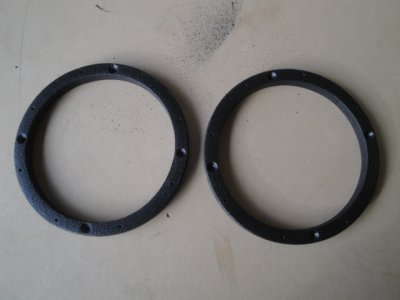 Rear speaker rings |
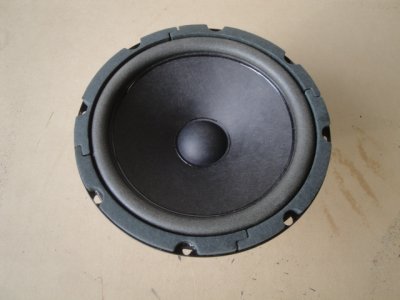 Rear Speakers: Aurasound NS6-255-4A |
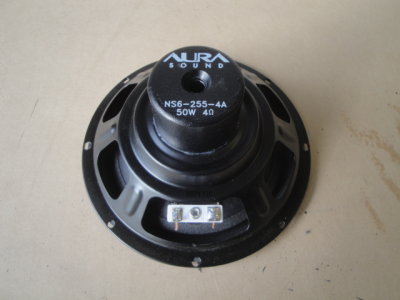 Rear Speakers: Aurasound NS6-255-4A |
 Rear speaker ring installed. |
 Rear speaker ring installed. |
 Rear door MLV and foam decoupler. |
 MLV with speaker cut out. |
 Velcro mounted |
 Rear MLV sandwich ready to go. |
 Rear speaker wired up. |
 Rear speaker installed. |
 Rear speaker installed. |
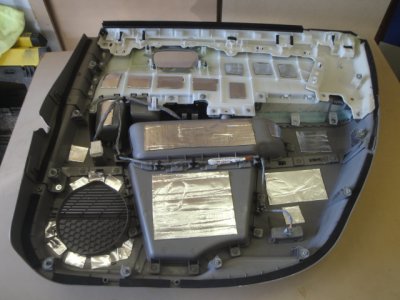 Rear door panel with CLD. |
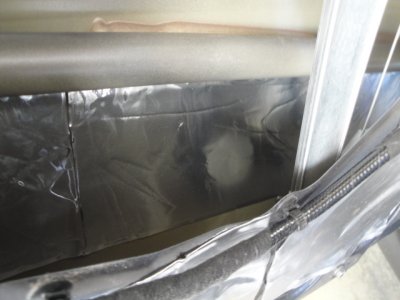
 Rear hatch CLD installed. |
 Rear hatch MLV and foam; 2 layers of foam to "sandwich" the MLV. |
 Rear hatch foam. |
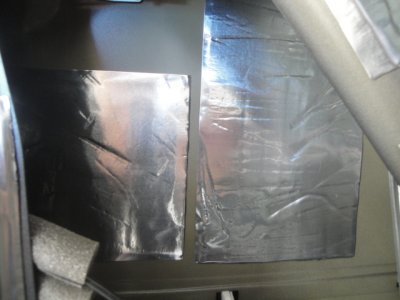
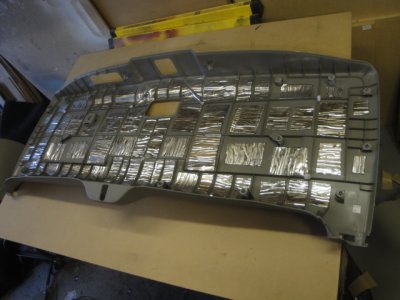 Rear hatch trim treated with CLD. |
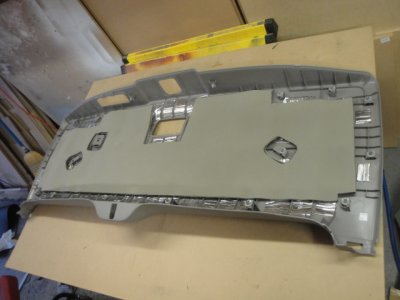 Ready to install back on hatch. |
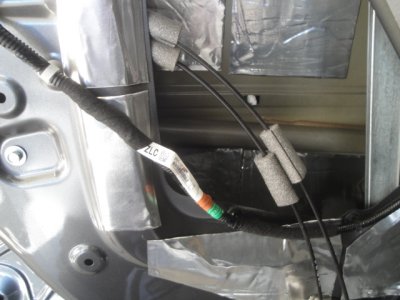
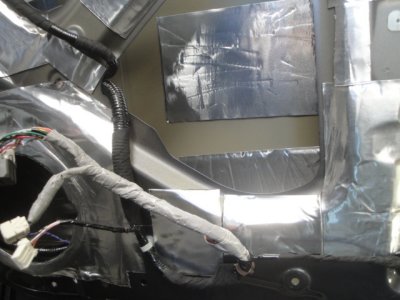
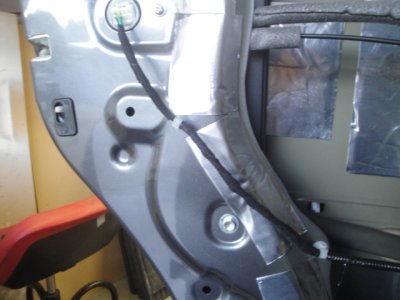
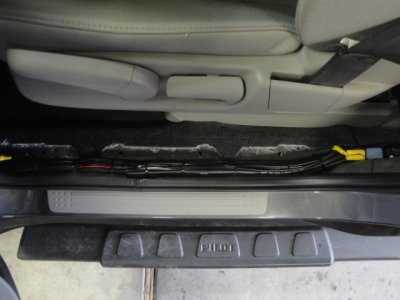
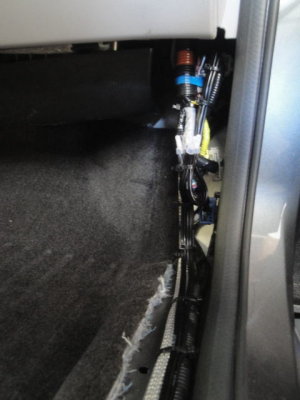
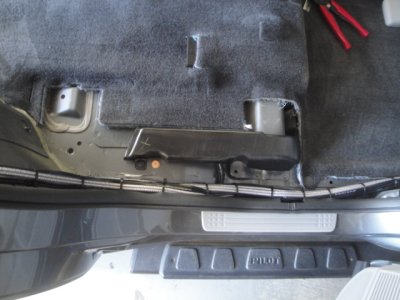
 Wiring driver's side: power cables, video, driver's side speaker wiring. |
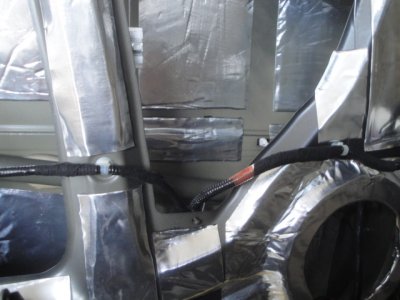
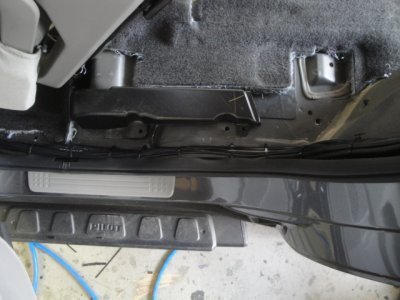
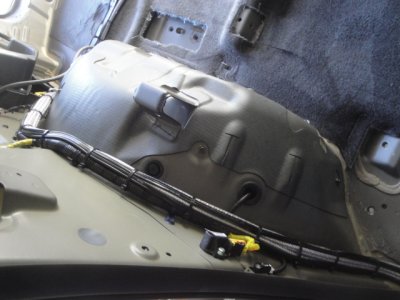
 wiring along side of vehicle.. |
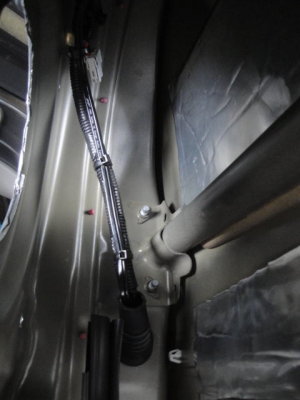
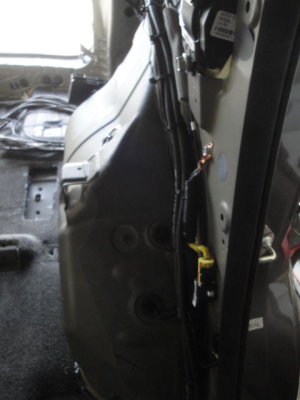
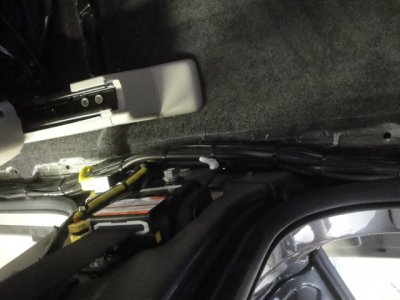 around pillar |
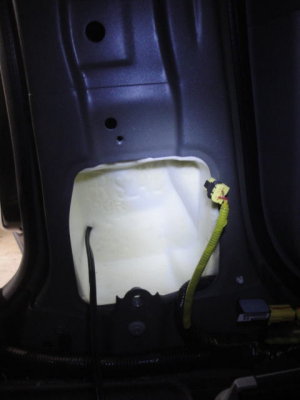
 to back of vehicle.. |
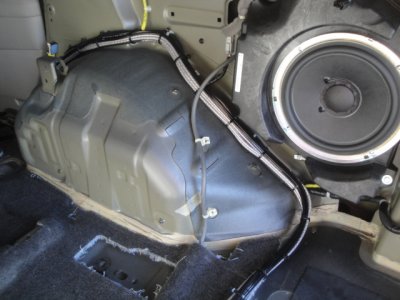
 Up.. |
 and over rear wheel hump |
 Passenger side wiring: RCAs (custom soldered), and passenger side speaker cables. |
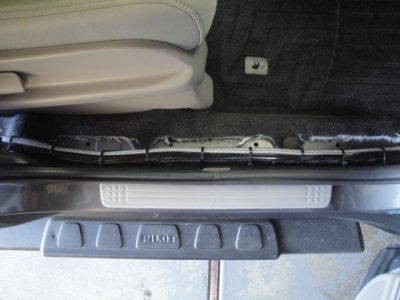 along door sill |
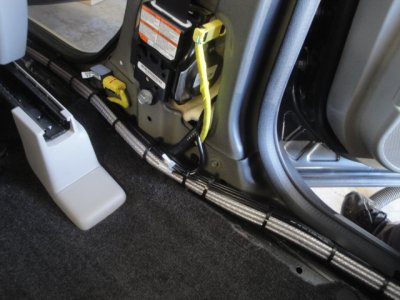 around pillar |
 back along rear row. |
 up |
 and over rear wheel hump. |
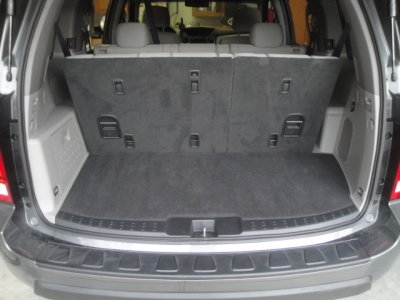
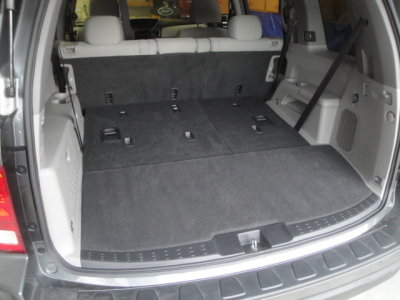 Rear looks stock. |
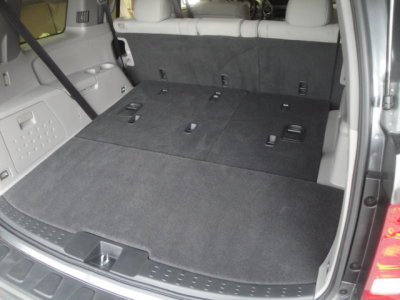 Rear looks stock. |
 Rear seat folds/operates as usual. |
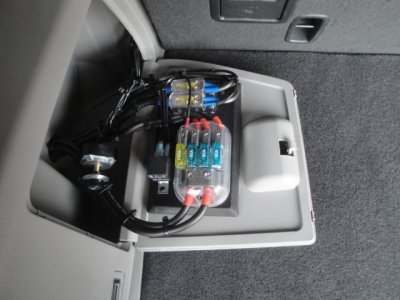 Power distribution easily accessible in left side compartment. (fan speed control pot as well) |
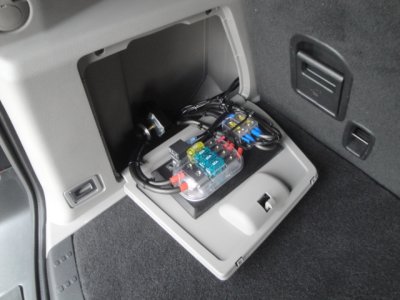 Another angle. |
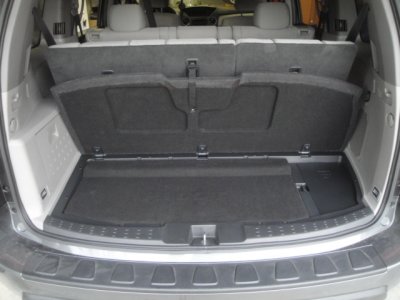 Rear cargo cover lifts as usual (locking latch removed) |
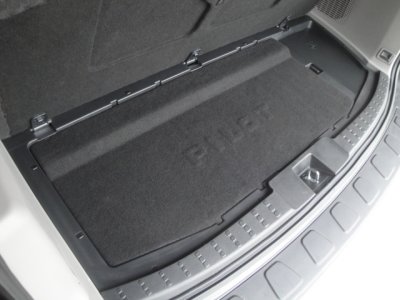 Under cover is a cosmetic panel with embossed "Pilot" letters |
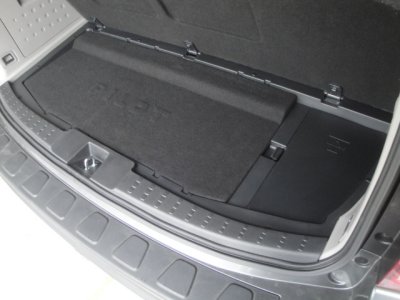 Another angle |
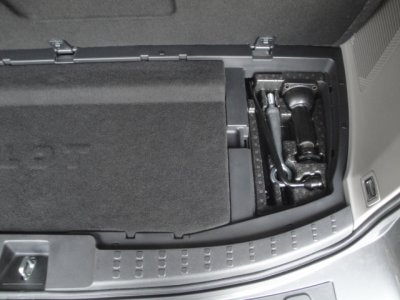 Jack and emergency kit still in factory location. |
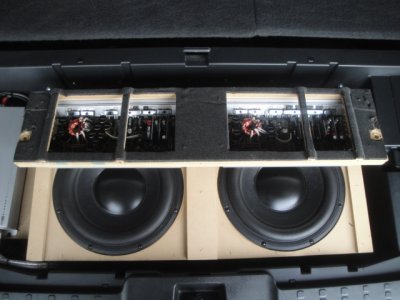
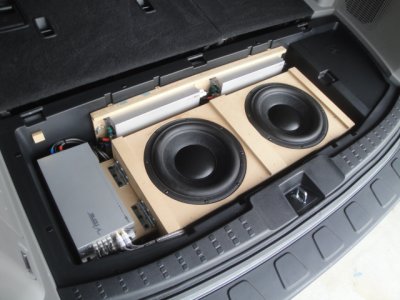 Removing the cosmetic cover revels the rest of the system. |
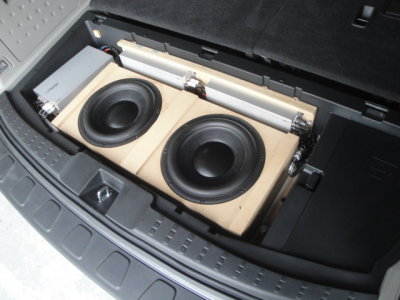
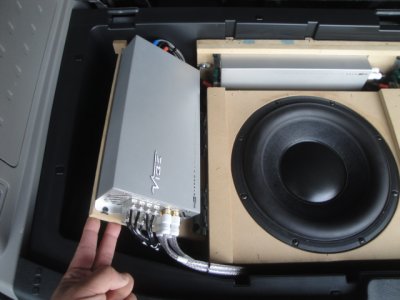
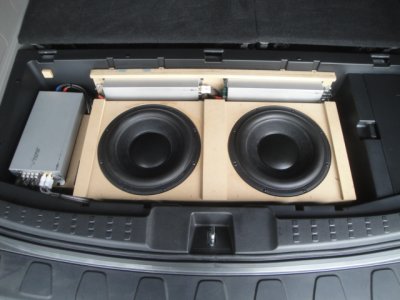 (2) Peerless XLS 830532 10" Subwoofers |
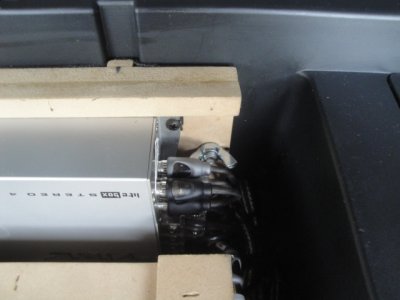
 (2) Litebox Stereo 4s and (1) Litebox Bass 1 |
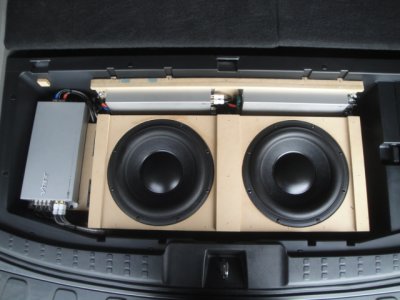 Barely enough room to fit all. |
 Litebox 4 running tweets and rears on a hinged panel. |
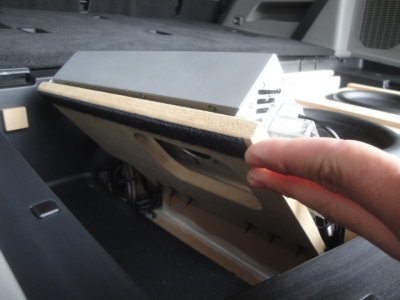 Tilting up allows access to gain controls |
 Wing nuts hold the other two amps up against the vertical wall of the storage compartment. |
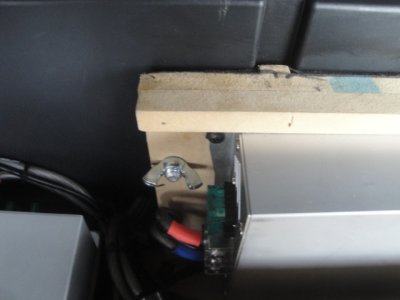 Left wing nut. |
 The panel can be pulled out (wiring intact) to adjust gains and access back of amps. |
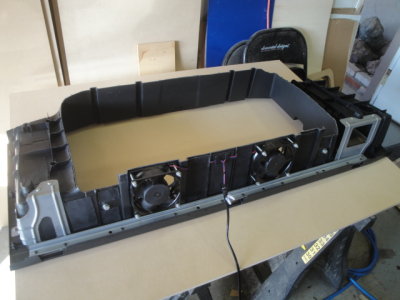
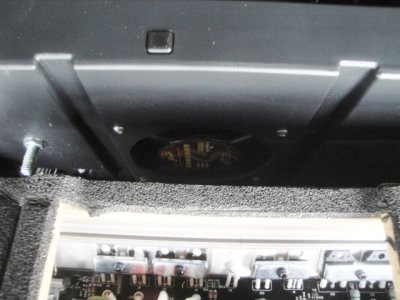 Cooling fans mounted on the opposite side of the compartment "baffle" |
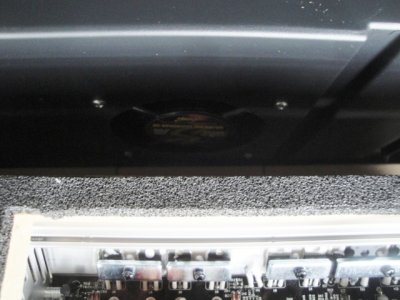 These fans draw cool air from under the rear seat and direct it through the mid bass and subwoofer amps. (pressurize cargo area) |
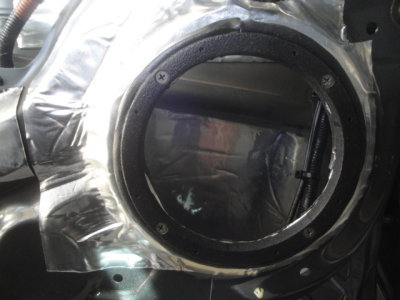
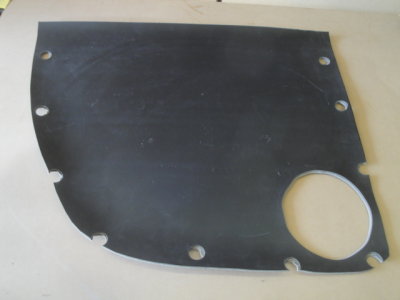
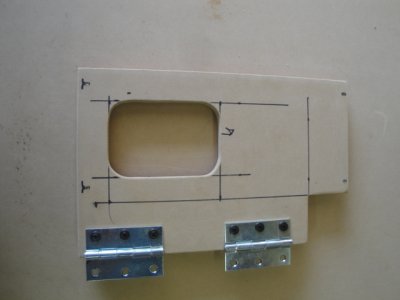
 Build pics: rear compartment panel removed. |
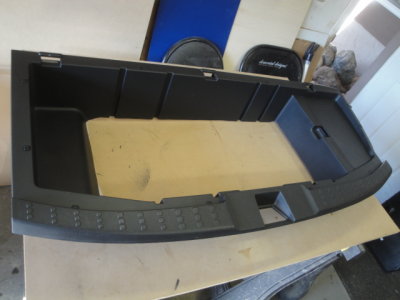 Bottom cut out to allow maximum mounting depth for components. |
 Fans mounted to rear storage compartment |
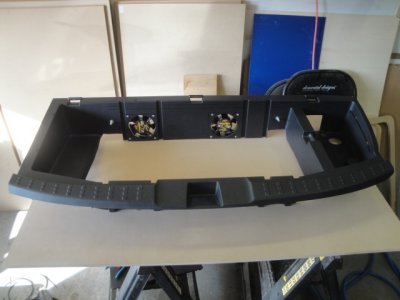 Fans mounted to rear storage compartment |
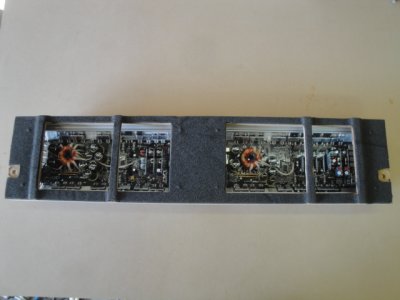
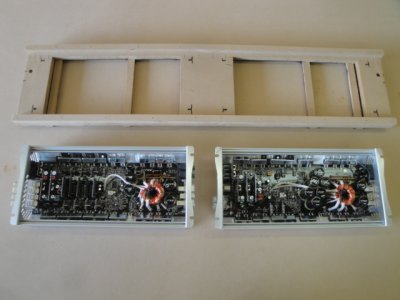 Amps, covers removed and mounting frame. |
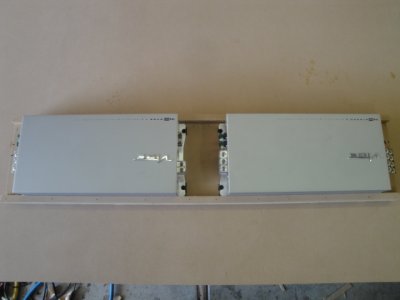 Amps mounted to frame. |
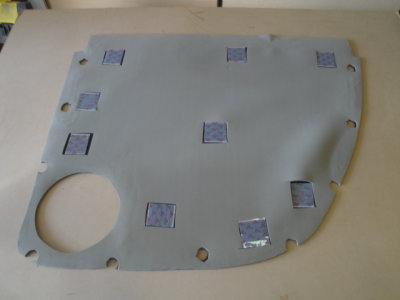
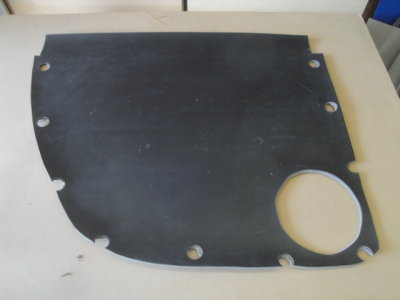
 Foam on back side of frame to provide air seal and prevent rattles. |
 Hinged panel for tweet/rear amp. |
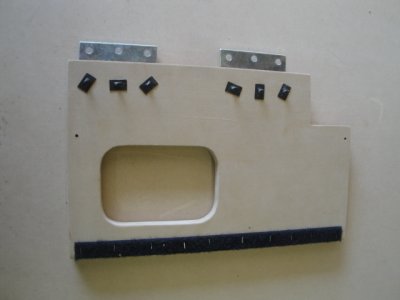 Back side of hinged panel with industrial velcro to hold amp down. |
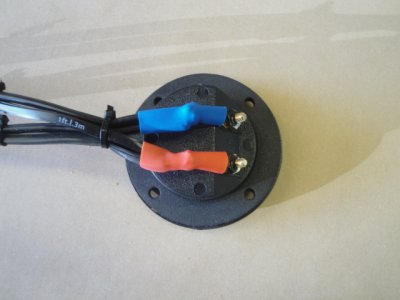 Sub box terminal cup wired up. |
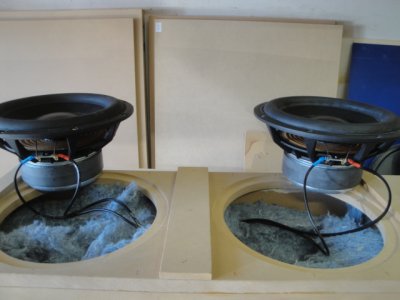 Subs wired and black hole stuffing. |
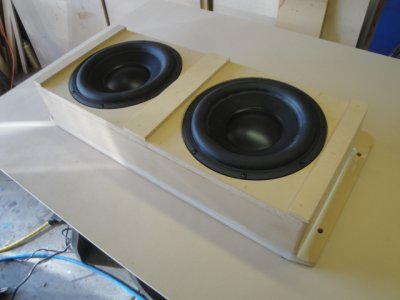 Drivers mounted |
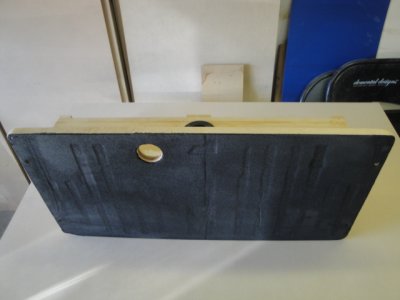 Bottom of sub enclosure with foam to prevent rattles, hole cut for spare tire lowering. |
 Sub box mounted in vehicle |
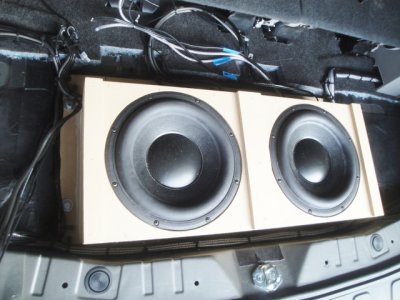 Another angle |
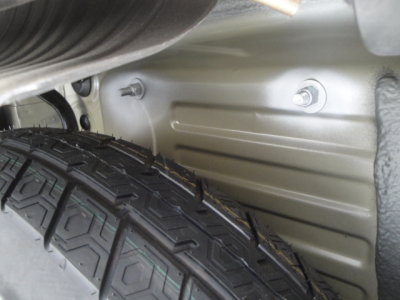 Subwoofer enclosure bolted through vehicle floor. |
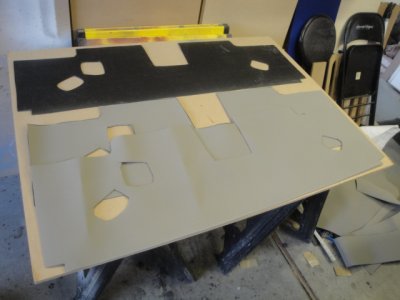
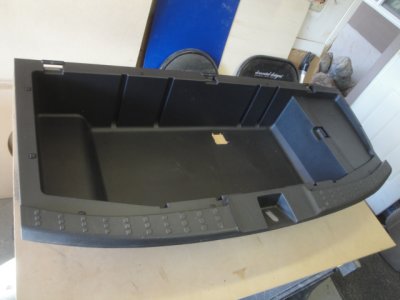
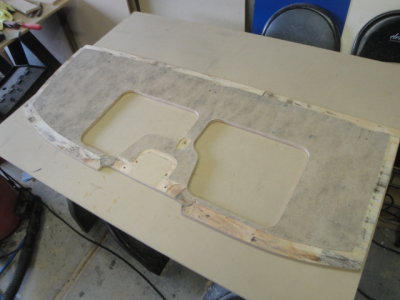
 Rear compartment cover was stripped down. |
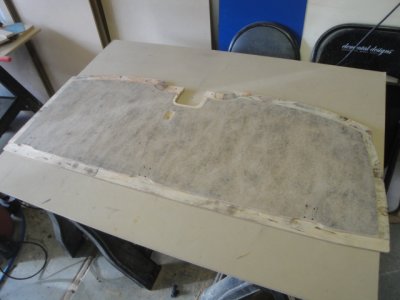 Bottom side of cover. |
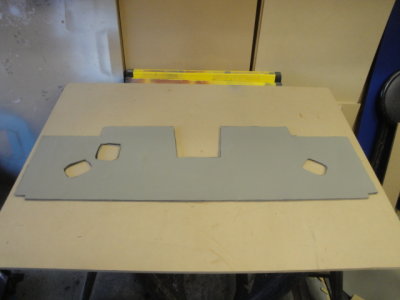
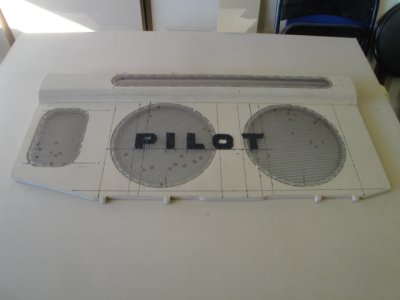
 Cover latch area filled and holes routed for grills. |
 Bottom side again. |
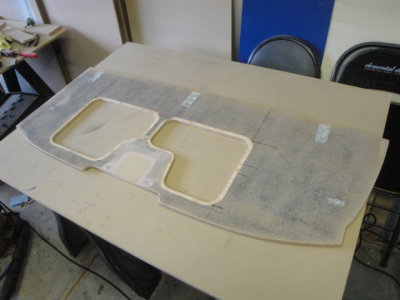
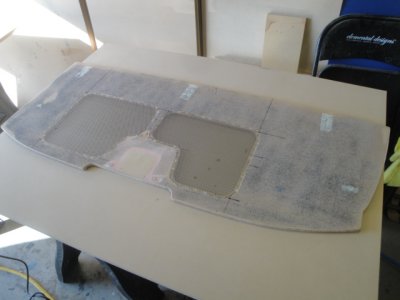 Mesh/grill added to rear compartment cover. |
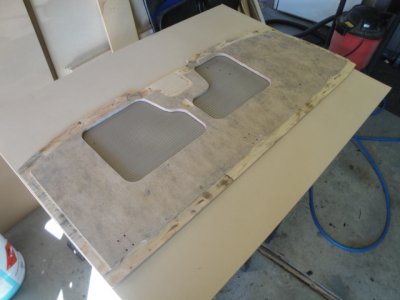 Back side of rear hinged cover. |
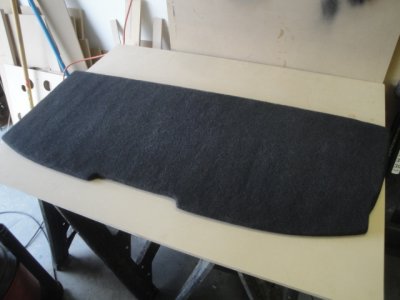 Hinged cover wrapped in matching carpet |
 Pilot letters embossed on top of rear cosmetic cover. |
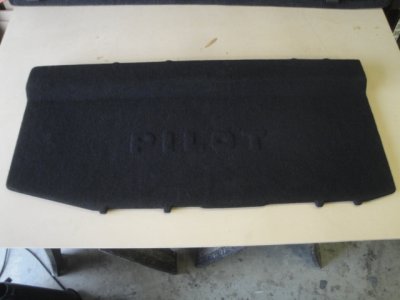 Cosmetic cover wrapped in matching carpet |
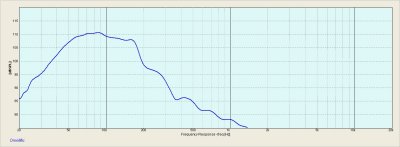
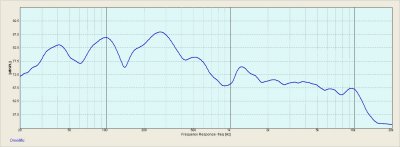 Left mid's response from driver's seat. |
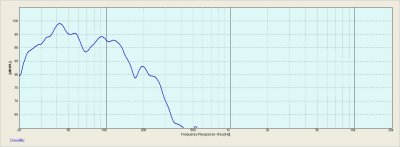
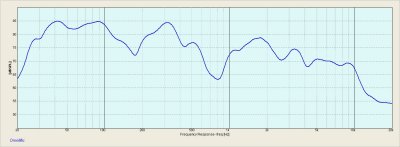 Right mid's response from driver's seat. |
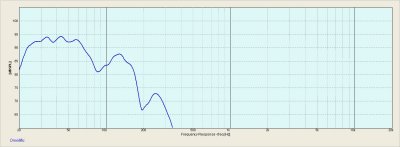
 Subwoofer response, near field |
 Subwoofer response from driver's seat, NO EQ |
 Smoothed subwoofer response, driver's seat. |
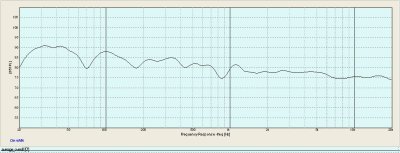 Current tune, 2/12/12, combined response, 10 points around driver's head average |
 Alpine iLX-007 (Carplay), and Nesa 1/2 DIN DVD as optical digital source, both feeding Mosconi 6to8v8. Mini controller below. |
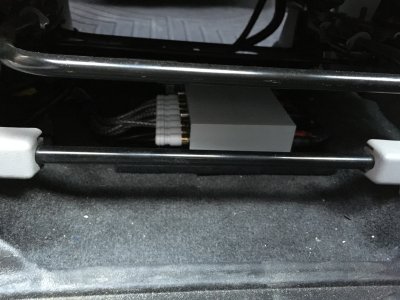 Mosconi 6to8v8 mounted below passenger seat |
| previous page | pages 1 2 3 4 5 6 7 8 9 10 11 12 13 14 ALL | next page |
| comment | share |