


|
|
|
|
|
|
| shinjohn | profile | all galleries >> Pictures related to Car Audio >> Low Cost DIY Interconnect Details, a How To | tree view | thumbnails | slideshow |
| previous page | pages 1 2 3 ALL | next page |
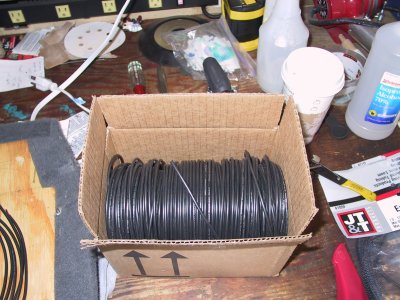 300 ft. of Gepco 61801EZ = $30. Yep, that's $0.10/ft. |
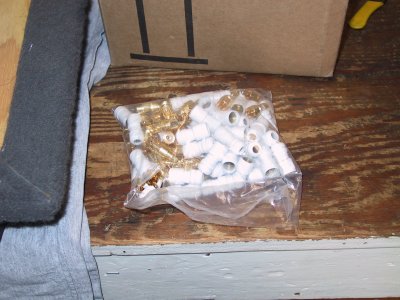 Streetwires RCA ends on Ebay. 50 pcs. for $15. |
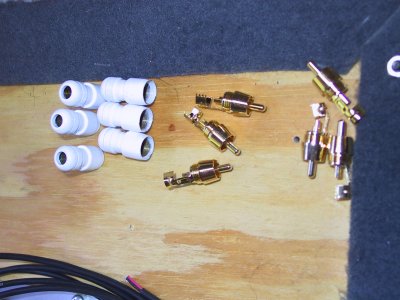 RCA ends taken apart. |
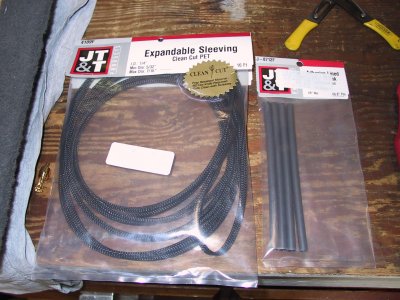 Expandable sleeving (Techflex) and adhesive lined heat shrink |
 Back side of packages. |
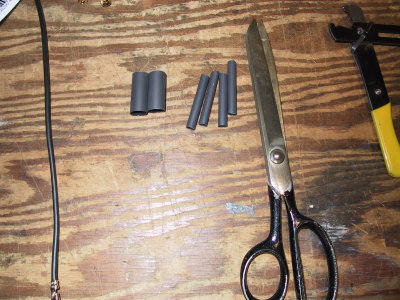
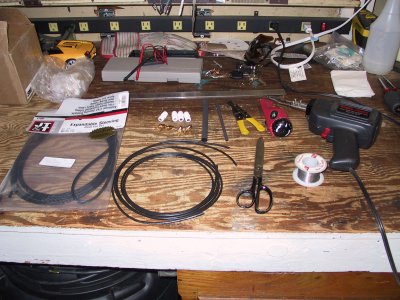 Tools/supplies for the job. Not shown: disposable butane lighter, needle nose pliers. |
 First, cut the Gepco (or whatever signal cable) to length. |
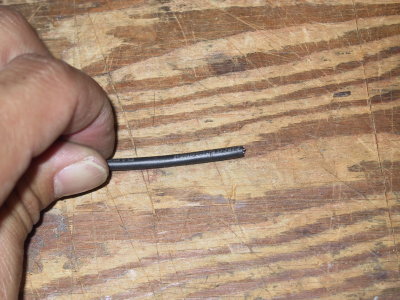 Take your utility knife and score all around the outer jacket of the cable. Not too deep; just make a line like this. |
 Gepco is great because all you have to do after scoring is.. bend it one way.... |
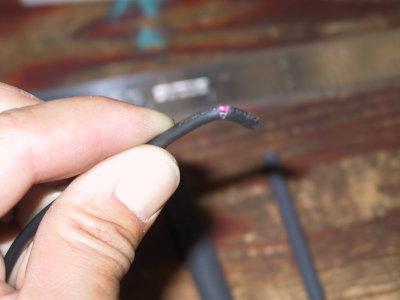
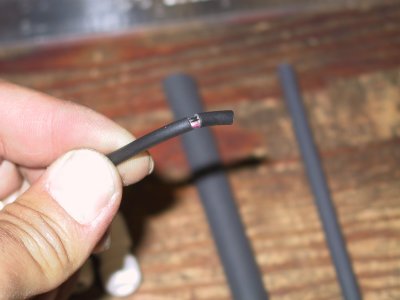 and then bend it the other way... |
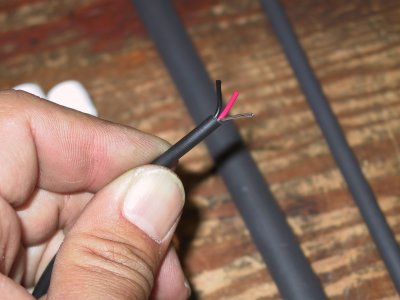 Insulation pulls off to reveal two conductors and a drain wire (shield). Strip the two inner wires with strippers. |
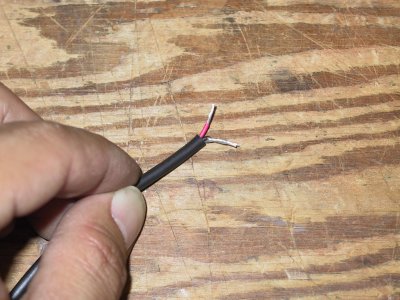 On the SOURCE end, I twisted drain and black together as shown. On the receiving end, I cut the drain wire completely off. |
 Next, I folded the red (signal) wire over to double the wire density, and then trimmed the ground down to a shorter length. |
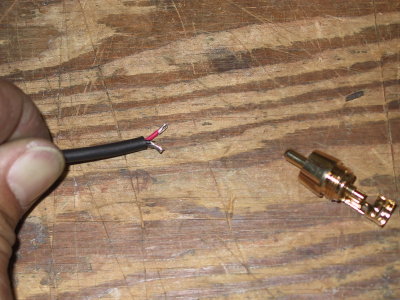
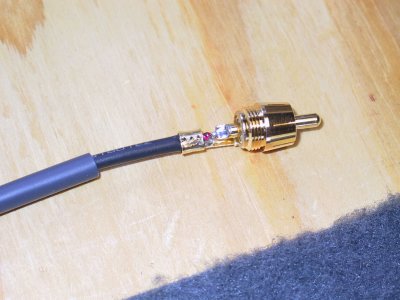
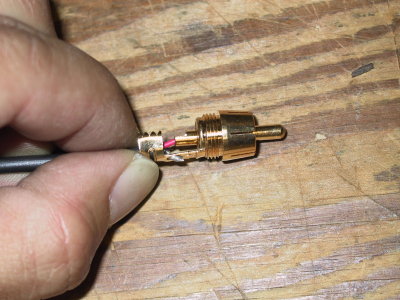 Insert the cable to get red inside the center conductor, ground to the outside of the RCA |
 Closer view of the center conductor. Folding over the wire "fills" the center pin hole better... |
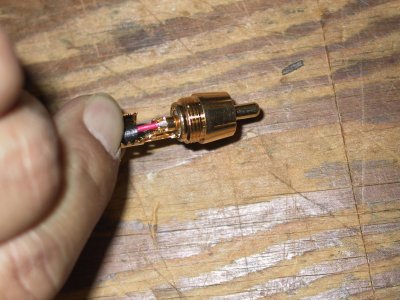
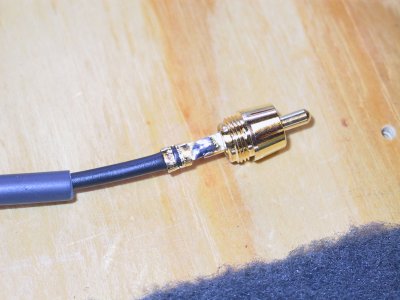
 Next crimp around the outside jacket to hold everything together. |
 Ground side; we're ready to solder. |
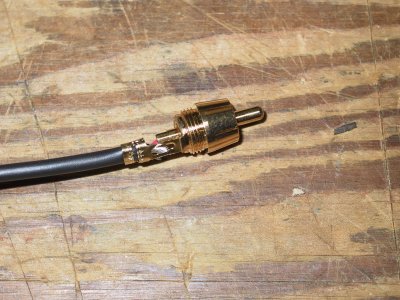
 Solder the center conductor.. |
 Solder the ground. |
 Cut your heat shrink to length: I used 1.5" length of the 1/4", 1" length of the 1/2" |
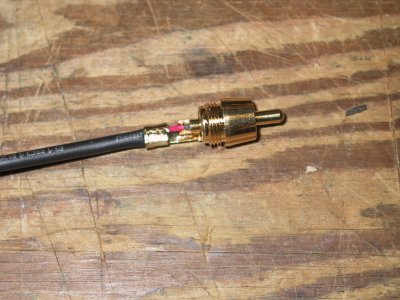
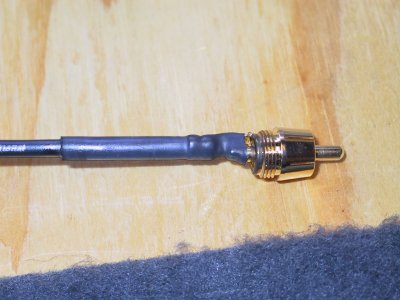 Slip the heat shrink over and seal it up using the butane lighter. |
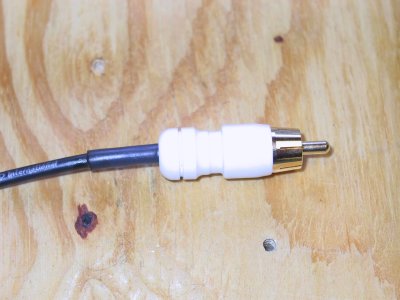 Slip the RCA end over and screw it on. Make one more just like this so you have a stereo pair. DON'T PUT THE OTHER END ON YET! |
 Next, slip the two pieces of 1/2" heat shrink then the expandable sleeving over the pair of wires. (from the non-connector end) |
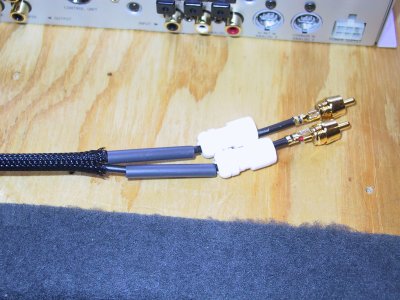 Slip the last two pieces of 1/4" heat shrink and RCA ends on BEFORE soldering this side. Double and triple check it!! |
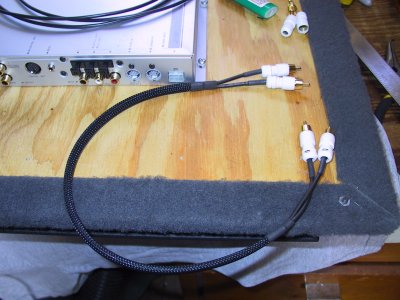 Pull the 1/2" heat shrink onto the sleeving, get the sleeving and wires positioned properly. Shrink one end of the sleeving. |
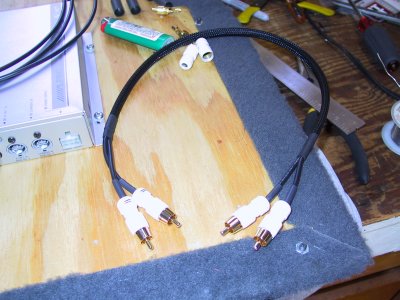 Pull the sleeving taught and heat shrink the remaining end to complete. If you positined evertything properly all's good! |
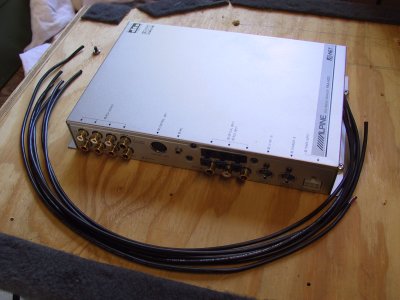
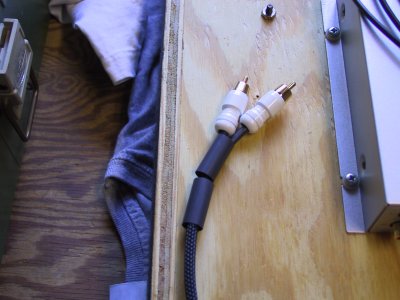
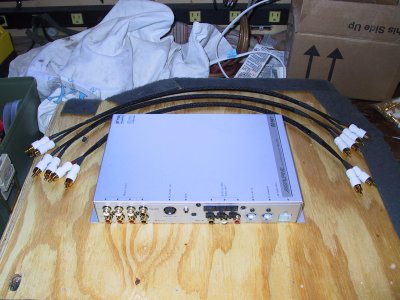 Relish your new interconnects before you hook them up to your cool new processor. :D |
| previous page | pages 1 2 3 ALL | next page |
| comment | share |