


|
|
|
|
|
|
| shinjohn | profile | all galleries >> Pictures related to Car Audio >> Low Cost DIY Interconnect Details, a How To | tree view | thumbnails | slideshow |
| previous page | pages 1 2 3 ALL | next page |
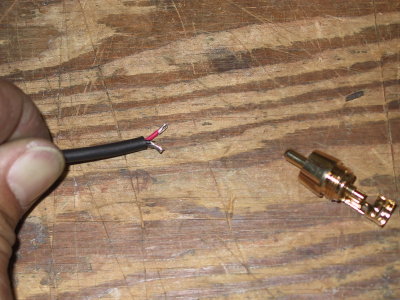 Next, I folded the red (signal) wire over to double the wire density, and then trimmed the ground down to a shorter length. |
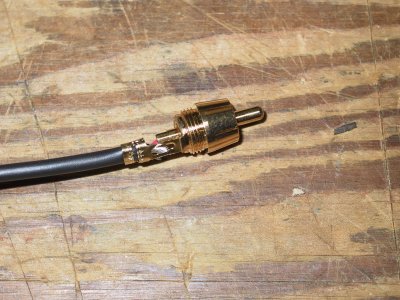
 Insert the cable to get red inside the center conductor, ground to the outside of the RCA |
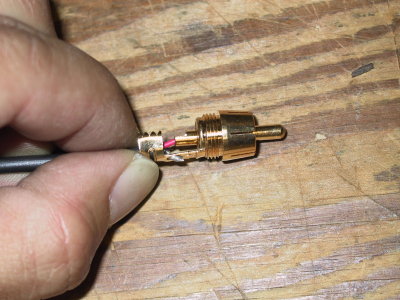
 Closer view of the center conductor. Folding over the wire "fills" the center pin hole better... |
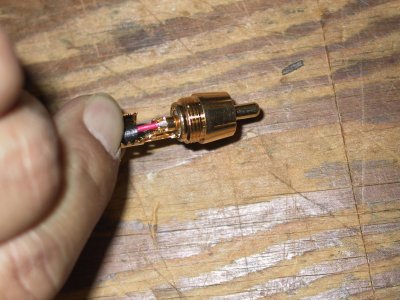
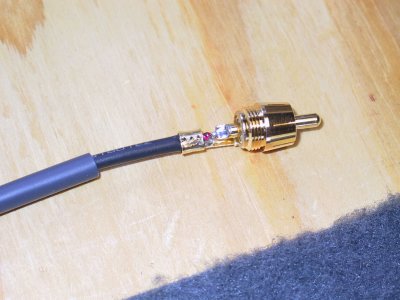
 Next crimp around the outside jacket to hold everything together. |
 Ground side; we're ready to solder. |
 Solder the center conductor.. |
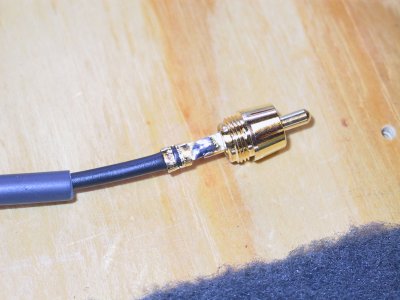 Solder the ground. |
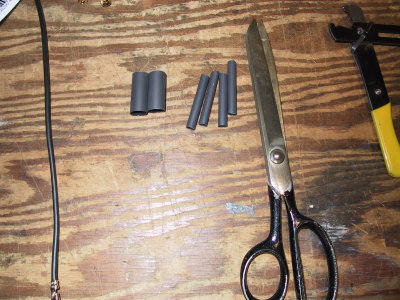 Cut your heat shrink to length: I used 1.5" length of the 1/4", 1" length of the 1/2" |
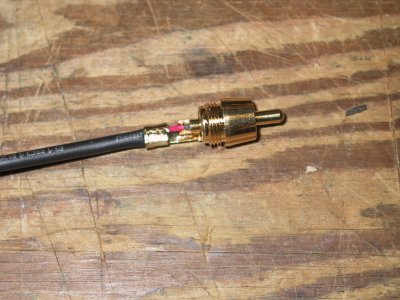
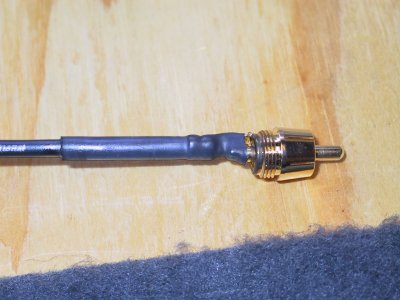 Slip the heat shrink over and seal it up using the butane lighter. |
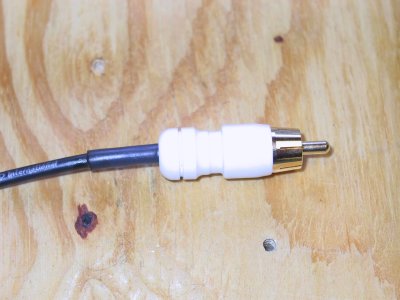 Slip the RCA end over and screw it on. Make one more just like this so you have a stereo pair. DON'T PUT THE OTHER END ON YET! |
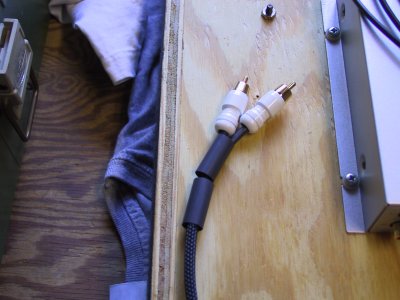 Next, slip the two pieces of 1/2" heat shrink then the expandable sleeving over the pair of wires. (from the non-connector end) |
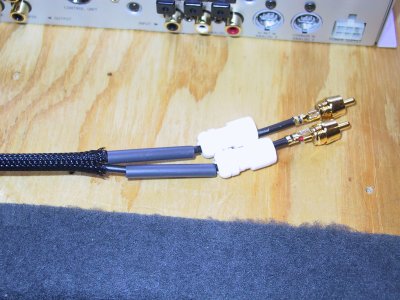 Slip the last two pieces of 1/4" heat shrink and RCA ends on BEFORE soldering this side. Double and triple check it!! |
| previous page | pages 1 2 3 ALL | next page |
| comment | share |