photo sharing and upload picture albums photo forums search pictures popular photos photography help login
shinjohn | profile | all galleries >> Accord Stereo Revamp to DIY Active >> Detailed Pictures of Sound Deadening and Treatment tree view | thumbnails | slideshow

Detailed Pictures of Sound Deadening and Treatment

Special Thanks to Rick McCallum at Raamaudio (www.raamaudio.com) for his outstanding customer support and advice for my install!

Products utilized:
- RaamMat BXT
- Ensolite foam
- Thin gauge sheet steel
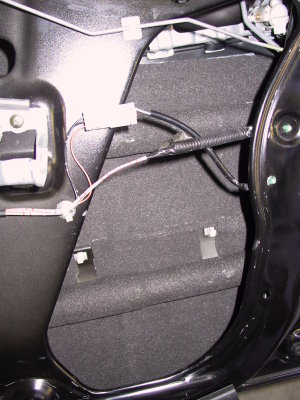
Inside of door skins covered with 1-3 layers of Raammat and 1 layer of ensolite foam.
Another angle inside the door.
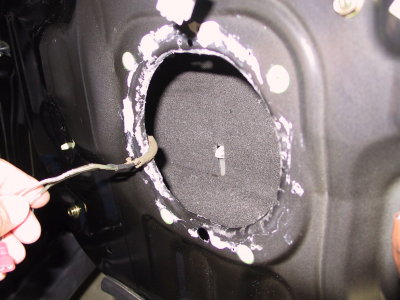
Detail through one of the larger holes.
Door holes were completely closed up with metal panels and sheet metal screws.
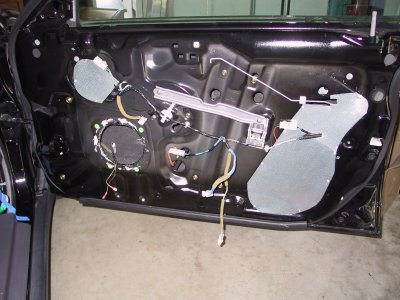
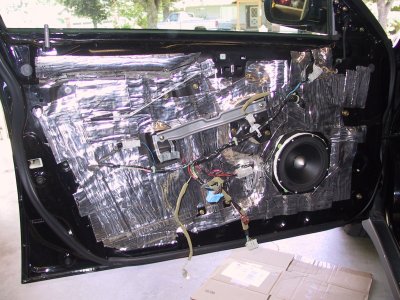
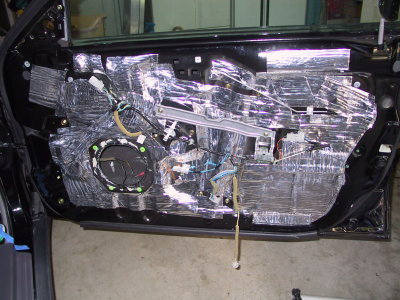
1-3 layers of Raammat on the infacing skin, covering and overlapping in critical areas.
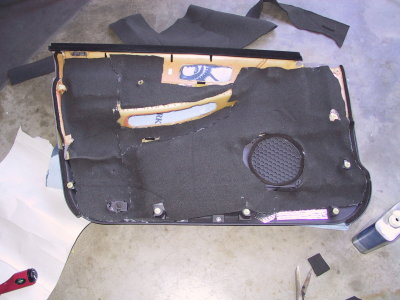
1-2 layers of Raammat and 1 layer of ensolite on passenger's side door panel.
Driver's door complete with Seas Lotus RW165 installed. (no longer used)
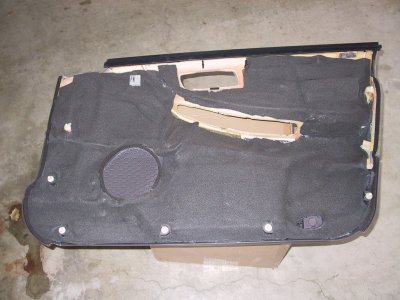
1-2 layers of Raammat and 1 layer of ensolite on driver's door panel
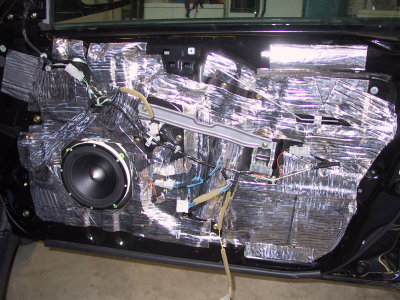
Passenger door complete with Seas Lotus RW165 installed.